If you work regularly with videos, it's important to efficiently combine the right tools. Sony VEGAS Pro and Adobe After Effects are two of the most popular software solutions in video and animation production. Linking these programs can help you leverage the strengths of both platforms and achieve impressive results. In this guide, you will learn how to effortlessly transfer your projects between VEGAS Pro and After Effects.
Key Insights
- Pay attention to the correct frame rate during export.
- Create the file in VEGAS Pro and import it into After Effects.
- Export back to VEGAS Pro after making changes in After Effects.
Step-by-Step Guide
1. Export Your File from VEGAS Pro
First, you need to ensure that the frame rate of your file is set correctly. To do this, go to the project settings in VEGAS Pro. When it comes to frame rate, it’s important to choose a common number to avoid complications. Make sure you are set to 25 frames per second (fps), for example.
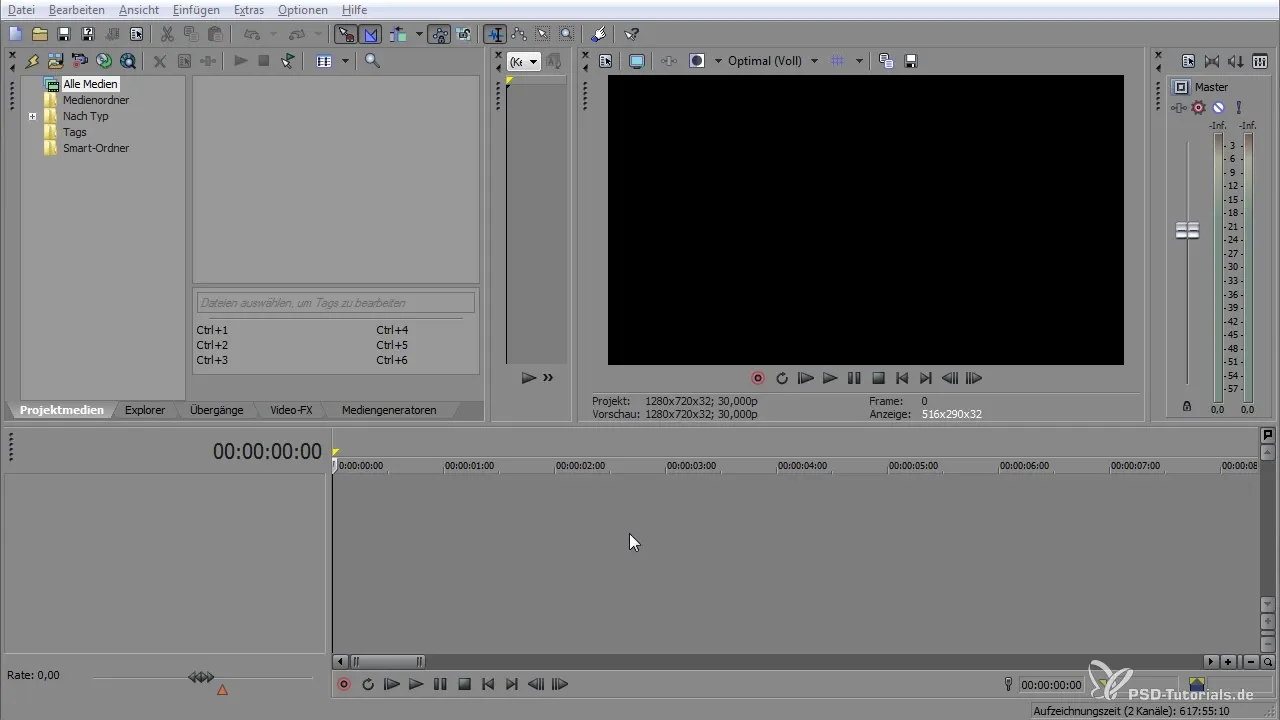
Once you have set the frame rate, drag the desired file into your project window. You can also add audio elements. In this step, it is crucial to place the file correctly on the timeline and ensure that the settings are applied.
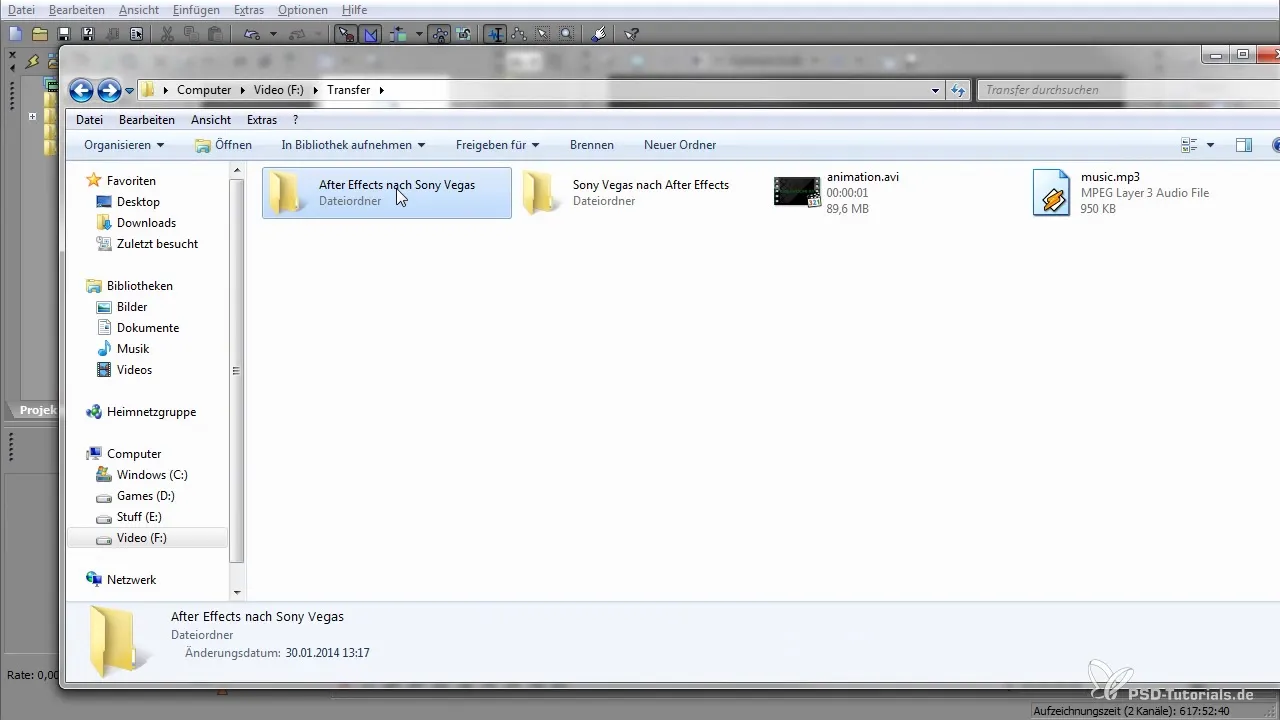
2. Export the File as a PR Project
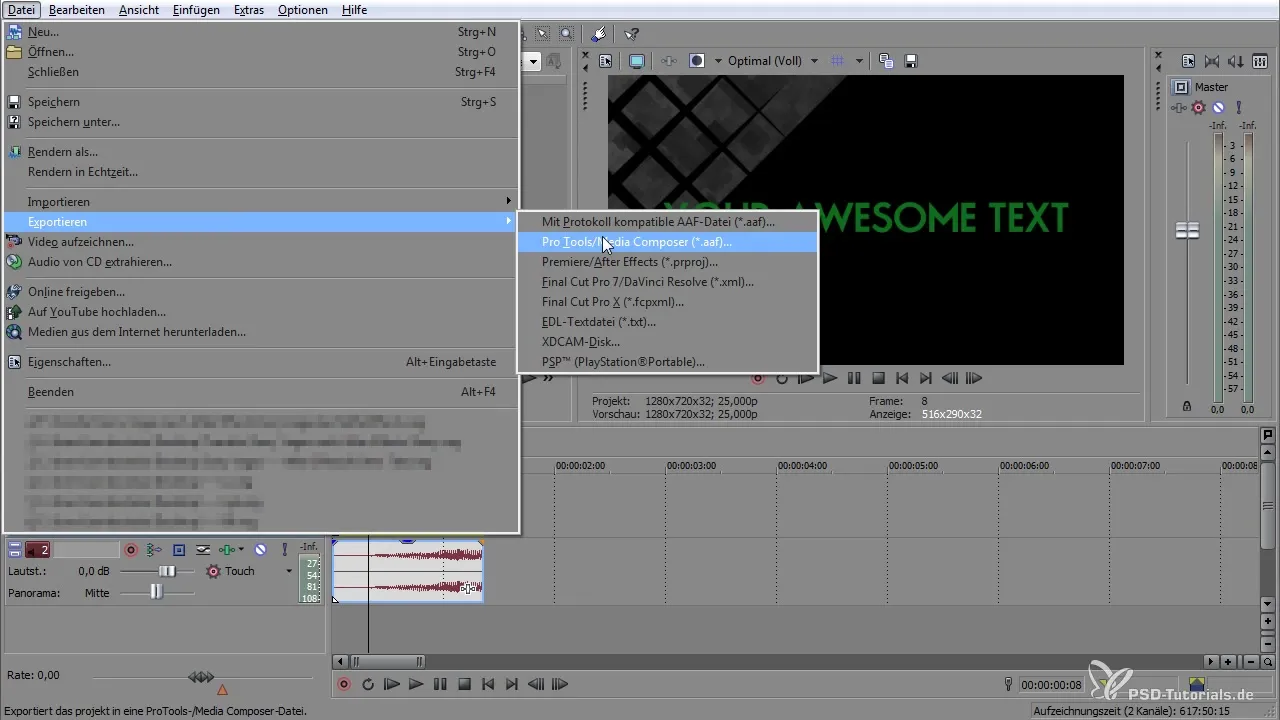
To prepare your file for After Effects, go to "File" and select "Export". Here you can choose the "Adobe Premiere Pro PR project file". If you are using an older version of After Effects, you will need to save it as an AAF file. This ensures compatibility with the software.
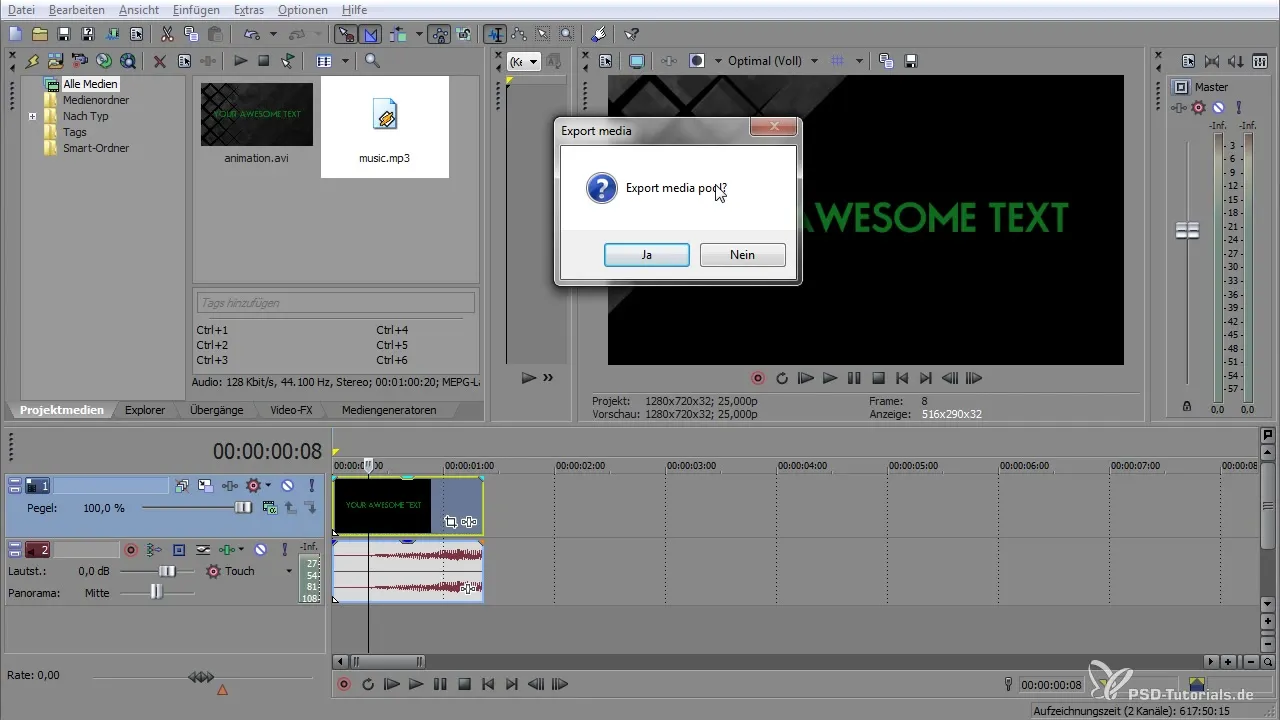
When saving, you will be asked if the pool (i.e., the used media) should be exported as well. Confirm this so that all required files are saved in a new folder.
3. Import the File into After Effects
Once the export in VEGAS Pro is complete, switch to After Effects. Here, again select "File" and then "Import". Look for the folder you created earlier for the PR project file or the AAF file.
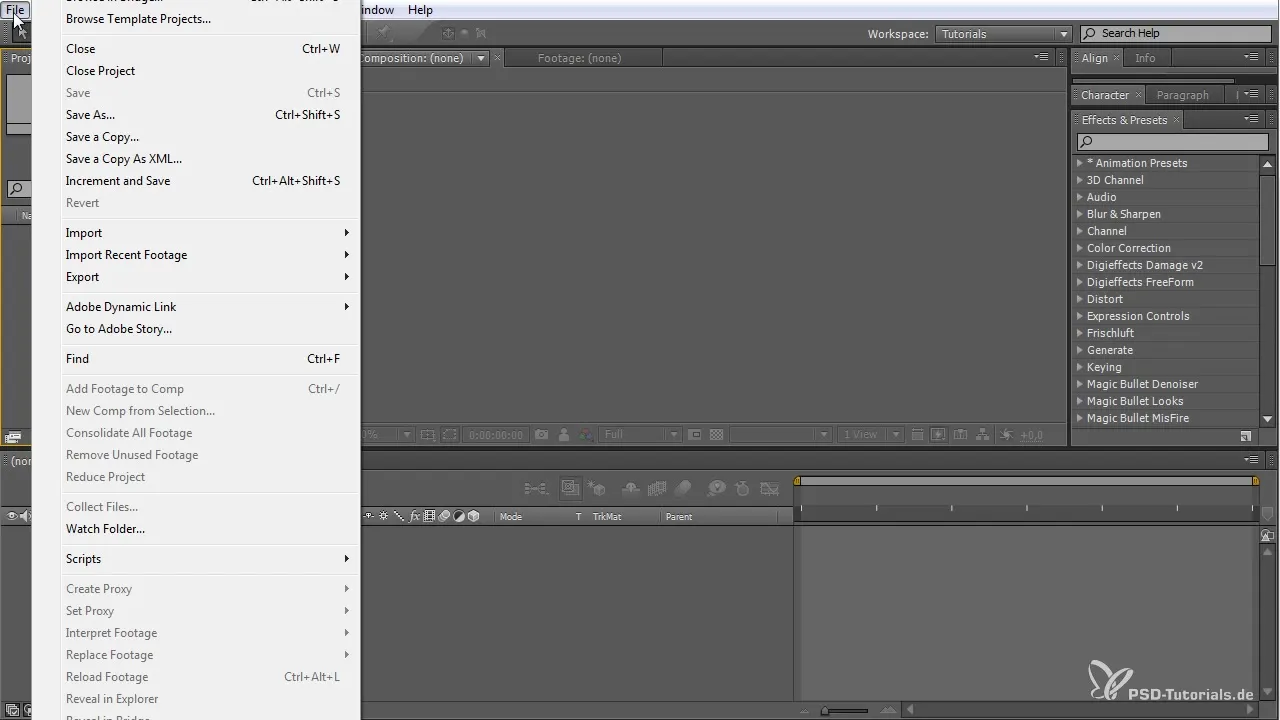
When After Effects asks if you want to import all sequences, you have the option to select the desired audio files as well. Confirm this to import the file and use it in your project.
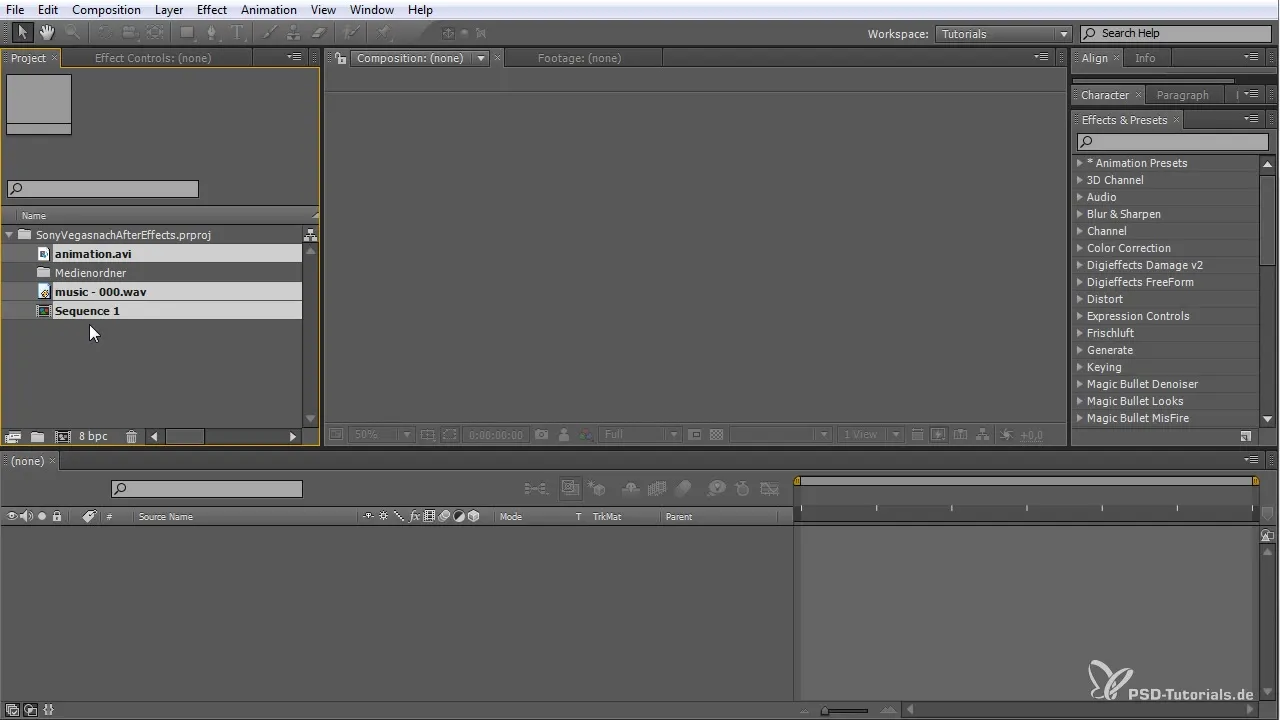
4. Edit Your Project in After Effects
You can now make changes to your project. Perhaps you want to trim a scene or add a new animation. When you are satisfied with the adjustments, go to "File" and select "Export" again to save your file as a PR project file.
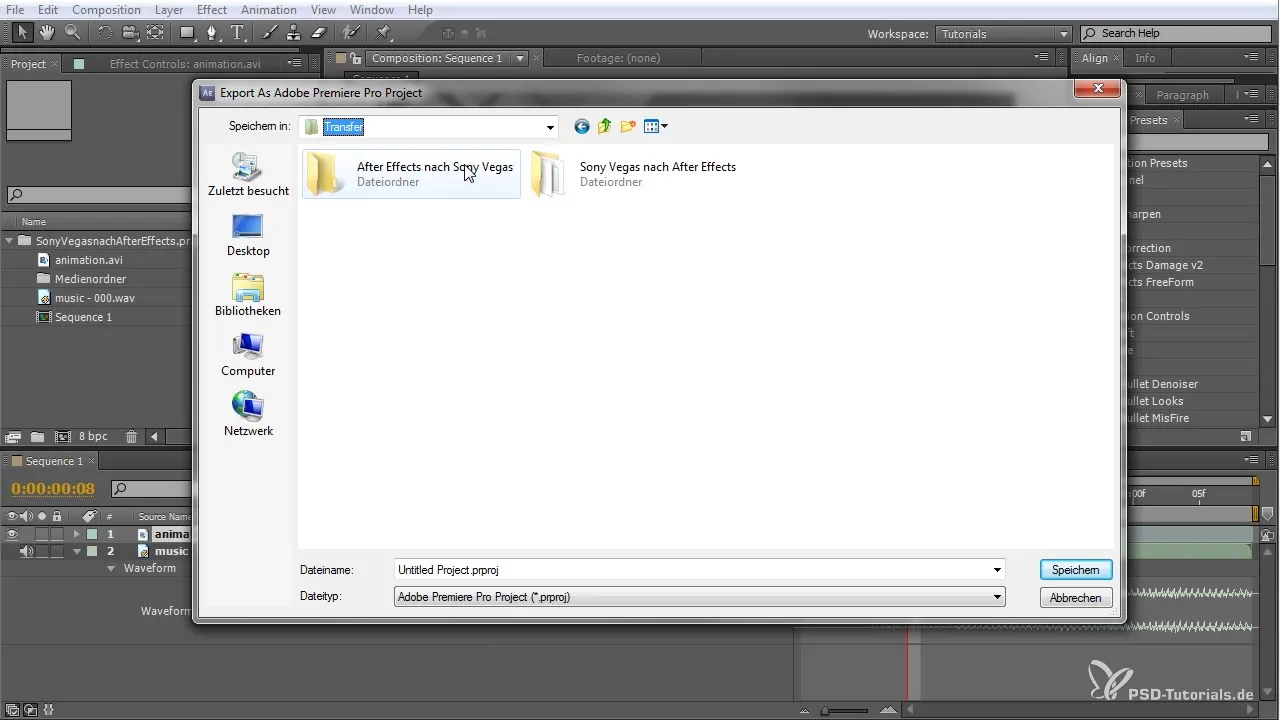
Select the correct folder that you created earlier to save the project and overwrite the old file.
5. Import the Edited File Back into VEGAS Pro
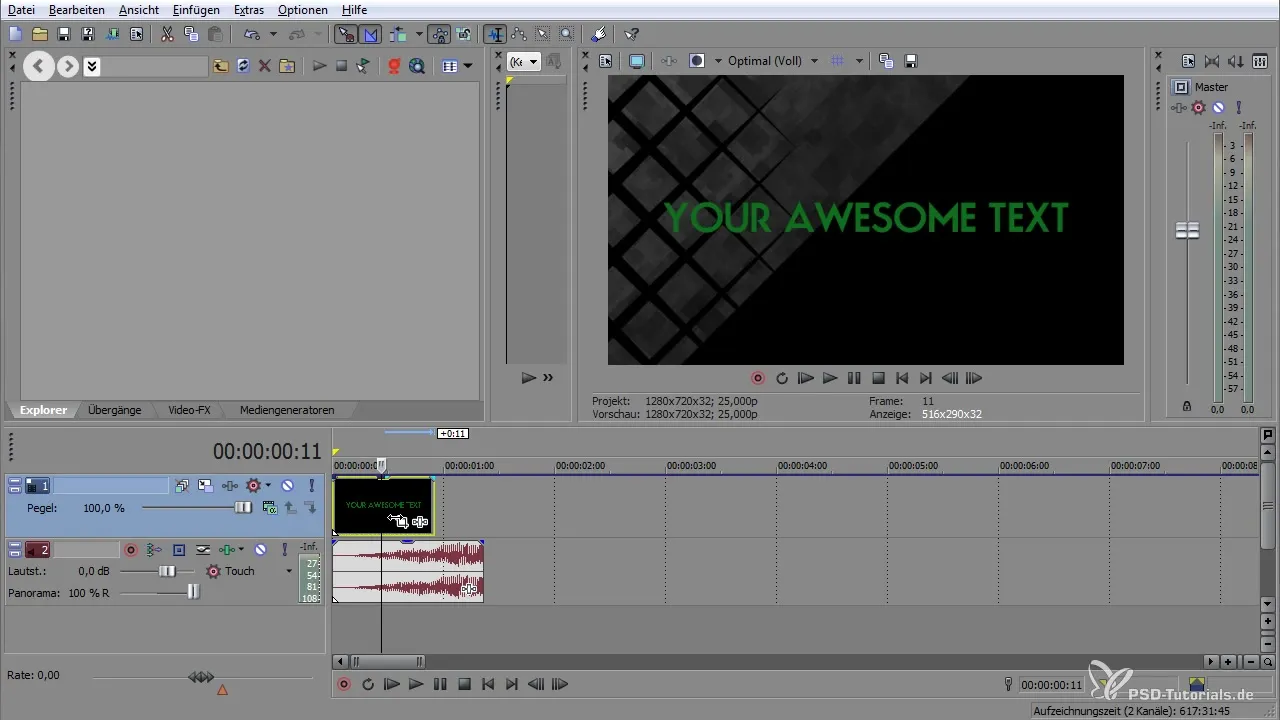
Switch back to VEGAS Pro. Here, you can again select "File" and then "Import". Look for the edited PR project file from After Effects. This file now contains the changes you made.
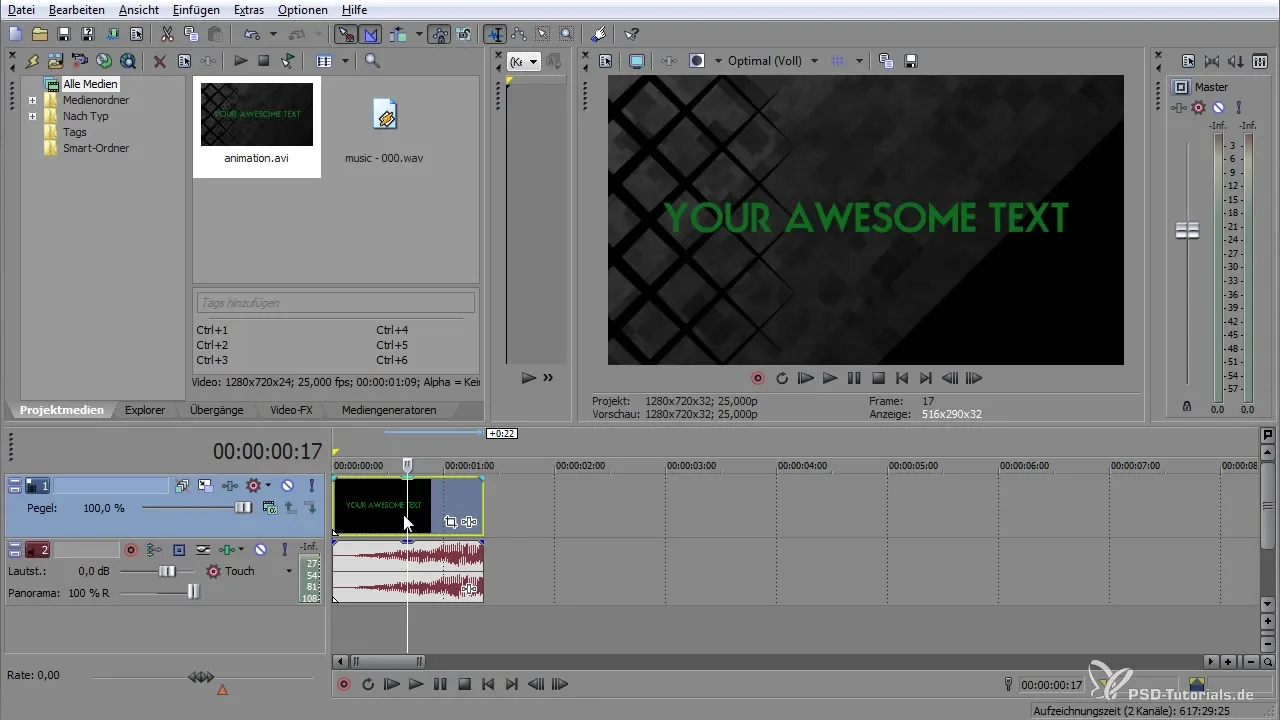
After the import, you will see that the structure and cuts you made in After Effects are preserved in VEGAS Pro. This allows you to continue working on your project and seamlessly integrate the new effects and changes into your final edit.
Summary – VEGAS Pro and After Effects: A Seamless Workflow
In summary, the shared workflow between VEGAS Pro and After Effects opens up a variety of possibilities to take your videos to the next level. Pay attention to the frame rate during export and utilize the interoperability to get the best out of both applications.
Frequently Asked Questions
What is the recommended frame rate for export?The recommended frame rate is 25 fps to avoid complications.
How do I import the file into After Effects?Go to "File" > "Import" and select the appropriate PR project file or AAF file.
Can I make changes in After Effects and export them back to VEGAS?Yes, you can make changes and export the file back to VEGAS Pro as a PR project file.
Are there differences in exporting depending on the version of After Effects?Yes, older versions require exporting as an AAF file for compatibility.
Do I need to make manual adjustments when importing into VEGAS Pro?Generally not, all cuts and changes should be transferable and displayed in VEGAS Pro.


