The art of integrating text animations into videos can make a significant difference in the visual impact and professionalism of your projects. With the ProType Titler from Sony Vegas Pro 12, you have a powerful tool at your disposal to create engaging, customizable, and vibrant text animations. Below, you will learn step by step how to make the most of this feature to insert dynamic text into your videos.
Key Insights
- The ProType Titler offers a variety of tools to design and animate text professionally.
- You can create static text or dynamic animations for text blocks.
- With keyframes, you can control precise animations and implement adjustments efficiently.
Step-by-Step Guide
Step 1: Select the Text Tool
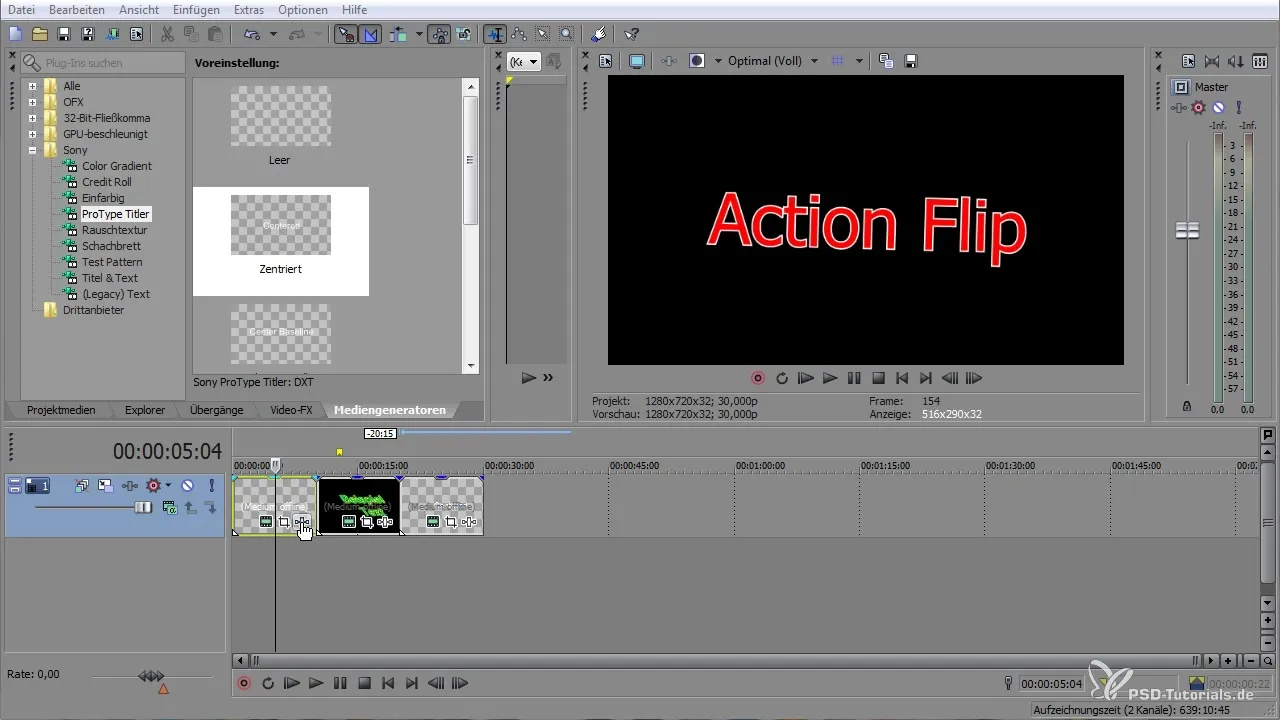
To use the ProType Titler, open Sony Vegas Pro and navigate to the media generators. There you will find the ProType Titler. Drag this onto the timeline to create a new text object.
Step 2: Text Editing
A window opens where you can begin entering your desired text. For example, create a title that is clear and striking. You can also adjust the font, size, and color to ensure that the text fits into your project.
Step 3: Set Parameters
In the ProType Titler, you can set and move the anchor points of your text. It is important to ensure that the text is positioned within the “safe zone” to avoid overlaps or cut-off parts.
Step 4: Background and Colors
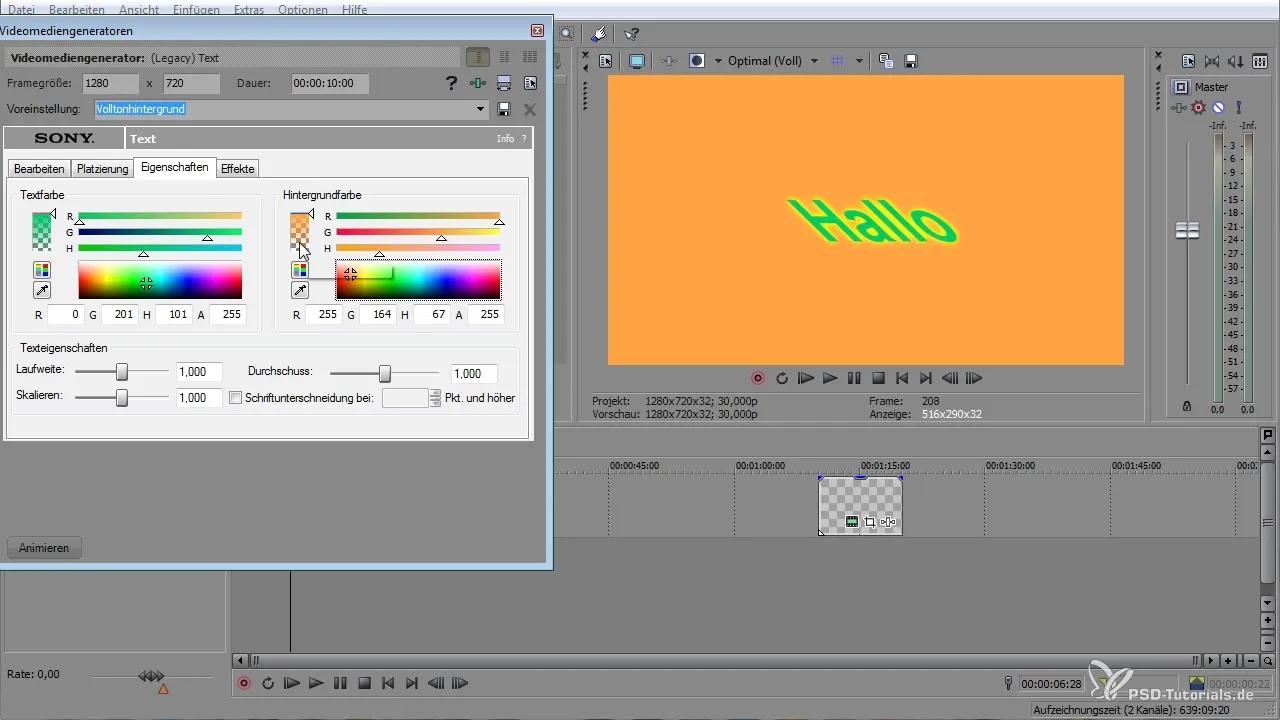
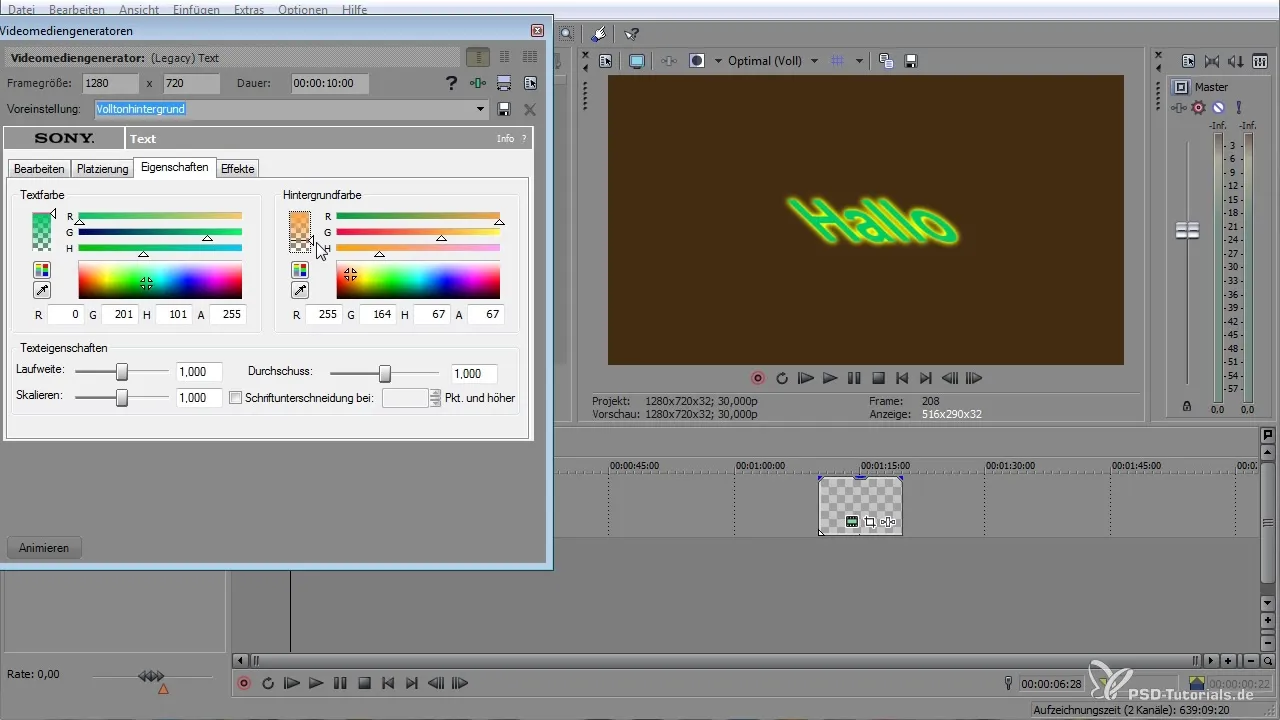
You have the option to change the background of your text and add gradients. Choose a color or gradient that provides a cohesive visual experience for your project.
Step 5: Add Effects
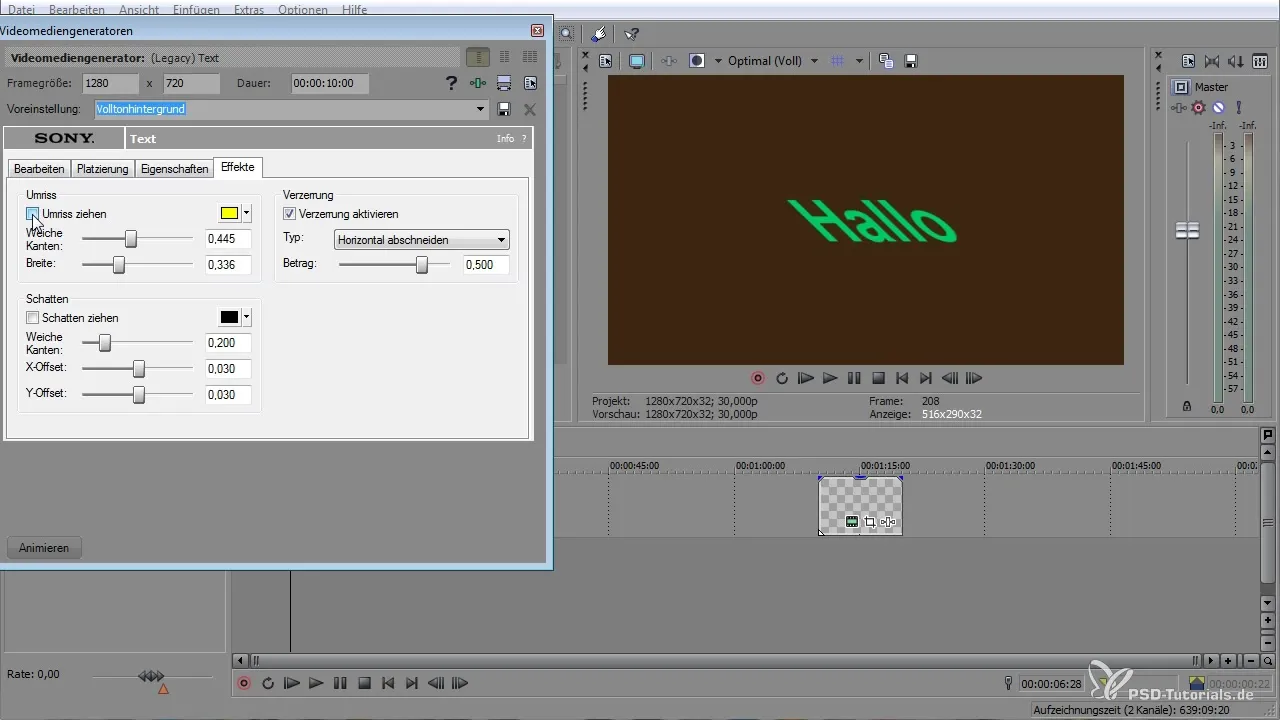
Adding effects can significantly enhance the visual impact of your text. You can add shadows or outlines to give the text more depth. Adjust the softness and width of these effects accordingly.
Step 6: Animate Text
To create animations for your text, you can use keyframes. Select the effects you want to animate and set the desired changes in the timeline. Use keyframes to make transitions smoother and create dynamic animations.
Step 7: Save Text
If you are satisfied with your settings, you can save the text as a preset. This way, you can easily refer back to your settings for future projects without having to set everything up from scratch.
Step 8: Further Adjustments
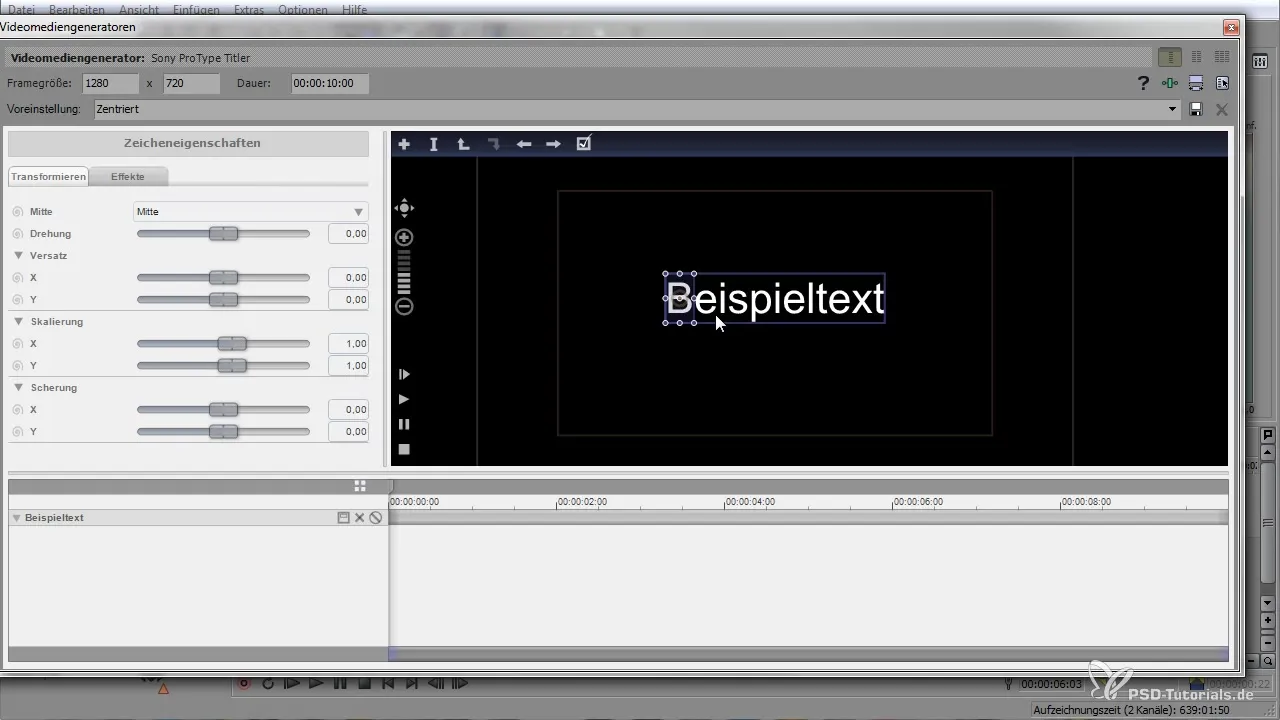
Take advantage of the ability to work between individual letters in your text. This ensures that you can create individual animations for each letter. You can also adjust the spacing between letters to achieve an aesthetically pleasing layout.
Step 9: Layout and Position
Make sure to adjust your layout and the position of the text on the screen. Use the preview function to ensure everything looks good and supports the chosen style.
Step 10: Final Review and Export
Check all text settings and animations to ensure they meet your expectations. After the final review, export your project and admire the engaging text animations you created with the ProType Titler.
Summary - Creating Layer-Based Text in Sony Vegas Pro
You have now learned how to effectively use the ProType Titler from Sony Vegas Pro 12 to create impressive text animations. From selecting the text tool to customization and animation to saving your settings – these steps allow you to give your videos a professional touch.
Frequently Asked Questions
How do I add text?Drag the ProType Titler from the media generator onto the timeline.
Can I animate the text?Yes, by using keyframes, you can create various text animations.
How do I save my text settings?You can save your text settings as a preset to reuse them in future projects.
How can I change the background of my text?In the ProType Titler, you can choose and customize a background color or gradient.
Can I add shadows and outlines?Yes, you can customize shadows and outlines to give your text more depth.


