You have the big project of creating engaging videos in Sony Vegas Pro that stand out with effects and moving lower thirds. In this tutorial, I will show you how to effectively utilize the versatile features of Vegas Pro. We will work together on a project to learn the various techniques necessary to create an impressive lower third and integrate visual effects. Let's dive right into it!
Main insights
- You will learn how to insert and adjust footage in your project.
- You will discover how to create animated zooms and transitions with keyframes.
- You will design and animate a lower third and apply effects such as color fades.
Step-by-Step Guide
1. Project Preparation
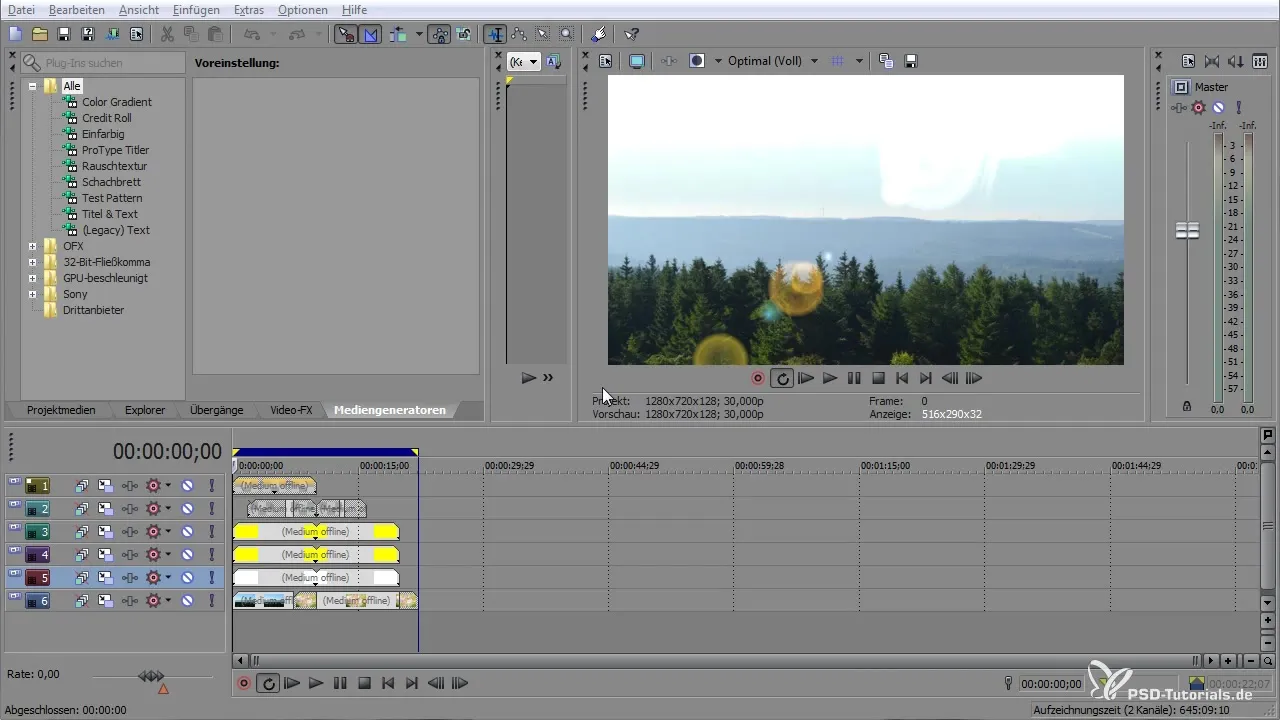
First, open your project or create a new one and load your video files into the timeline. To get a first impression of your work, press the space bar to play the video. At this point, you may notice that there is a letterbox because your footage has a different resolution.
2. Adjusting Footage
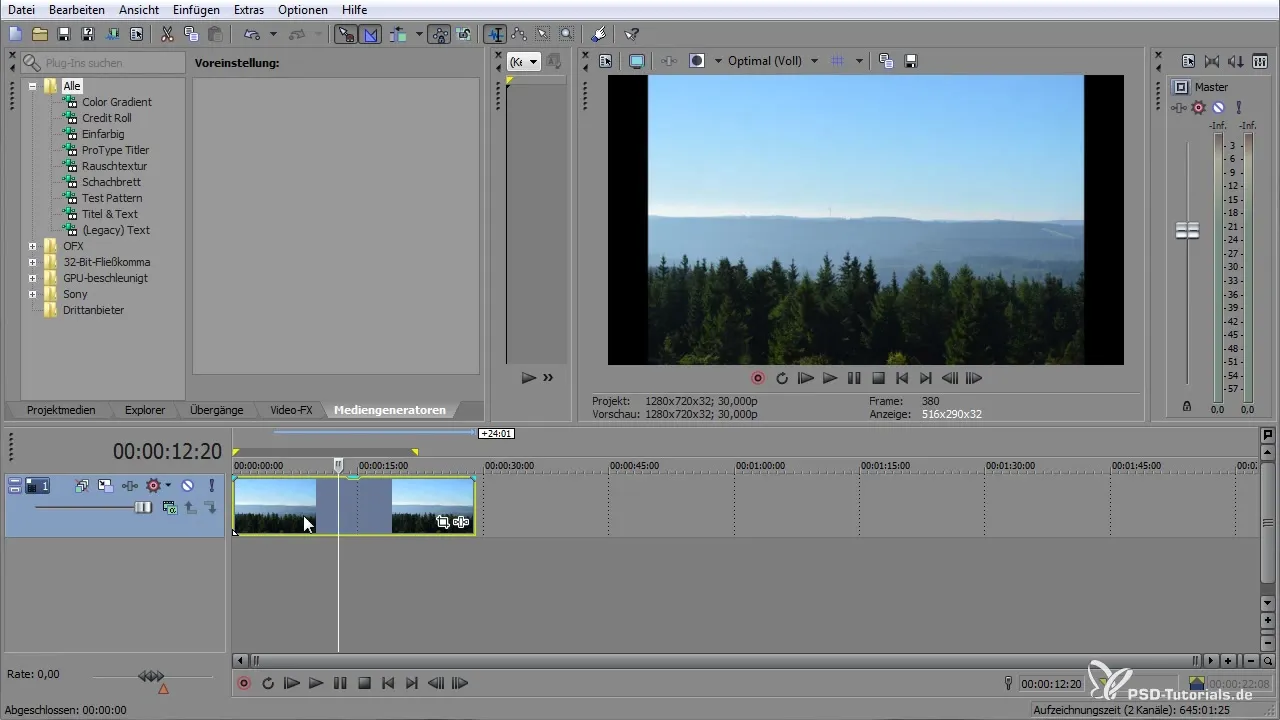
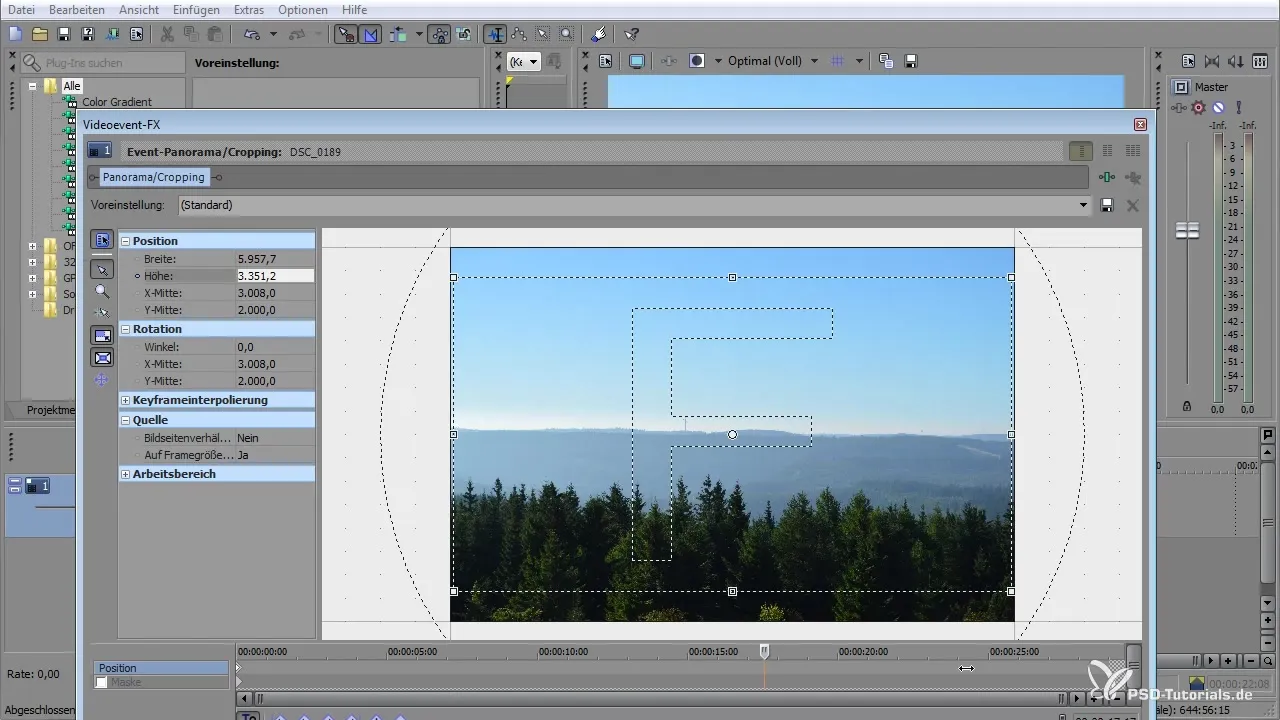
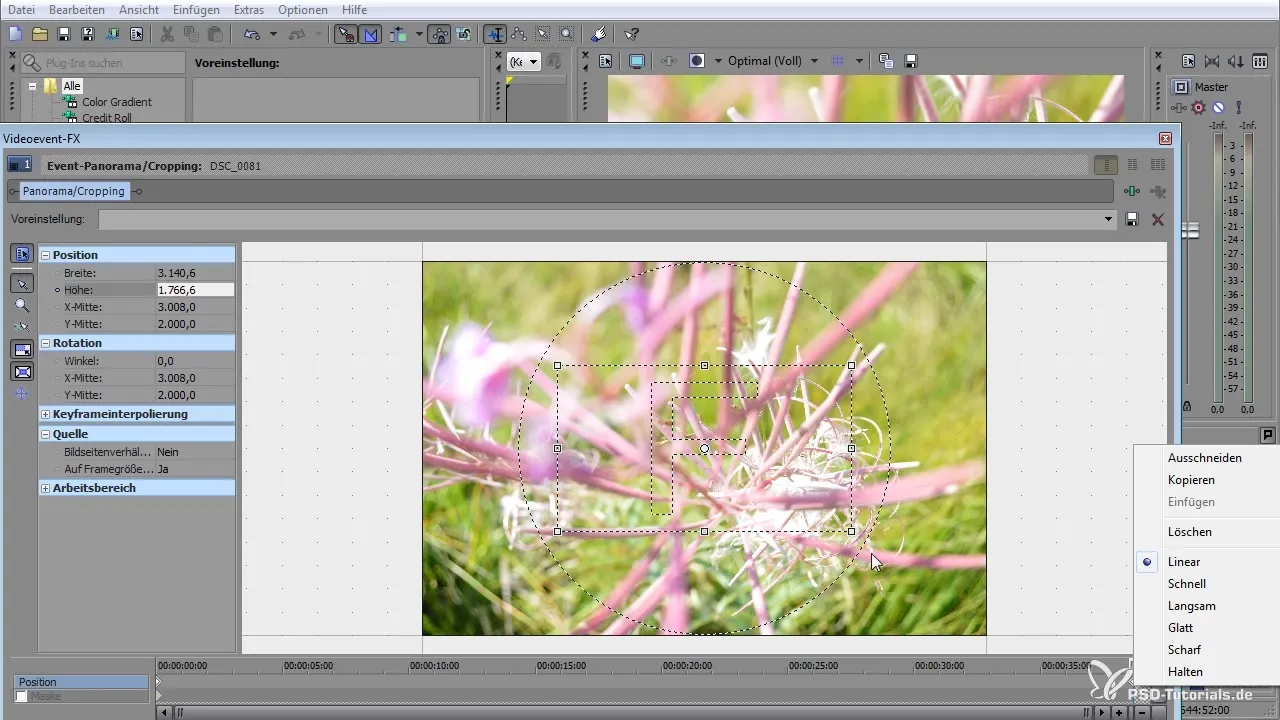
Ensure that your material is the correct size. For this, click on the Event Panorama Cropping icon and adjust the resolution by setting the width and height to 1280 x 720. This will display your image correctly without appearing distorted.
3. Creating Zoom Effects
Now you can create a zoom effect. Set a keyframe at the beginning of the sequence and go to the end position to set another keyframe. Edit the position to create a smooth zoom. Here, you can adjust the speed of the motion.
4. Inserting Additional Footage
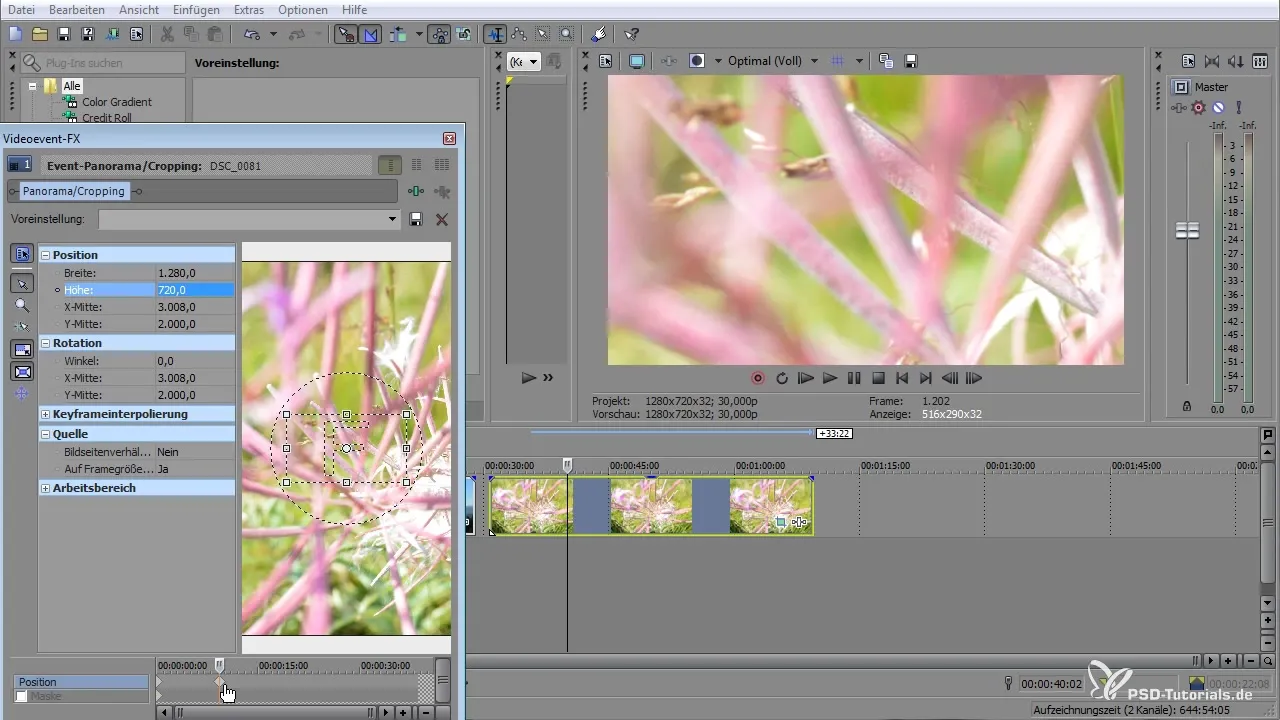
Drag the next video sequence into the timeline and repeat the previous steps to ensure that the resolution and keyframes are set correctly. This will create a dynamic transition animation.
5. Animating Transitions
Right-click on the keyframes to set the interpolation to “smooth.” This will make the transitions between the zooms more fluid. Ensure that the clips in the timeline are arranged to overlap.
6. Creating the Lower Third
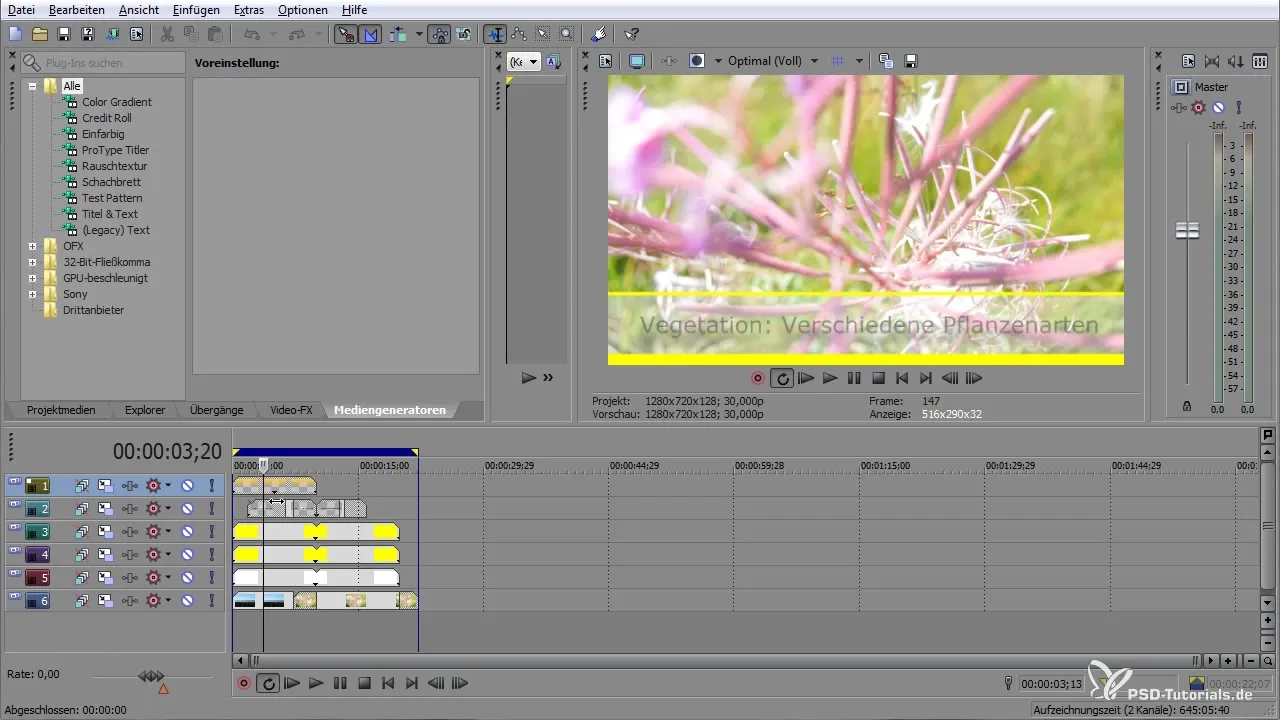
Now comes an essential step: the creation of the lower third. Select a rectangle from the shapes in the menu and place it at the bottom of the screen. You can adjust this shape as desired by changing its size and position.
7. Adding Text and Animation
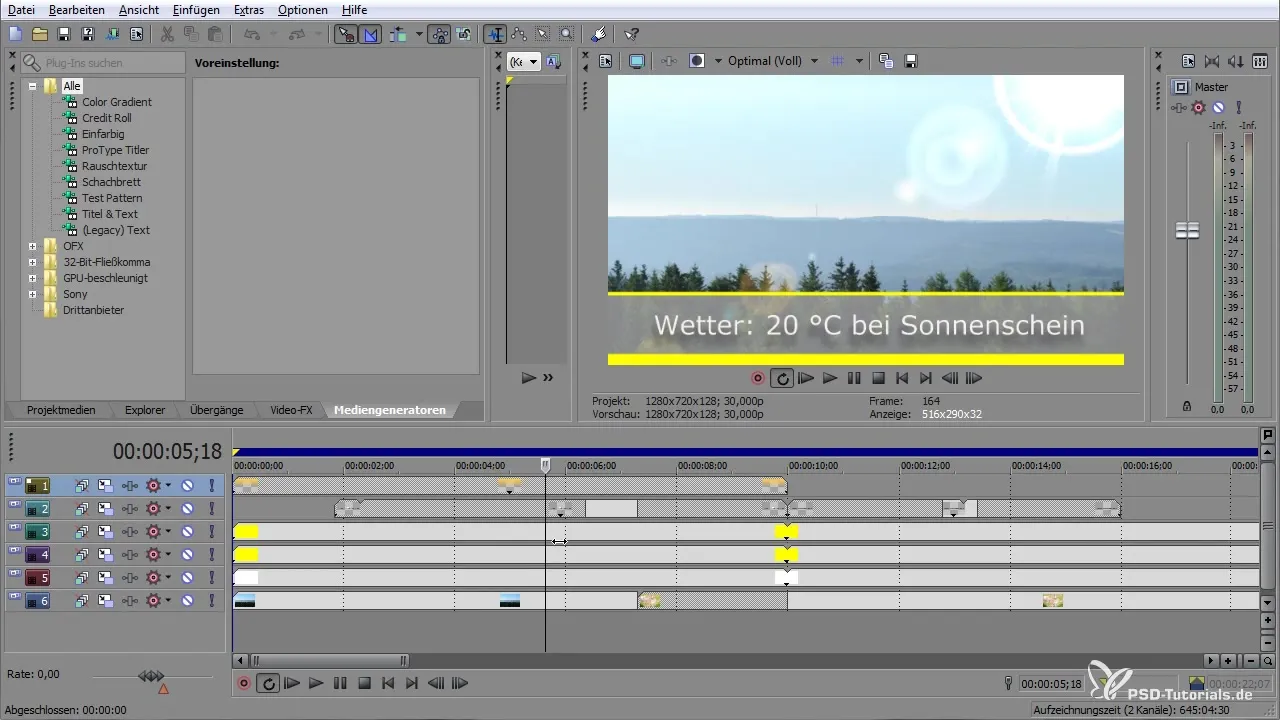
Add the desired text by selecting the text tool. Make sure that the text is clearly readable and has a drop shadow to stand out against the background. You can animate the lower third by also setting keyframes for the fade-in and fade-out.
8. Applying Color Filters and Effects
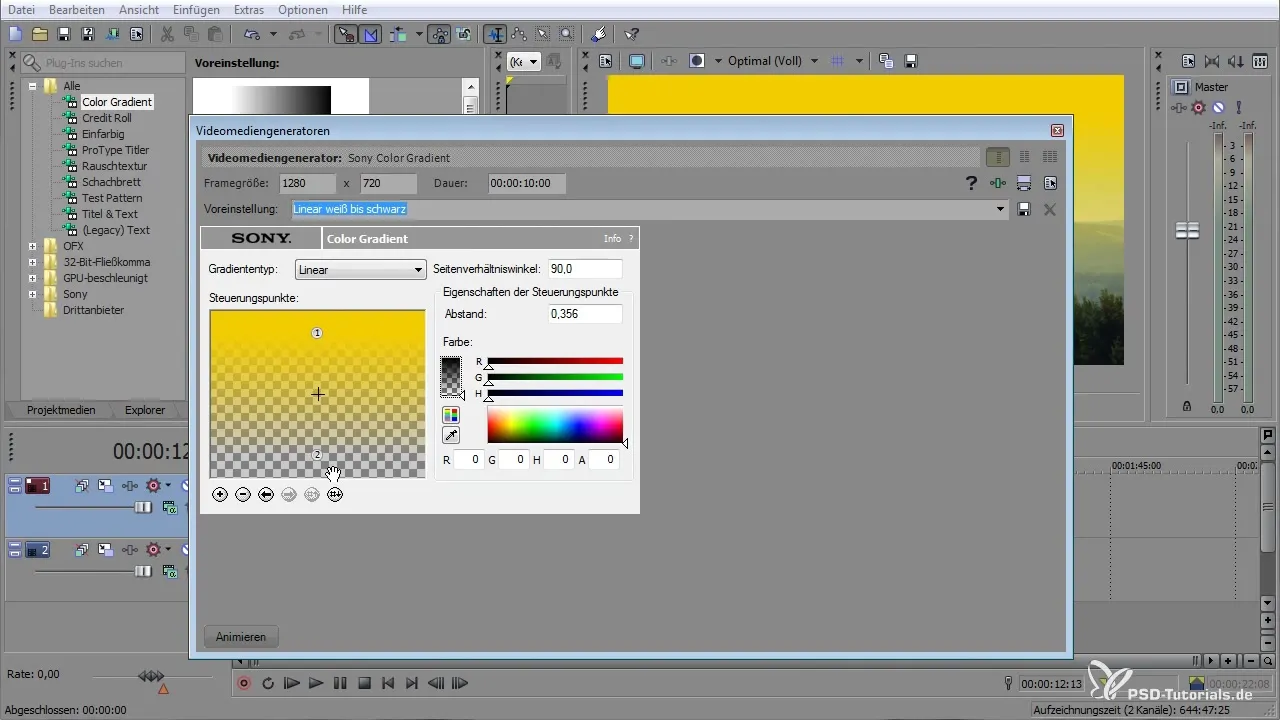
To make the overall image more appealing, you can add color filters and transition effects. Use the compositing modes to determine how the colors blend together. For example, choose "dodge" to create a warm light atmosphere.
9. Final Adjustments and Export
Go through each clip again and ensure that everything functions smoothly. Check the transitions and effects, and make any final adjustments if necessary. When you are satisfied, export your film project in the desired format.
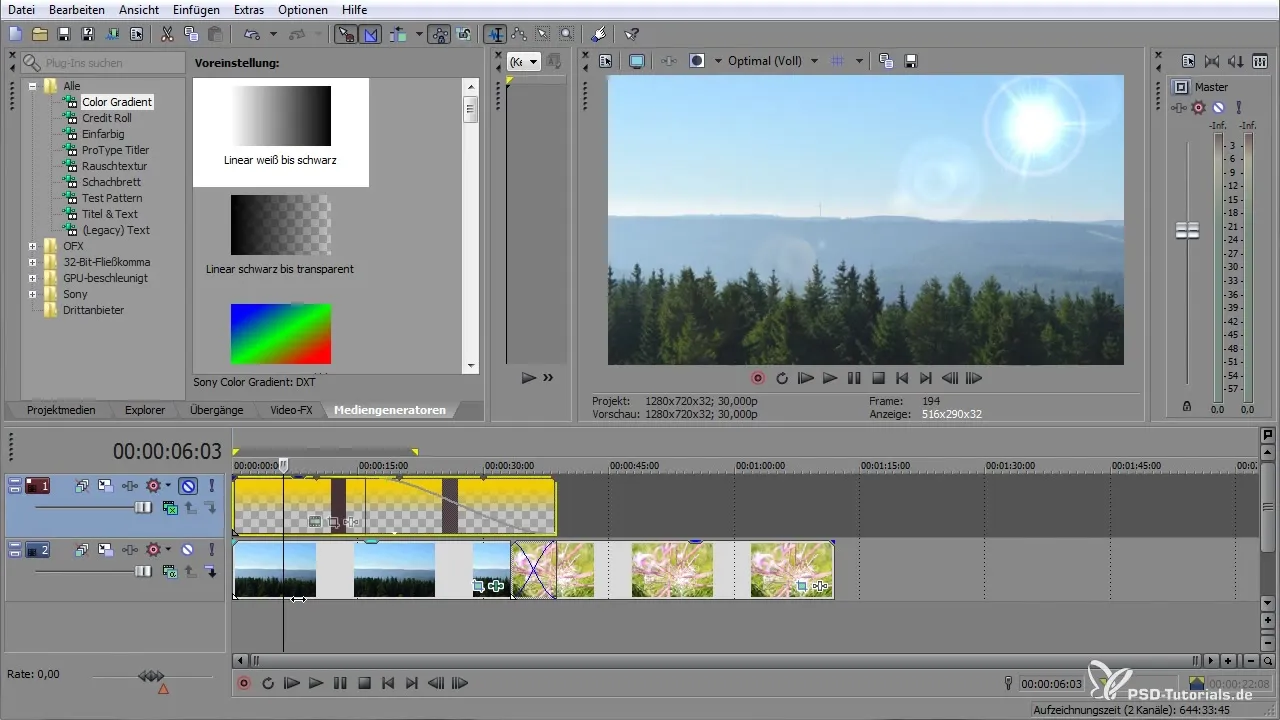
Summary - Creating Effects & Lower Thirds with Ease in Sony Vegas Pro
In this tutorial, you learned how to create impressive effects and lower thirds with Sony Vegas Pro. You not only learned the basics of working with keyframes but also how to effectively use text and color filters to bring your videos to life. With some practice, you will be able to further enhance your videos and add your personal touch.
Frequently Asked Questions
How do I adjust the resolution of my footage?Select the Event Panorama Cropping icon and change the settings to 1280 x 720.
How can I create keyframes?Set keyframes by clicking at the desired points in time and changing the position settings.
How do I add text effects?Use the text tool to add text, and set animations via keyframes.


