If you're working with VEGAS Pro 14, you definitely want to take full advantage of the software's capabilities. This guide will walk you through the use of scripts and show you new formats that can help you optimize your video editing.
Key Insights
- Scripts can be created and used within the software.
- New formats like H.265 offer advantages in quality and performance.
- You can significantly speed up your workflows through intelligent use of scripts.
Step-by-Step Guide
Let's go through the essential features of VEGAS Pro 14 step by step that will make your life easier.
Step 1: Getting to Know the Timeline
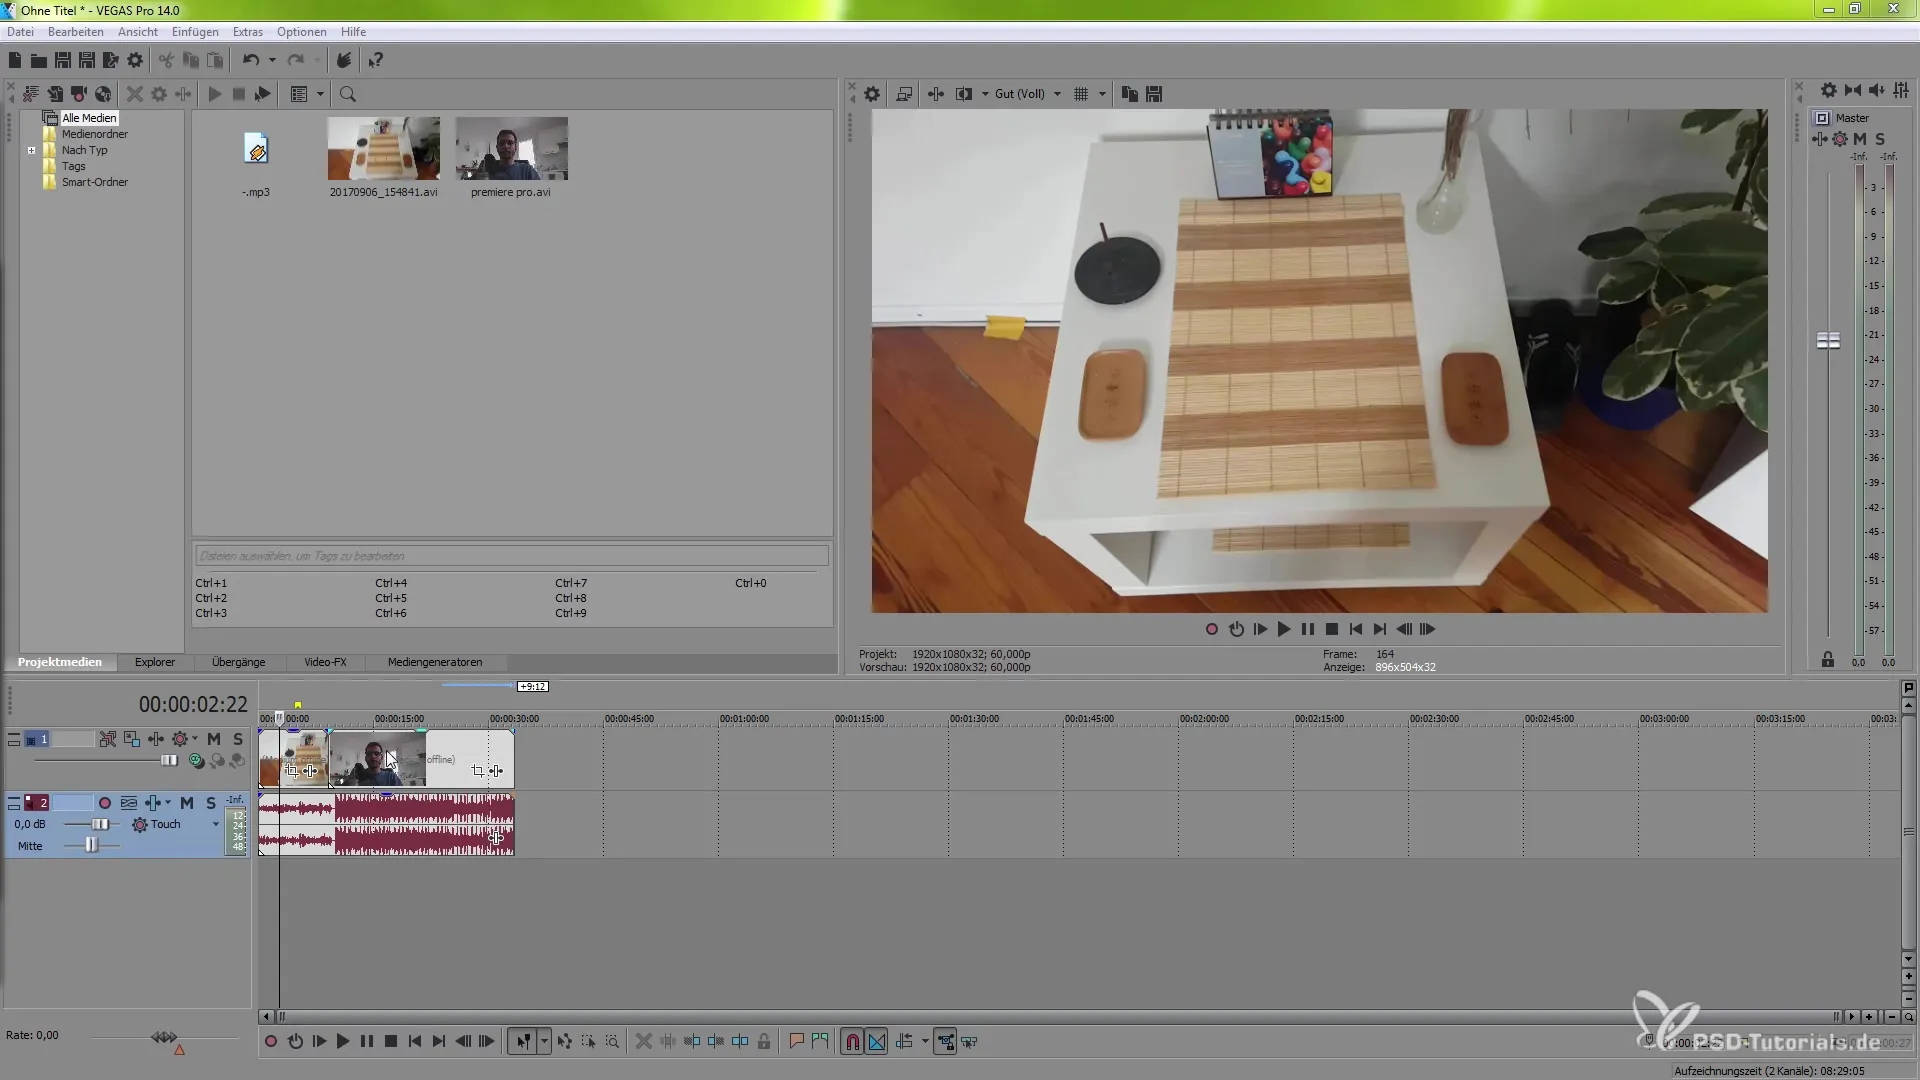
The first steps when working with VEGAS Pro 14 begin in the timeline area. This is where you will make most of your edits, either by drag and drop or through keyboard commands. To cut a clip, use the “S” key to split it, or the “M” key to set markers. The “F9” key also allows you to disable snap functions, which is particularly useful when aiming for precise edits.
Step 2: Discover Additional Tools
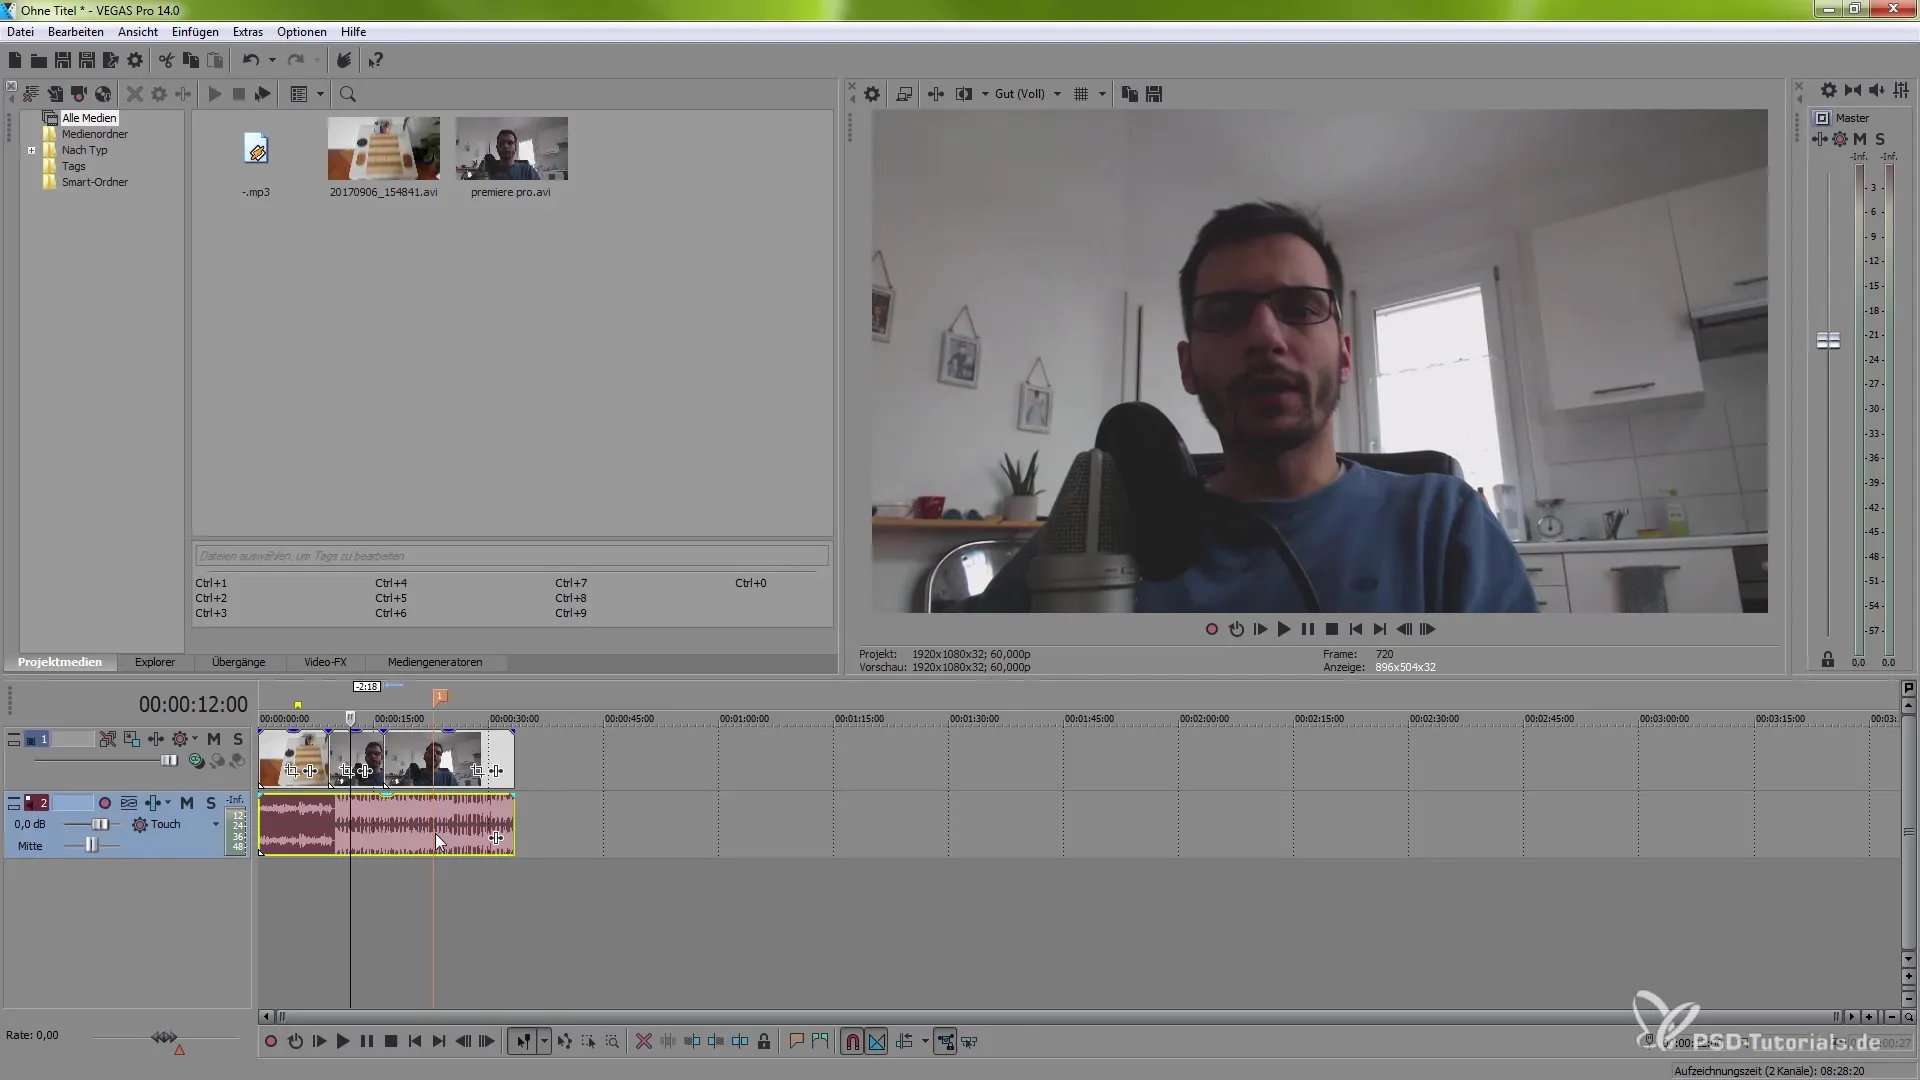
VEGAS Pro 14 contains many complex functions that help improve your audio editing. For instance, if you want to switch the audio output from stereo to mono, you typically need to edit the clips manually. However, the software offers numerous scripts that can handle this work for you.
Step 3: Utilizing Scripts
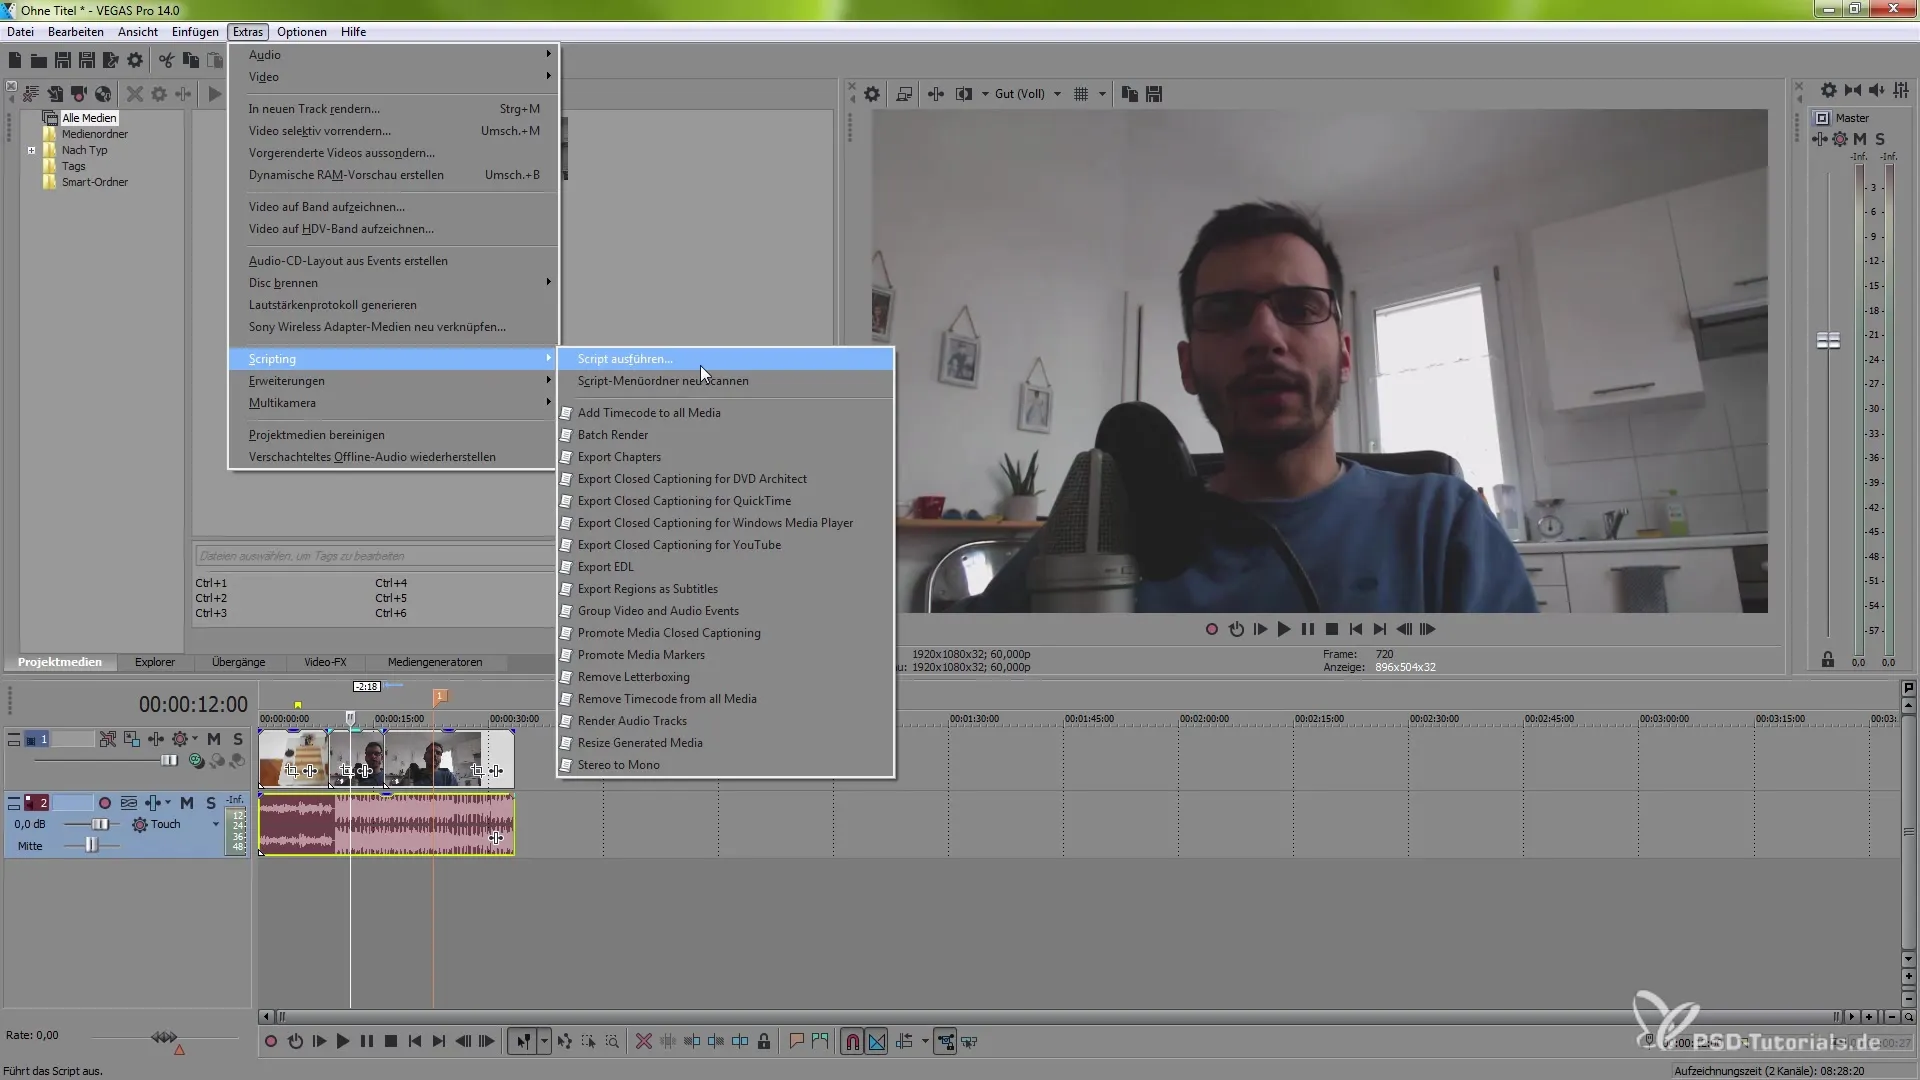
Navigate to “Tools” and select “Scripting”. Here you can execute scripts that you have written yourself or scan the list of available scripts to add new functions. The scripts are stored in the “Vegas Pro 14\Script Menu” folder. You can easily manage your scripts here.
Step 4: Expanding Script Collection
When you add a new script or make changes to an existing script, make sure to rescan the script menu folder for the changes to take effect. This is crucial to ensure the functionality of your script.
Step 5: Adding Timecodes to Your Media
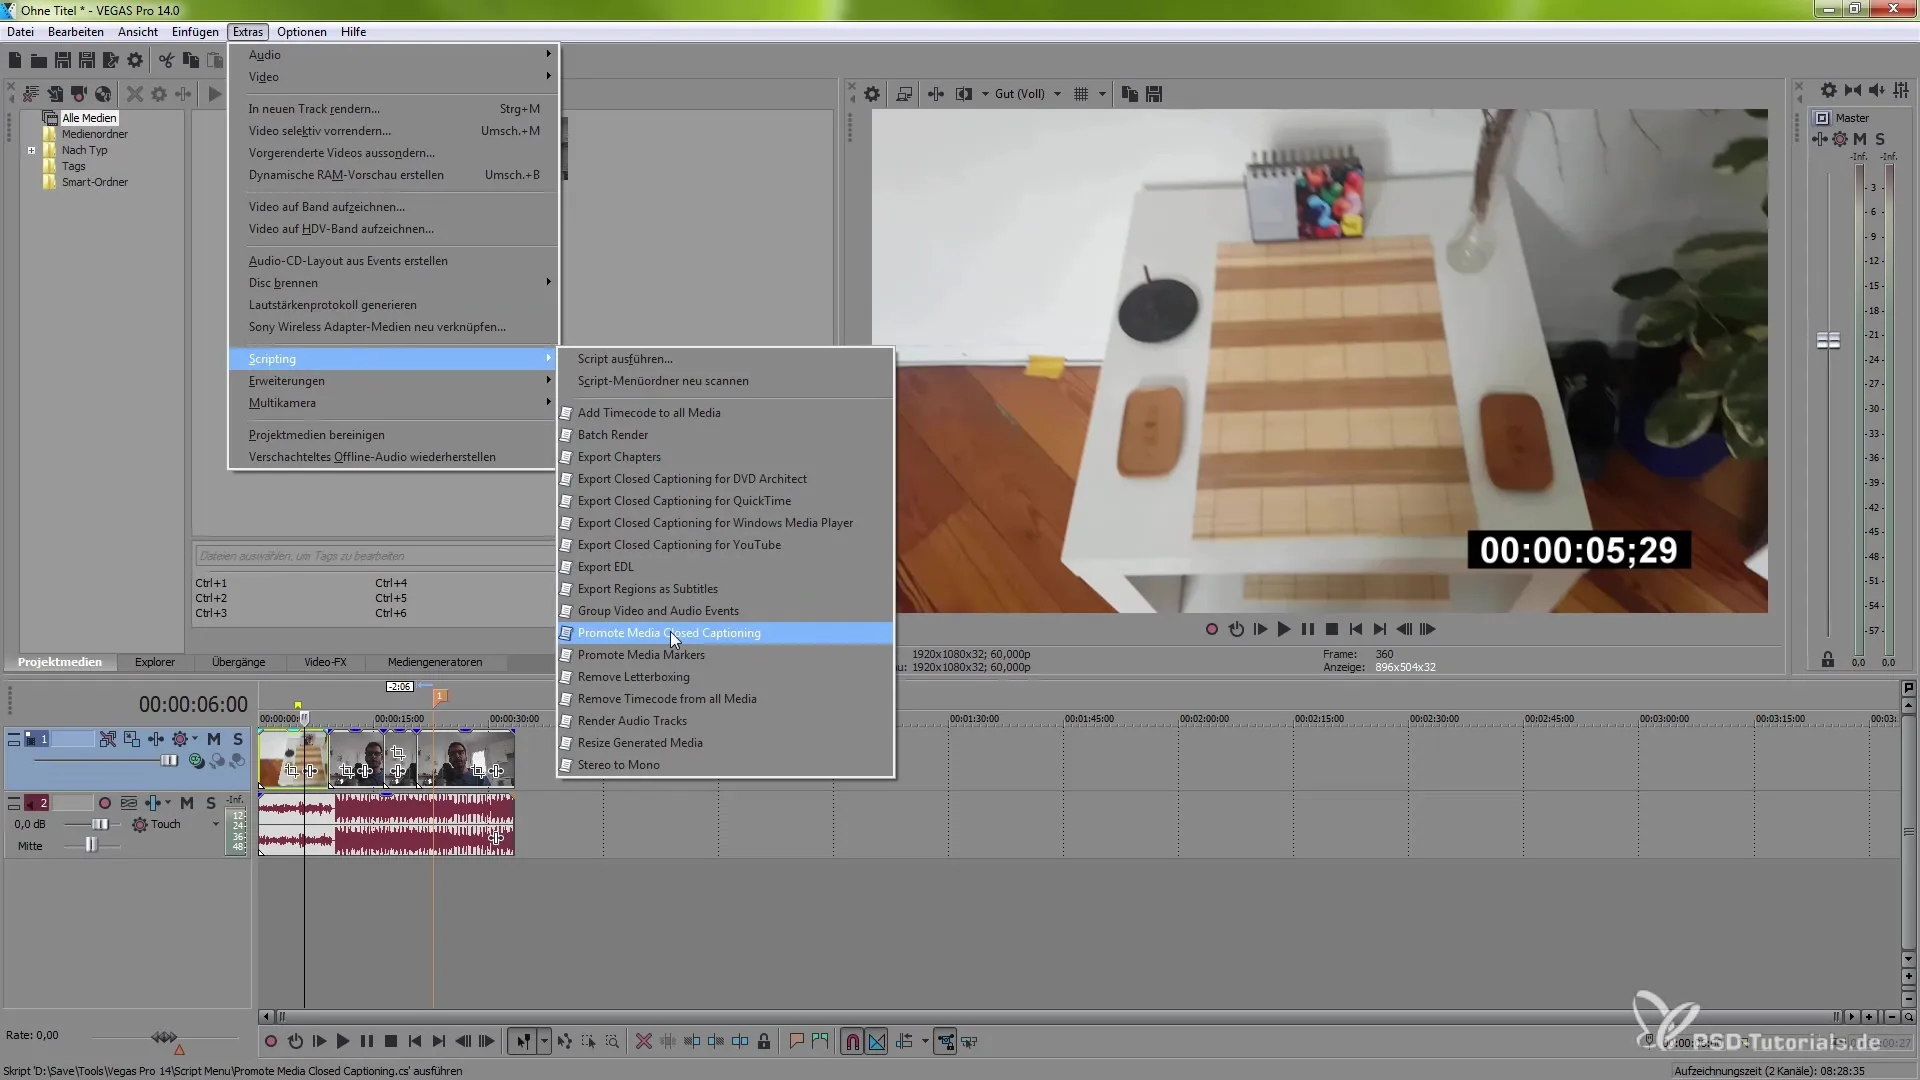
A useful feature is to add timecodes to your material. Go back to “Tools” and click on “Scripting”, followed by “Add Timecode to All Media”. Within seconds, your material will be marked with markers indicating the time that each video requires during editing.
Step 6: Removing Timecode
Just as easily as you added the timecode, you can remove it. Scroll down under the scripting area to “Remove Timecode from All Media” and click it. The timecode will be instantly deleted from all clips.
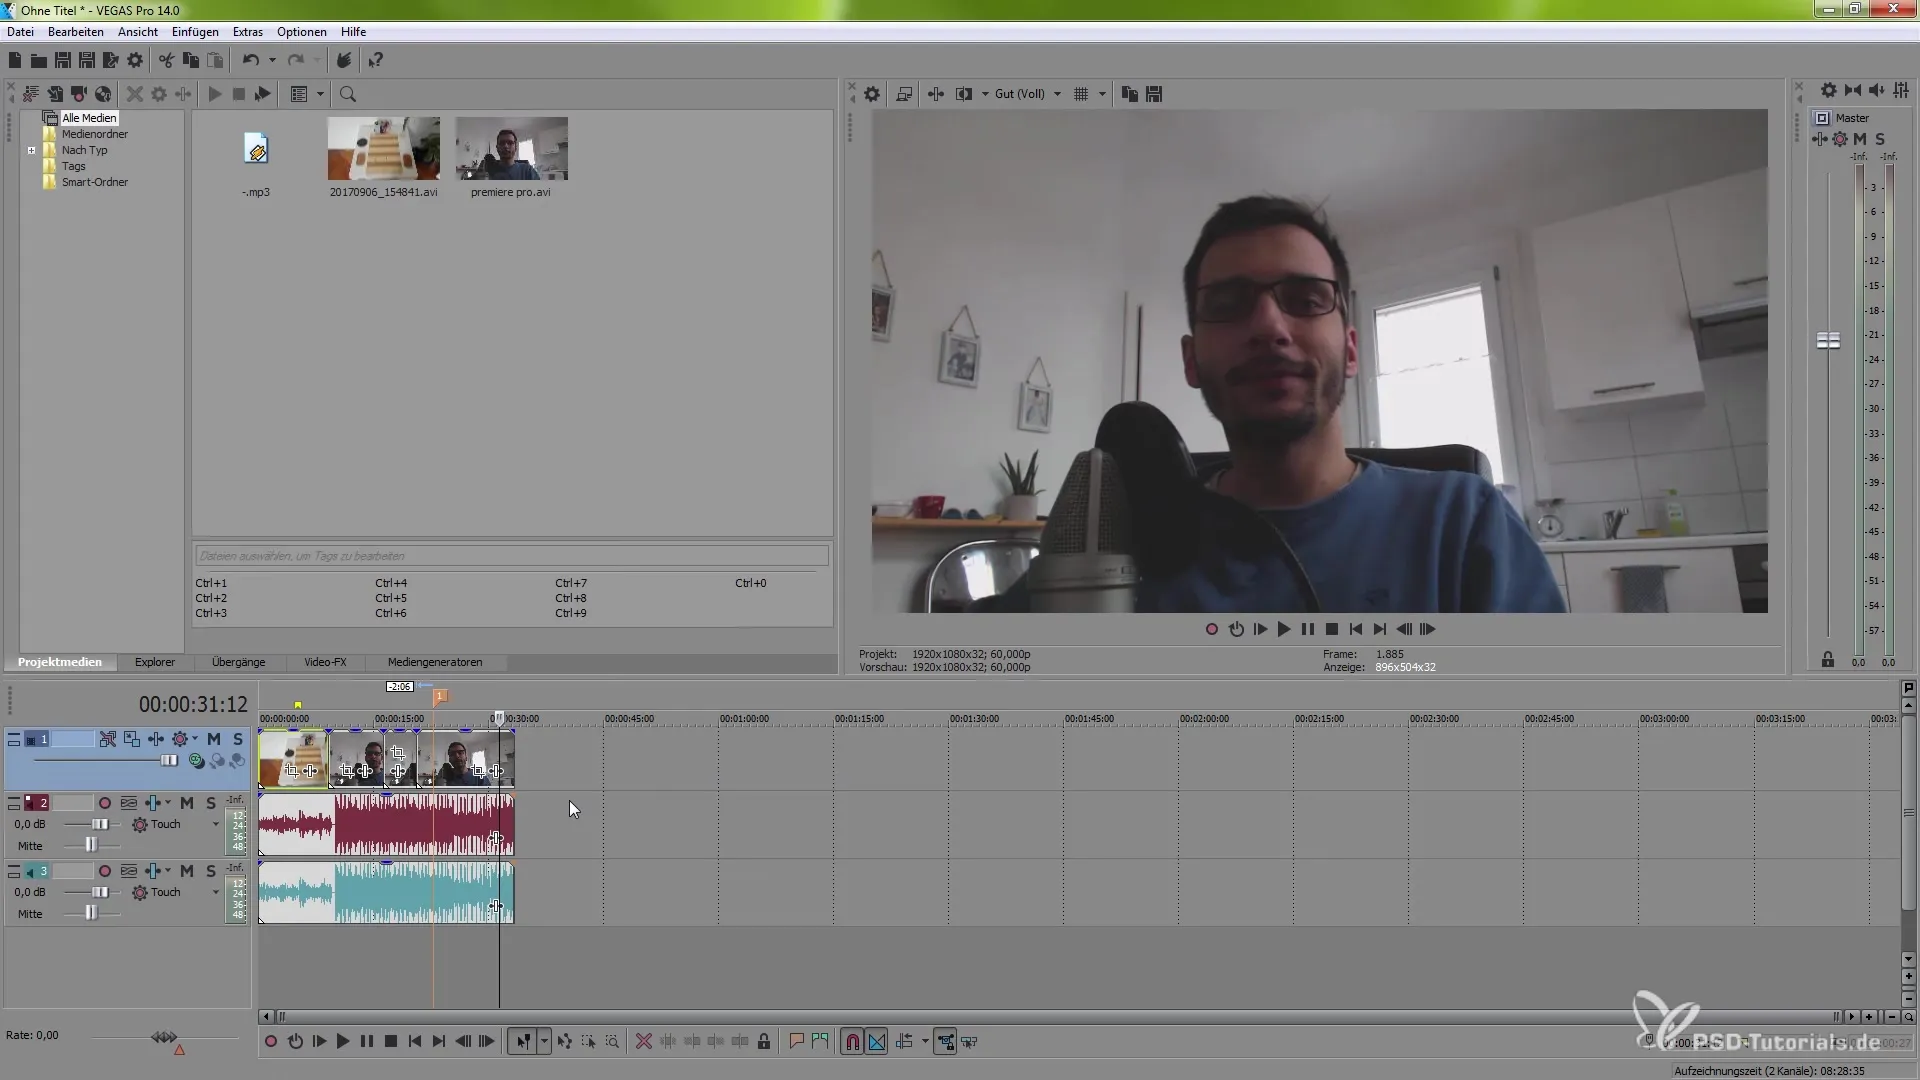
Step 7: Audio Editing with Scripts
There are also scripts for audio editing that simplify converting stereo to mono. Select the “Stereo to Mono” script, and your audio tracks will be converted accordingly. If you have a mono track that you want to reconnect, you can quickly do so with the “Shift” + “G” function.
Step 8: Customizing the Toolbar
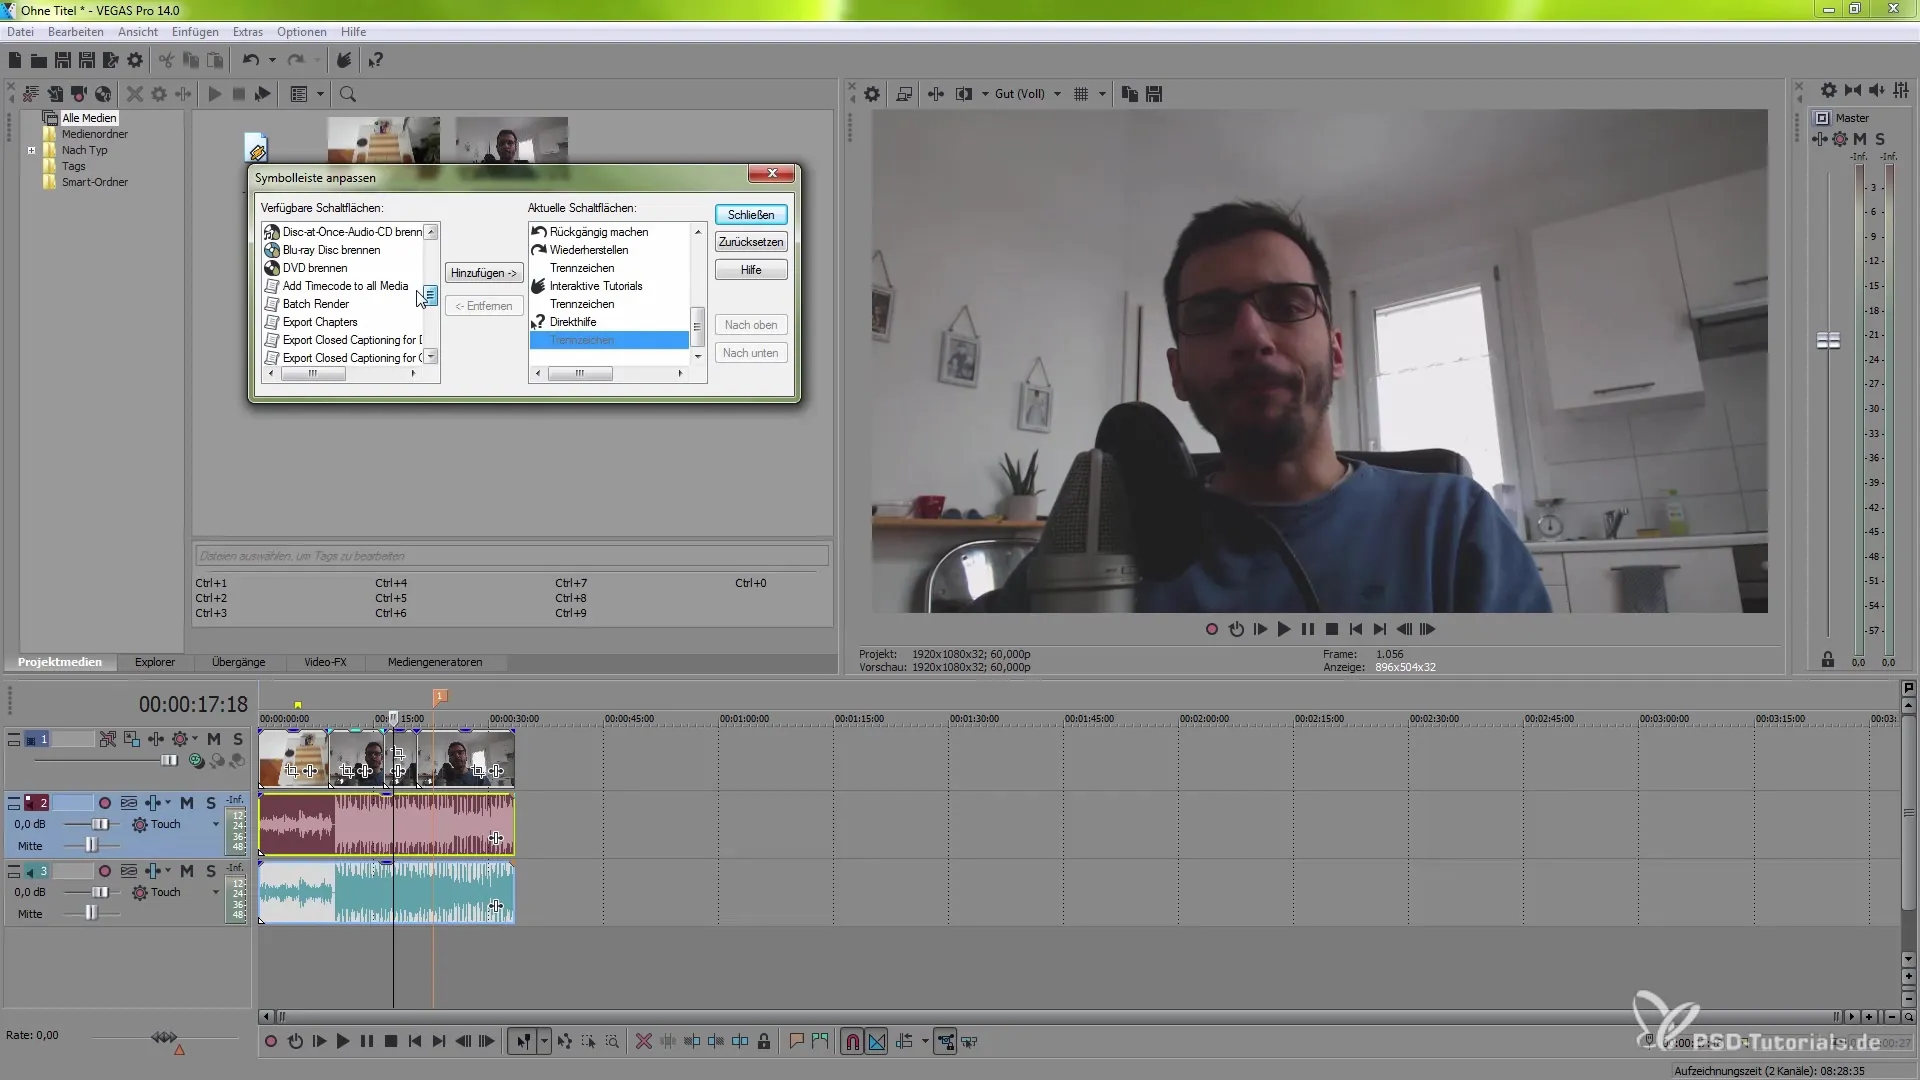
To further optimize your workflow, you can add scripts to the toolbar of VEGAS Pro 14. Double-click on an empty area in the toolbar to open the menu option “Customize Toolbar”. There you can add “Add Timecode to All Media” or other scripts to make access even easier.
Step 9: Selecting Formats When Rendering
Open the render menu via “File” and then “Render As”. Here you have access to the new formats, including H.265 (HEVC) and Apple ProRes. These modern formats not only provide you with advantages in quality but also enable improved performance without the need for external plugins.

Step 10: Adjusting Rendering
Select the desired format and adjust the render settings as needed. Once you have configured everything, click on “Render” to complete your work. Thanks to the new formats, you can be assured that you are working in the best quality, even when processing 4K content.
Summary – VEGAS Pro 14: Effectively Utilizing Scripts and New Formats
The use of scripts in VEGAS Pro 14 can significantly speed up your workflows and help you achieve high-quality results faster. The new formats provide you with additional flexibility and improved performance, allowing you to leave nothing to chance.
Frequently Asked Questions
What are the benefits of scripts in VEGAS Pro 14?Scripts facilitate automated tasks and improve workflow by taking over time-consuming edits.
How do I add timecodes to my media?Go to “Tools” > “Scripting” and select “Add Timecode to All Media”.
Can I delete scripts that I no longer use?Yes, scripts can be deleted at any time via the scripting area.
What new formats are available in VEGAS Pro 14?You can choose H.265 (HEVC) and Apple ProRes, among others.
How do I customize the toolbar?Double-click on the toolbar and select the desired scripts to add them.


