The creation of professional videos is an art, and the right tools can make a significant difference. VEGAS Pro 14 not only offers comprehensive features for video editing but also an innovative extension called VEGAS Pro Connect. With this app, you can use your iPad or iPhone as a convenient control unit, significantly enhancing your editing experience. In this guide, you will learn how to activate VEGAS Pro Connect and what benefits it offers you.
Key Insights
- VEGAS Pro Connect enables remote control of VEGAS Pro 14 via an iOS device.
- The use of touch gestures provides a more intuitive operation.
- The connection is made via Wi-Fi and requires a few simple steps for setup.
Step-by-step guide to activating VEGAS Pro Connect
Step 1: Access menu options
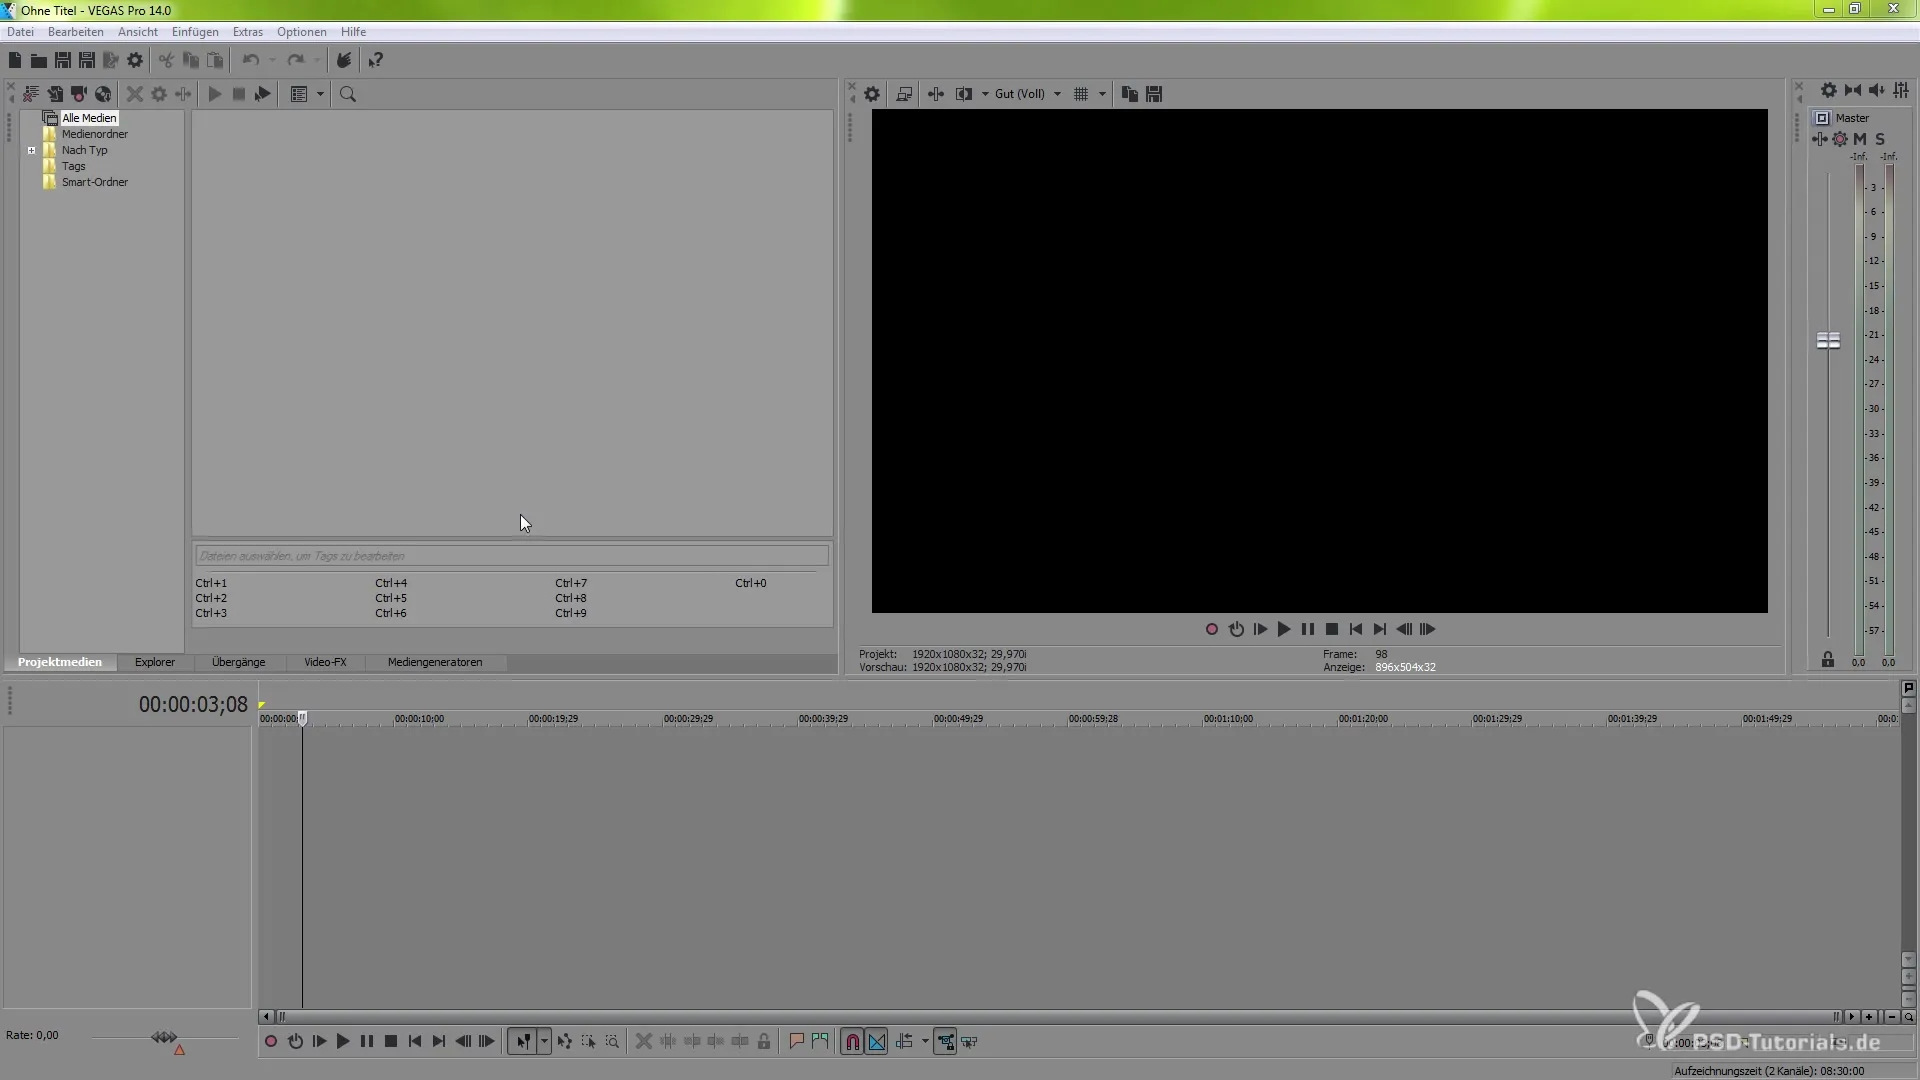
To activate VEGAS Pro Connect, first open the software. Navigate to the options by accessing the appropriate menu on your screen.
Step 2: Activate preferences
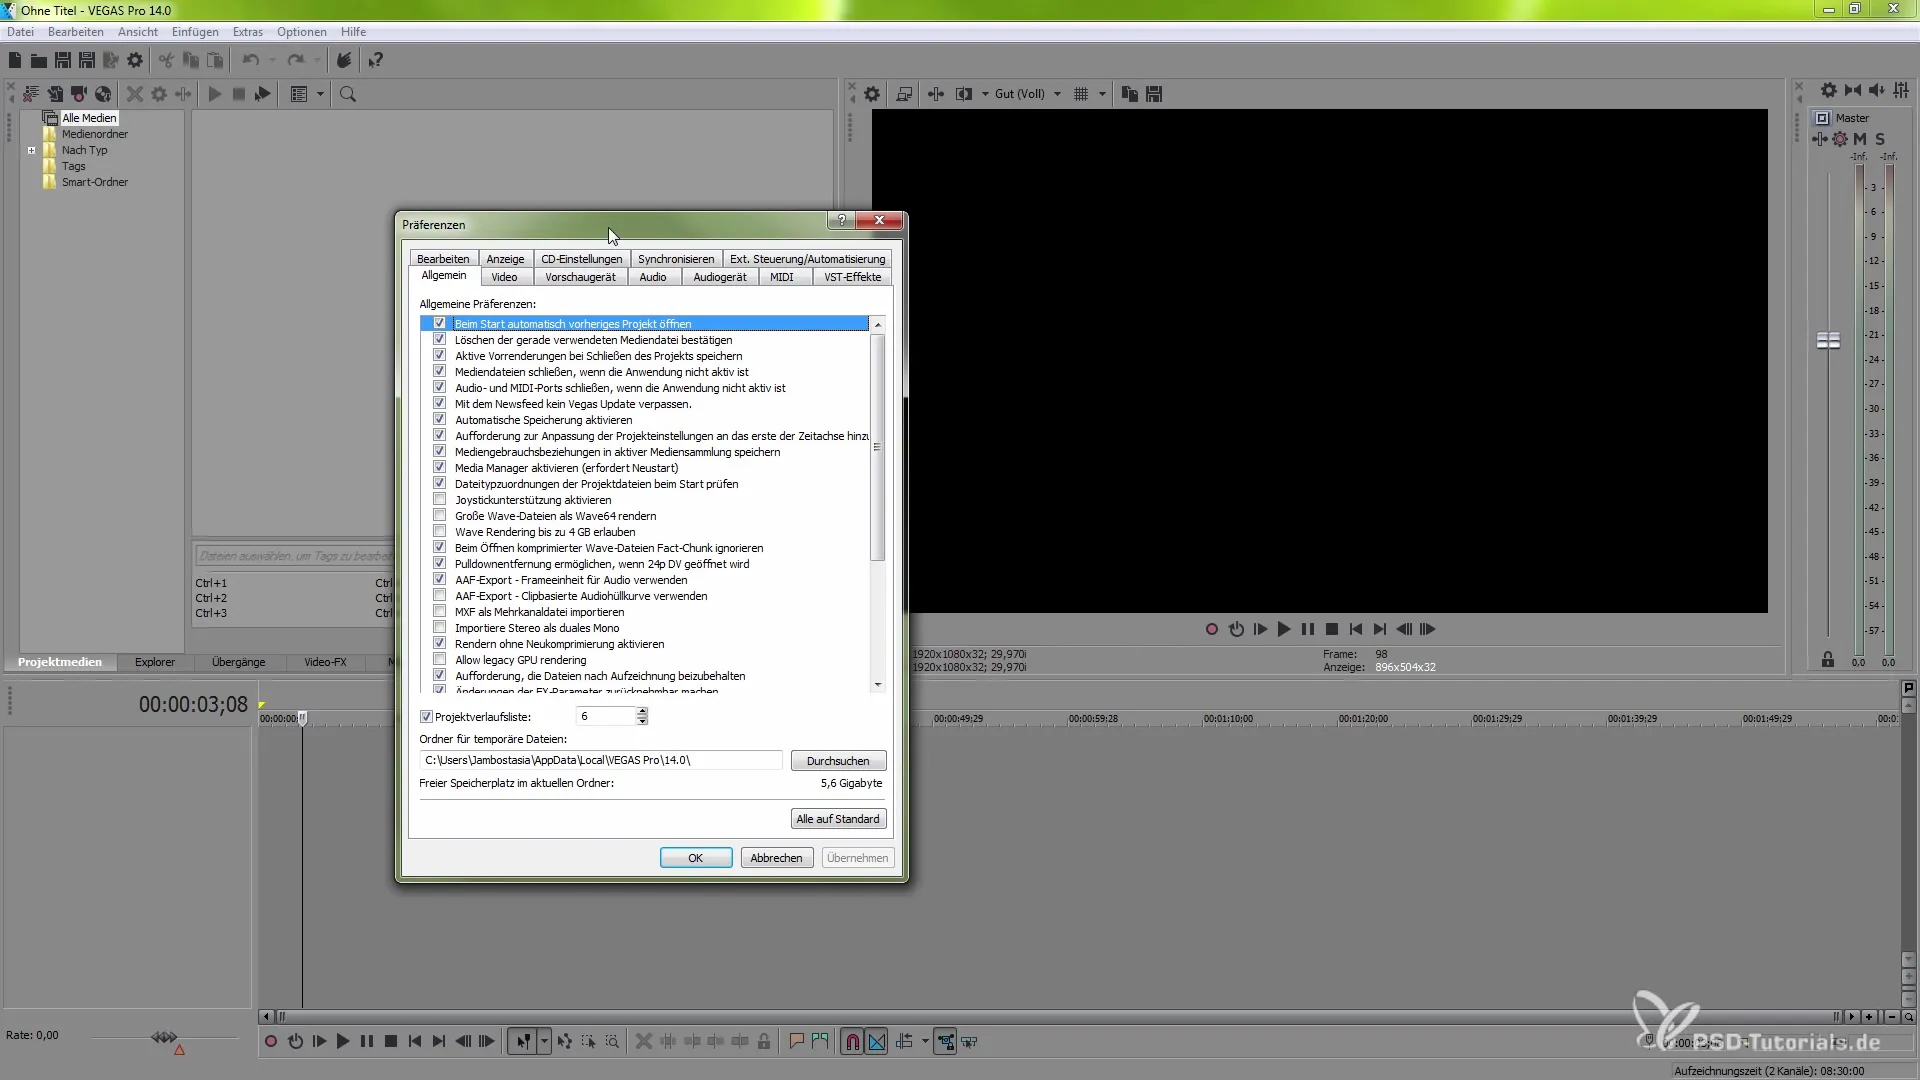
In the options, find the section "Preferences." Make sure this is activated to make the necessary settings.
Step 3: Activate external disturbances
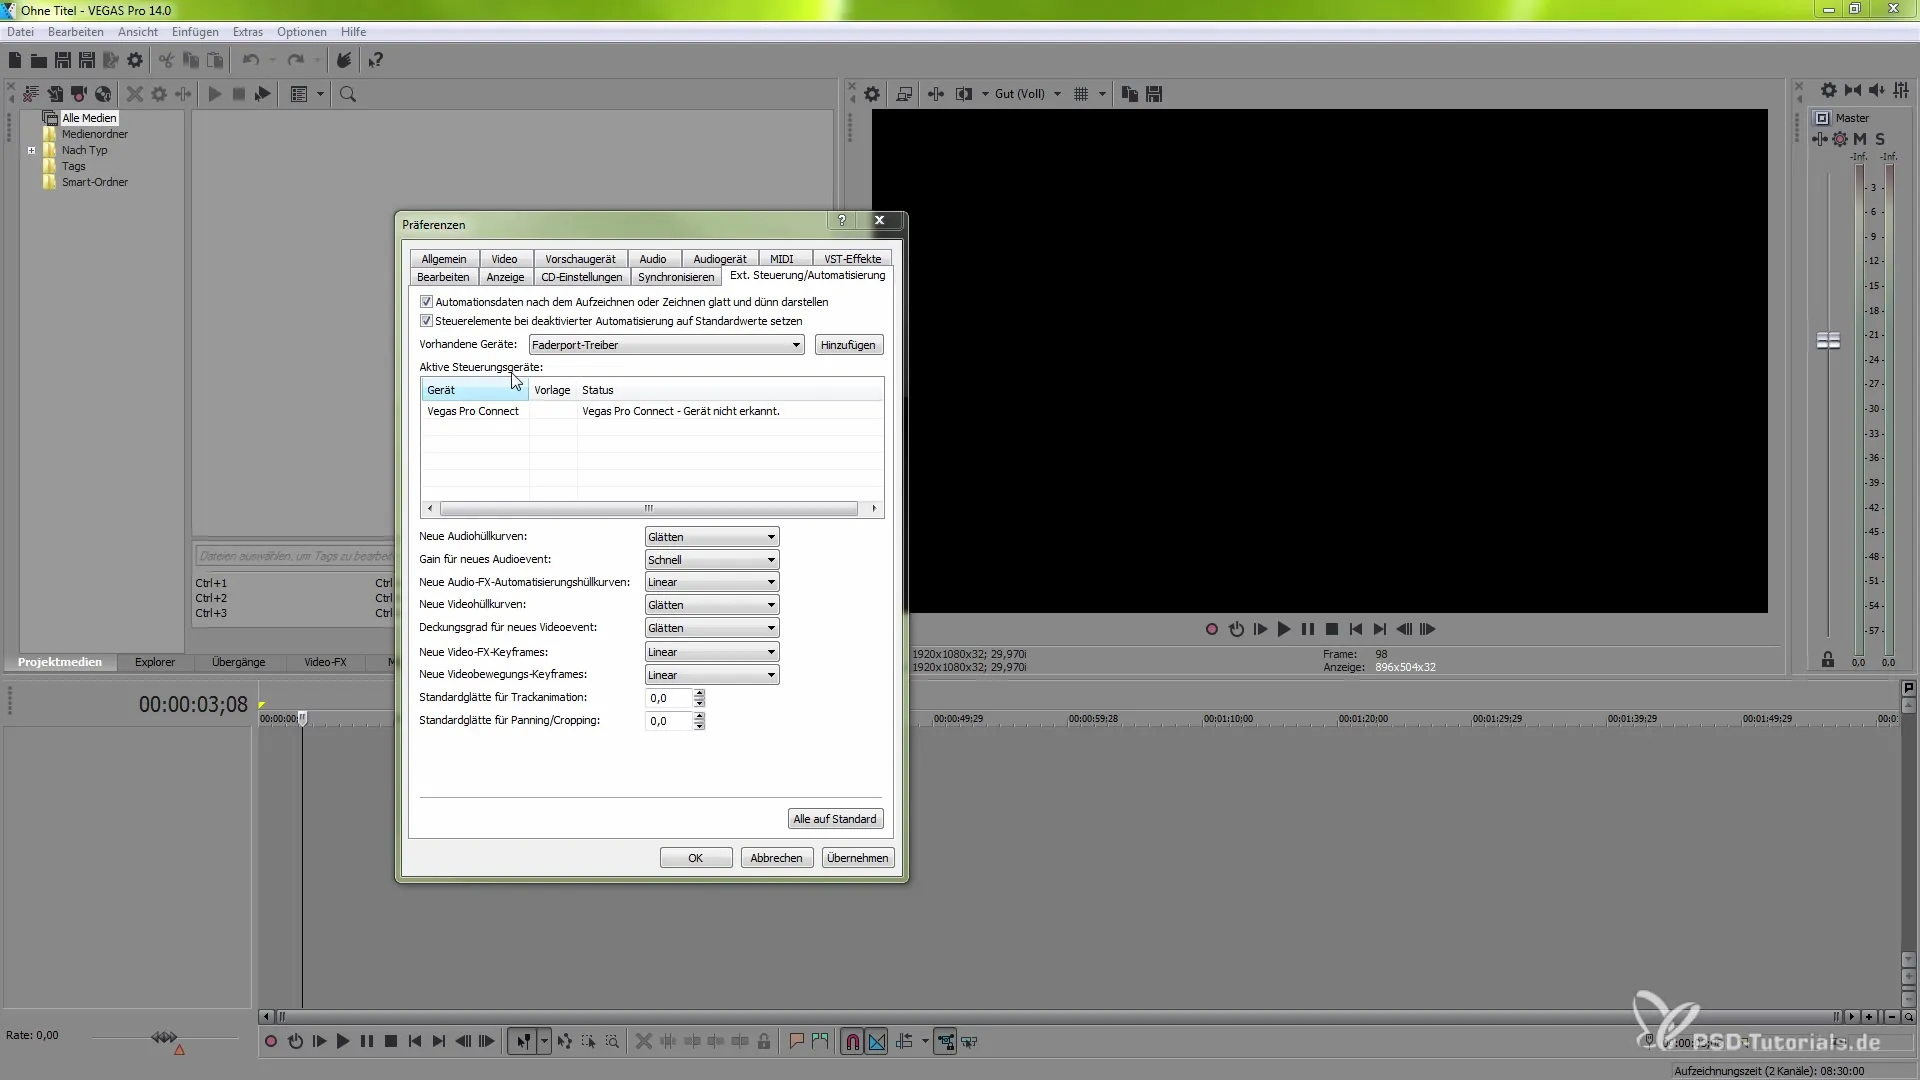
Scroll down in the preferences section until you reach the "External Disturbances" section. Here you can activate automation to allow the connection of external devices like VEGAS Pro Connect.
Step 4: Select VEGAS Pro Connect
In the dropdown menu under "Existing Devices," select the option VEGAS Pro Connect. This prepares the program for connection with your iOS device.
Step 5: Establish connection to VEGAS Pro Connect
After selecting the VEGAS Pro Connect option, add the device. The status will initially appear as "Vegas Pro Connect device not recognized." This means you still need to download the iOS tool.
Step 6: Download the app
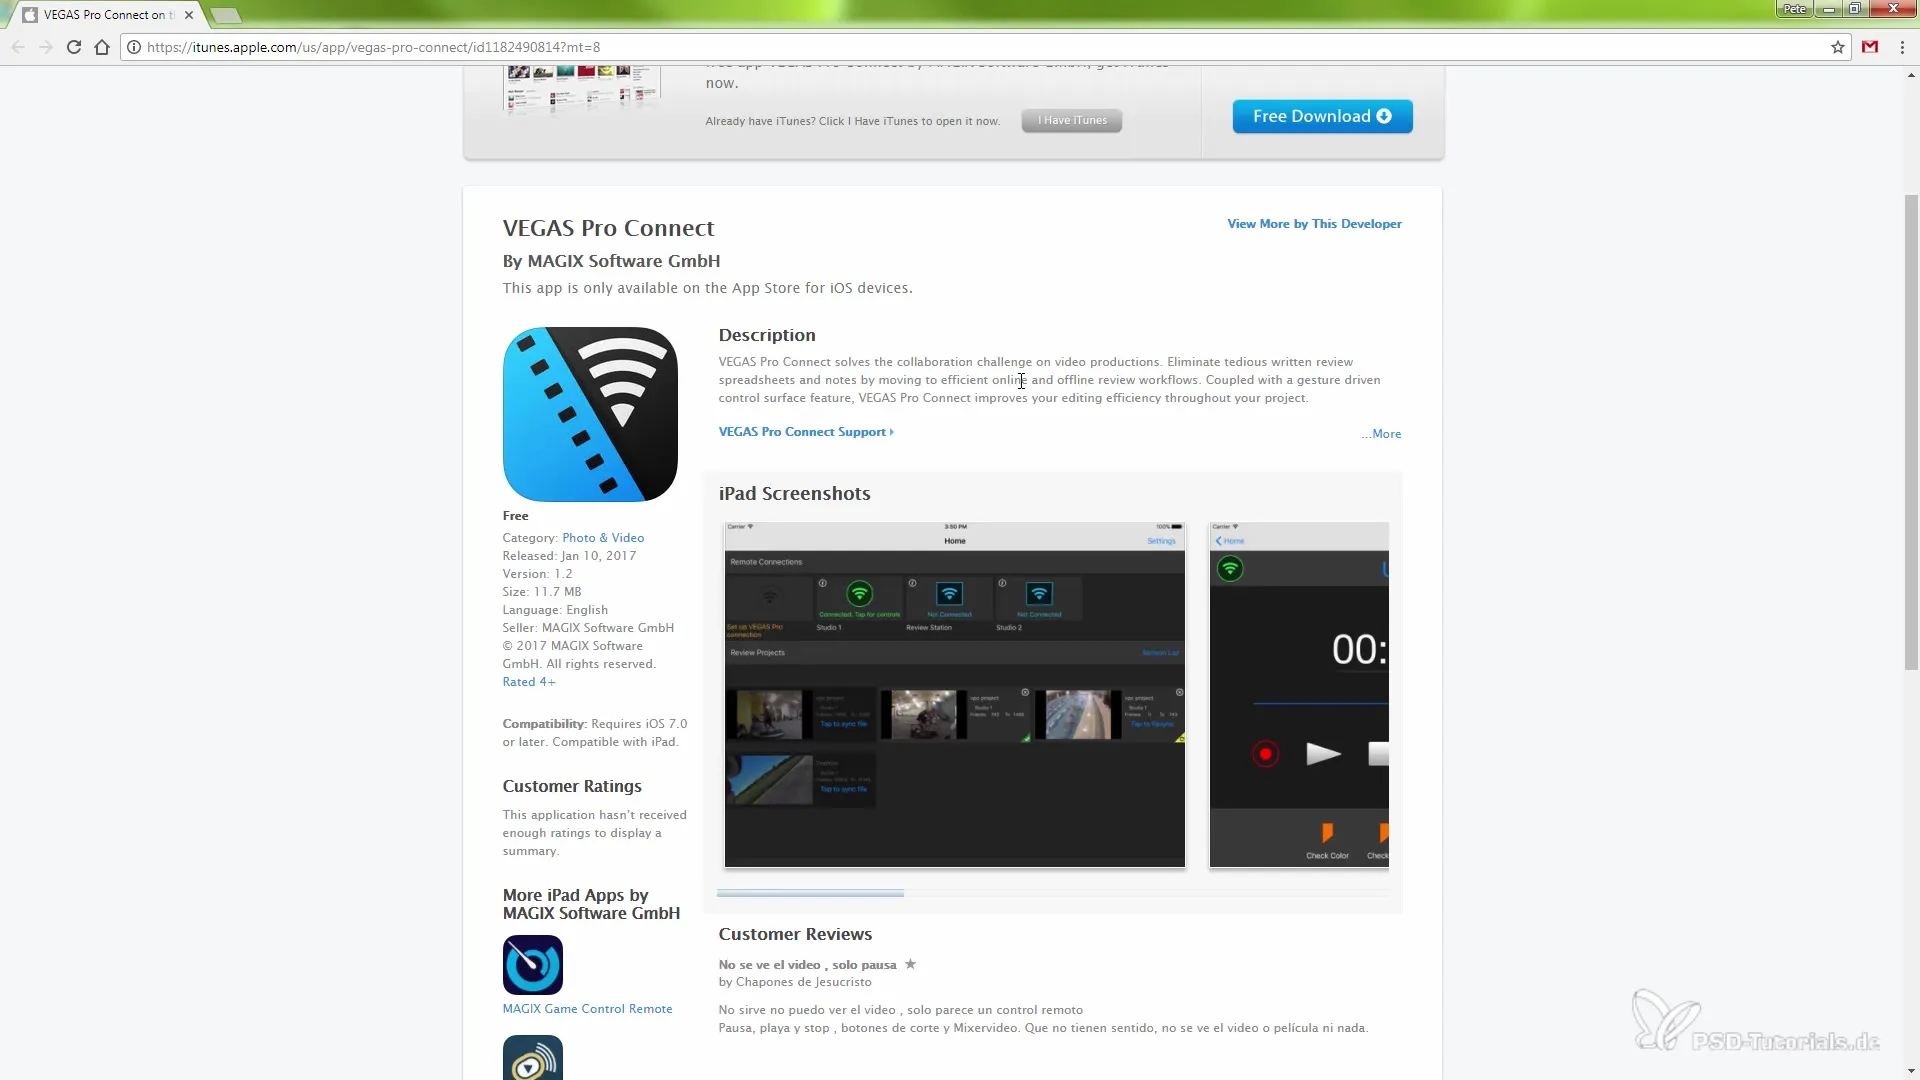
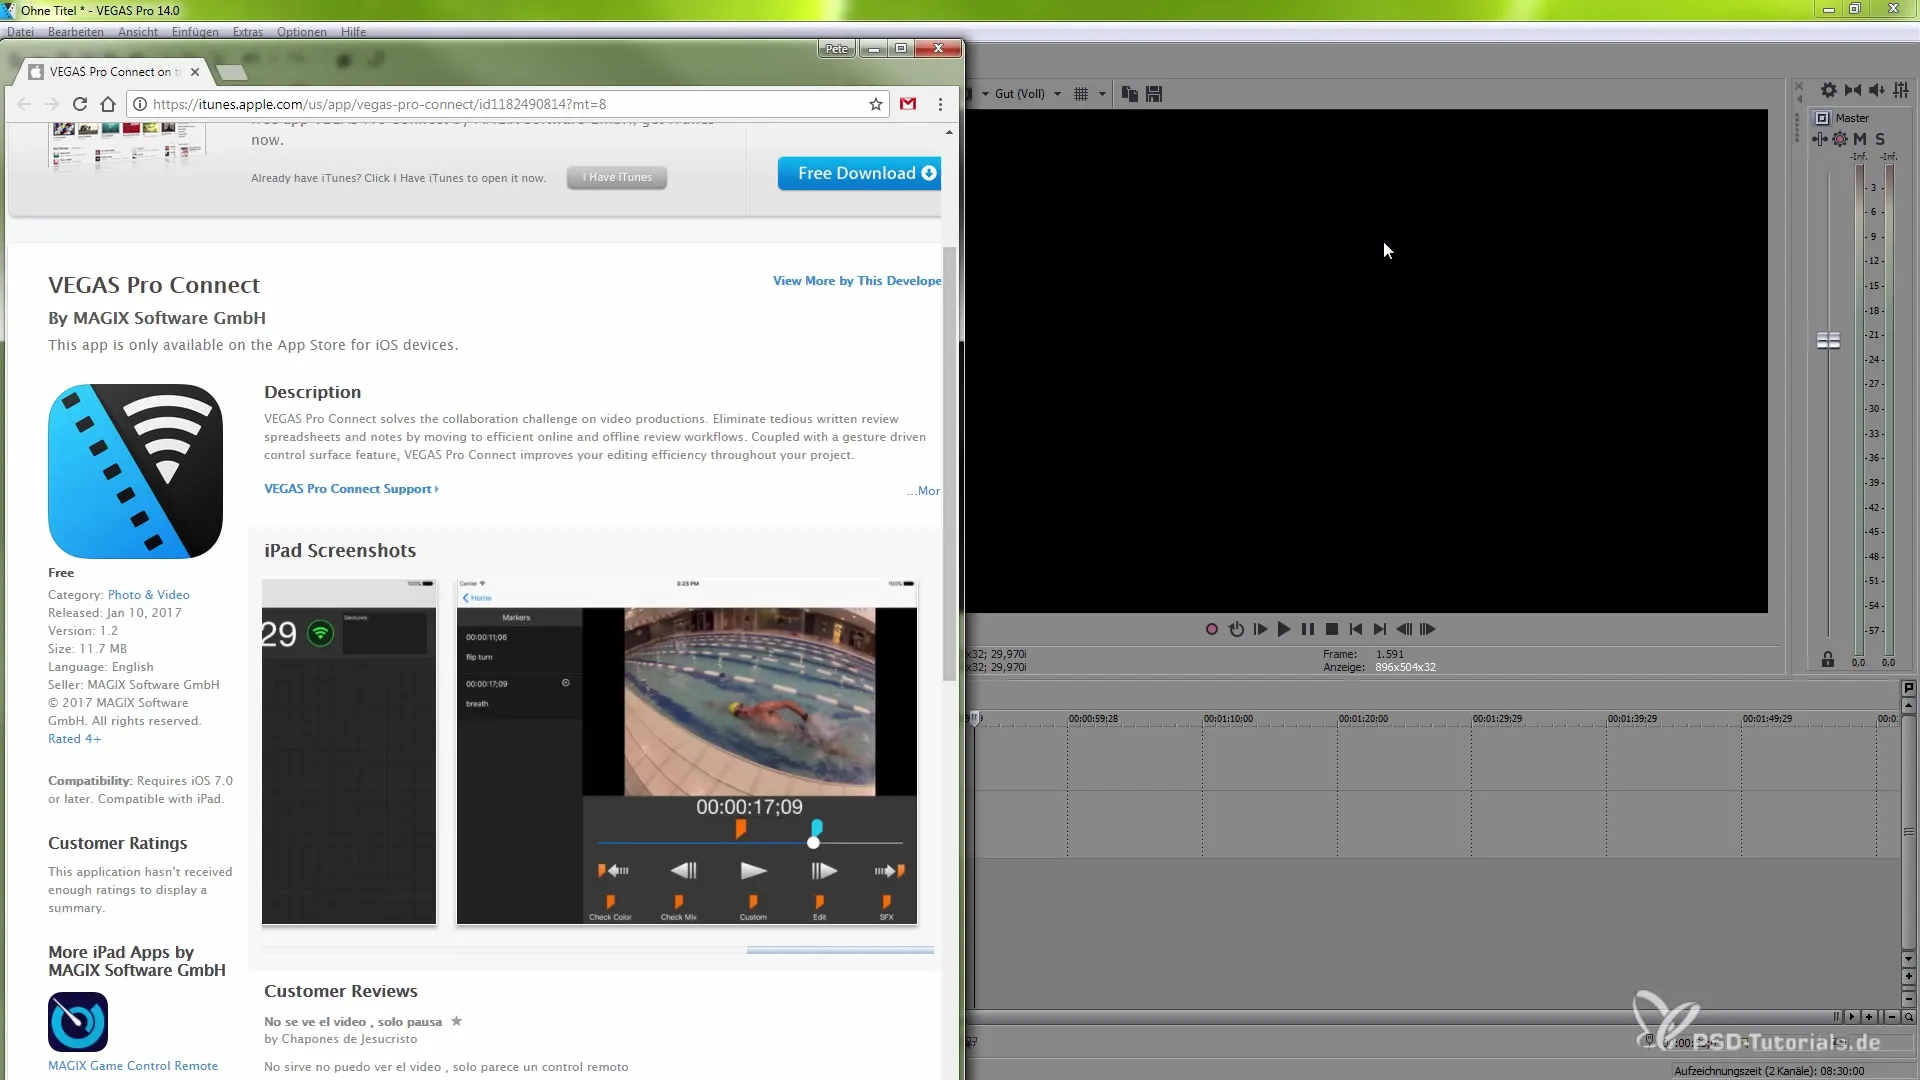
Now go to your iOS device. Search for the "VEGAS Pro Connect" app in the App Store and download it. This app is necessary to connect your device to VEGAS Pro.
Step 7: Start host
Once the app is installed, return to VEGAS Pro and double-click the VEGAS Pro Connect option. This will start a host, and you will receive an address that you must enter into the app on your iOS device.
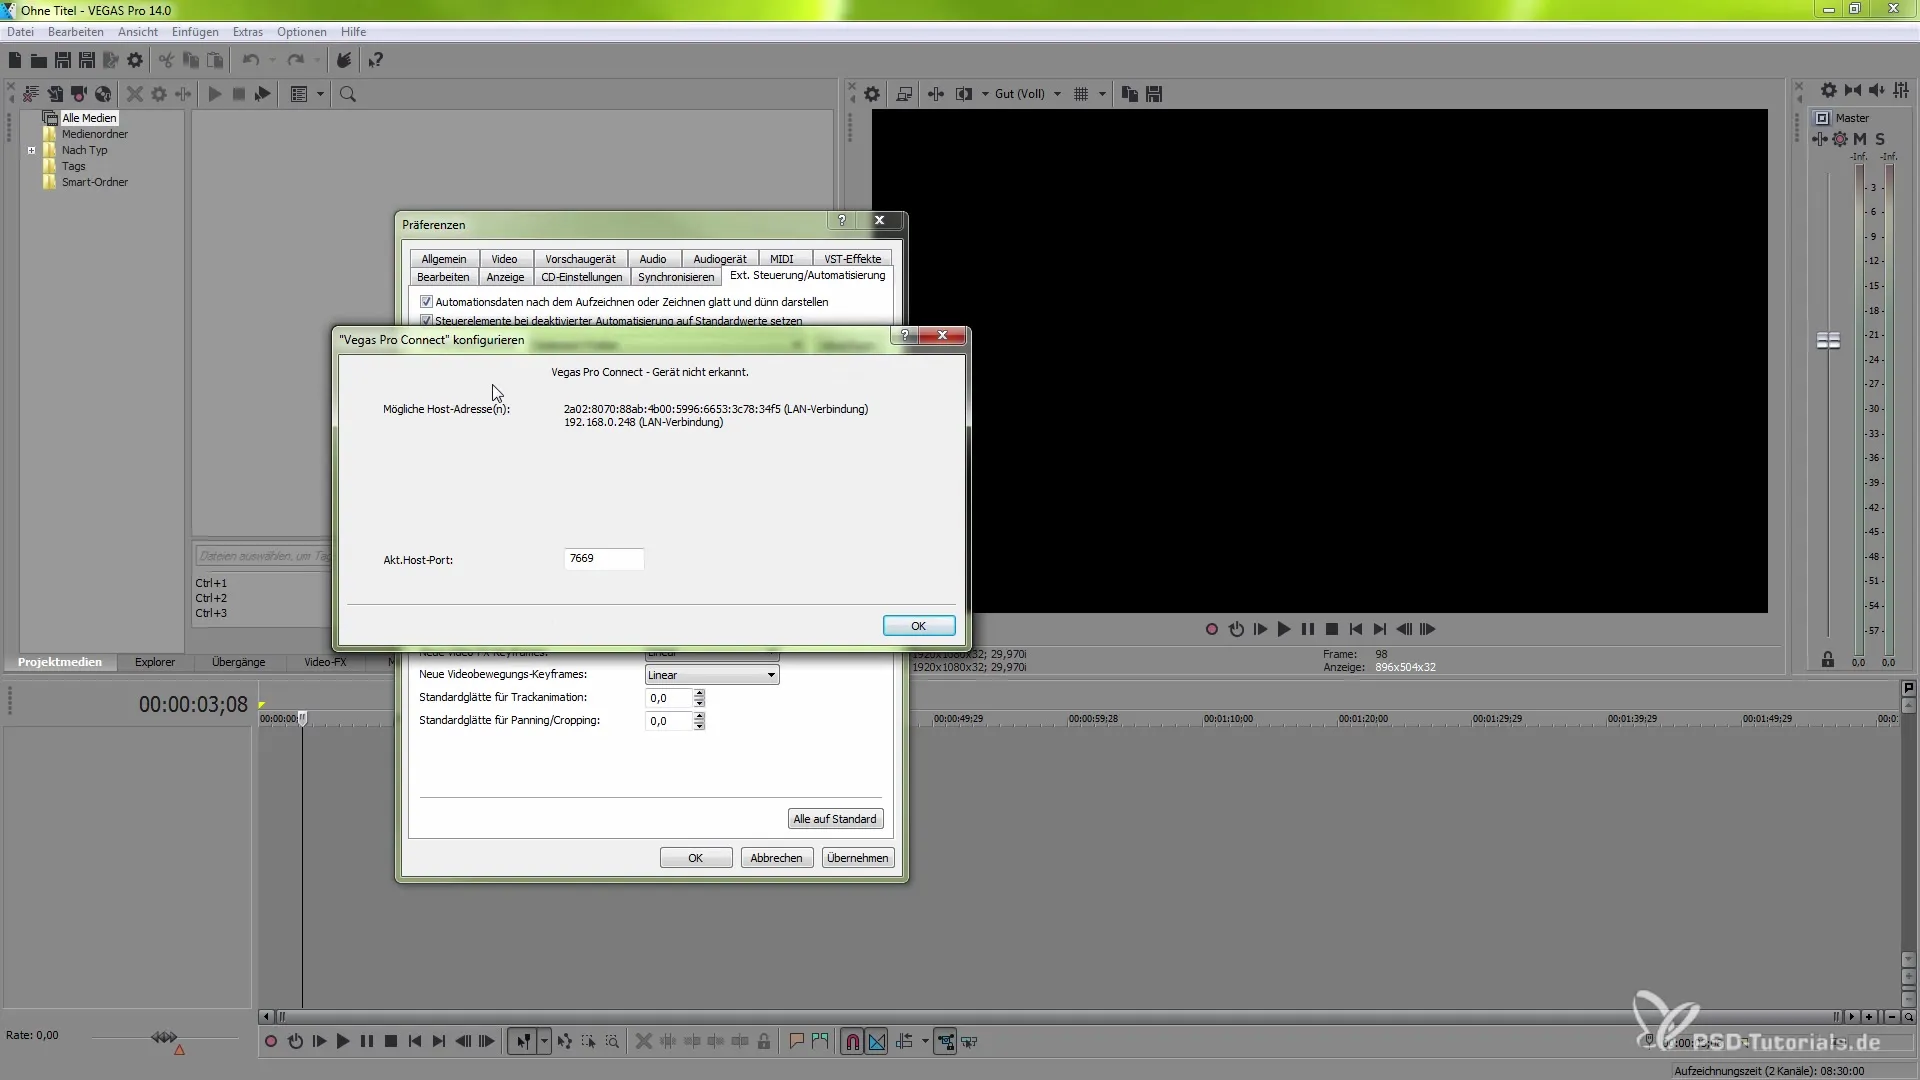
Step 8: Enter IP address
Enter the displayed IP address in the VEGAS Pro Connect app on your iOS device. If you do this correctly, the connection will be established.
Step 9: Navigate in the program
Once the connection is successfully established, you now have the ability to operate various menus within the VEGAS Pro Connect app. You can, for example, create a new video track or use other functions.
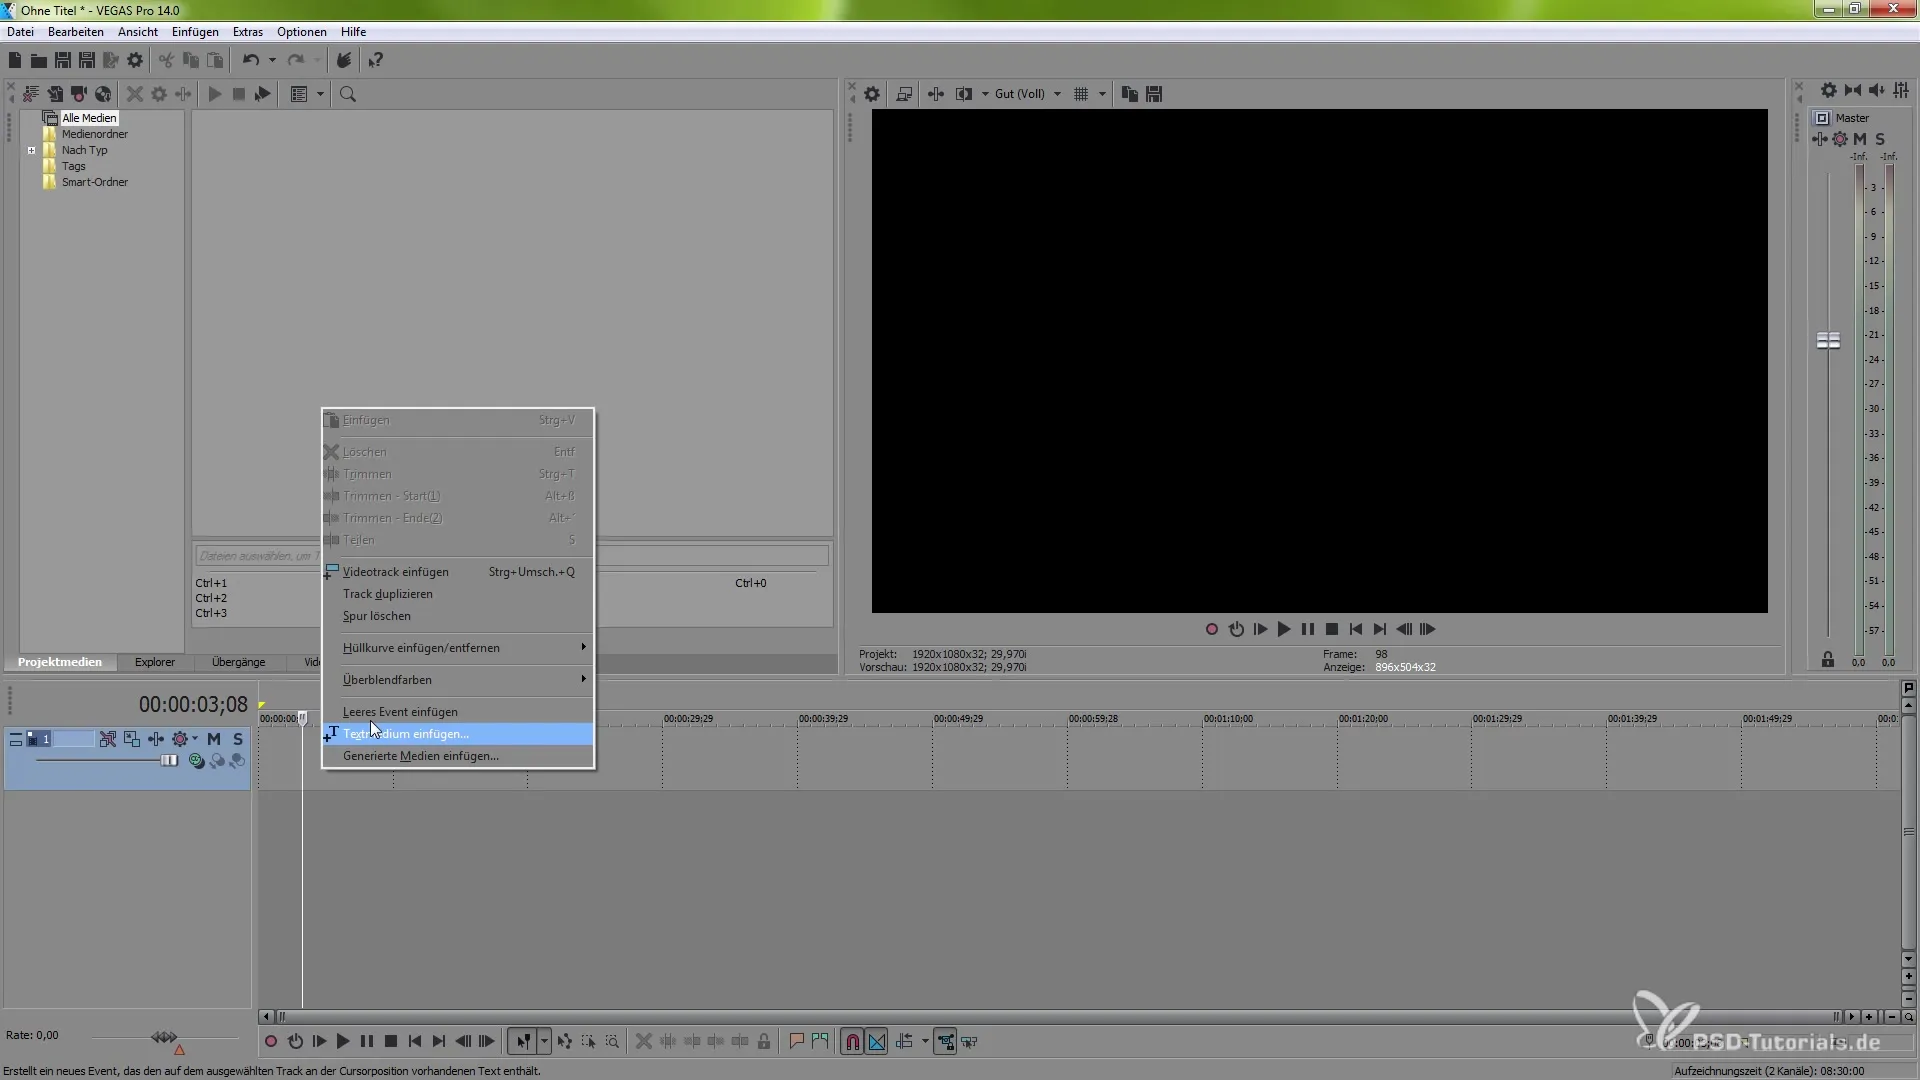
Step 10: Use functions
Use touch gestures to navigate through the timeline. For instance, you can play or pause the video with one finger, scroll with two fingers, and set markers.
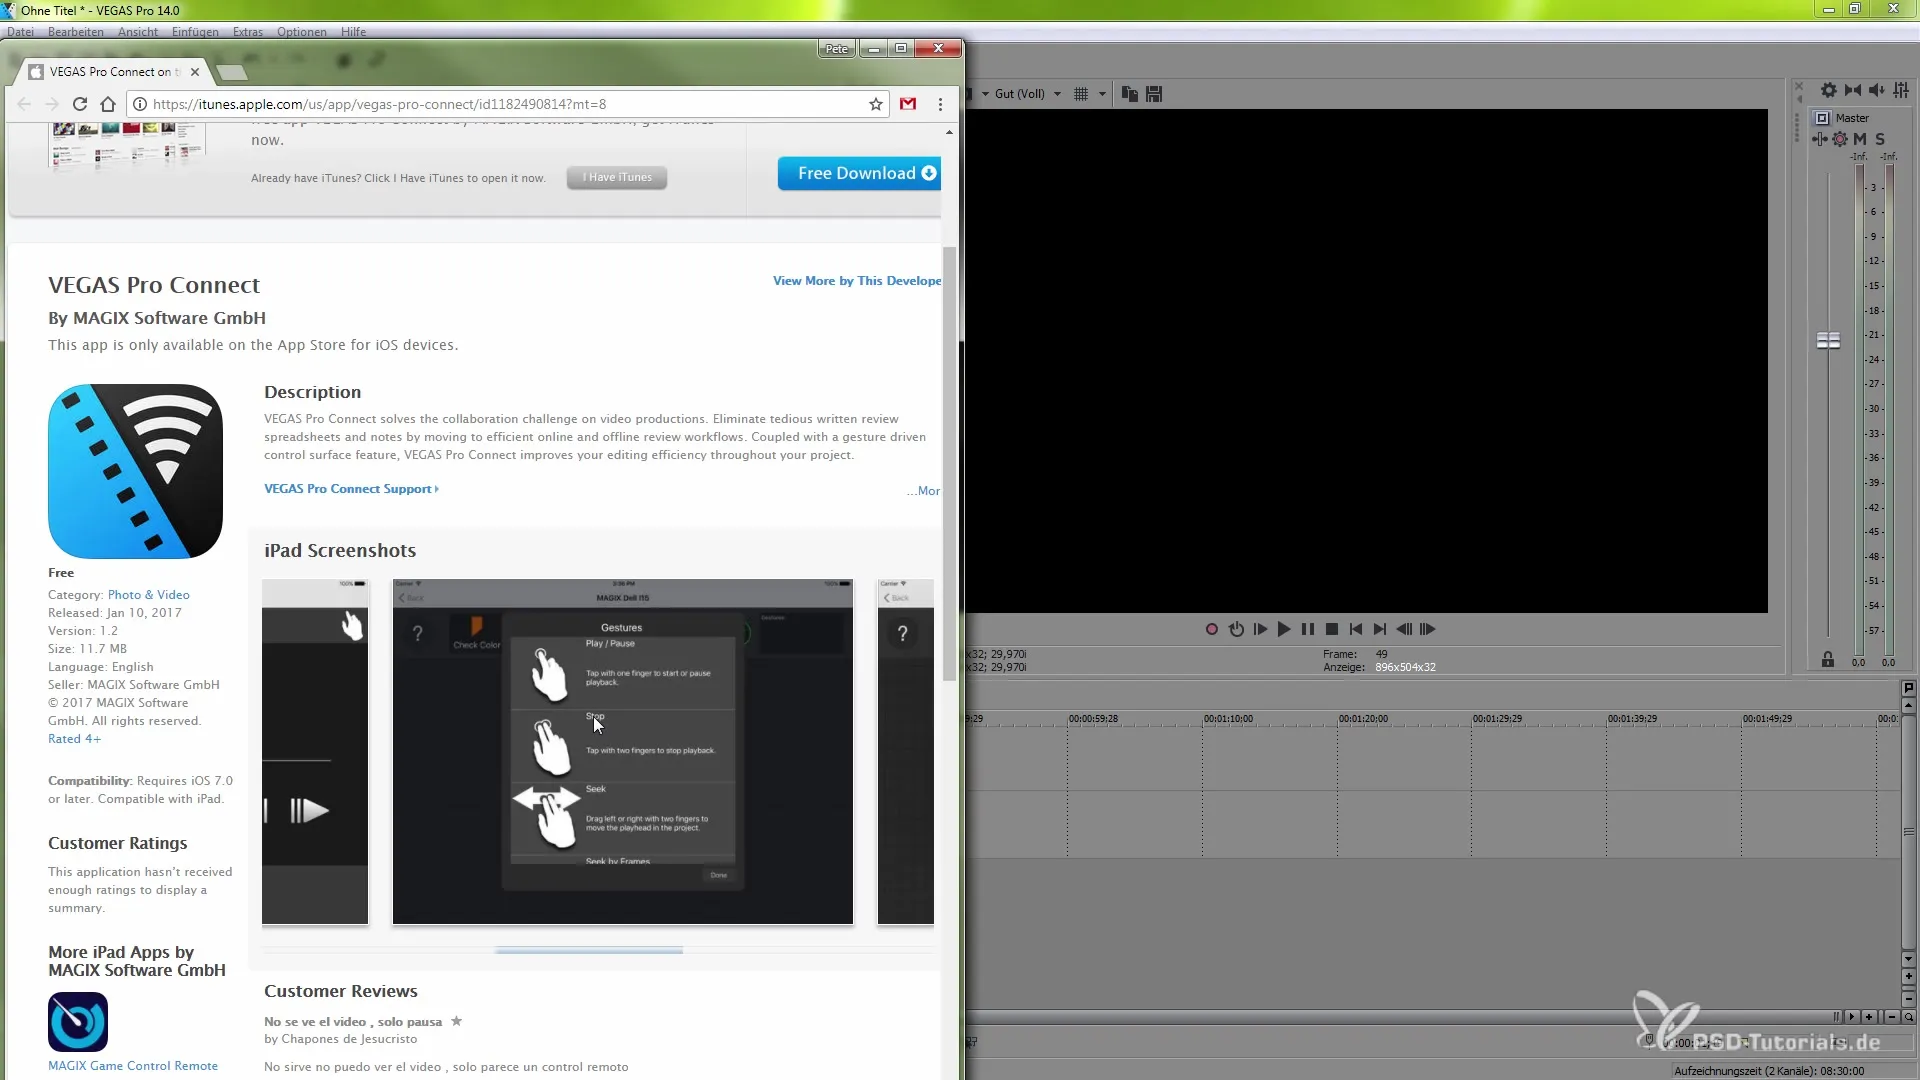
Step 11: Set markers
Setting markers is another very useful feature of the app. You can create markers to highlight specific points in your project and add information to them.
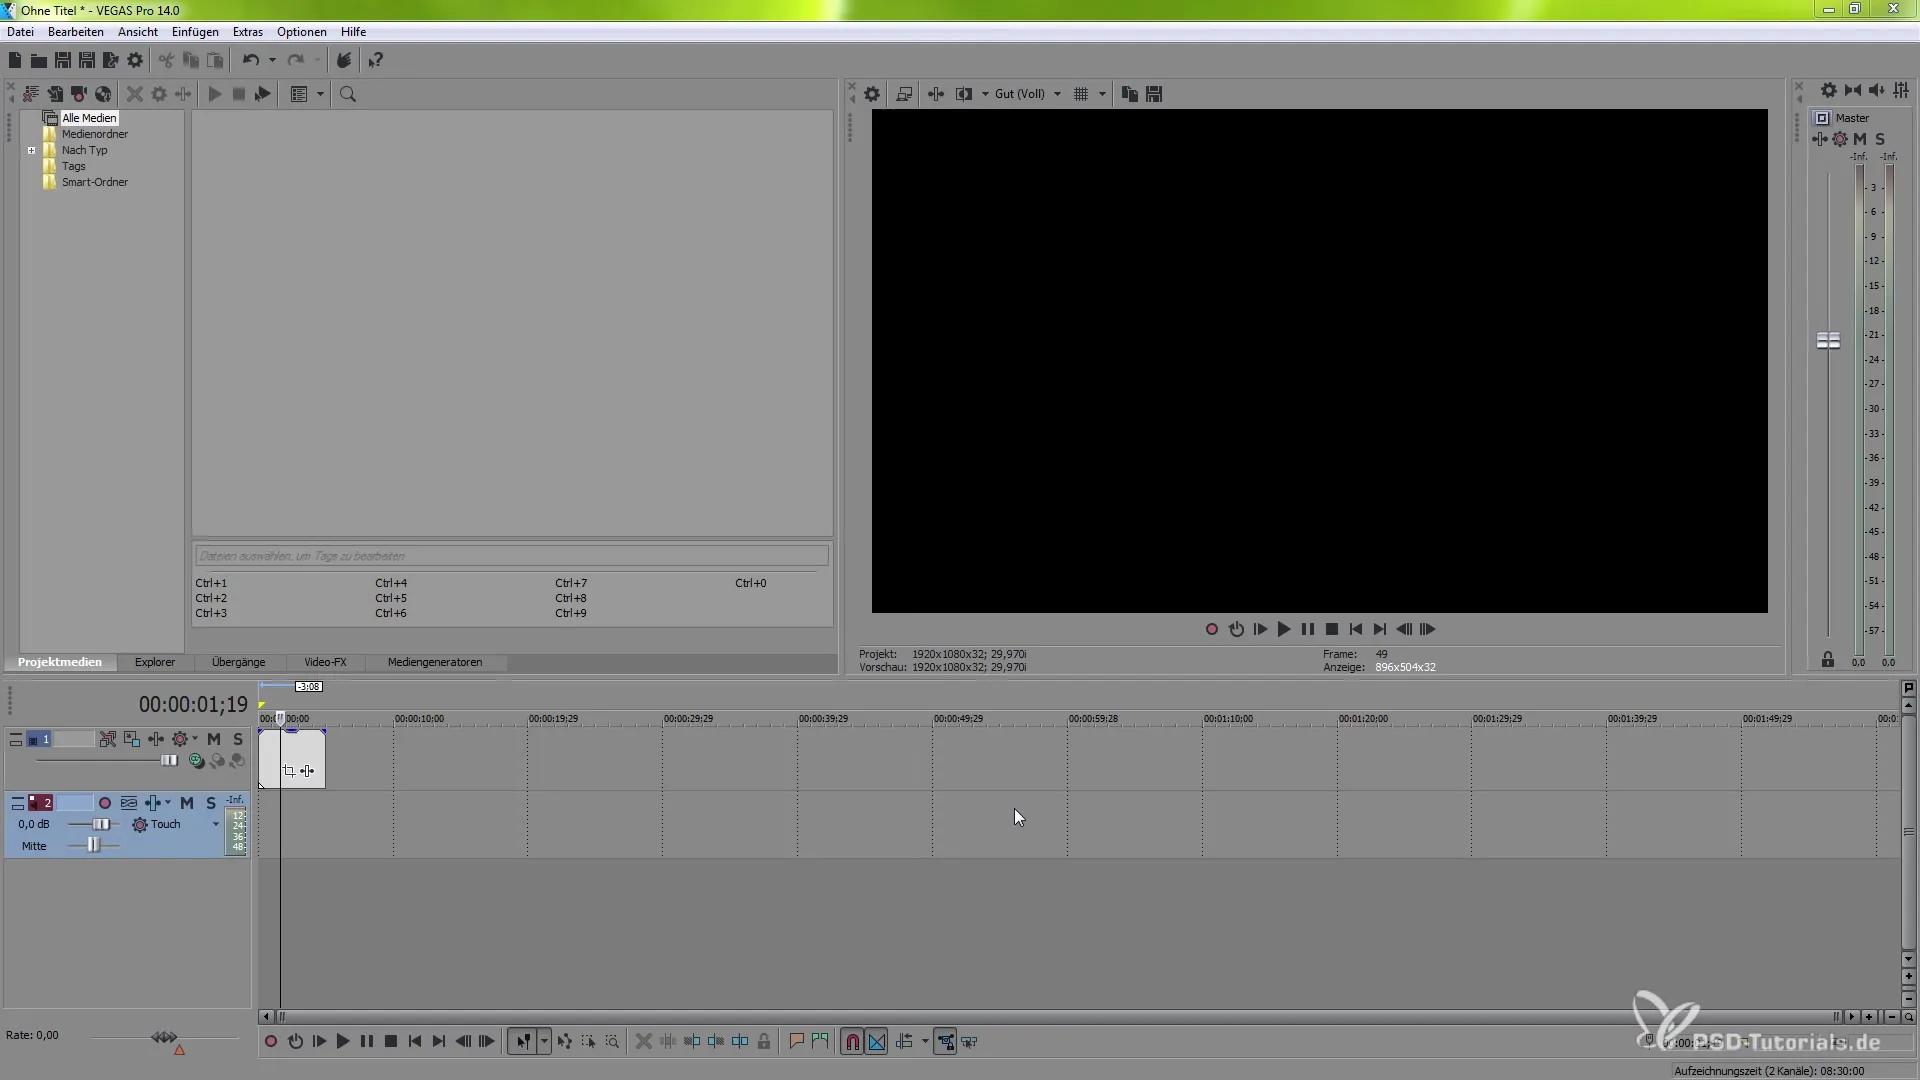
Step 12: Use preview
The app provides you with a preview of your project, and you can change settings in real time. This way, you effectively control your workflow from your iOS device.
Summary – VEGAS Pro Connect as your new control unit
The implementation of VEGAS Pro Connect in your workflow greatly enriches your video editing experience. You have complete control over essential functions and can manage your project efficiently from your iOS device. Use the described steps to ensure you can make optimal use of VEGAS Pro Connect.


