GIMP 2.10 has made a significant step towards professional color management. With the new color management feature, you can now use images with embedded color profiles, assign color profiles, and convert them. In this guide, I will show you how to effectively use the new features to edit your images optimally in GIMP.
Key Insights
- GIMP 2.10 now supports color management, enabling more precise color representation.
- You can manage screen profiles, different color profiles like sRGB and Adobe RGB, as well as grayscale and CMYK profiles.
- When working with images, you will be asked if an image should be converted to the RGB color space.
- Color profiles can be assigned, converted, or discarded.
Step-by-Step Guide
1. Accessing Color Management
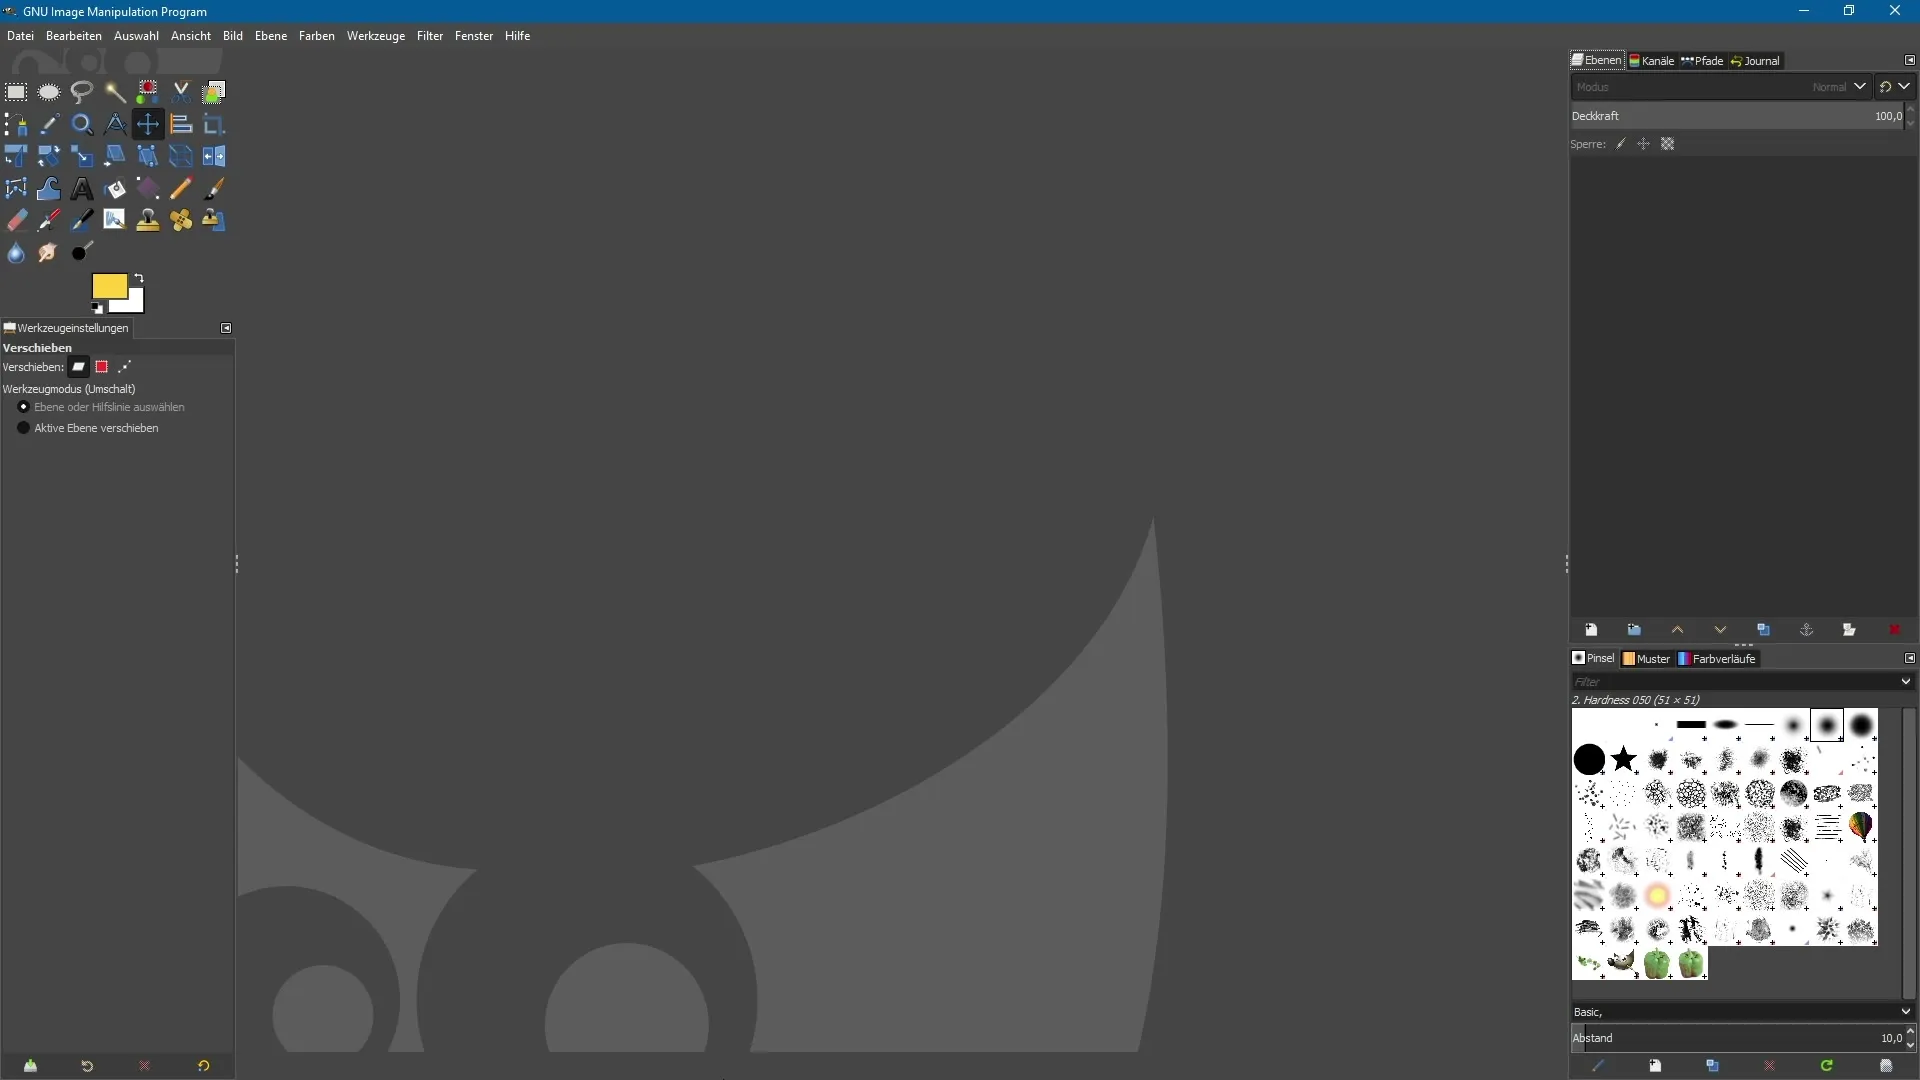
To use the new color management features in GIMP, you first need to access the settings. You can do this through the "Edit" menu item.
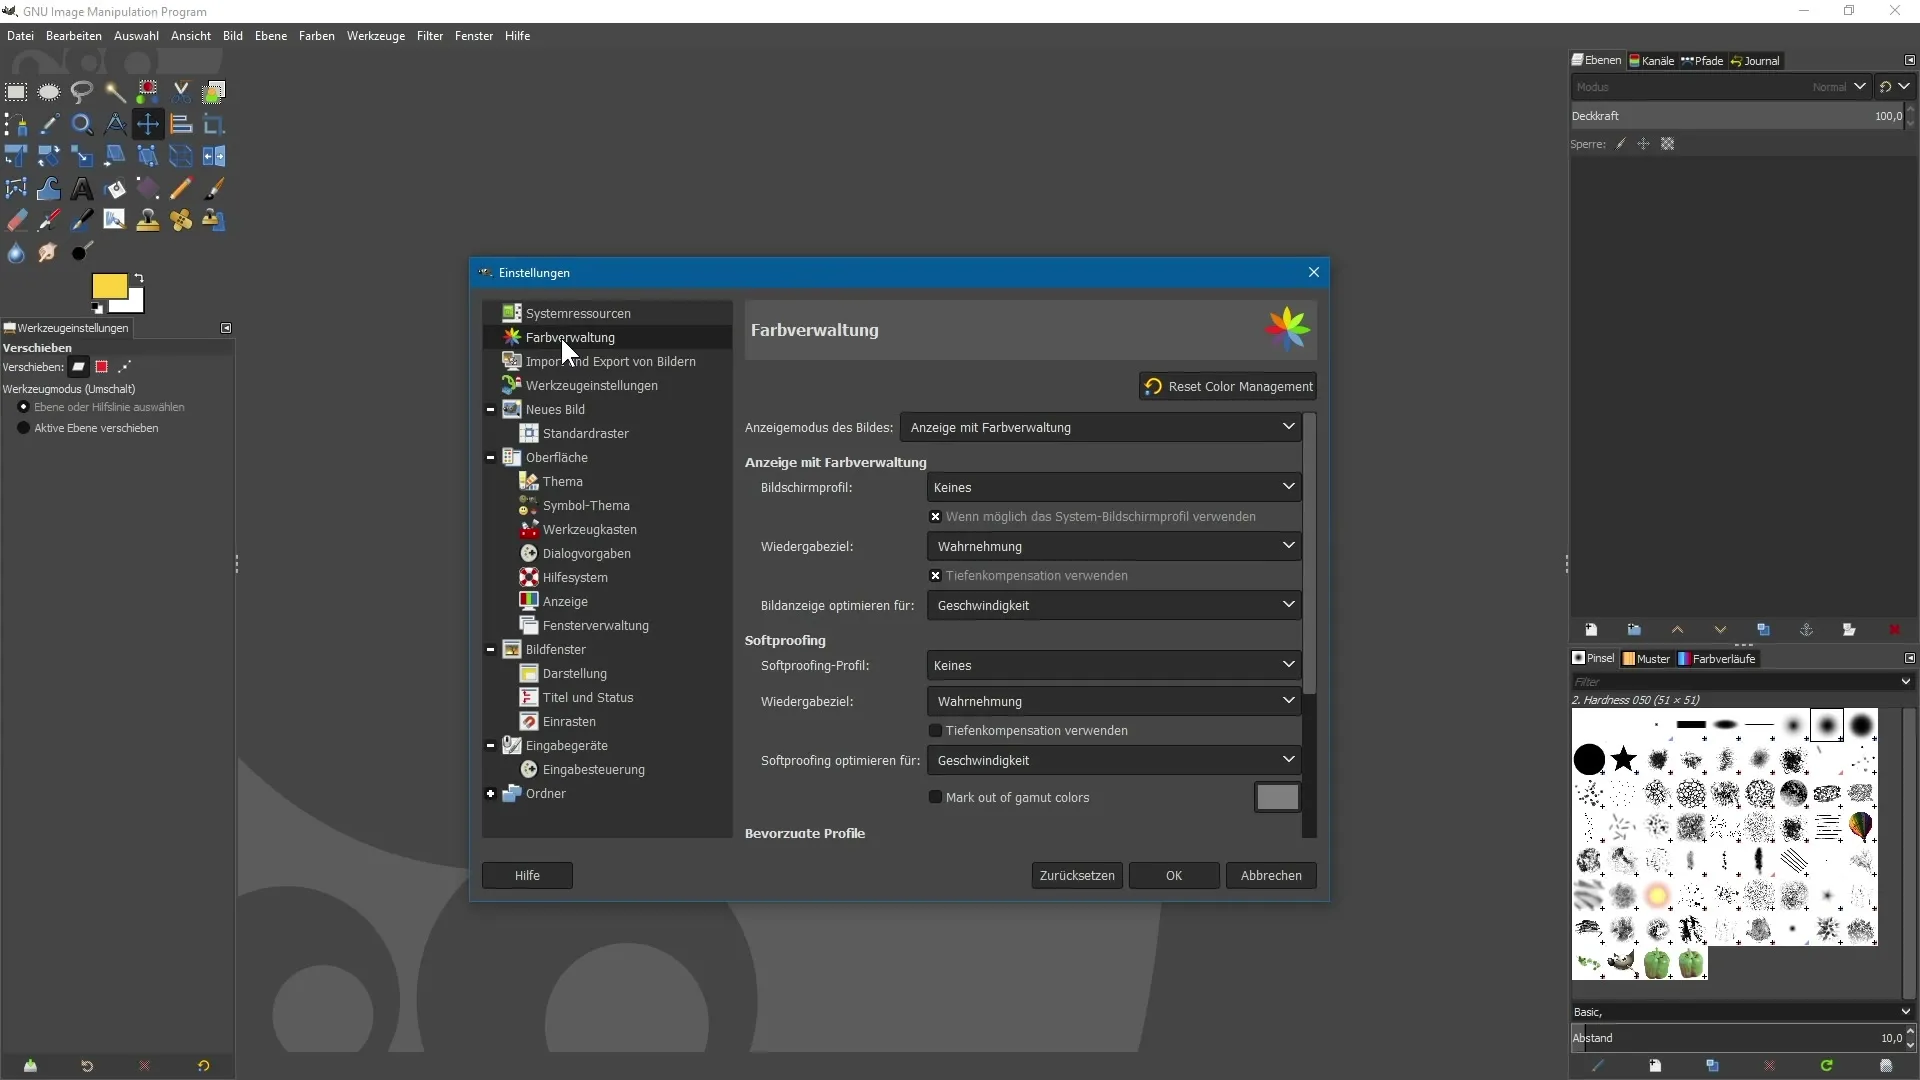
Here you will find the new menu item “Color Management”. In this area, you can make various basic settings for your color management.
2. Setting the Screen Profile
Within Color Management, you can set a screen profile. By default, RGB is selected, but you have the option to choose a different profile.
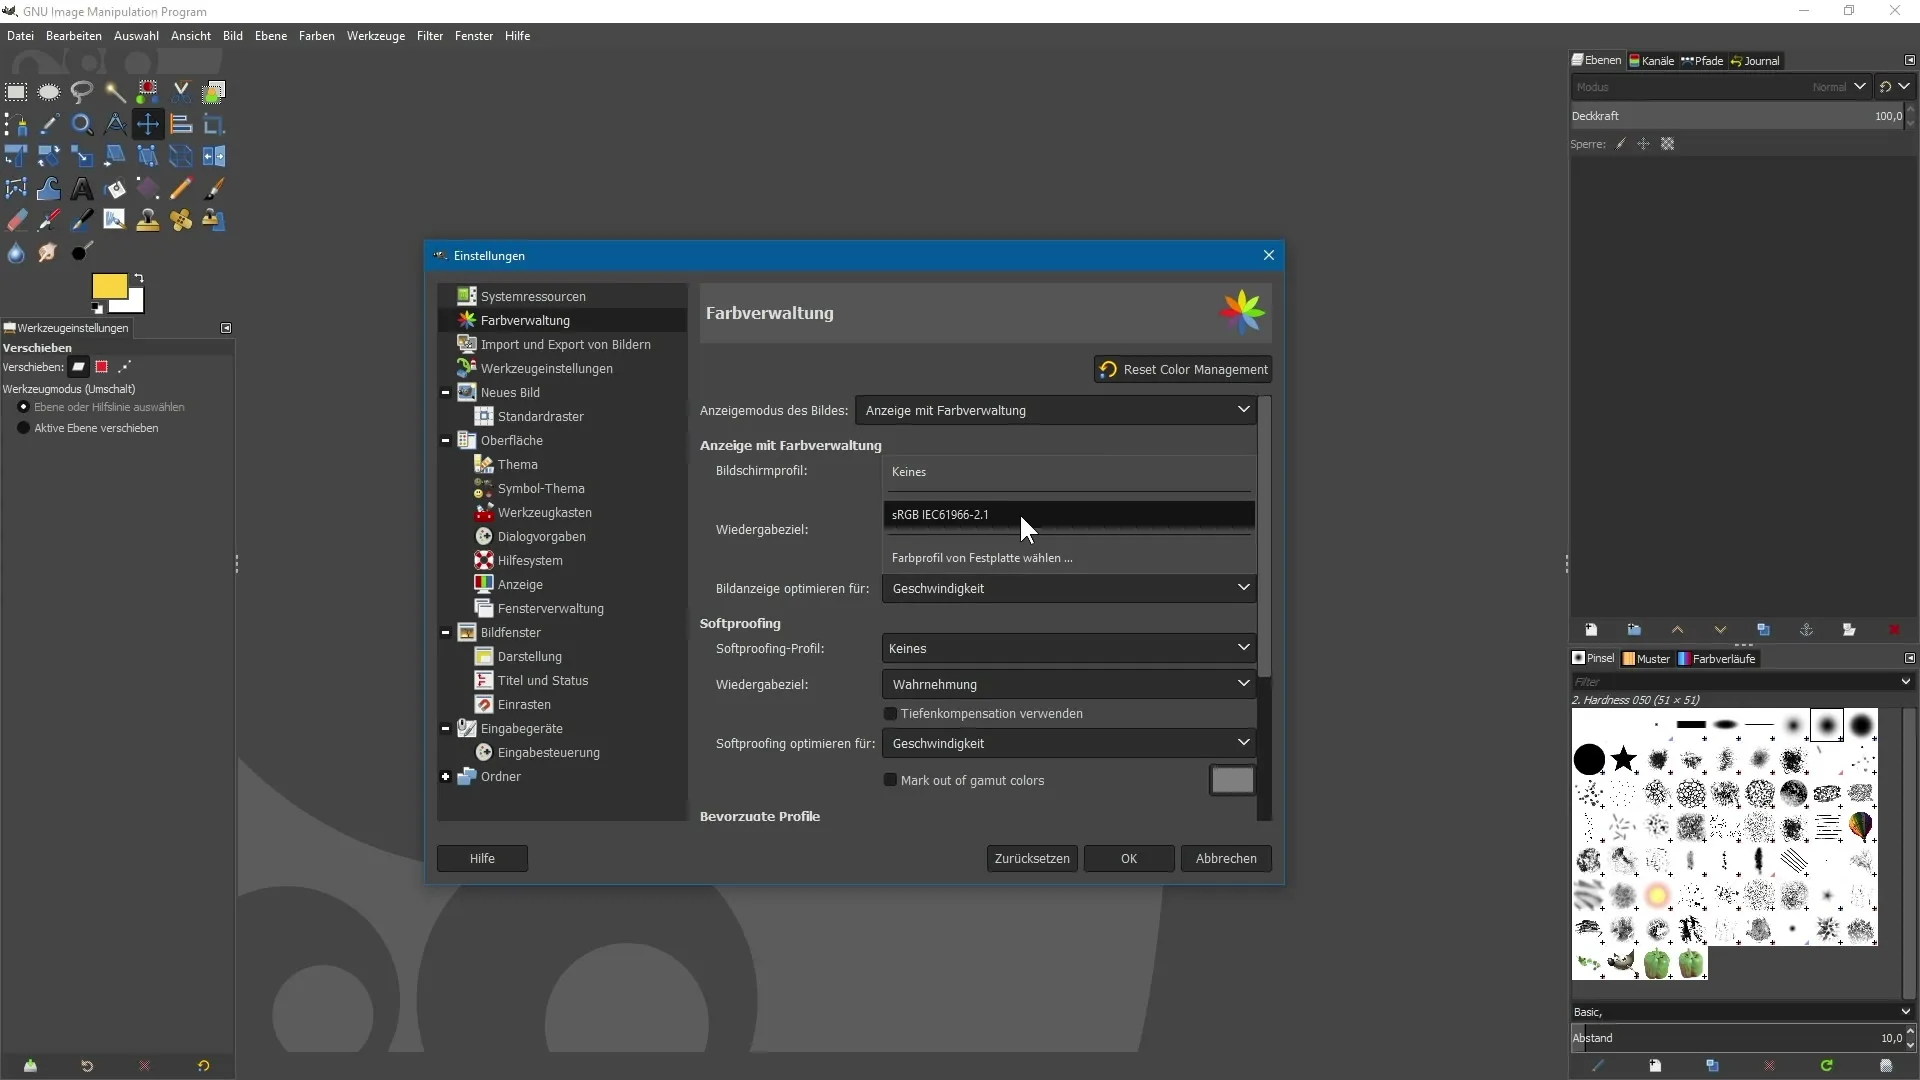
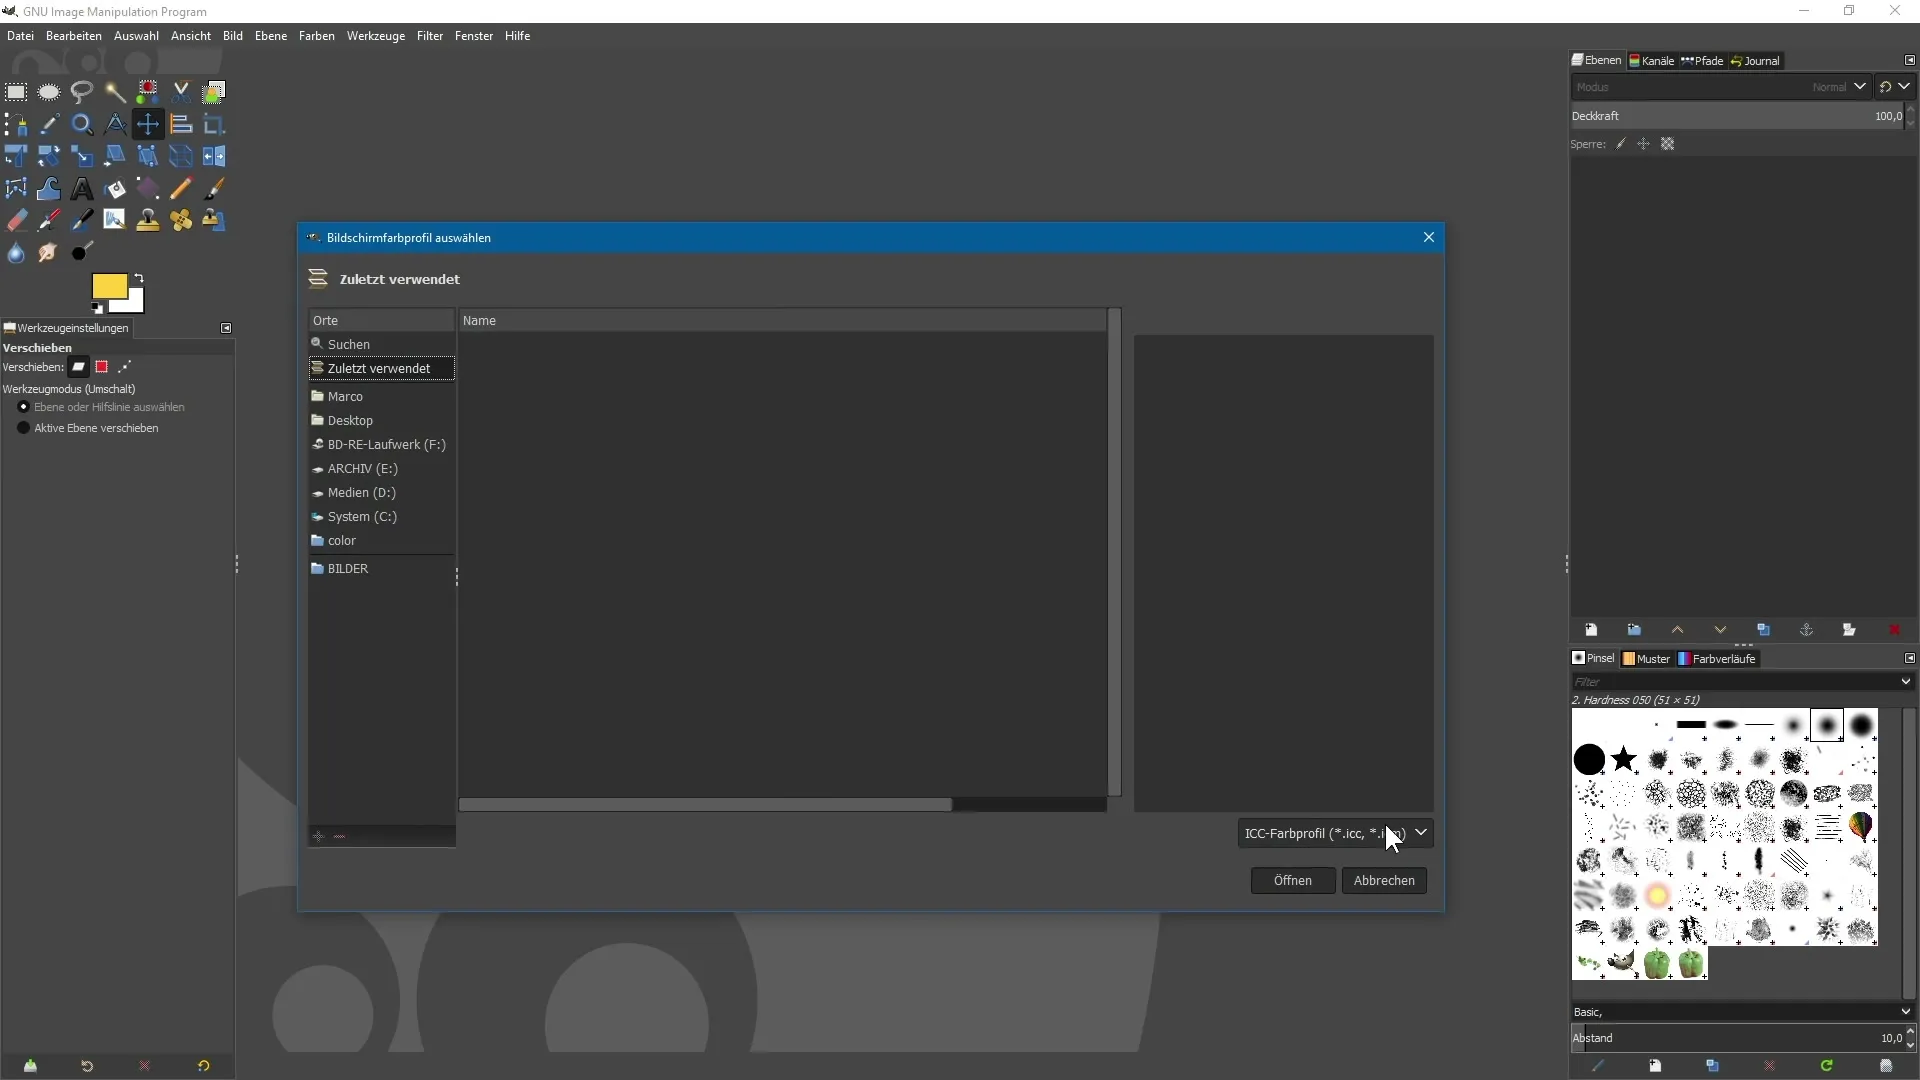
Additionally, you can select a color profile from your hard drive. Make sure the profile is in ICC or ICM format.
3. Soft Proof Adjustments
GIMP also allows you to perform a soft proof. Here you can choose a suitable color profile for a visual impression. Depending on your needs, you can select profiles like sRGB or Adobe RGB.
Note that you will also need to select the color profile from your hard drive again for GIMP to work with it.
4. Opening Images with Color Profiles
When you open an image in GIMP, you are often asked whether the image should be converted to the RGB color space. This happens because your image has an embedded color profile.
In this example, we see an image with a standard sRGB color profile. You have the option to receive more information about this color profile.
5. Using or Converting Color Profiles
You can decide whether to keep the embedded color profile or convert it to another color profile. If you want to convert to the desired color profile, you need to click “Convert”.
6. Enabling or Disabling Color Management
You have the option at any time to disable or re-enable color management via the “Image” menu.

If you want to assign a new color profile, you can do this without converting the image itself.

7. Assigning and Converting Color Profiles
When you click on “Assign Color Profile,” the current color profile is displayed, and you can choose which color profile you want to assign. Be aware that no conversion occurs if you only assign.

However, if you want to convert to another color profile, select the option “Convert Color Profile” and choose the desired profile.
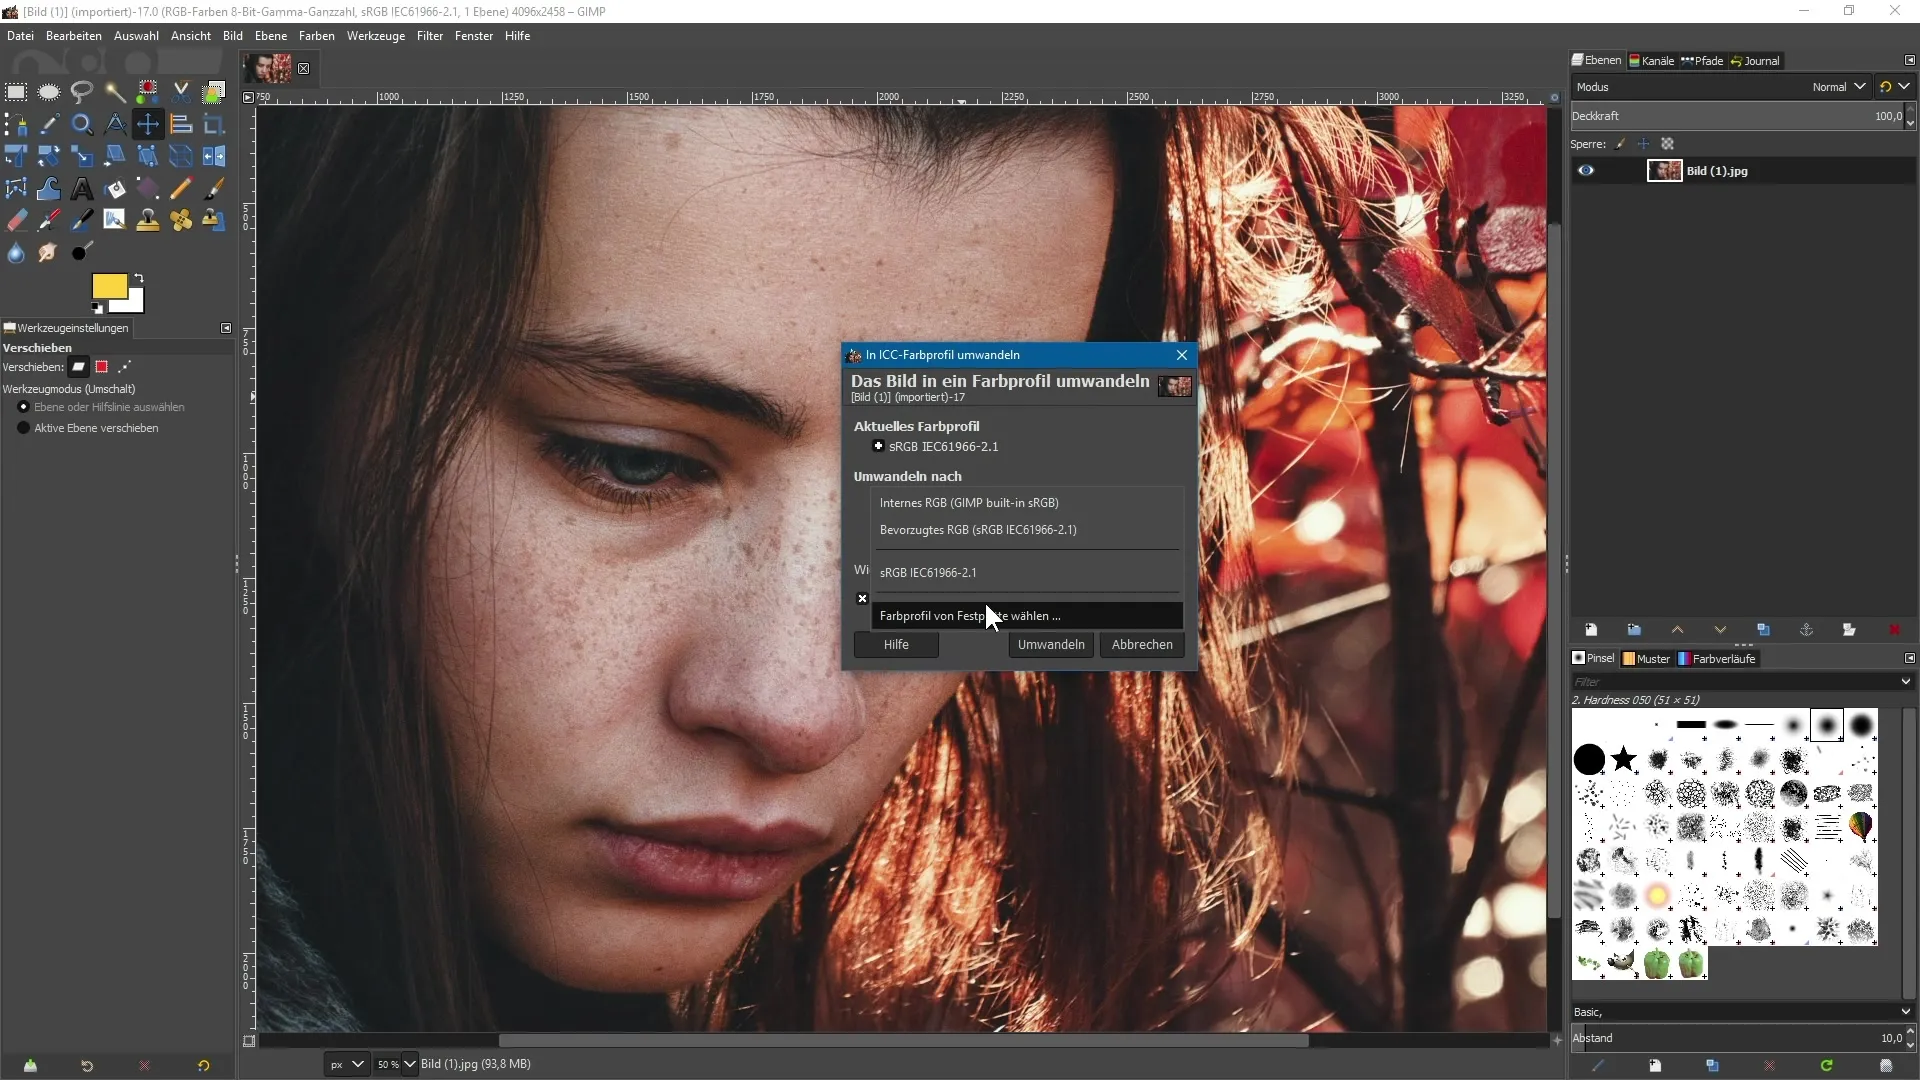
This is how you can effectively utilize all color profiles and their management in GIMP.
Summary - Color Management in GIMP 2.10: New Features and Their Application
GIMP 2.10 has implemented significant improvements in color management. You can now set screen profiles, perform soft proofs, and assign as well as convert color profiles in simple steps. This not only enhances your creative control but also elevates your photo editing to a new level.
Frequently Asked Questions
What is color management in GIMP?Color management in GIMP allows for precise color representation and conversion of images with embedded color profiles.
Where can I find color management in GIMP?You can find color management in the "Edit" menu under "Color Management".
Can I select color profiles from my hard drive?Yes, you can select color profiles in ICC or ICM format from your hard drive.
How can I convert color profiles in GIMP?To convert color profiles, open the image, select "Convert Color Profile", and choose the desired profile.
Can I enable or disable color management at any time?Yes, color management can be activated or deactivated at any time via the "Image" menu.


