The new scaling tool in GIMP 2.10 offers a variety of improvements that will significantly ease your work. Especially when you've zoomed into an image, it was often difficult to recognize and use the handles for reducing or enlarging the image. In this guide, I will show you how to effectively use the scaling tool, even at high zoom levels.
Key insights
- Improved visibility of the handles when zooming in.
- Ability to recenter handles in the dialog box.
- Convenient control of enlargement and reduction.
Step-by-step guide
To make the most of the scaling tool in GIMP 2.10, follow the steps below:
You start by selecting the scaling tool. The name says it all: With this tool, you can scale areas or entire images, meaning you can enlarge or reduce them. Now I will show you how this works. In GIMP 2.10, an adjustment has also been made to this tool that is particularly handy when you have zoomed into an image.
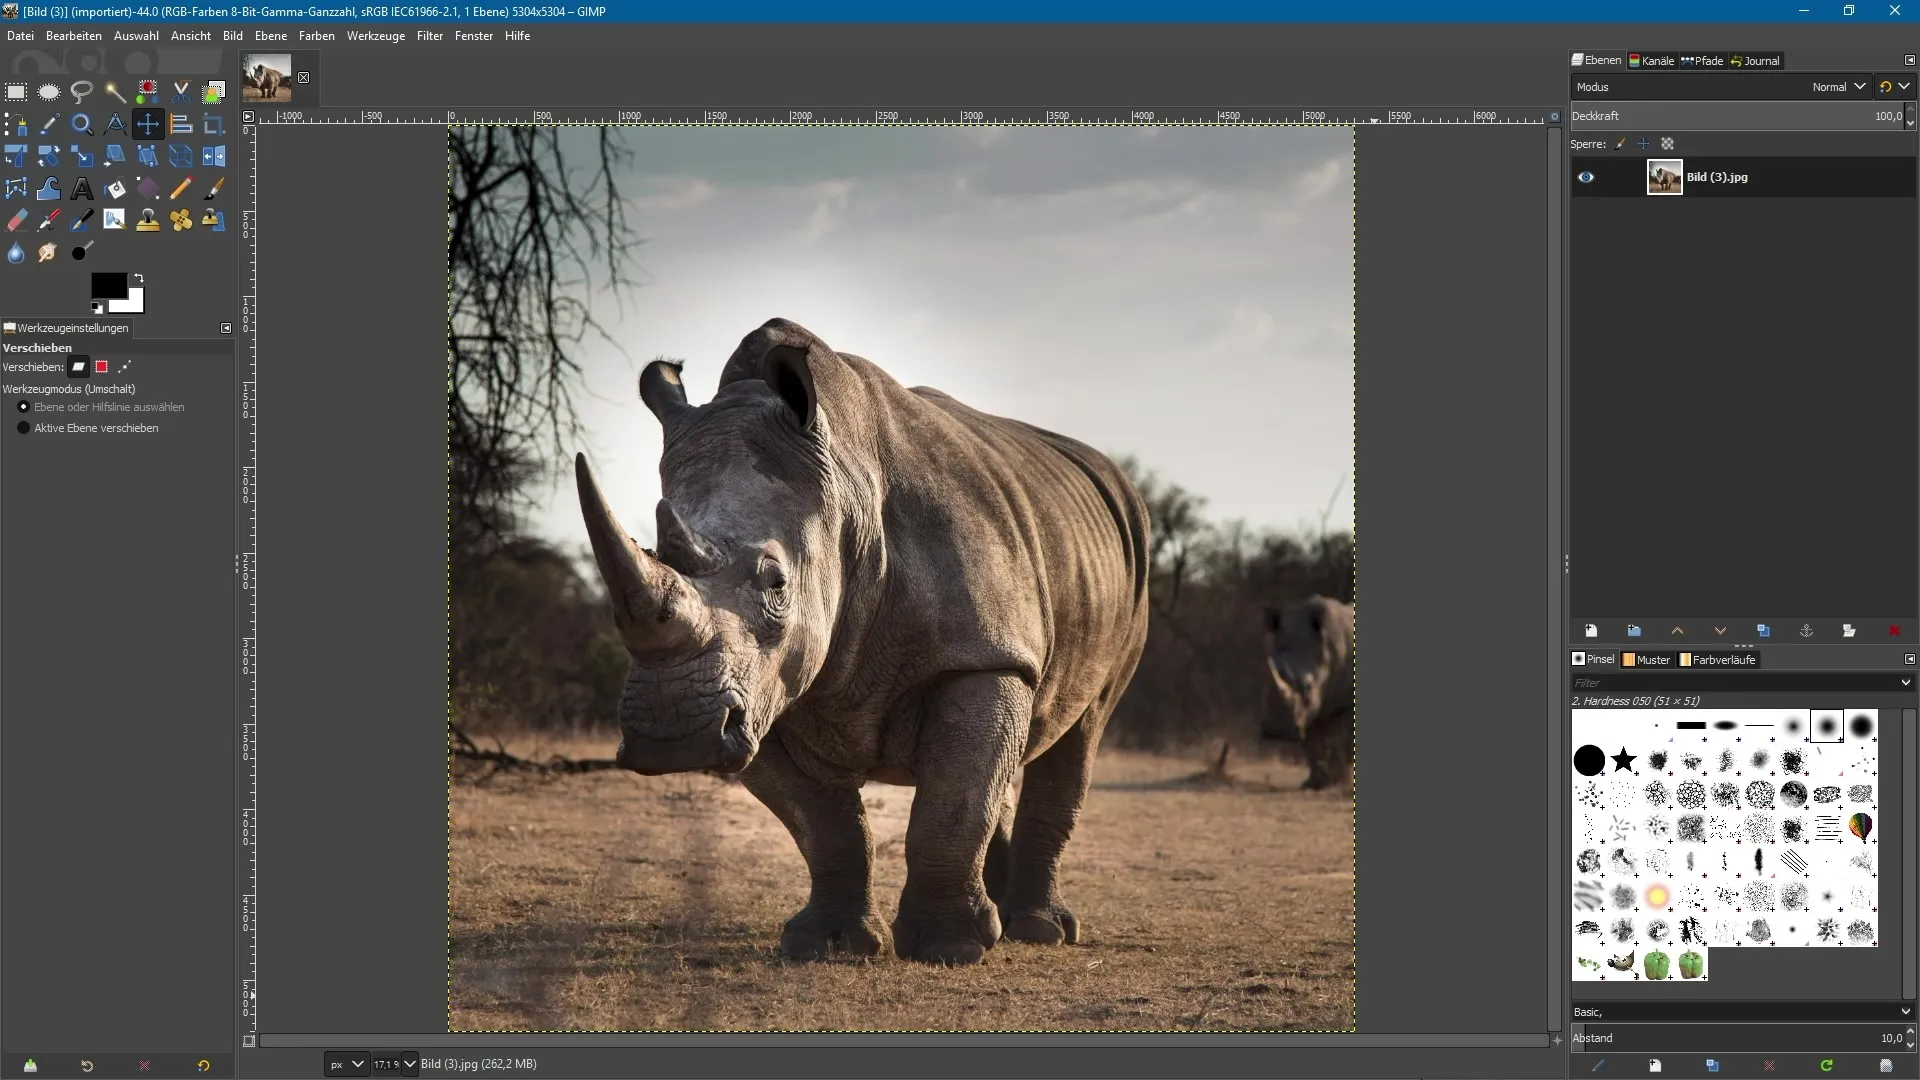
First, select the scaling tool. If you've already done that, just click into the image. The handles will immediately appear, allowing you to scale the image. You can try pulling at the top of a handle while holding down the control key. This way, you can either enlarge or reduce the image.
A common problem when zooming in is that you only see the center of the image and the handles disappear outside the visible area. This can be very frustrating, but GIMP has a solution for this. You'll find a dialog box at the top with the option "Readjust." When you click on it, the position of the handles is adjusted, and they reappear in the center of your image.
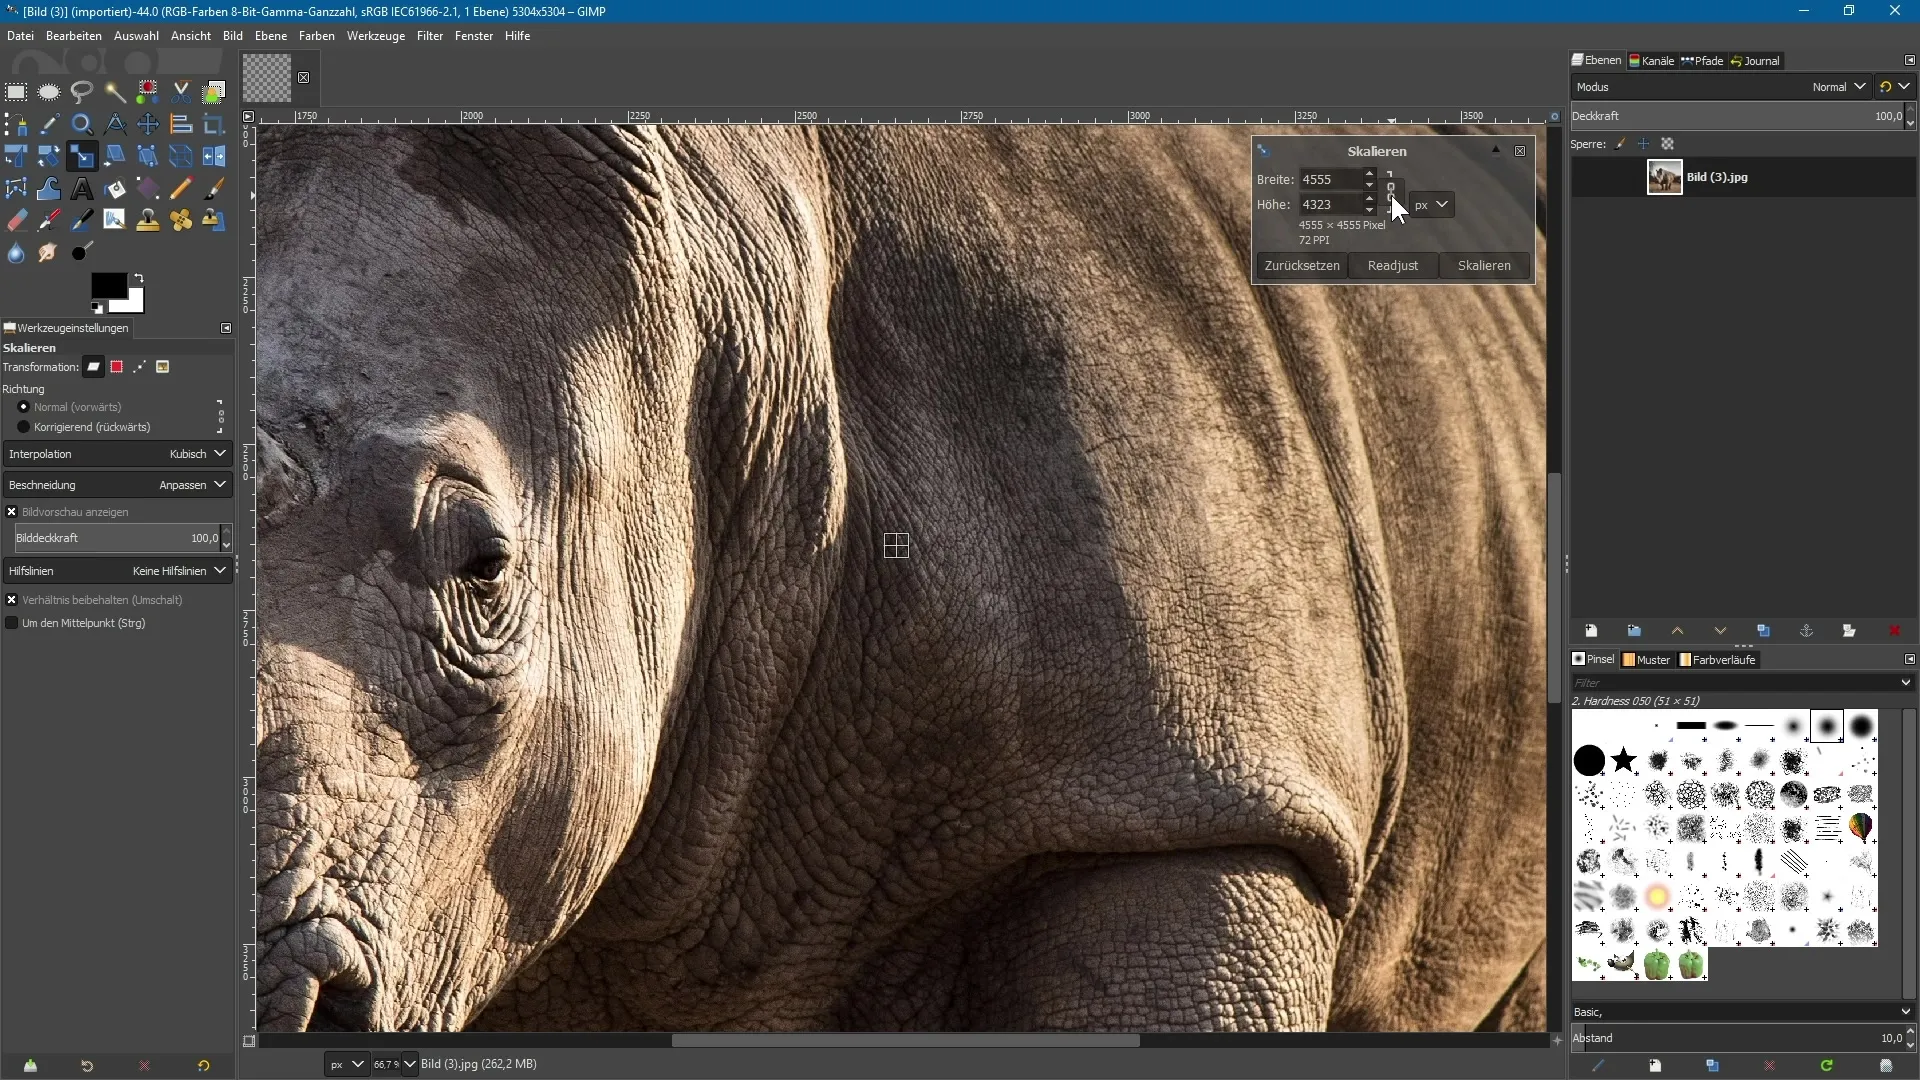
Now you can select one of these handles and continue holding the control key. This allows you to enlarge or reduce the entire image again, even if you have zoomed in significantly. This gives you more control over the scaling process.
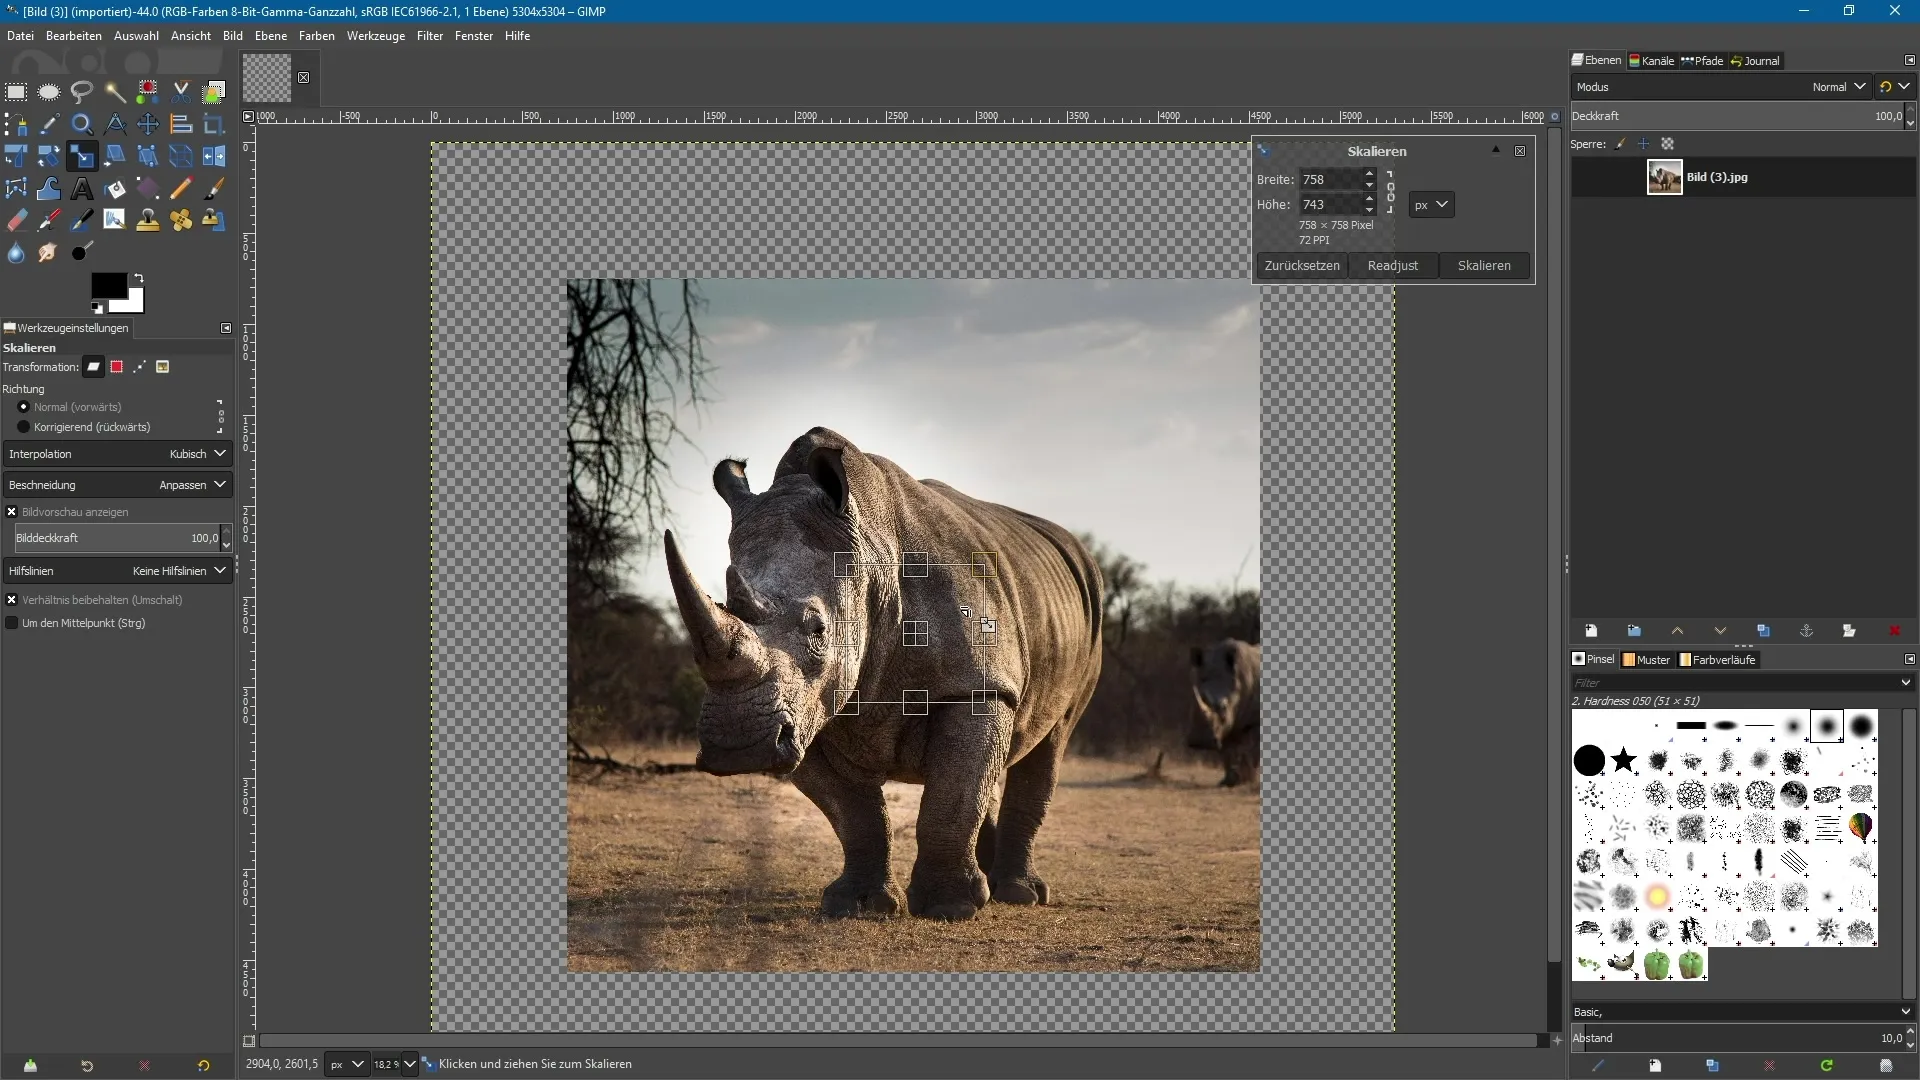
When you zoom out again, the handles may disappear off-screen. But the "Readjust" feature helps you here too: A click on it will bring the handles back to the center of your document, so you can work with them at any time.
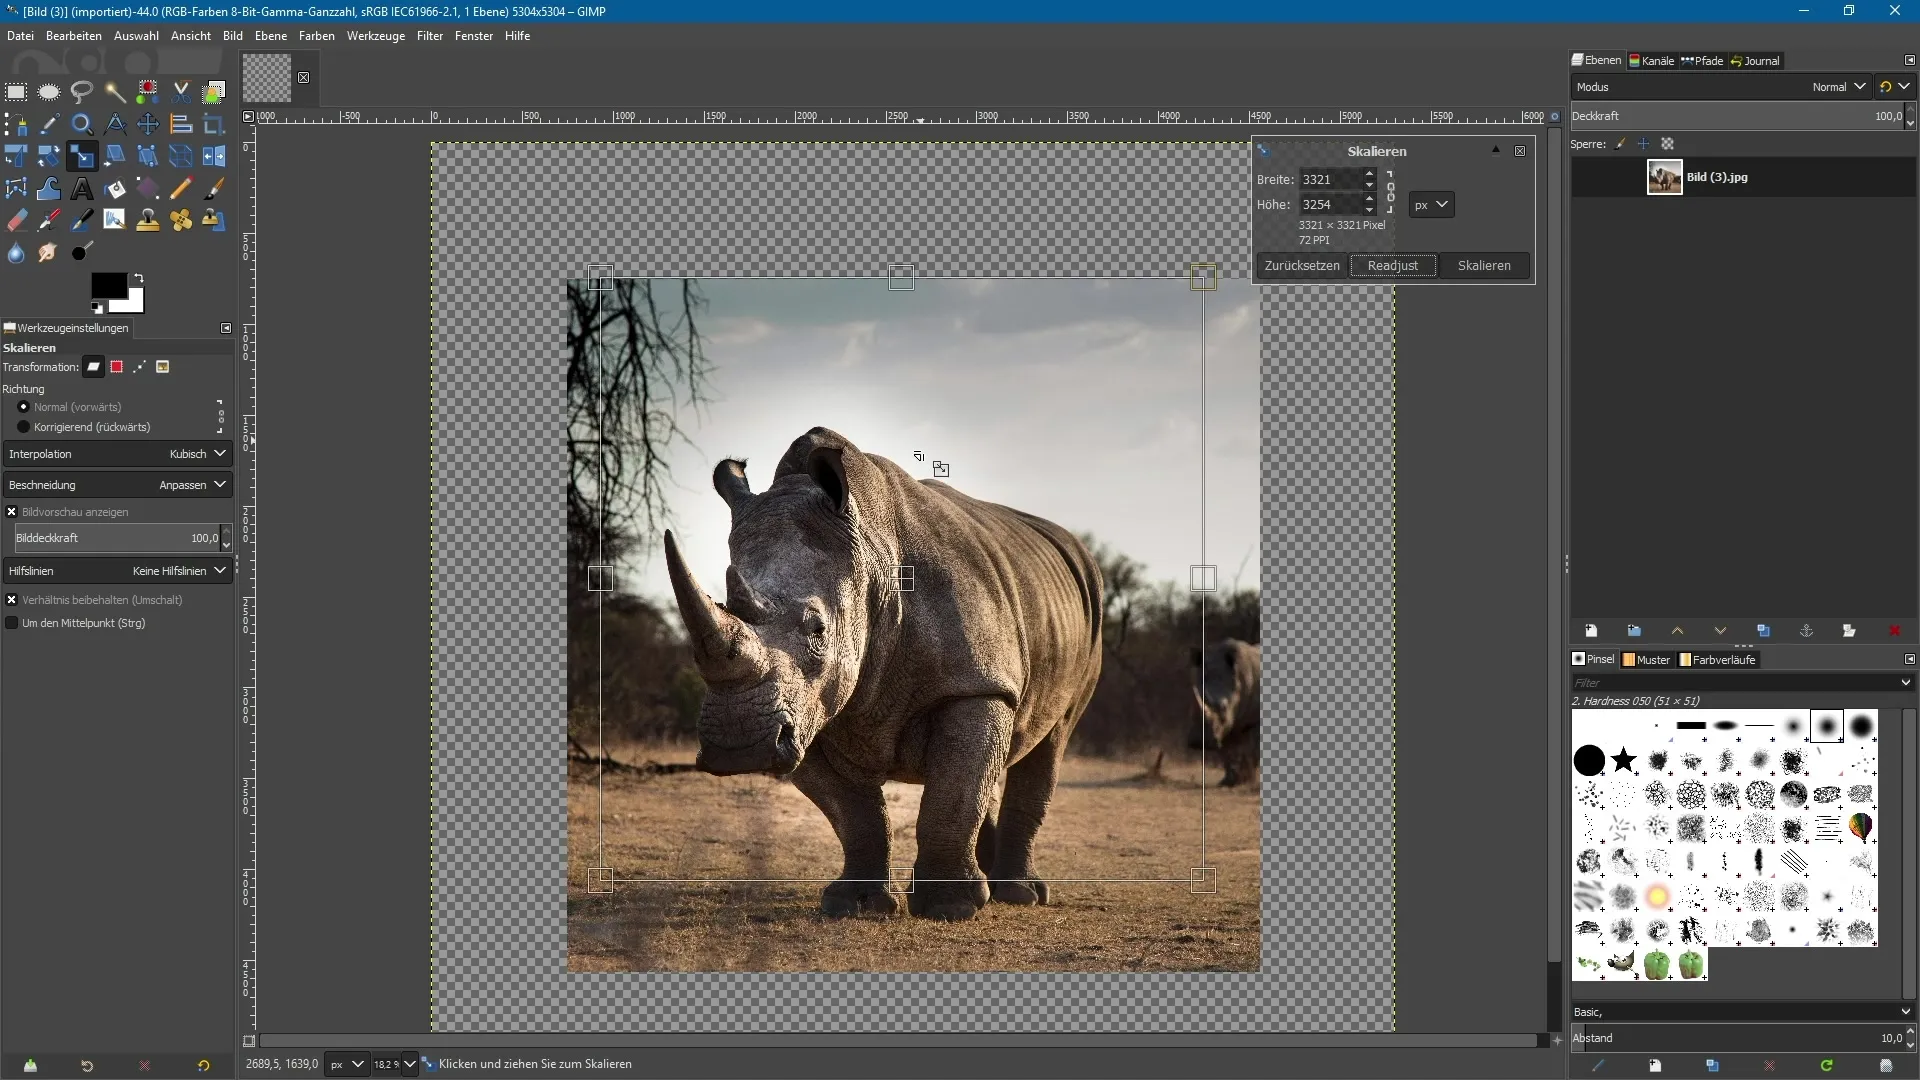
The recentering of the handles ensures that you always have access to these crucial grip points, even at high zoom levels. This adjustment is particularly useful, as it allows you to continue working precisely, no matter how close you are into the image.
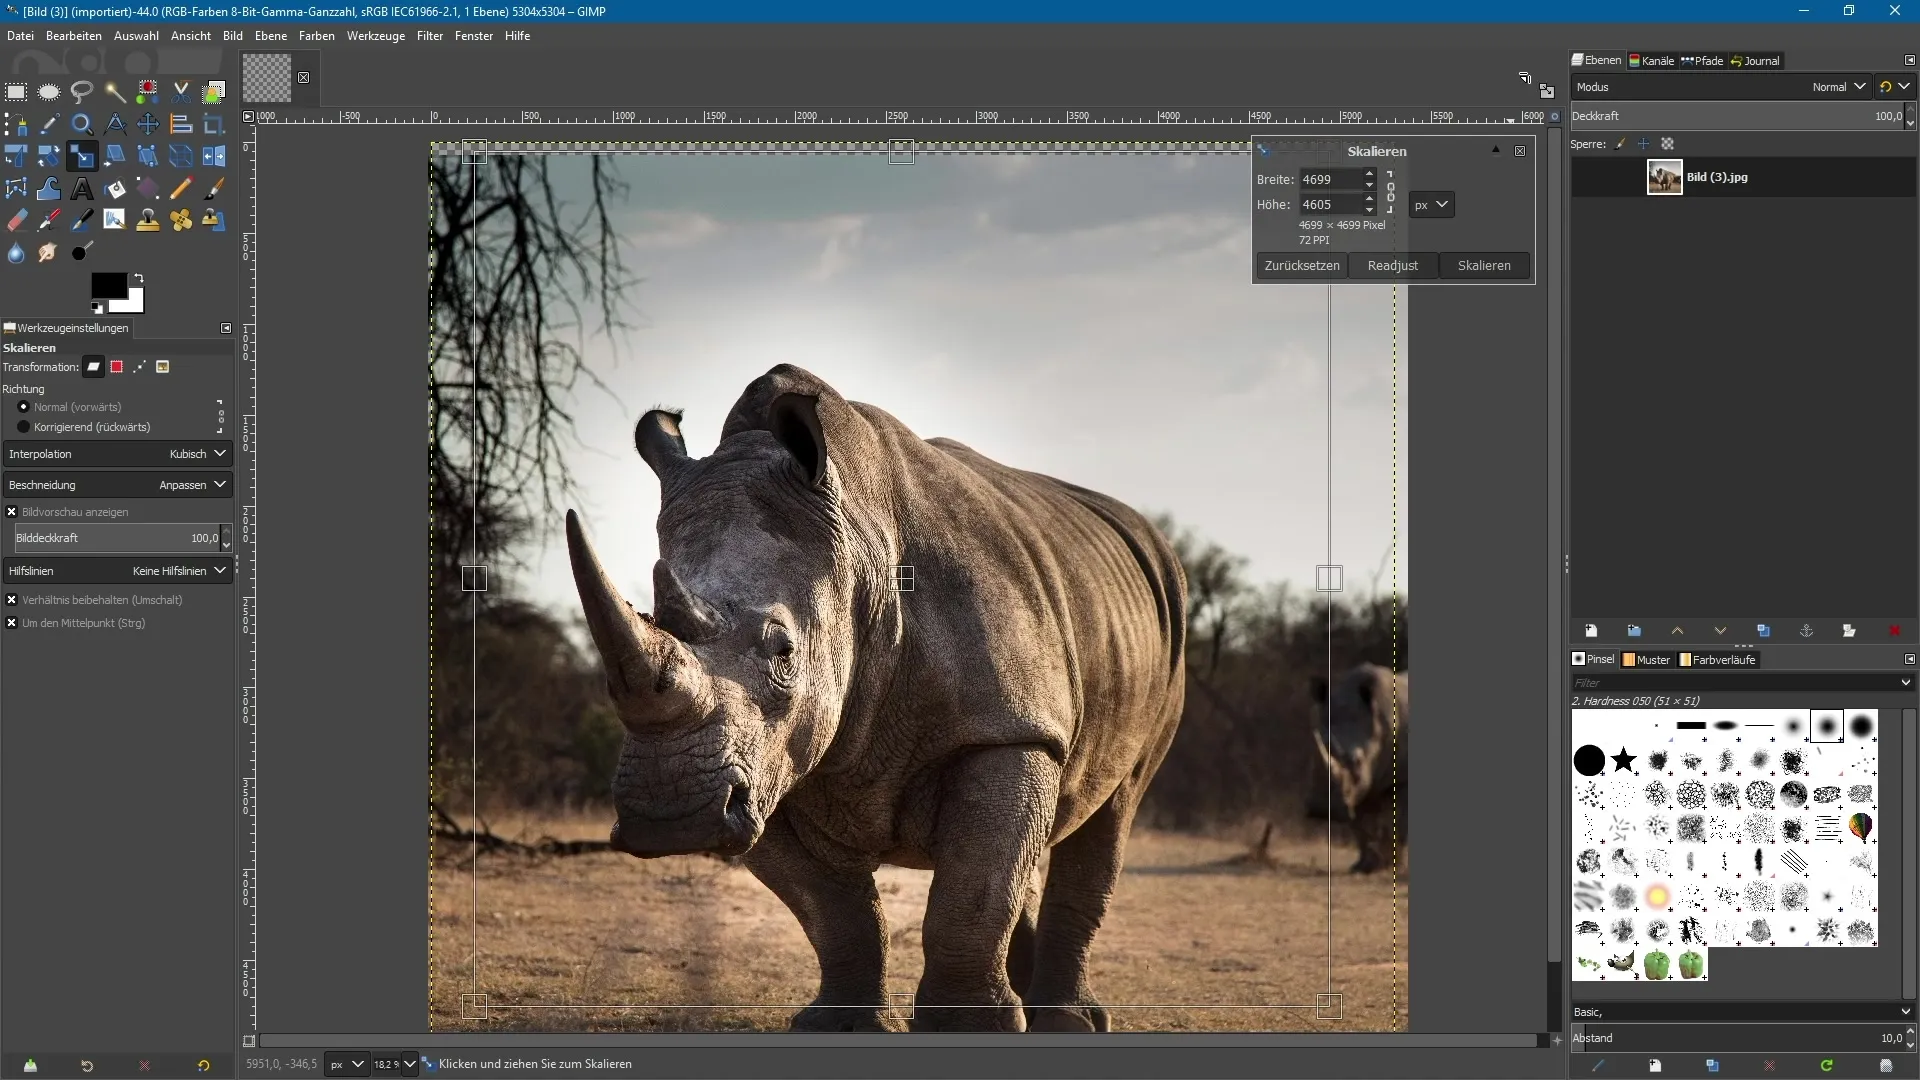
A click in the middle area also allows you to move the entire image. This function perfectly complements the scaling capabilities of the new tool and significantly simplifies the workflow.
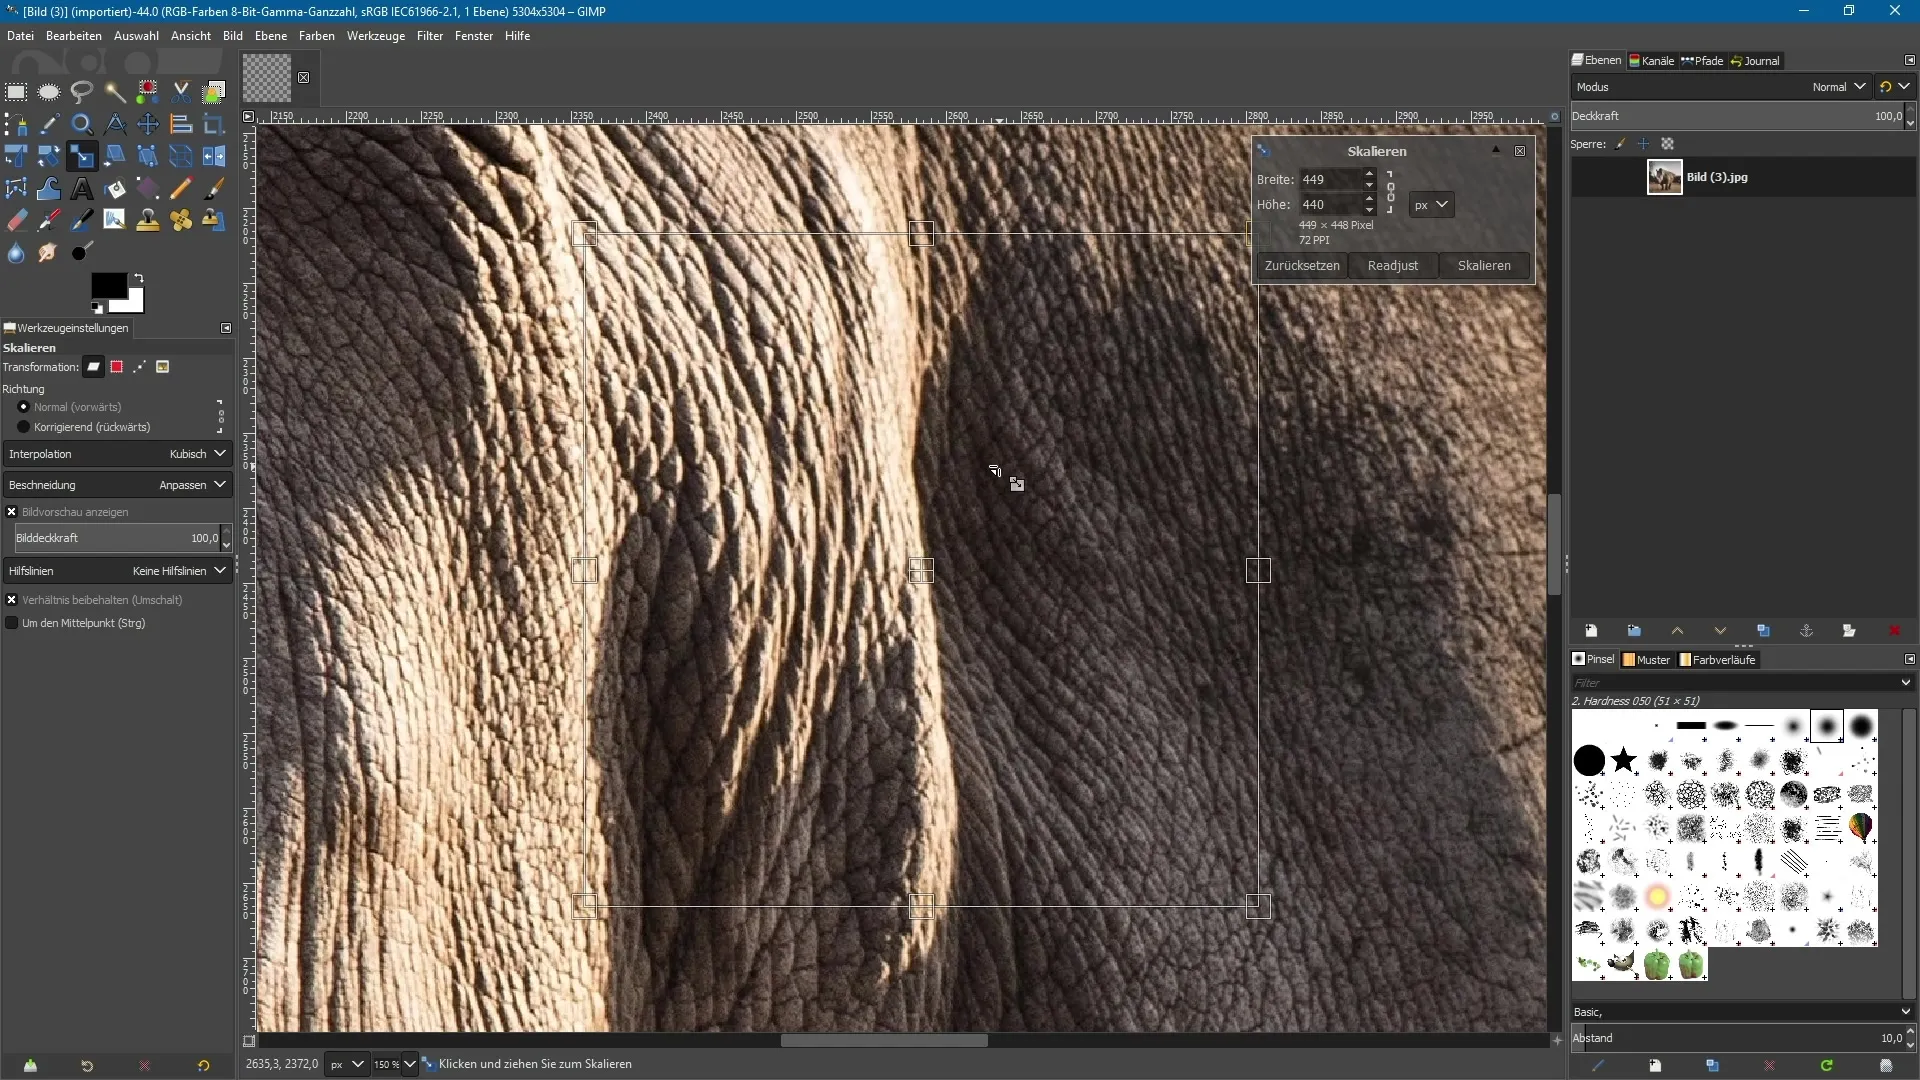
In summary, the revised version of the scaling tool in GIMP 2.10 represents a small but very practical adjustment that significantly facilitates your creative activities. You can now work more efficiently without constantly having to struggle with the visibility of the handles.
Summary – GIMP 2.10: Revised scaling tool in detail
With the new features of the scaling tool in GIMP 2.10, enlarging and reducing images is many times easier, even at high zoom levels. Thanks to the ability to recenter the handles at any time, you always maintain control over your image editing.
Frequently asked questions
How do I select the scaling tool in GIMP?You can find the scaling tool in the toolbar or use the keyboard shortcut.
What do I do if the handles are not visible?Use the "Readjust" function in the dialog box to bring the handles back to the center of the image.
Can I move the image without the handles?Yes, you can move the image by clicking in the middle area, even while using the scaling tool.


