Your image editing is now easier and more intuitive! GIMP 2.10 has introduced the unified Transformation Tool, which allows you to scale, rotate, skew, and distort objects from a single tool. In this guide, you'll learn how to work with this versatile tool to achieve impressive results. The following steps will help you unlock the full potential of this new tool.
Key Takeaways
- The unified Transformation Tool is an all-in-one tool for various transformations in GIMP.
- It replaces several specialized tools, streamlining the workflow with simplified operation.
- With anchors and control elements, you have precise control over your transformations.
Step-by-Step Guide
1. Starting the Unified Transformation Tool
To use the unified Transformation Tool, open GIMP 2.10 and look for the corresponding icon in the toolbar. Depending on your selected icon theme, it may look different. Alternatively, you can also access the tool with the shortcut Shift + T.
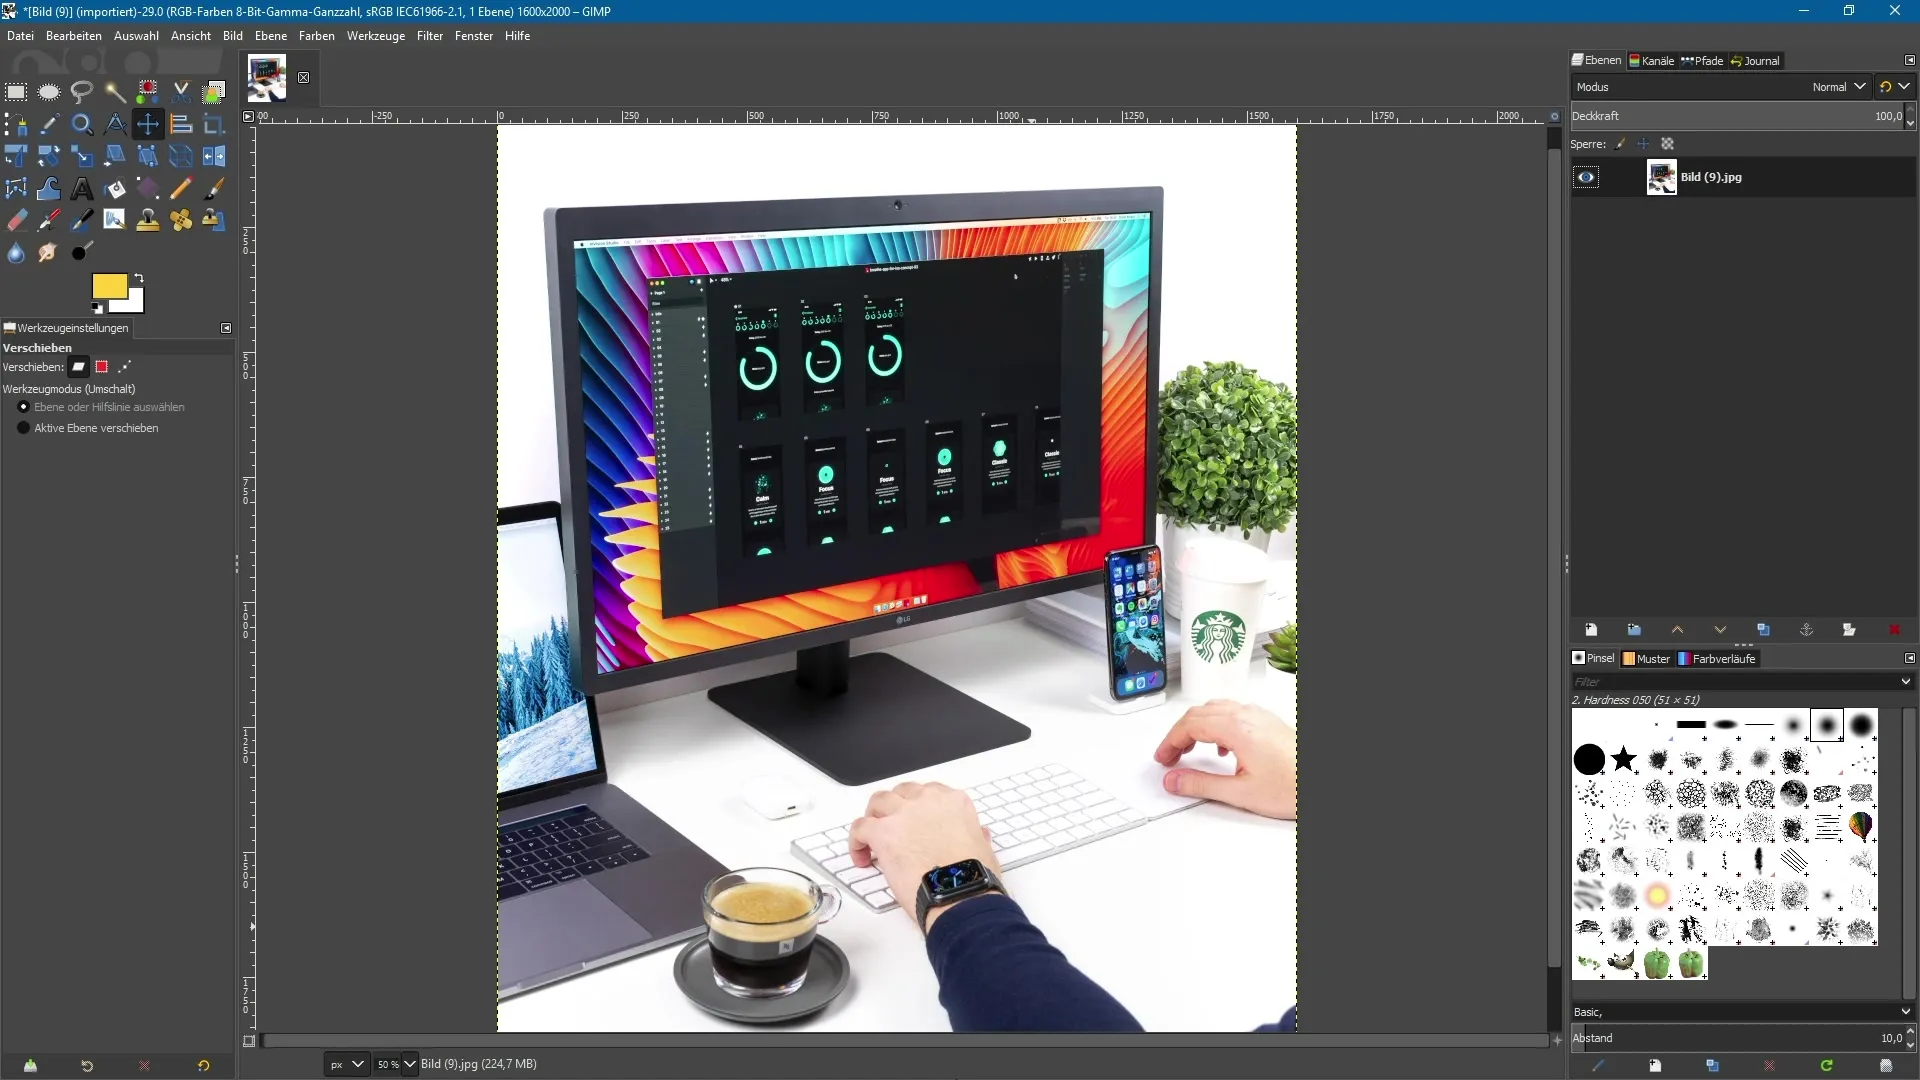
2. Open an Image
Select the image you want to edit. Simply drag it into GIMP or open it via "File" > "Open". If the image is larger than your document, you may need to adjust the layer size. To do this, right-click on the layer and select "Scale Layer". Enter a width of 1500 pixels to adjust the size.
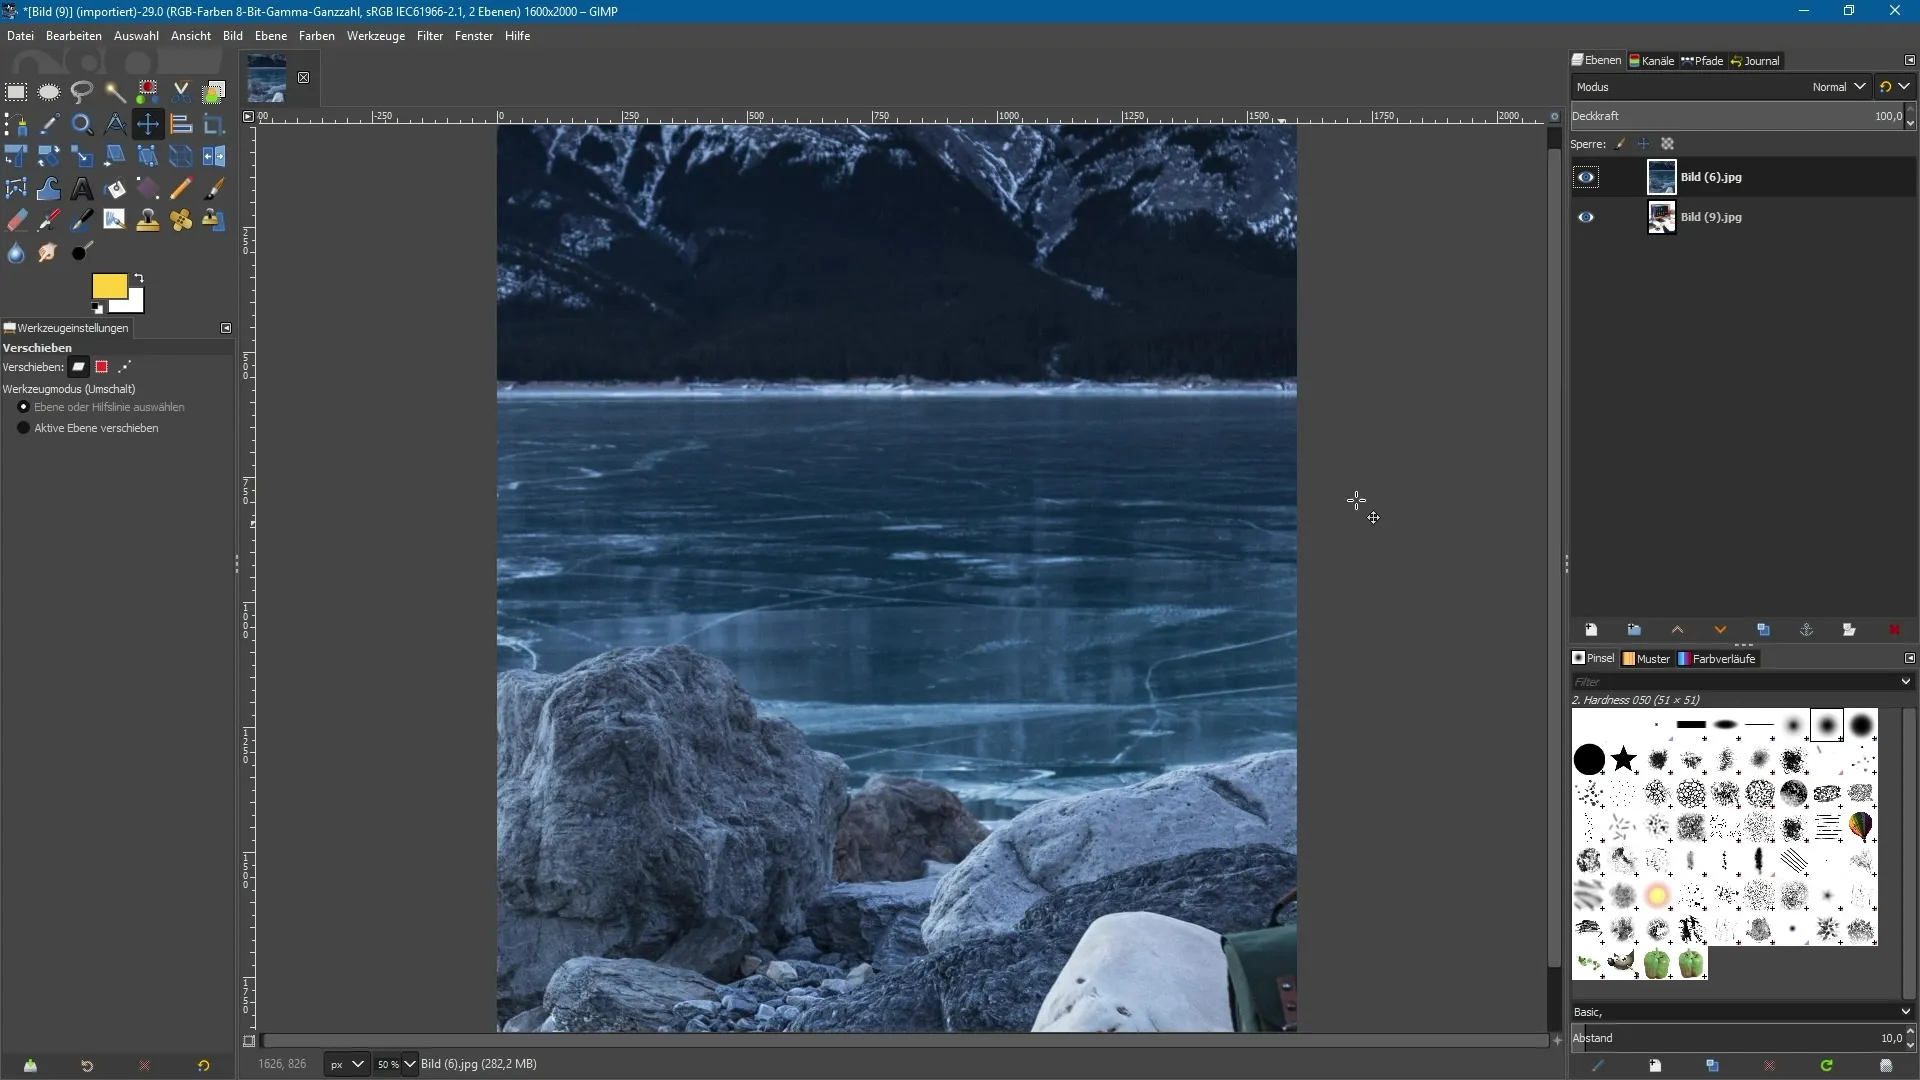
3. Activating the Transformation Tool
Once your image is opened in GIMP, go to the unified Transformation Tool that you previously selected. Click on the layer of the image. On the left in the properties or tool settings panel, you will see various options that help you control the transformation.
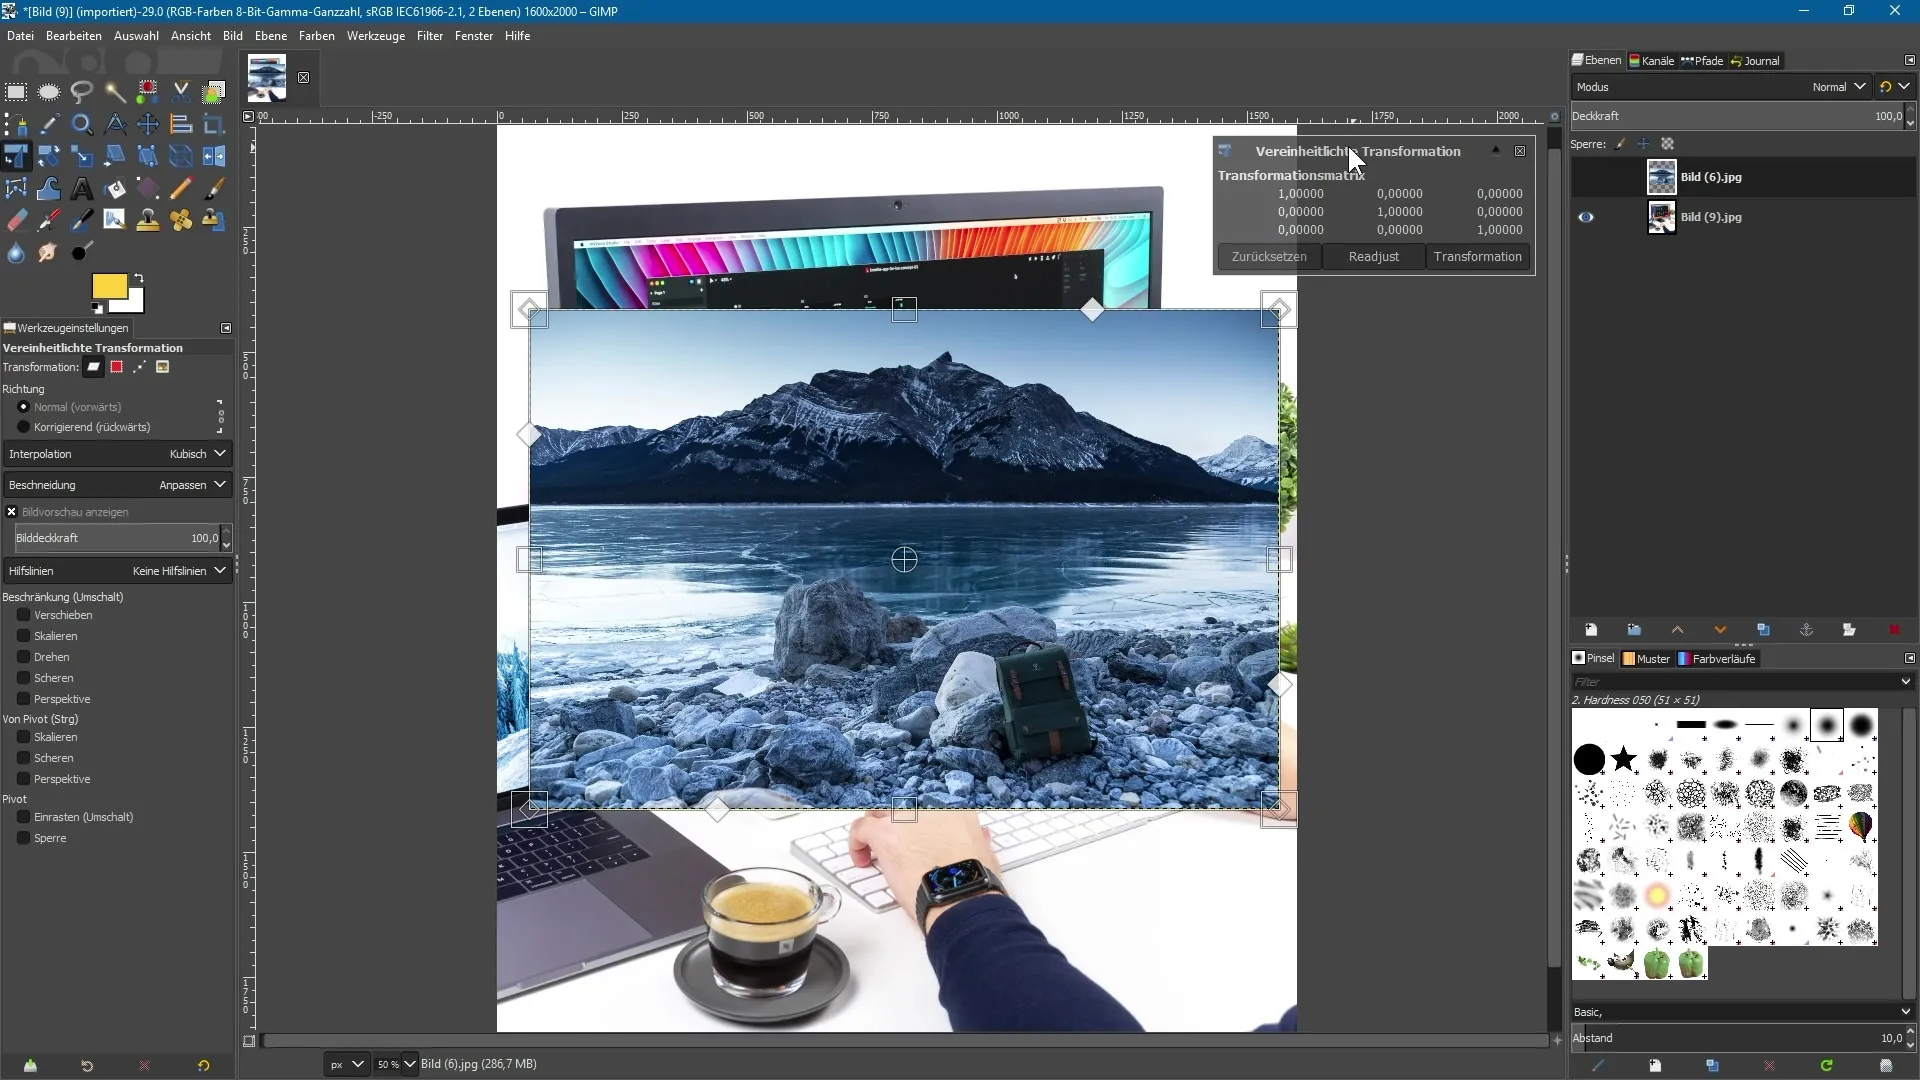
4. Scale the Image
You will see a square and a diamond at the corners of the image. When you hover over the square, it turns yellow and the cursor changes. You can scale the image by clicking on the square, holding down the left mouse button, and dragging the cursor. To scale the image proportionally, hold down the Shift key while dragging.
5. Rotate the Image
To rotate the image, simply click outside the image with the mouse and hold down the left mouse button. Move the mouse to the left or right, and the image will rotate around the previously chosen center point. To move the center point, you can drag it to another location. Press Ctrl + Z to undo the last action if necessary.
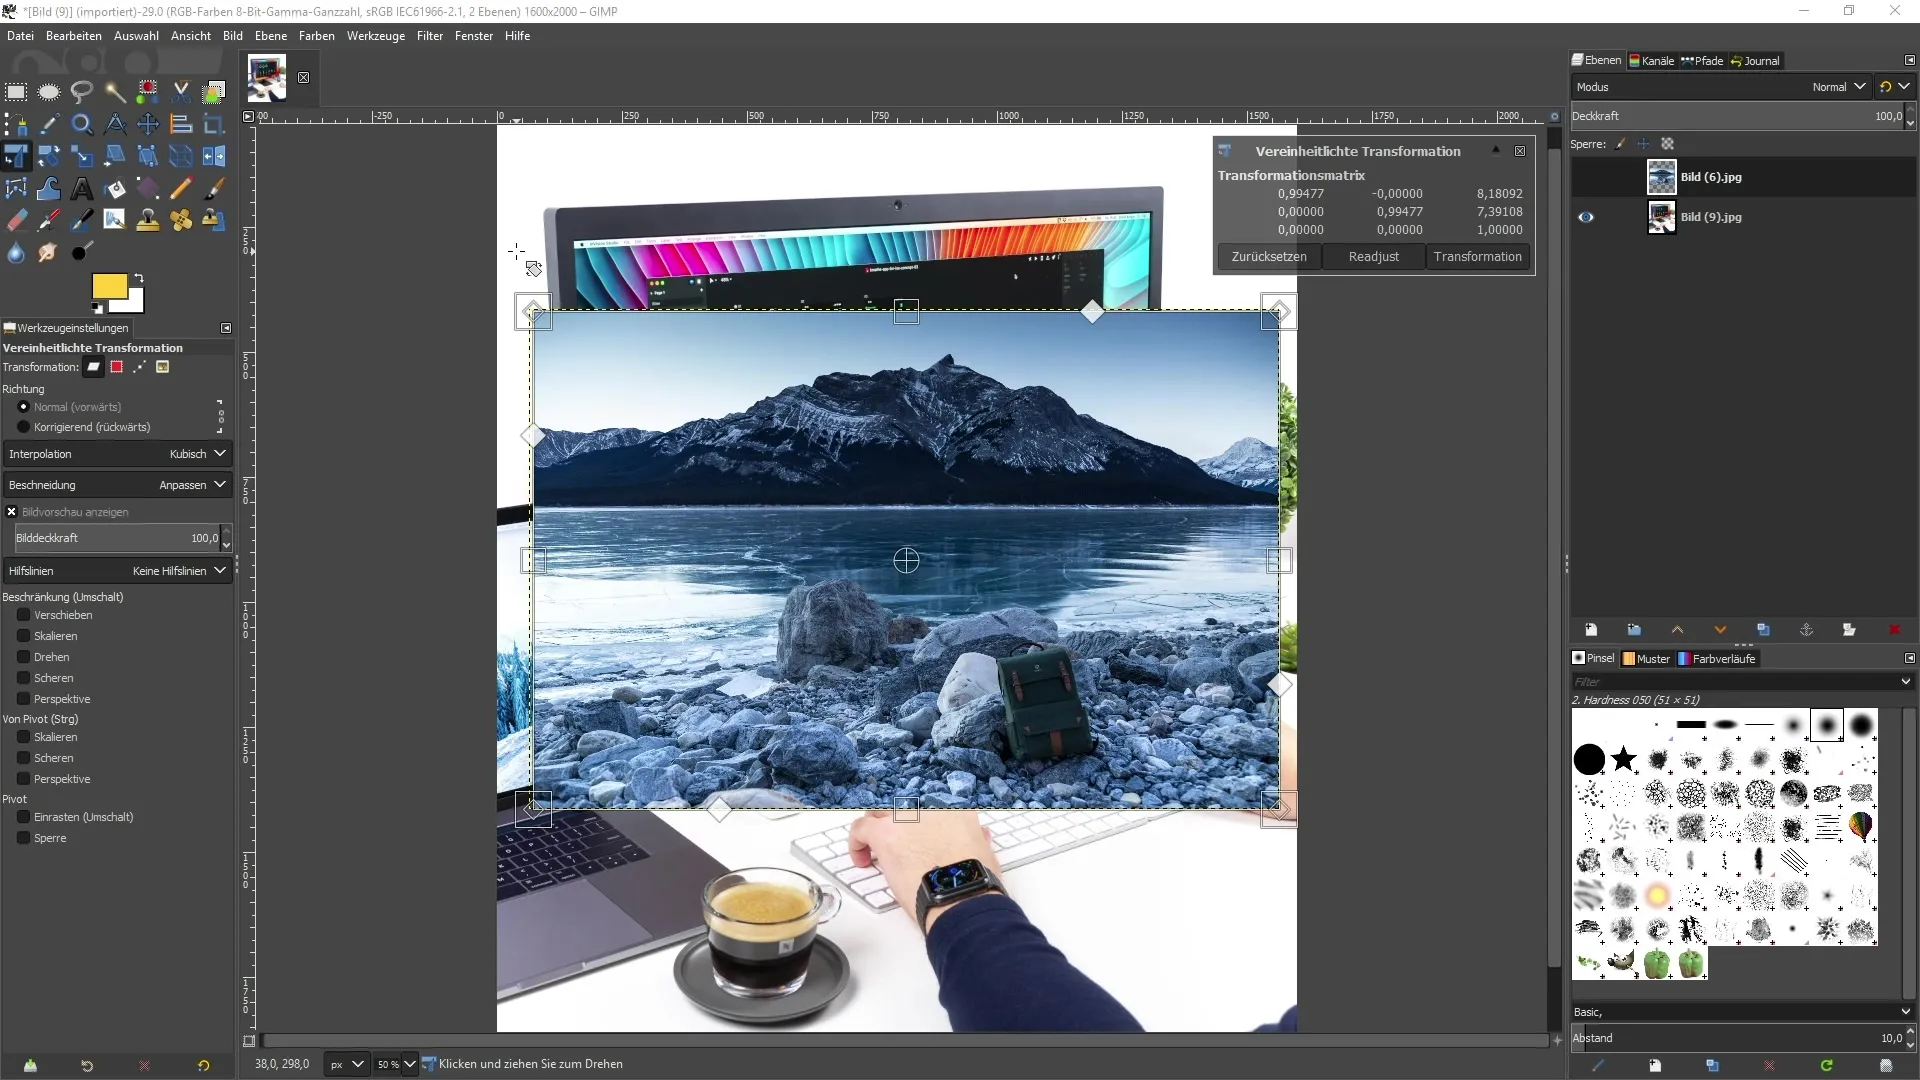
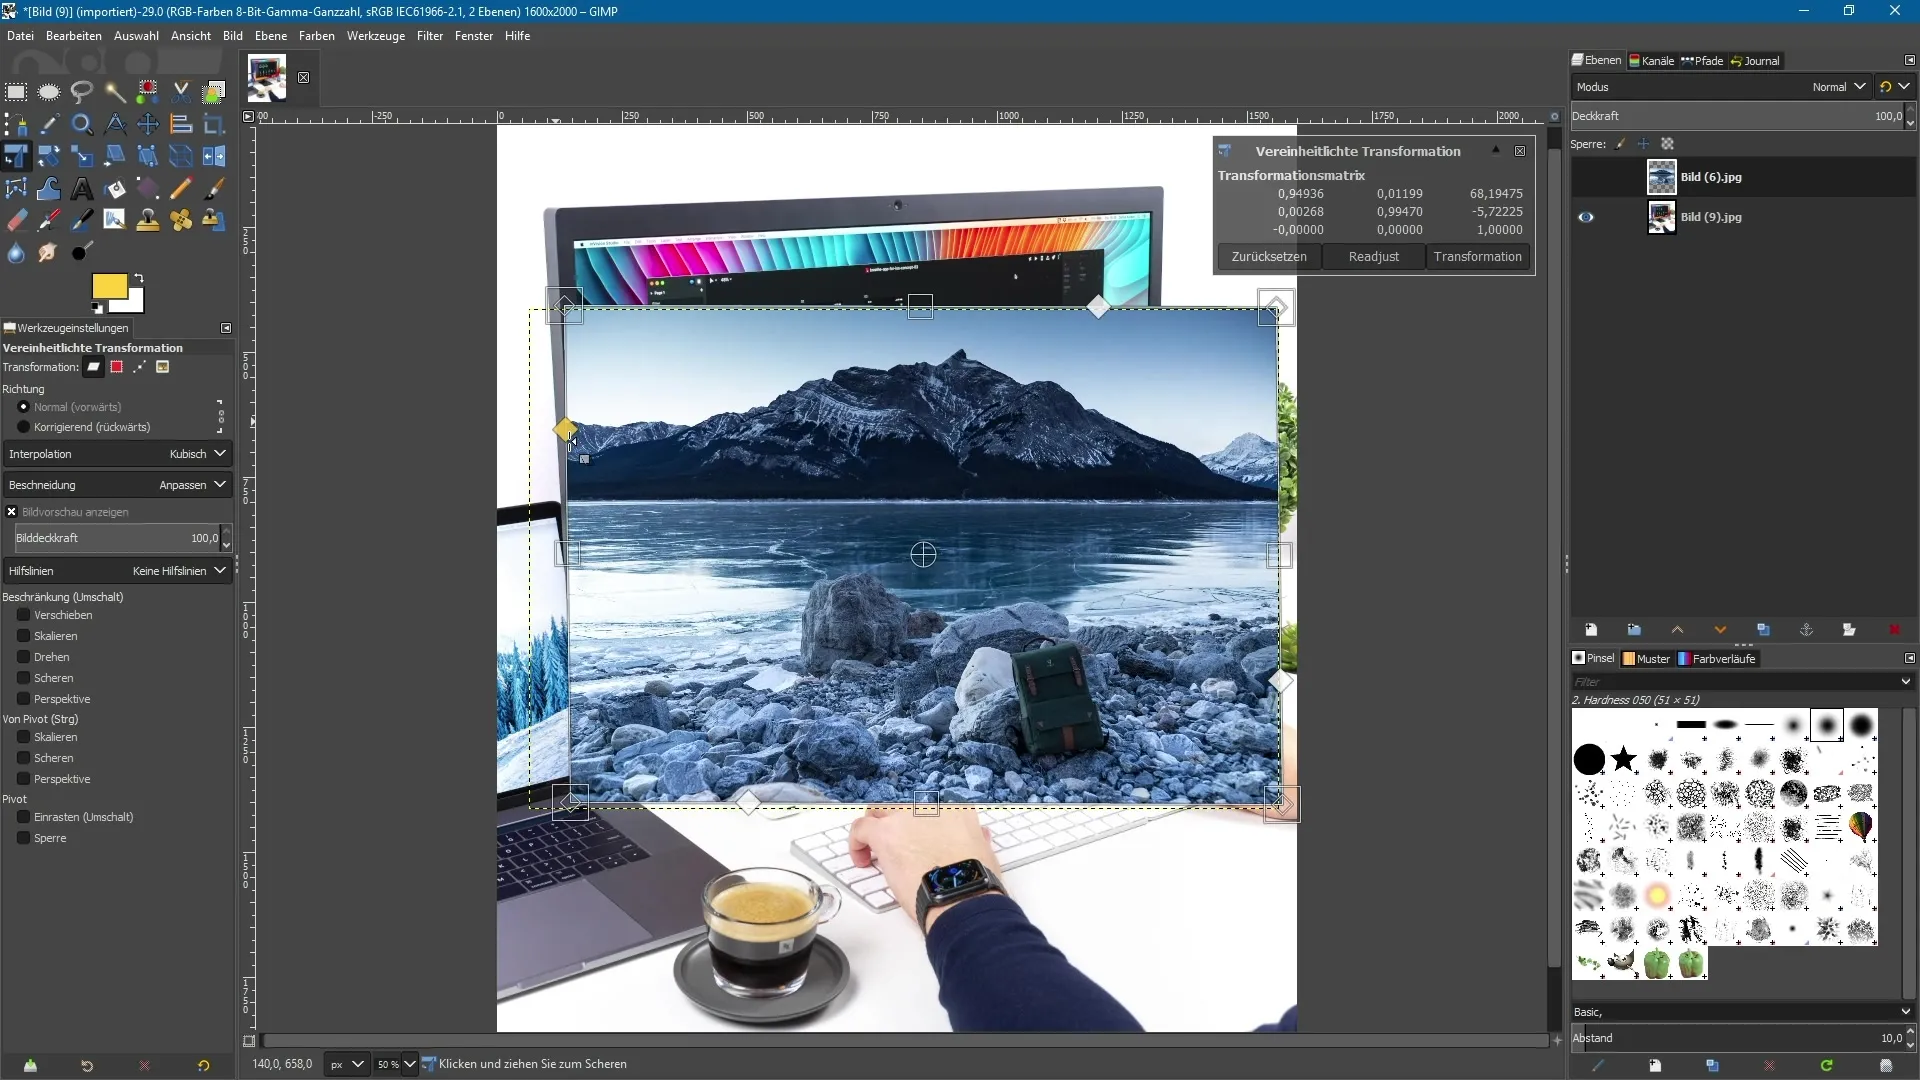
6. Skewing and Shearing the Image
To skew the image, use the squares on the sides. When you drag them, the image becomes narrower or wider, depending on your choice. To shear the image, use the filled diamonds at the corners to change the image accordingly.
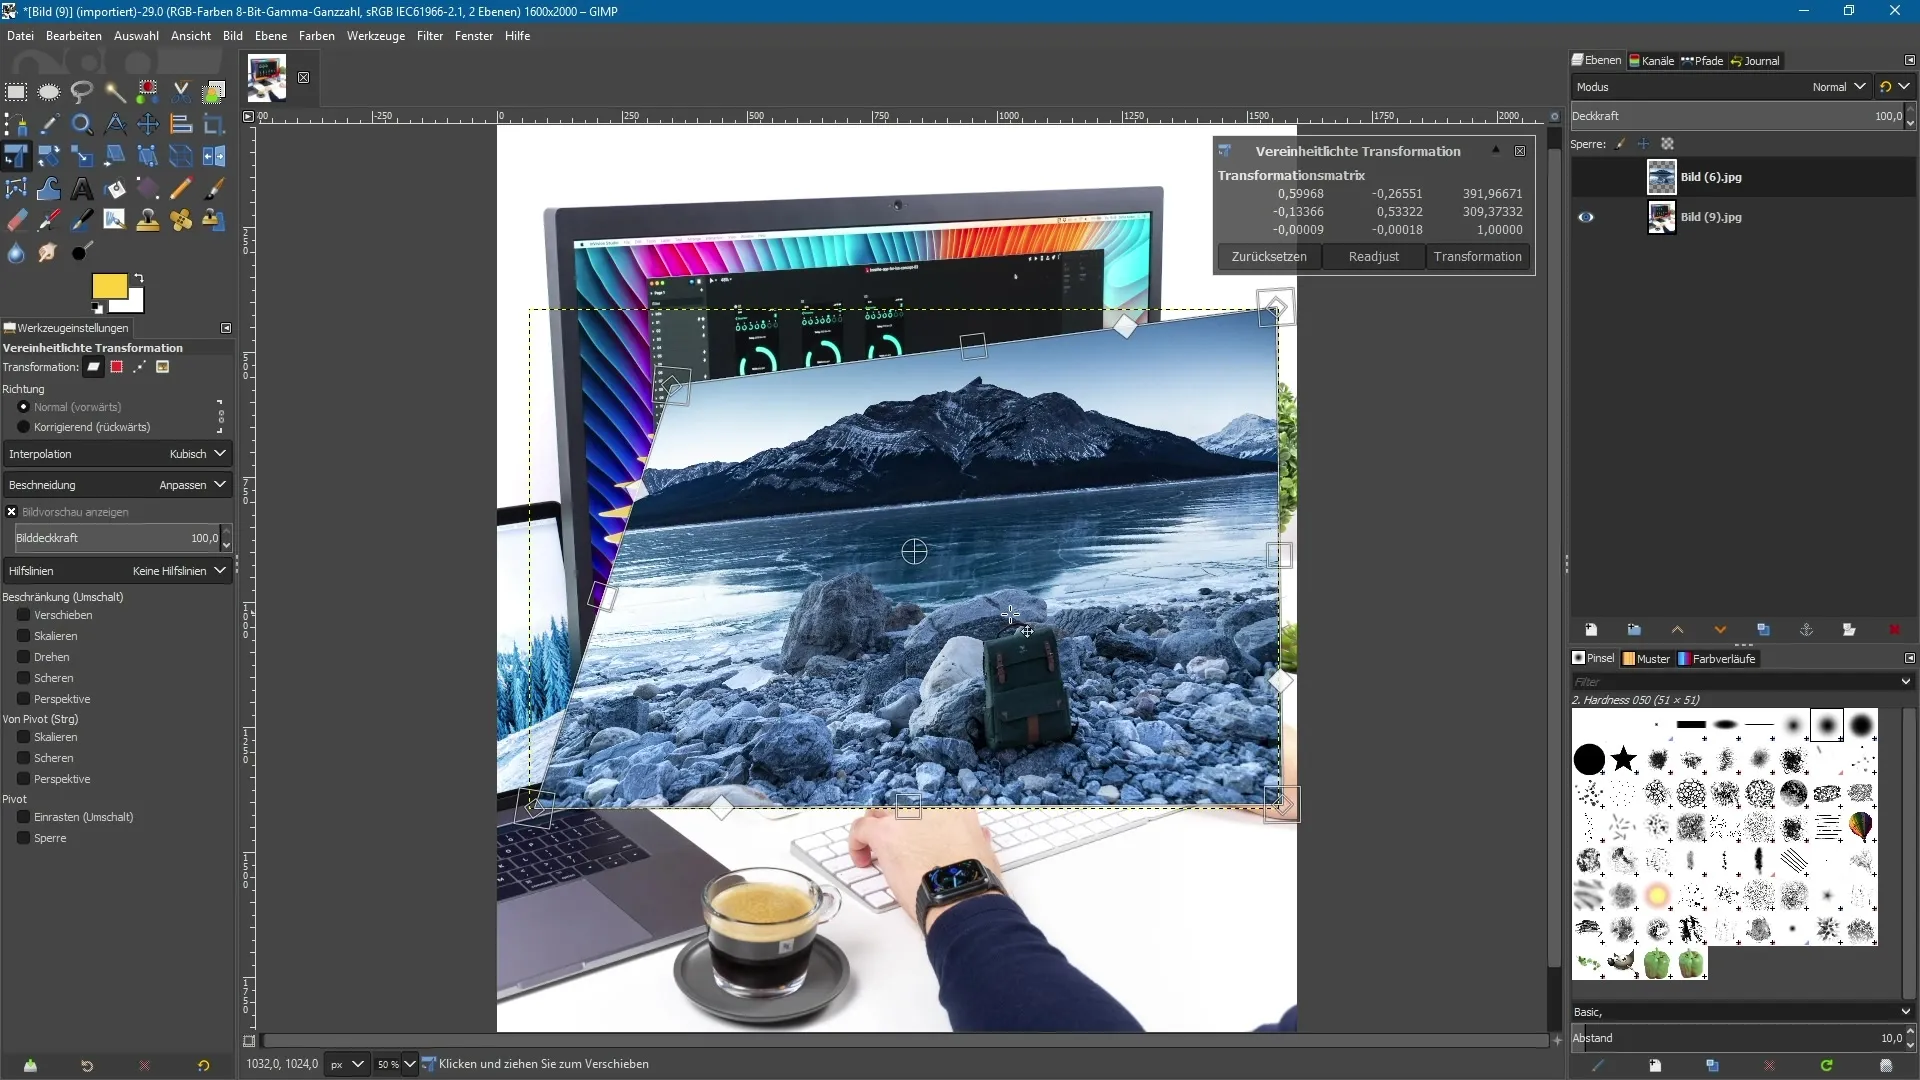
7. Perspective Distortion
The last step is to apply perspective distortion to the image. Click on the filled diamonds at the corners to change the perspective. Drag the points to create an image representation as if the image is placed on a surface.
8. Apply the Transformation
After making all the necessary adjustments, click "Transform" in the top menu bar to save your changes. The image will now be transformed according to your inputs.
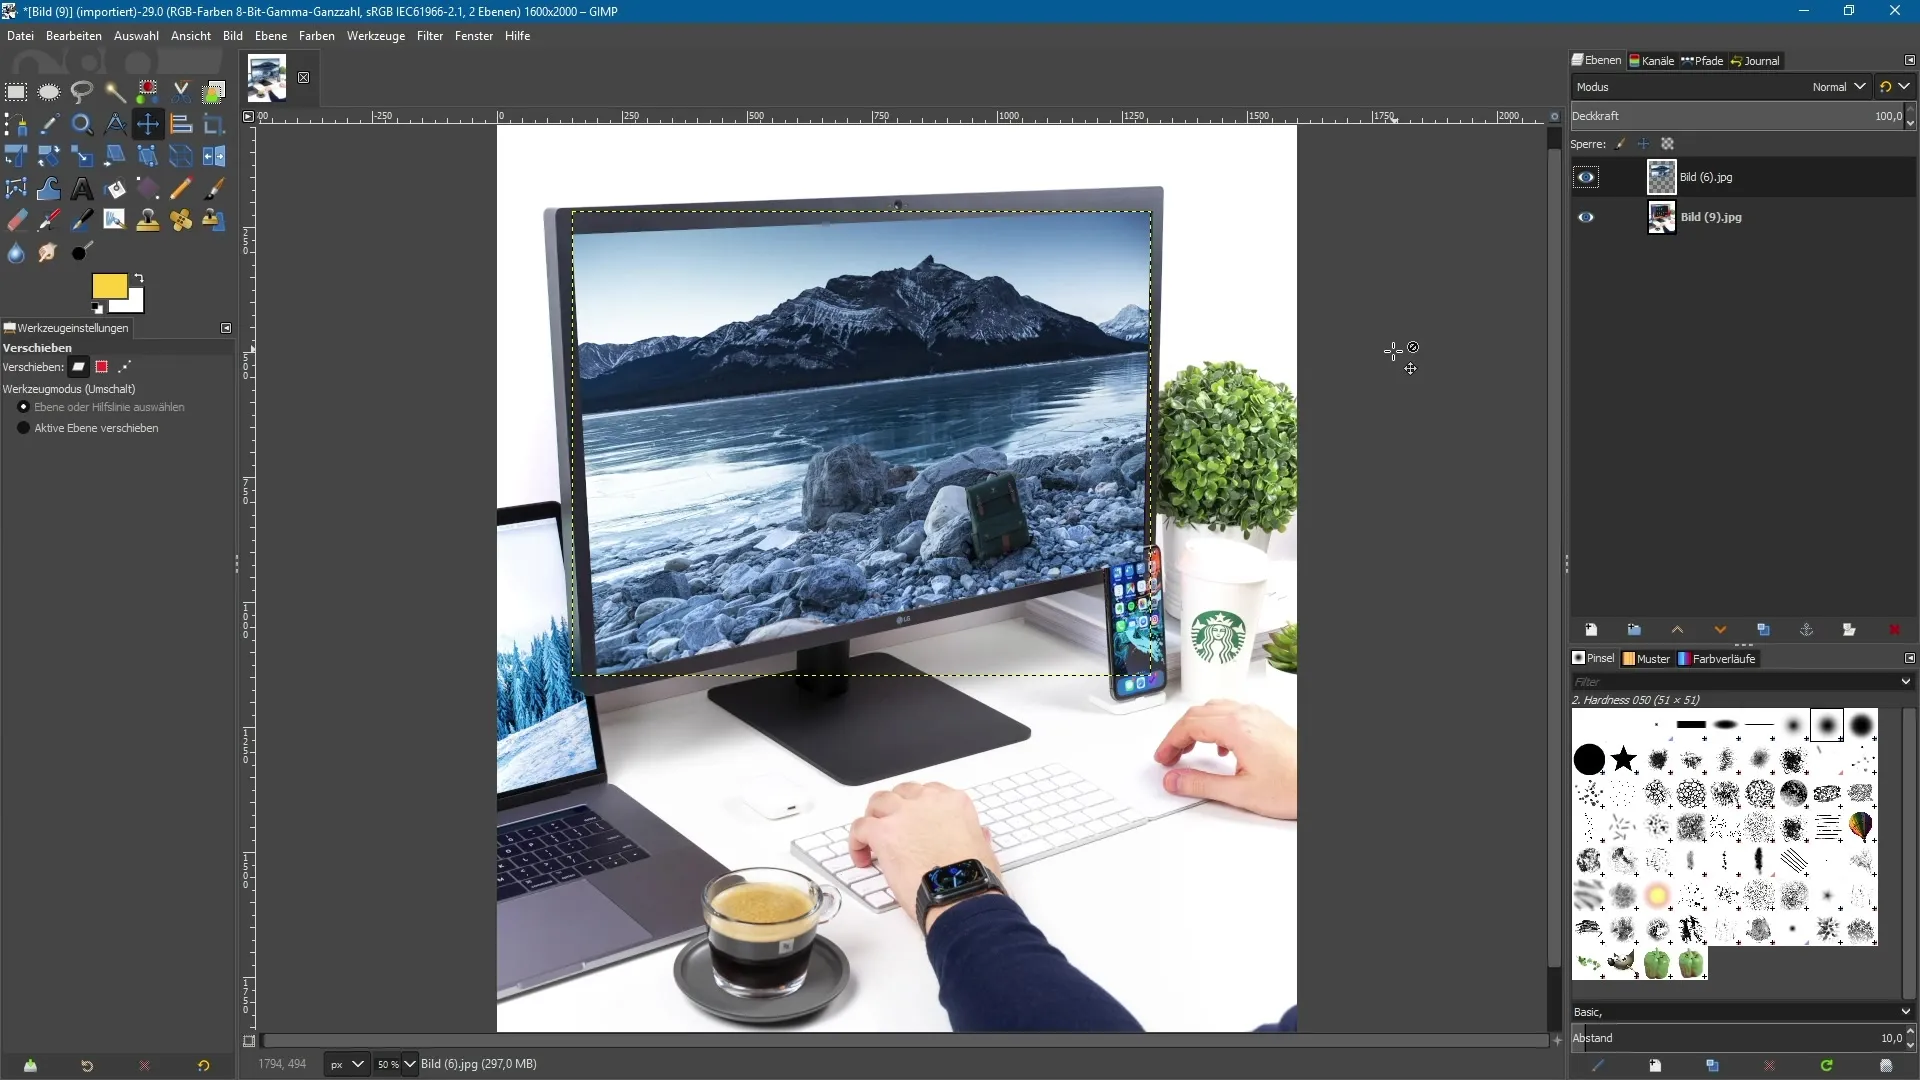
9. Fine-tuning and Masking
The result may vary depending on the complexity of the editing. For example, you might want to apply a mask afterwards to better define the edges or hide elements. Here you could take more time to further perfect the final result.
Summary - GIMP 2.10: The Unified Transformation Tool for Effective Image Editing
The unified Transformation Tool in GIMP 2.10 greatly simplifies your edits. You now have the ability to scale, rotate, shear, and apply perspective distortion with a single tool. This unification leads to a more efficient and creative workflow. Use the anchor points and control elements effectively to get the best out of your images.
Frequently Asked Questions
How do I open the unified Transformation Tool?You can find it in the toolbar or activate it with Shift + T.
Can I perform multiple actions with a single tool?Yes, the unified Transformation Tool allows you to scale, rotate, shear, and apply perspective distortion in one step.
How can I ensure that the image is scaled proportionally?Hold down the Shift key while dragging at the corners.
Is there a way to undo changes?Yes, press Ctrl + Z to undo the last action.
Can I change the perspective of an image?Yes, you can use the filled diamonds at the corners to adjust the perspective of the image.
