GIMP 2.10 has undergone significant improvements in the category of selection tools that can greatly ease your work. If you often work with cutouts and precise selections, you will appreciate the new flexibility that these updated tools bring. In this guide, I will walk you through the key innovations and their application so you can make the most of GIMP.
Main Findings
- The improved free selection tool allows for more precise adjustment of anchor points.
- The new feature "Draw Mask" helps you capture colors better.
- Annoyances caused by accidental small selections have been eliminated.
Using the New Free Selection Tool
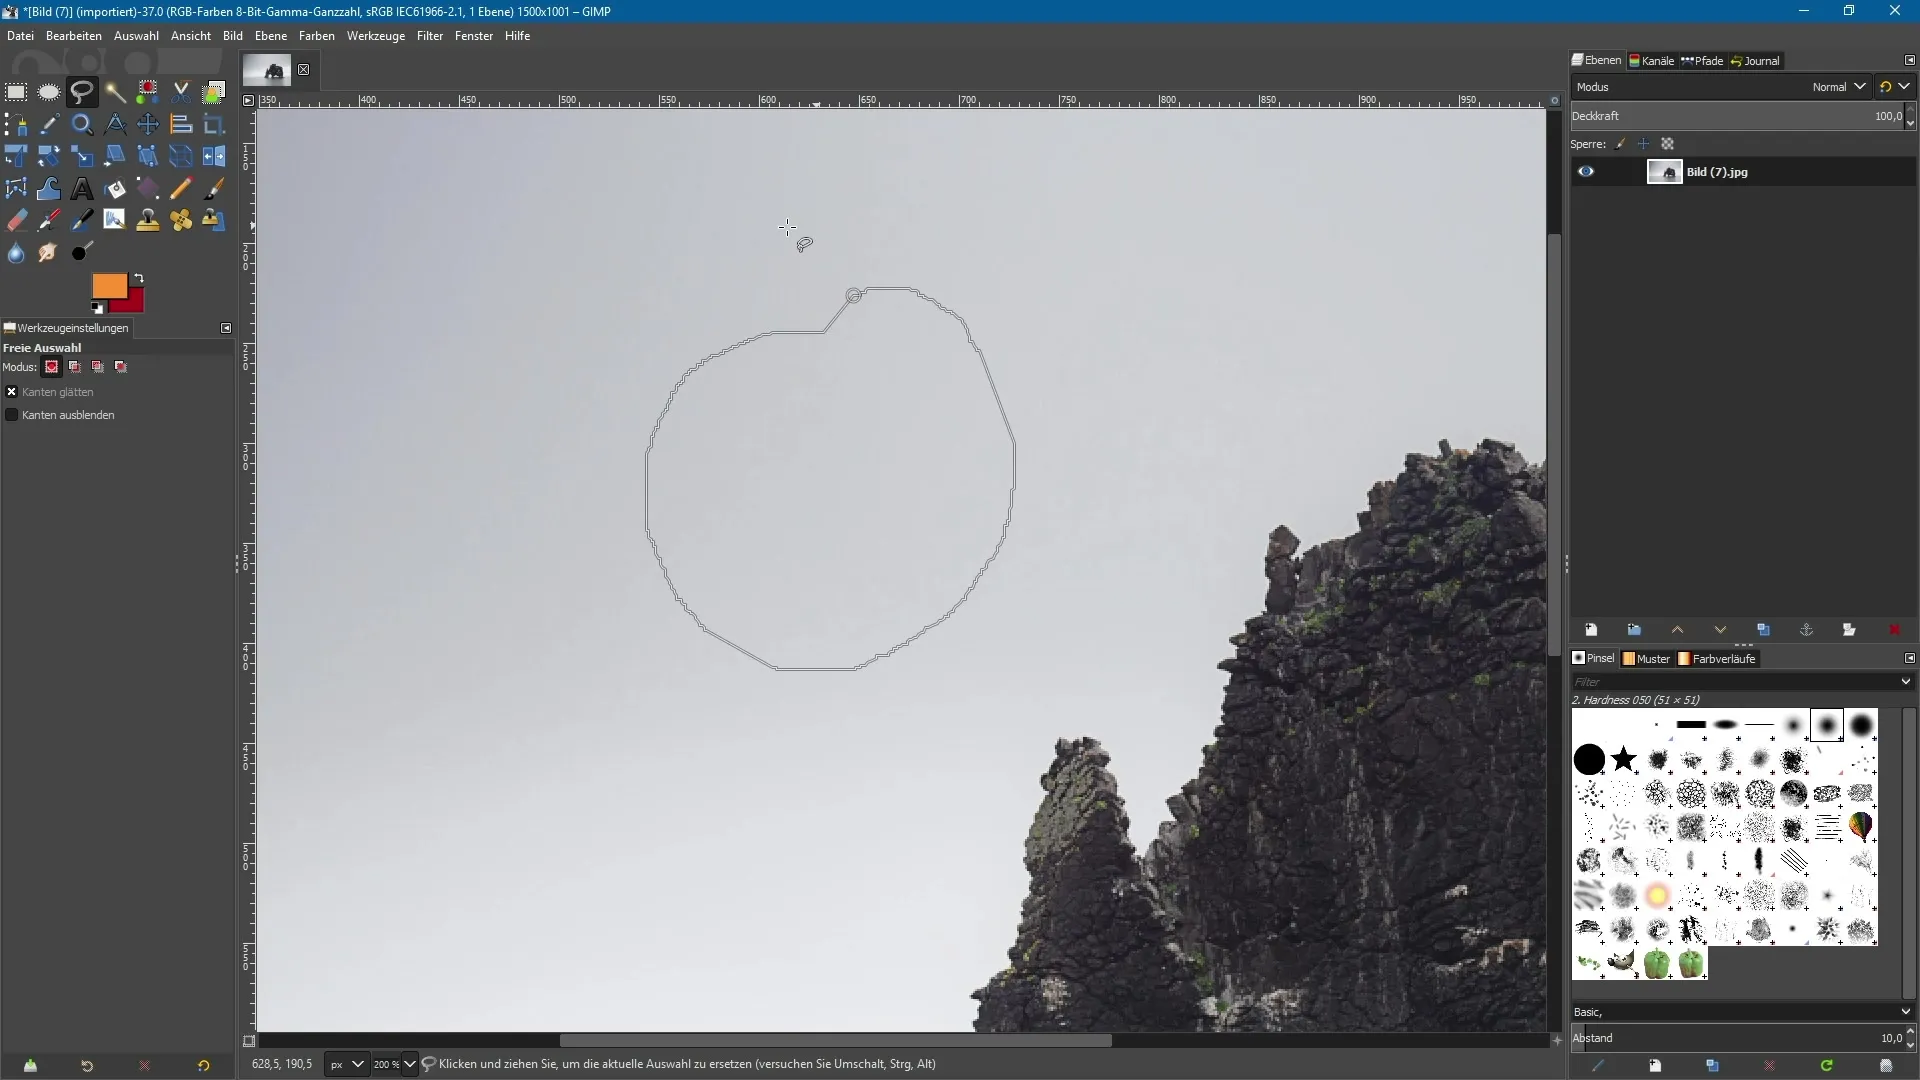
The first tool that has been refreshed is the free selection tool. With this tool, you can create a free selection by clicking and dragging. You have the option to still adjust the selection you create by clicking and dragging. Once you have set the individual points, you can move them by simply clicking and dragging.
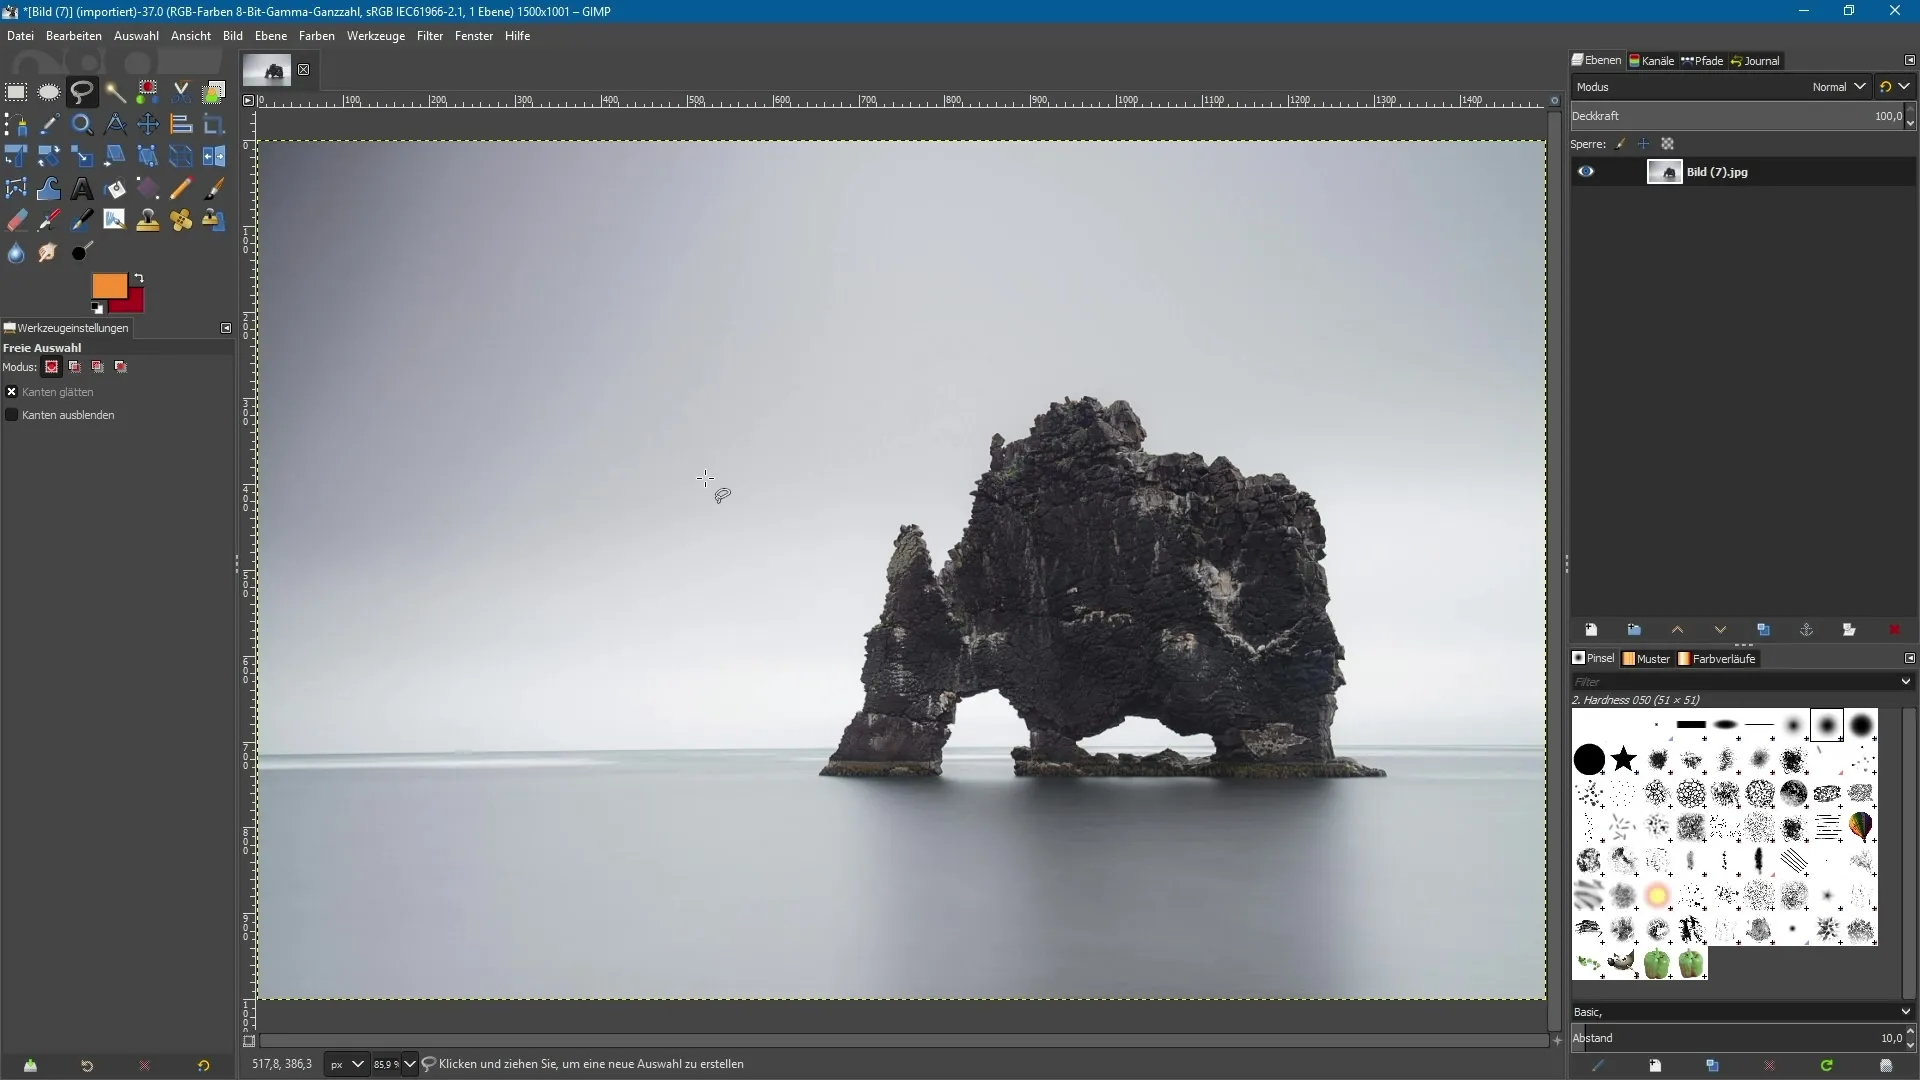
If you want to reset the last set anchor point, you can easily do that with the Backspace key. This gives you control over your selection and ensures that it encompasses exactly the area you want. The selection becomes active only when you double-click in the middle of the selection or switch to another tool.
Improvement of Selection Criteria
Another advantage is that the unwanted small selections that could occur when accidentally clicking outside your selection are a thing of the past. In the past, it could happen that you created a tiny selection box with a click when you didn’t intend to. Thanks to the adjustments in GIMP 2.10, this no longer happens, and you have a smoother experience when creating selections.
Smart Scissors for Precise Work
The smart scissors have also been optimized. You can now simply zoom in on the image while the interactive outline is active and work along the edges with a click and drag. The tool has its strengths, even though some users may not always find the results optimal. To reset an anchor point, press the Backspace key again. This can be particularly useful when you frequently switch between anchor points.
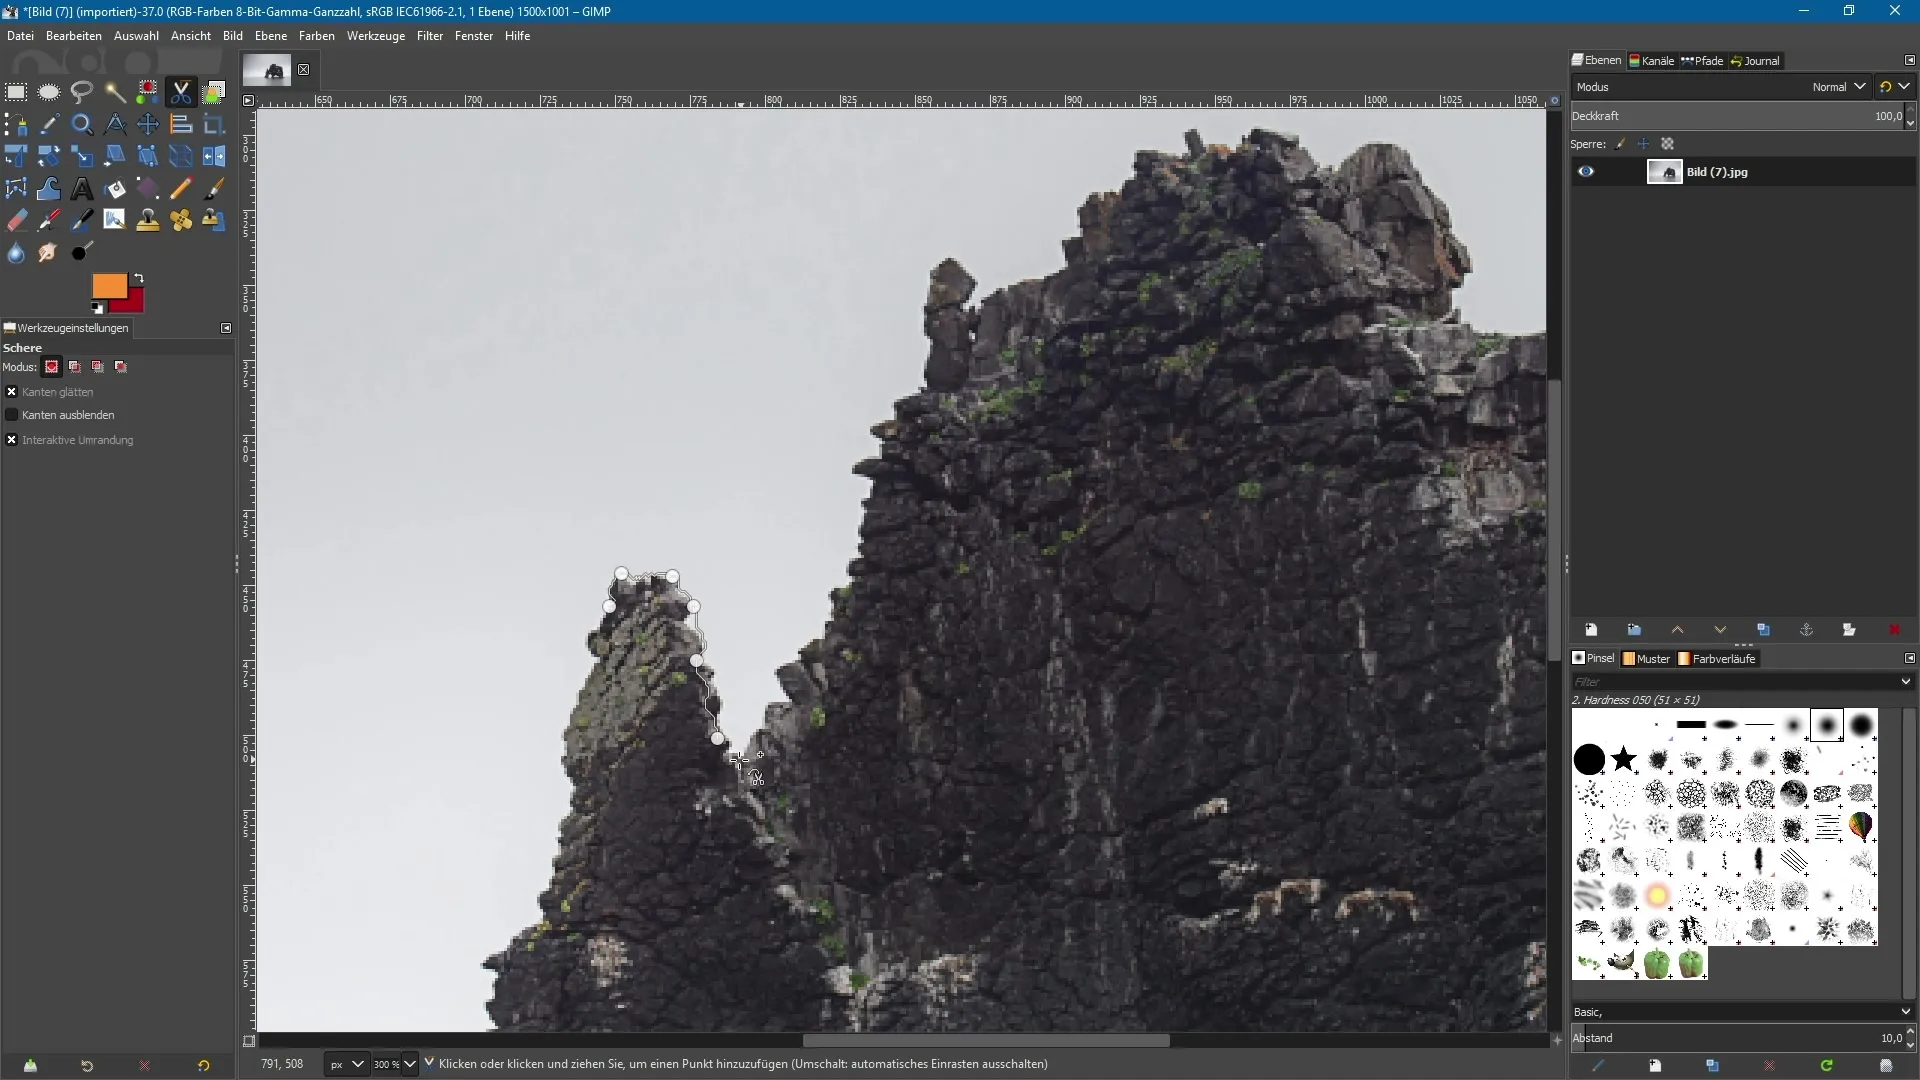
Finally, when you want to close your selection, just click in the middle of the selection – and voilà, it’s set.
Introduction of the Color Masking Function
Additionally, GIMP has introduced a new feature called “Draw Mask” for selection tools like the magic wand and color selection. This feature makes it easier for you to select certain color areas because with the mask activated, selected areas appear in a magenta representation. This way, you can immediately see which areas you have marked.
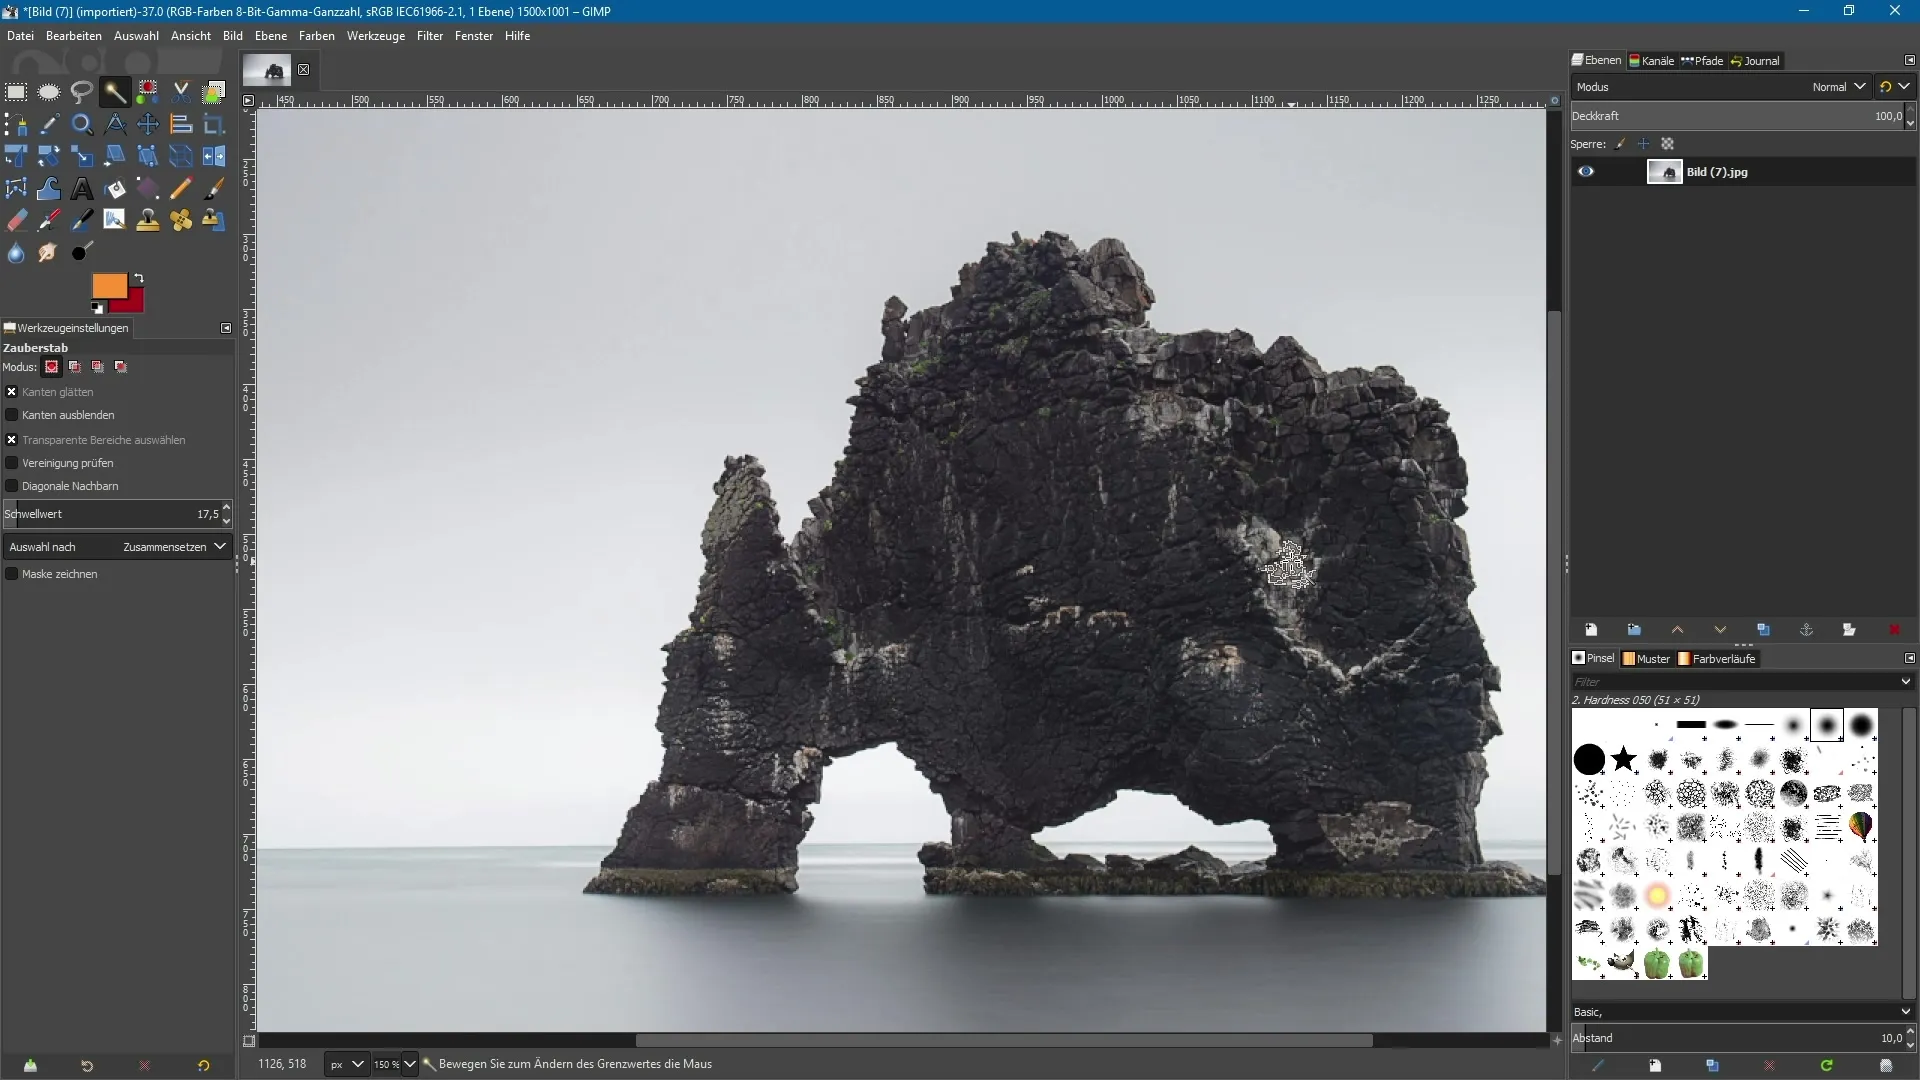
By dragging the mouse with the left button pressed over the desired area, you clearly define which color tones should be included in the selection. When you release the mouse button, the final selection becomes visible. This method increases accuracy and reduces the likelihood of errors.
Summary - GIMP 2.10: Improved Selection Tools for More Precise Work
The new selection tools in GIMP 2.10 offer significant advantages. Whether it’s through the revised handling of anchor points in the free selection tool, the elimination of unwanted small selections, or the new mask for drawing colors – all of this contributes to a more efficient and precise editing of your images. The improved user experience makes working with GIMP much easier and makes your projects even more professional.
Frequently Asked Questions
What’s new with the selection tools in GIMP 2.10?The selection tools have been adjusted, including the free selection tool, which now allows for more flexible anchor points, as well as optimized functions for the magic wand with "Draw Mask".
How can I undo a selection point?You can reset a selection point with the Backspace key to adjust the positioning.
How exactly does the “Draw Mask” function work?“Draw Mask” displays selected areas in magenta, allowing you to capture colors better and make more precise selections.
