The ruler tool in GIMP 2.10 has undergone some important improvements that significantly ease image editing. One of the most common problems when working with photos is a tilted horizon. In this tutorial, you will learn how to effectively use the ruler tool to straighten the horizon of your images precisely while avoiding unwanted transparent areas.
Main insights
- The ruler tool is now easier to use, making the process of straightening a horizon more efficient.
- When straightening, you can also automatically crop the image to minimize unwanted transparent areas.
- There are additional image adjustment options that give you more control over your edits.
Step-by-step guide
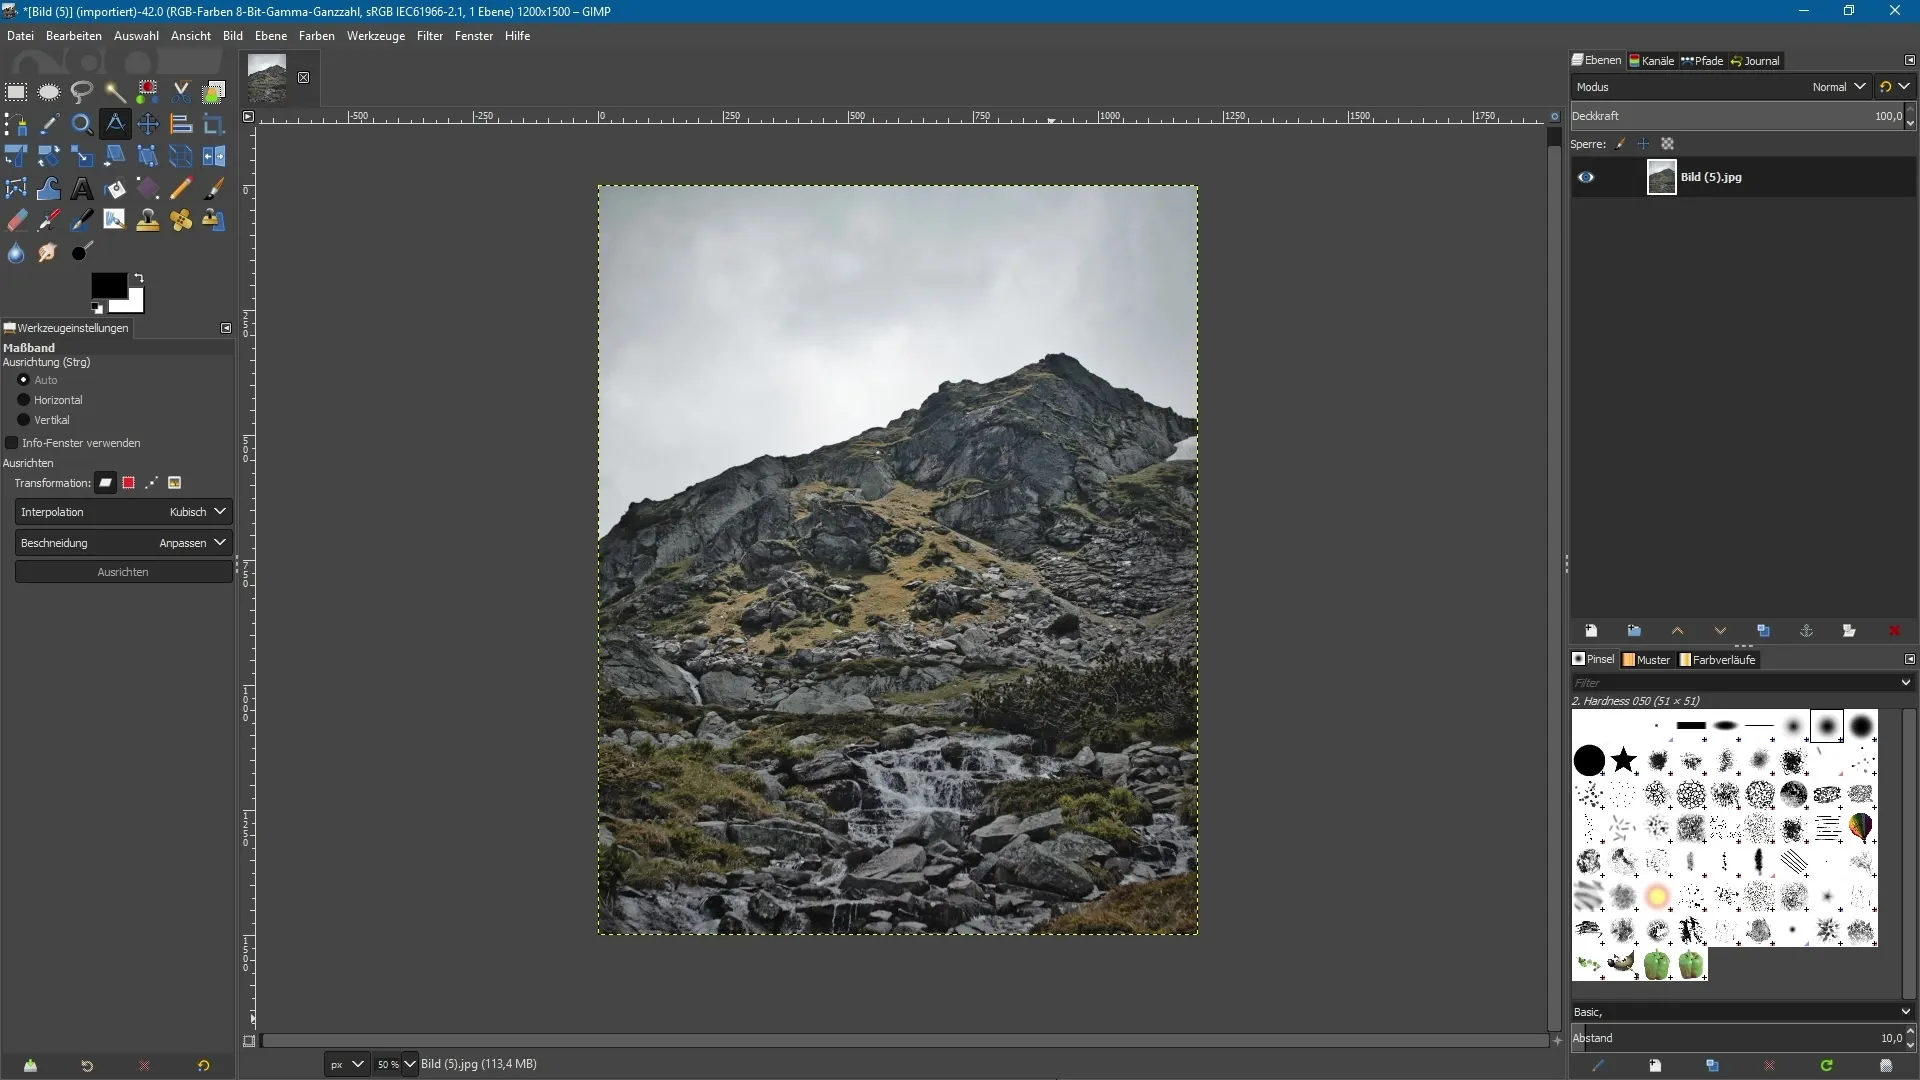
Start by selecting the ruler-tool. You can find it behind a specific icon or via the keyboard shortcut Shift + M. Once selected, you can draw the line that you want to set as the new horizon. Draw the line for the example image along the area you want to align.

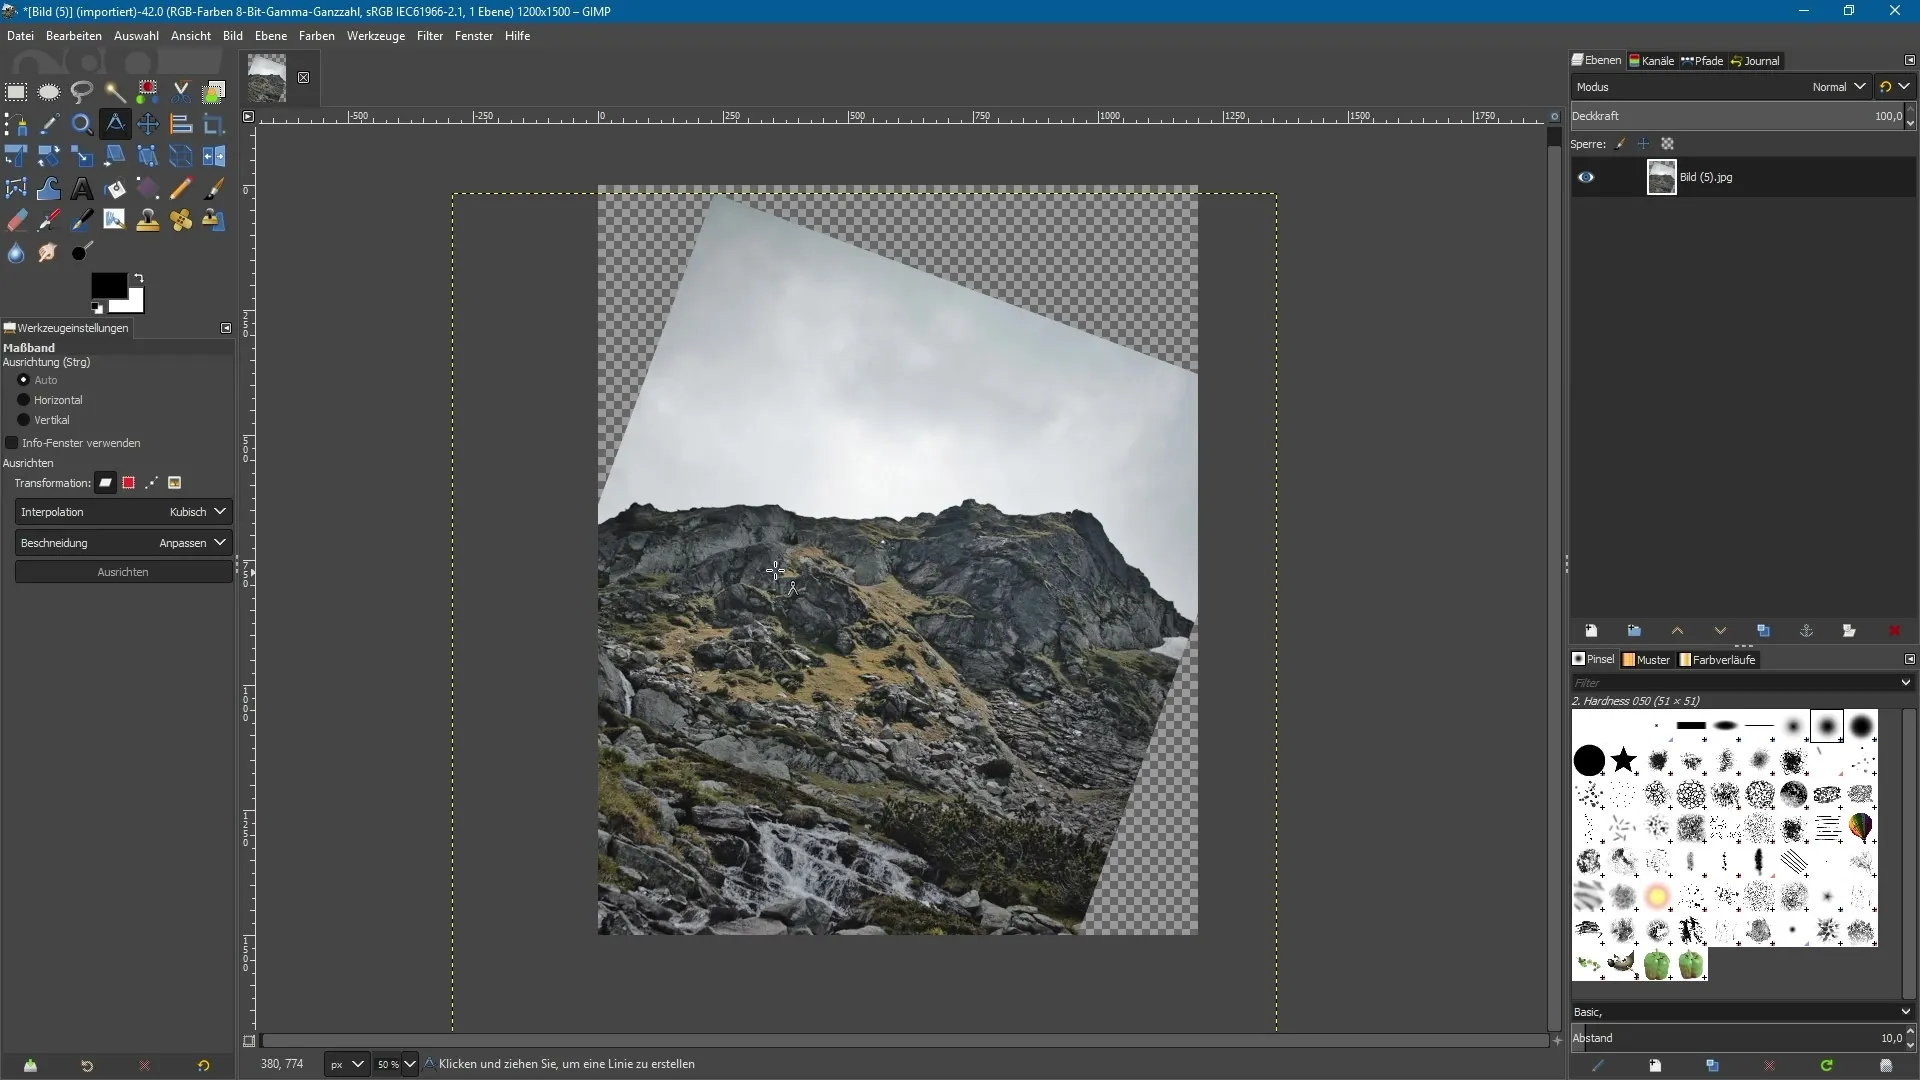
After drawing the line, go to the tool settings and click on “Align”. GIMP will automatically rotate the image to use the drawn line as the new horizon. You will immediately see how the image adjusts accordingly.

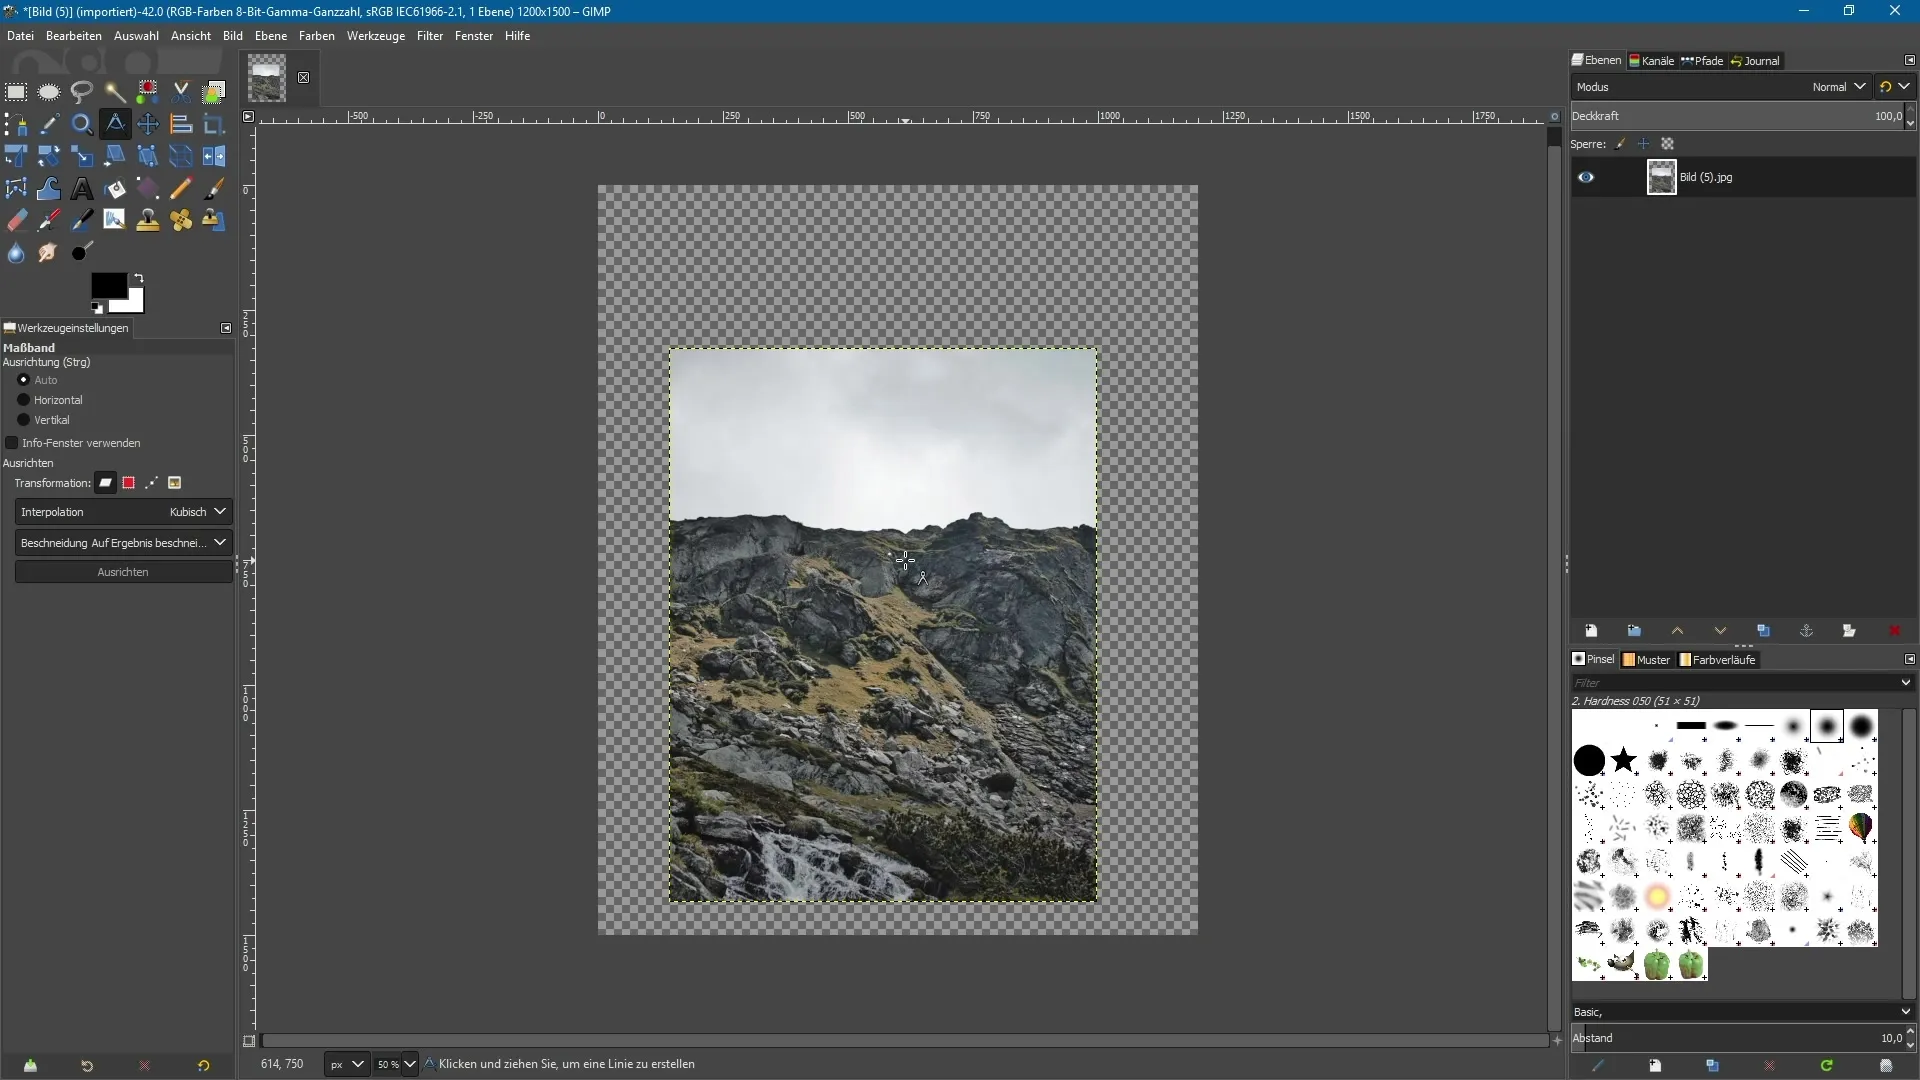
It may happen that transparent areas become visible after rotating the image. These are often the result of the image not being optimally cropped. To fix this, you can use the crop tool. Alternatively, GIMP has a menu item “Crop” with a specific function. Select “Crop Result” to optimize the image content right after your adjustment.
If you want to set the horizon again and use the alignment function, make sure to undo your previous action. GIMP allows you to easily reset the steps, so you always have a clean starting point. After you have set the desired line for the horizon again, you can choose “Align” once more. The image will be automatically recropped.

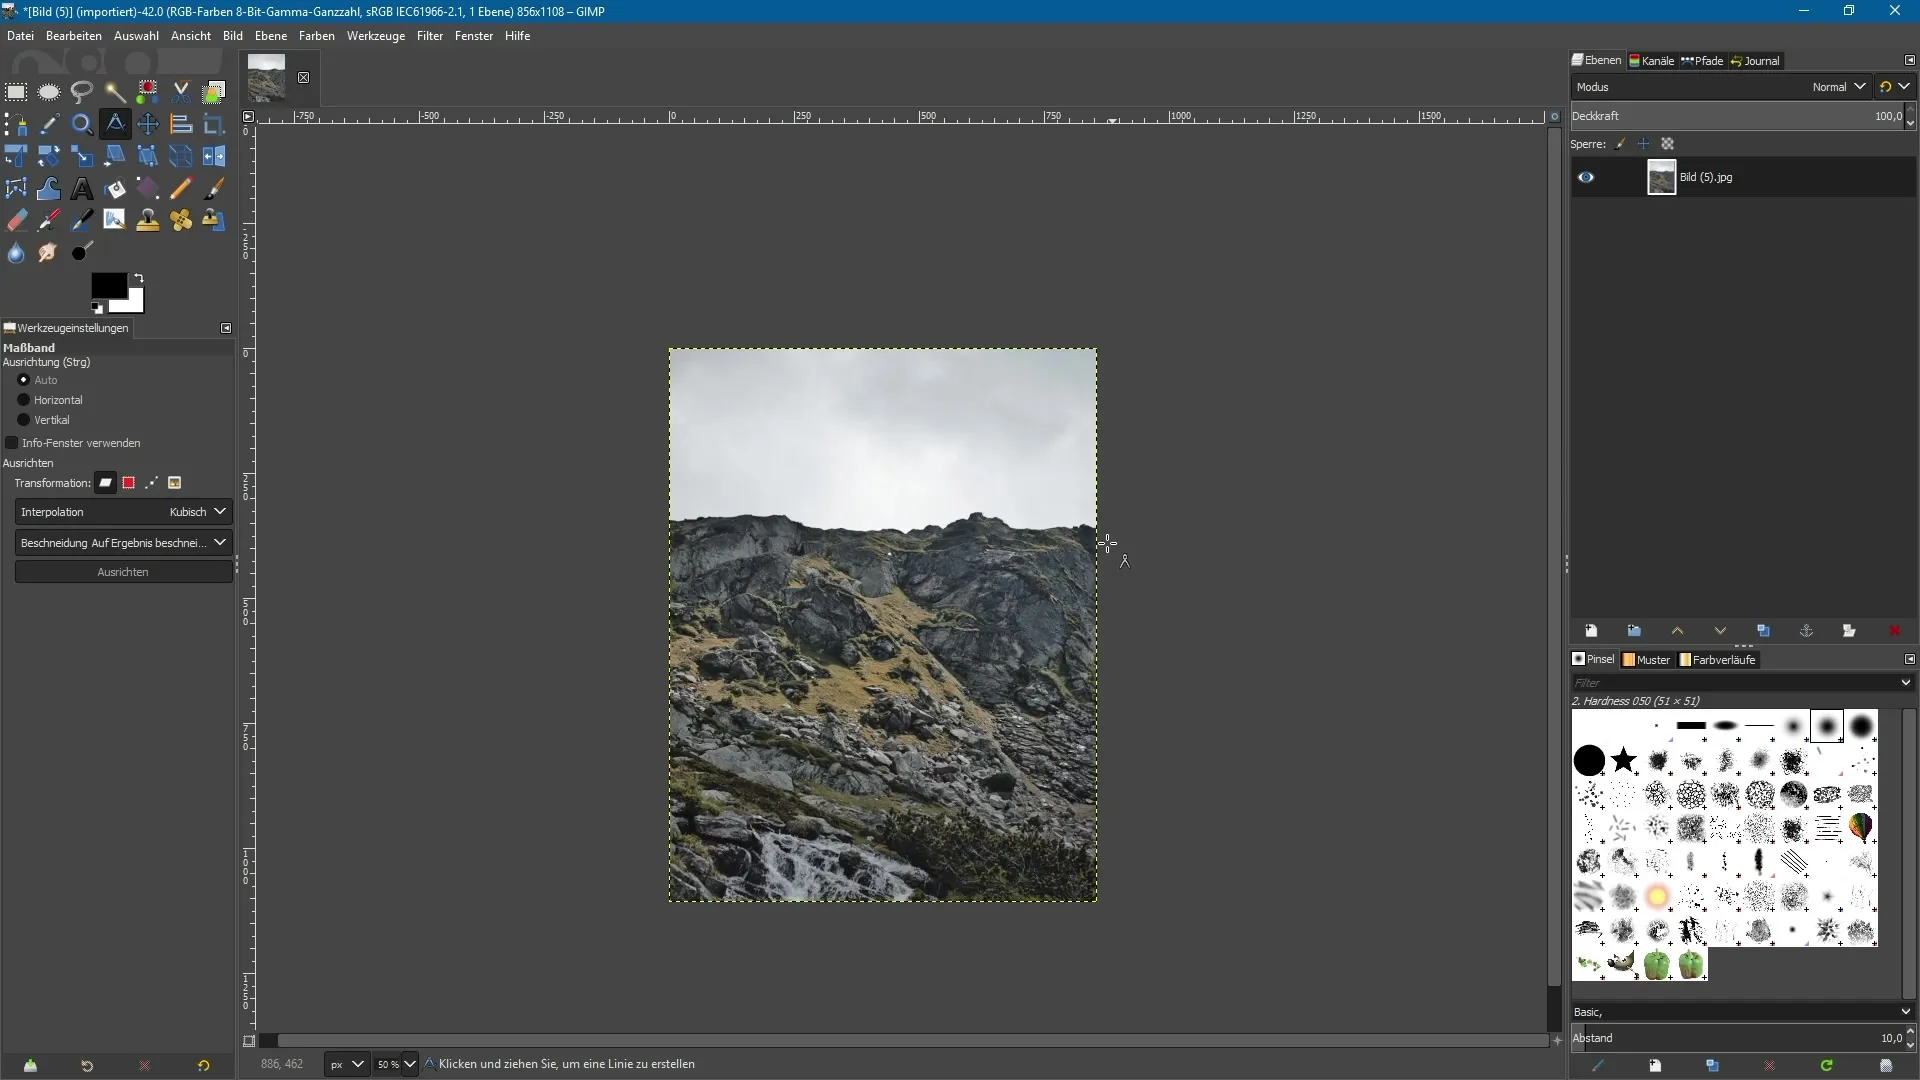
After cropping, not only will you have a clean presentation of the image, but you can now also use the “Image Adjustment” feature. Go to the “Image” menu and select “Adjust Canvas to Layers”. This will adjust the document to the cropped area and reduce the canvas size to what is essential.

By following these steps, you achieve a more realistic result; the image now looks higher quality without distracting transparent areas. The ruler tool in GIMP 2.10 allows for straightforward horizon straightening. It is an efficient solution for any photographer or image editor who values precise results.
Summary – Ruler Tool in GIMP 2.10: Guide to Straightening Horizons
In this guide, you have learned how the ruler tool in GIMP 2.10 helps you easily and effectively straighten horizons and how to avoid unwanted transparent areas with the available functions. With just a few steps, you achieve professional results that elevate your photo editing to the next level.
Frequently Asked Questions
What is the ruler tool in GIMP 2.10?The ruler tool helps to straighten horizons in images and simplifies image editing.
How do I activate the ruler tool?You can activate the ruler tool via the icon or with the keyboard shortcut Shift + M.
Can I remove transparent areas after rotating the image?Yes, you can use the “Crop Result” function to automatically crop the image and avoid transparent areas.
How do I adjust the canvas to the edited layers?Go to “Image” and select “Adjust Canvas to Layers” to adapt the document to the new image size.
What happens if I want to set the horizon again?You can undo the last action and use the ruler tool again to set a new alignment line.


