The Fill tool in GIMP 2.10 has undergone some significant improvements that can greatly enhance your workflow. Whether you're just starting out or are an experienced user, the new features offer various ways to make your designs more precise and creative. Let's explore together how you can effectively utilize the new options of the Fill tool.
Key Insights
- The Fill tool can now fill areas with gaps.
- The "Fill by Edge and Line Detection" function analyzes shapes and identifies gaps.
- Working with multiple layers increases flexibility when drawing and coloring.
Step-by-Step Guide
Getting Started: Creating Shapes
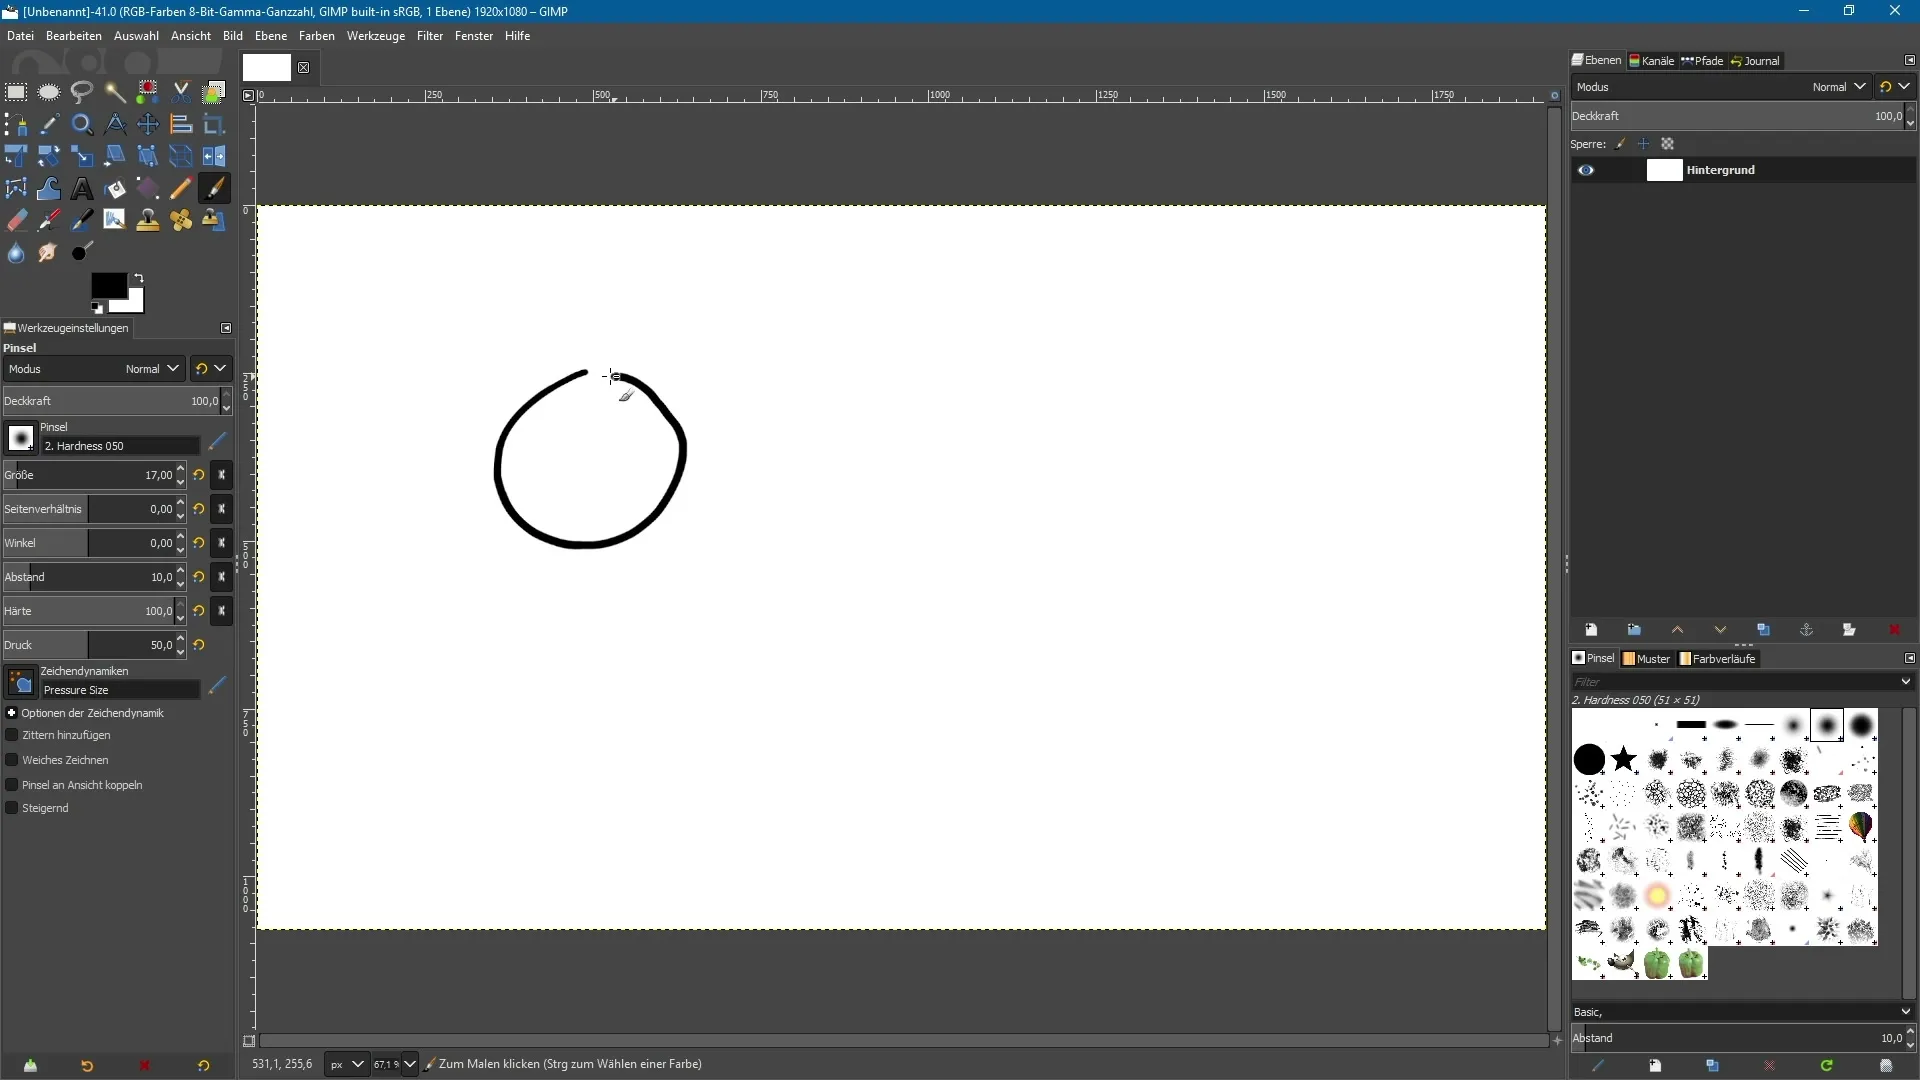
Before using the Fill tool, you first need to create a few shapes. Activate the paintbrush and draw a simple circle with a gap. Also create a closed square. You can use the following screenshot variable for this first step:

Switch to the Fill Tool
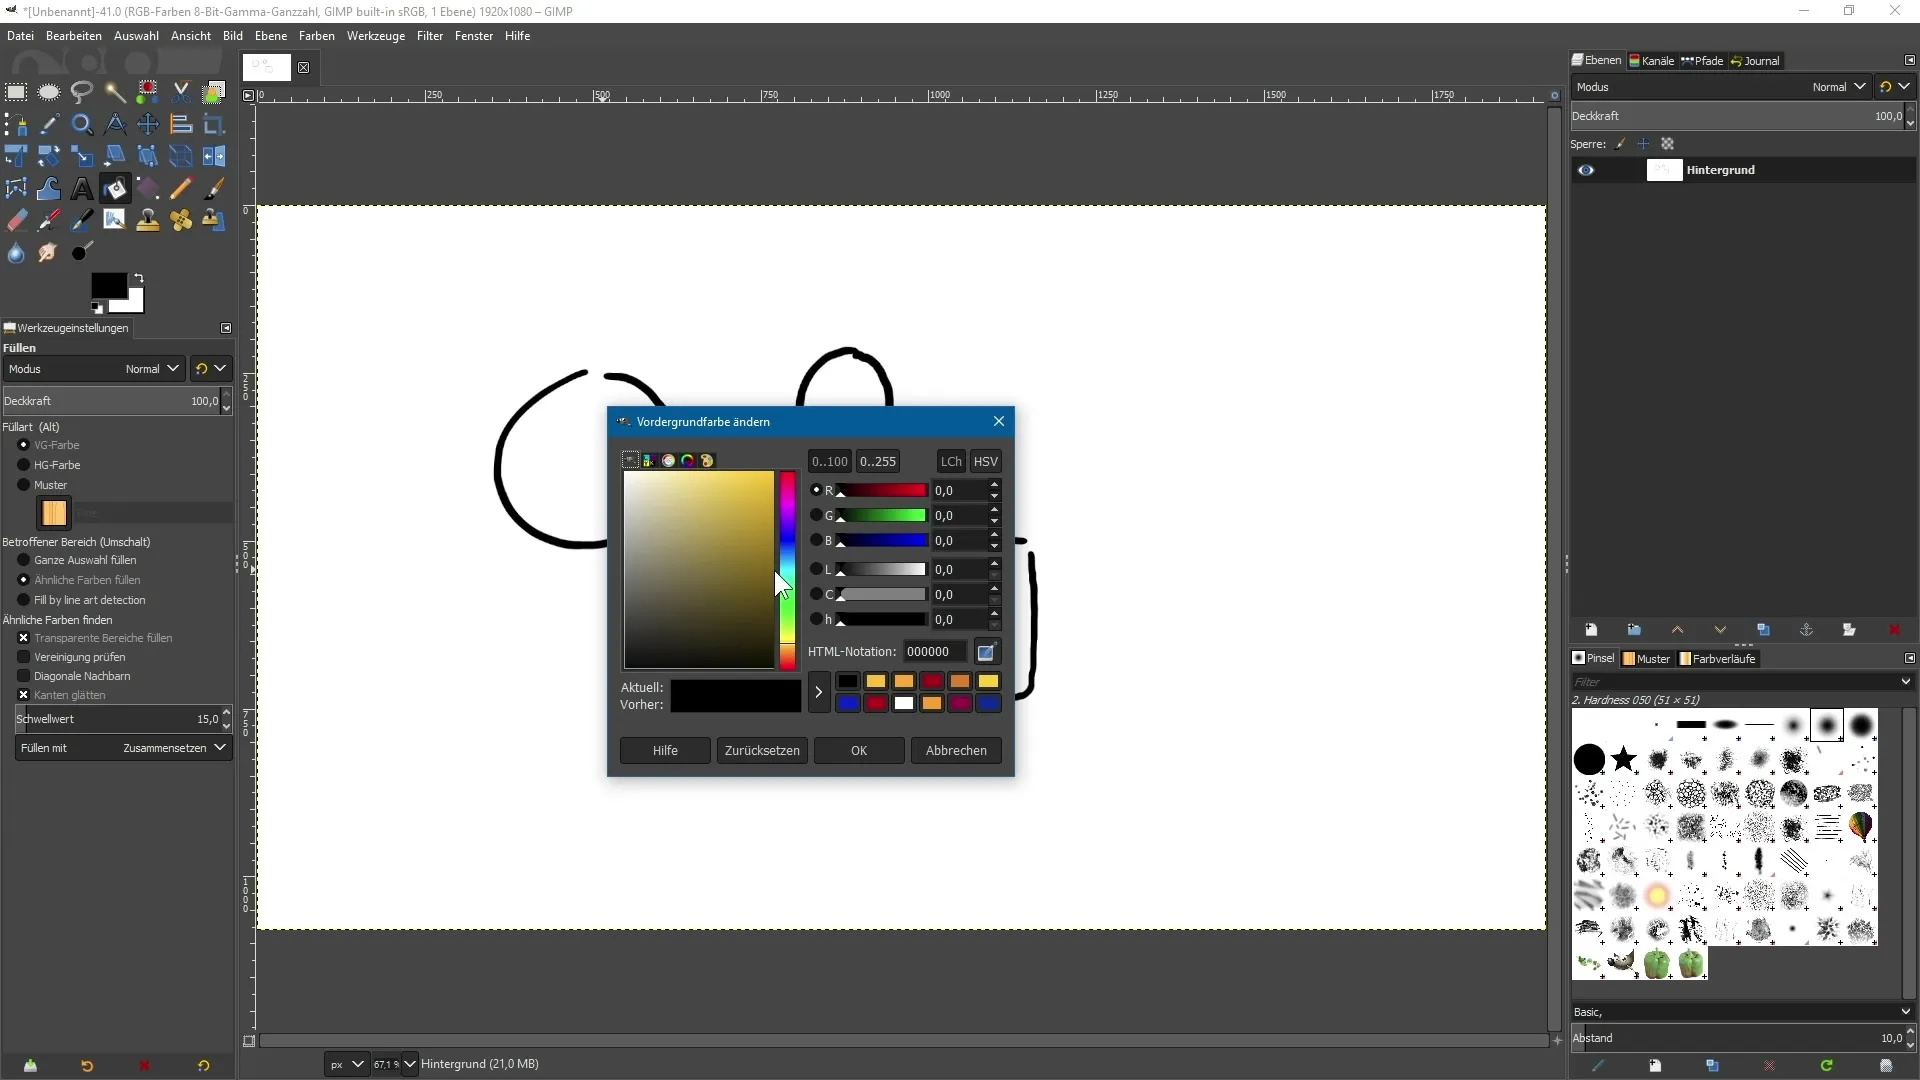
Now it's time to select the Fill tool. This function was previously limited to filling only areas without gaps. If you click on your circle now, you will notice that the inner area is filled correctly. It’s important to know that the fill tool only works when there are no gaps present. For shapes with gaps, the fill color will react differently. Use the following screenshot:

Fill Methods: Filling by Line Detection
One of the new features is "Fill by Edge and Line Detection." It enables GIMP to analyze shapes and recognize gaps. As long as the gap does not exceed a certain width, you can successfully fill even with gaps present. Try it on your circle and see how the color does not flow through the gap. This feature provides flexibility and can greatly contribute to creating complex designs. Screenshot variable:
Tip for Drawing
If you enjoy drawing with GIMP, such as comics or emotes, it's advisable to work on separate layers. Create a new transparent layer and name it "Lines," for example. Then, create another layer called "Colors." This colors layer should be positioned underneath the lines layer. This structure allows you to make changes easily without affecting the lines. Use the following screenshot:
Filling in the Design
Now switch to the colors layer and select a new foreground color that you want to use. Set the appropriate settings in the Fill tool. Check and adjust the last setting as necessary depending on the image resolution. Once the settings are correct, you can click on the desired area, and it will be filled with the selected color. This is a very efficient method to quickly create your designs. Screenshot:
Layer Visibility
If you have multiple layers, you can control their visibility separately. For example, if you only want to see the lines layer, you can hide the colors layer for better working conditions. This allows you to make specific adjustments to colors without affecting the drawing outlines. Make sure you always have the correct active layer when making changes. You can use the following screenshot variable:
Applying Changes
By working separately with colors and lines, you gain more control and flexibility. You can alter the color of your shapes at any time without affecting the lines or outlines. This is especially helpful when you want to give your design a new look or need to make changes to emphasize certain color accents. Here is the screenshot variable for this step:
Summary - Improved Features of the Fill Tool in GIMP 2.10
The Fill tool in GIMP 2.10 not only offers more efficiency through its new features but also innovative ways to create creative designs. With separate layers and the application of "Fill by Line Detection," you hold the key to creating impressive graphics.
Frequently Asked Questions
What is the Fill tool in GIMP?The Fill tool allows you to fill areas with a color based on lines and shapes.
How do you fill areas with gaps?With the new "Fill by Edge and Line Detection" feature, you can also fill gaps in shapes.
Why should I use separate layers?Separate layers increase flexibility, as you can edit colors and lines independently.
How can I adjust the fill color?You can change the fill color without affecting the lines by selecting the corresponding active layer.
What is important for the correct application of the fill tool?The correct settings in the Fill tool are crucial, especially regarding image resolution and gaps within shapes.


