Working with GIMP is essential for many creative hearts. With version 2.10 of the popular image editing program, a variety of new features have been introduced that will make your life easier and expand your artistic design possibilities. Especially in the area of layers and masks, there is much new to discover that can significantly optimize your workflow. Here, you will learn how to effectively use these new features.
Key insights
- You can directly set names and colors when creating layers.
- It is now possible to assign masks to layer groups.
- New layer modes open up diverse options for your designs.
- The alpha channel can now also be activated by default for imported images.
Step-by-Step Guide
1. Create and name a new layer
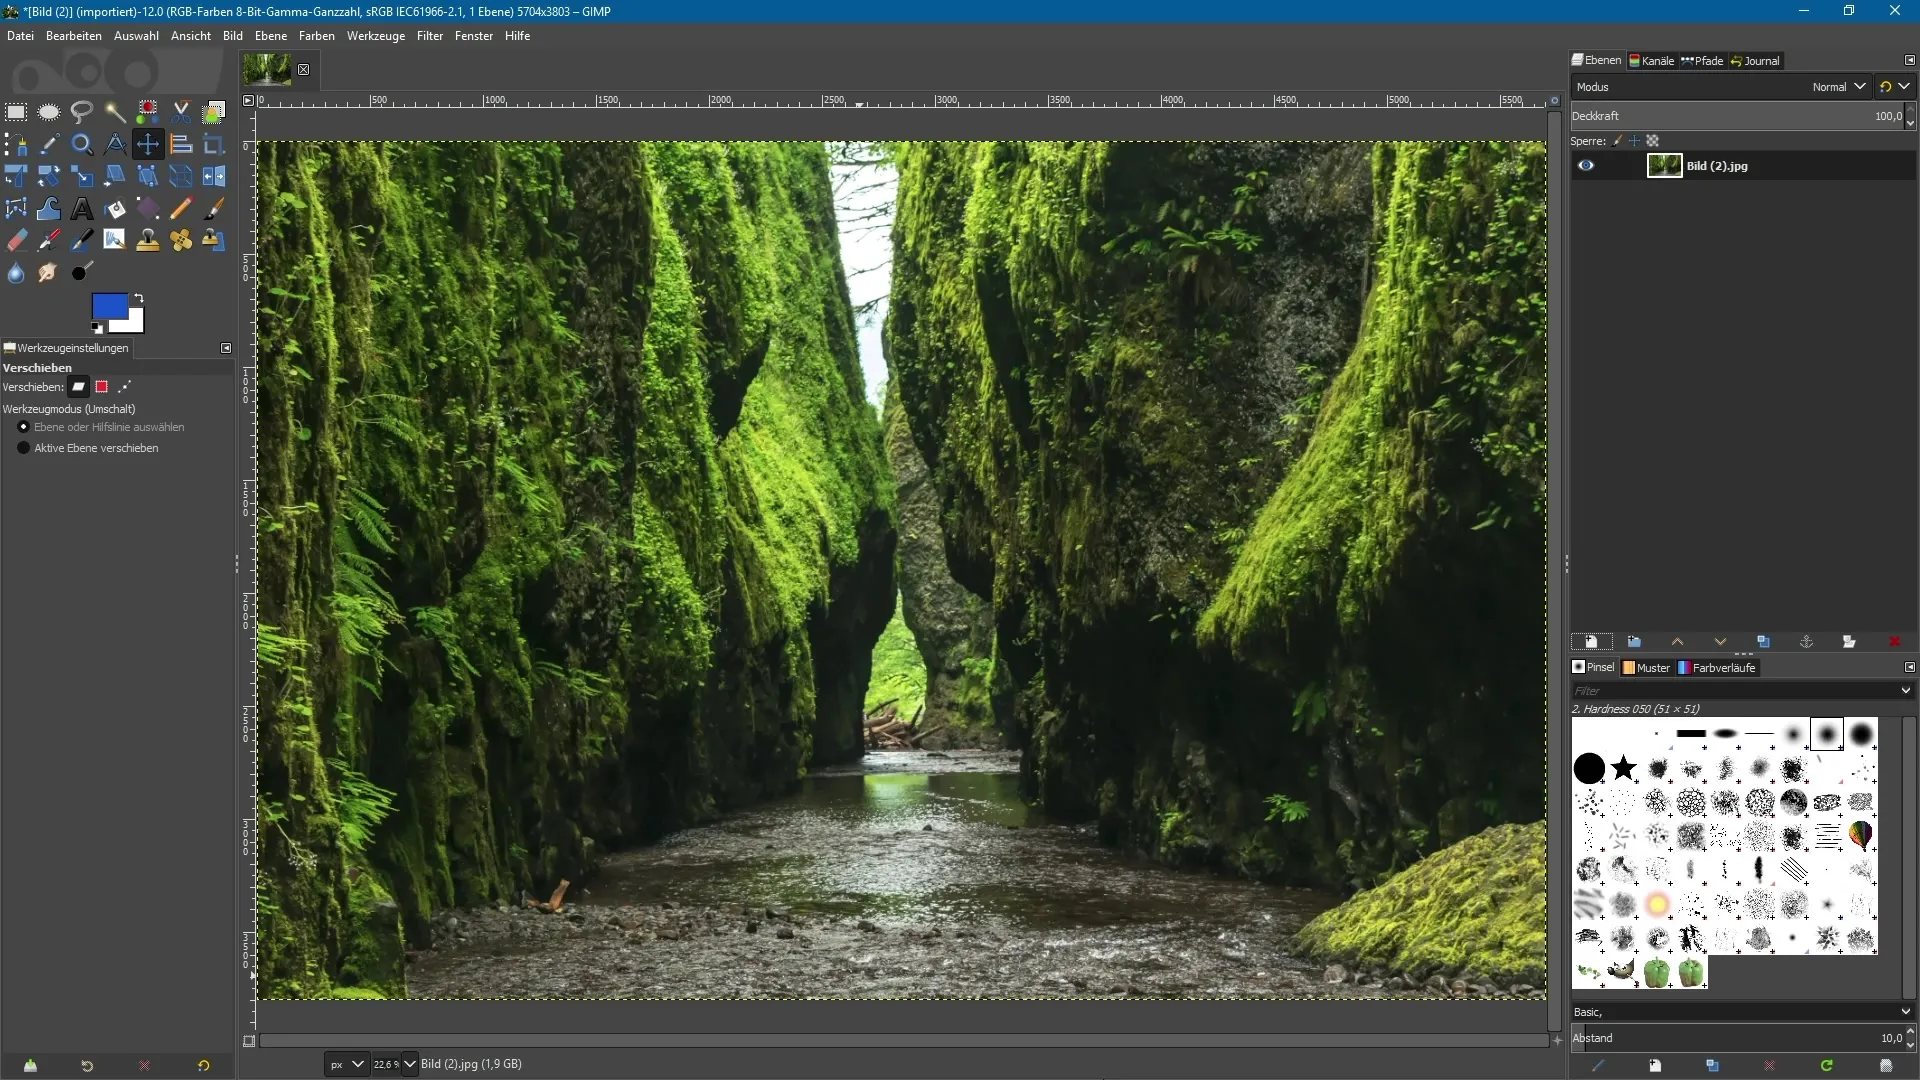
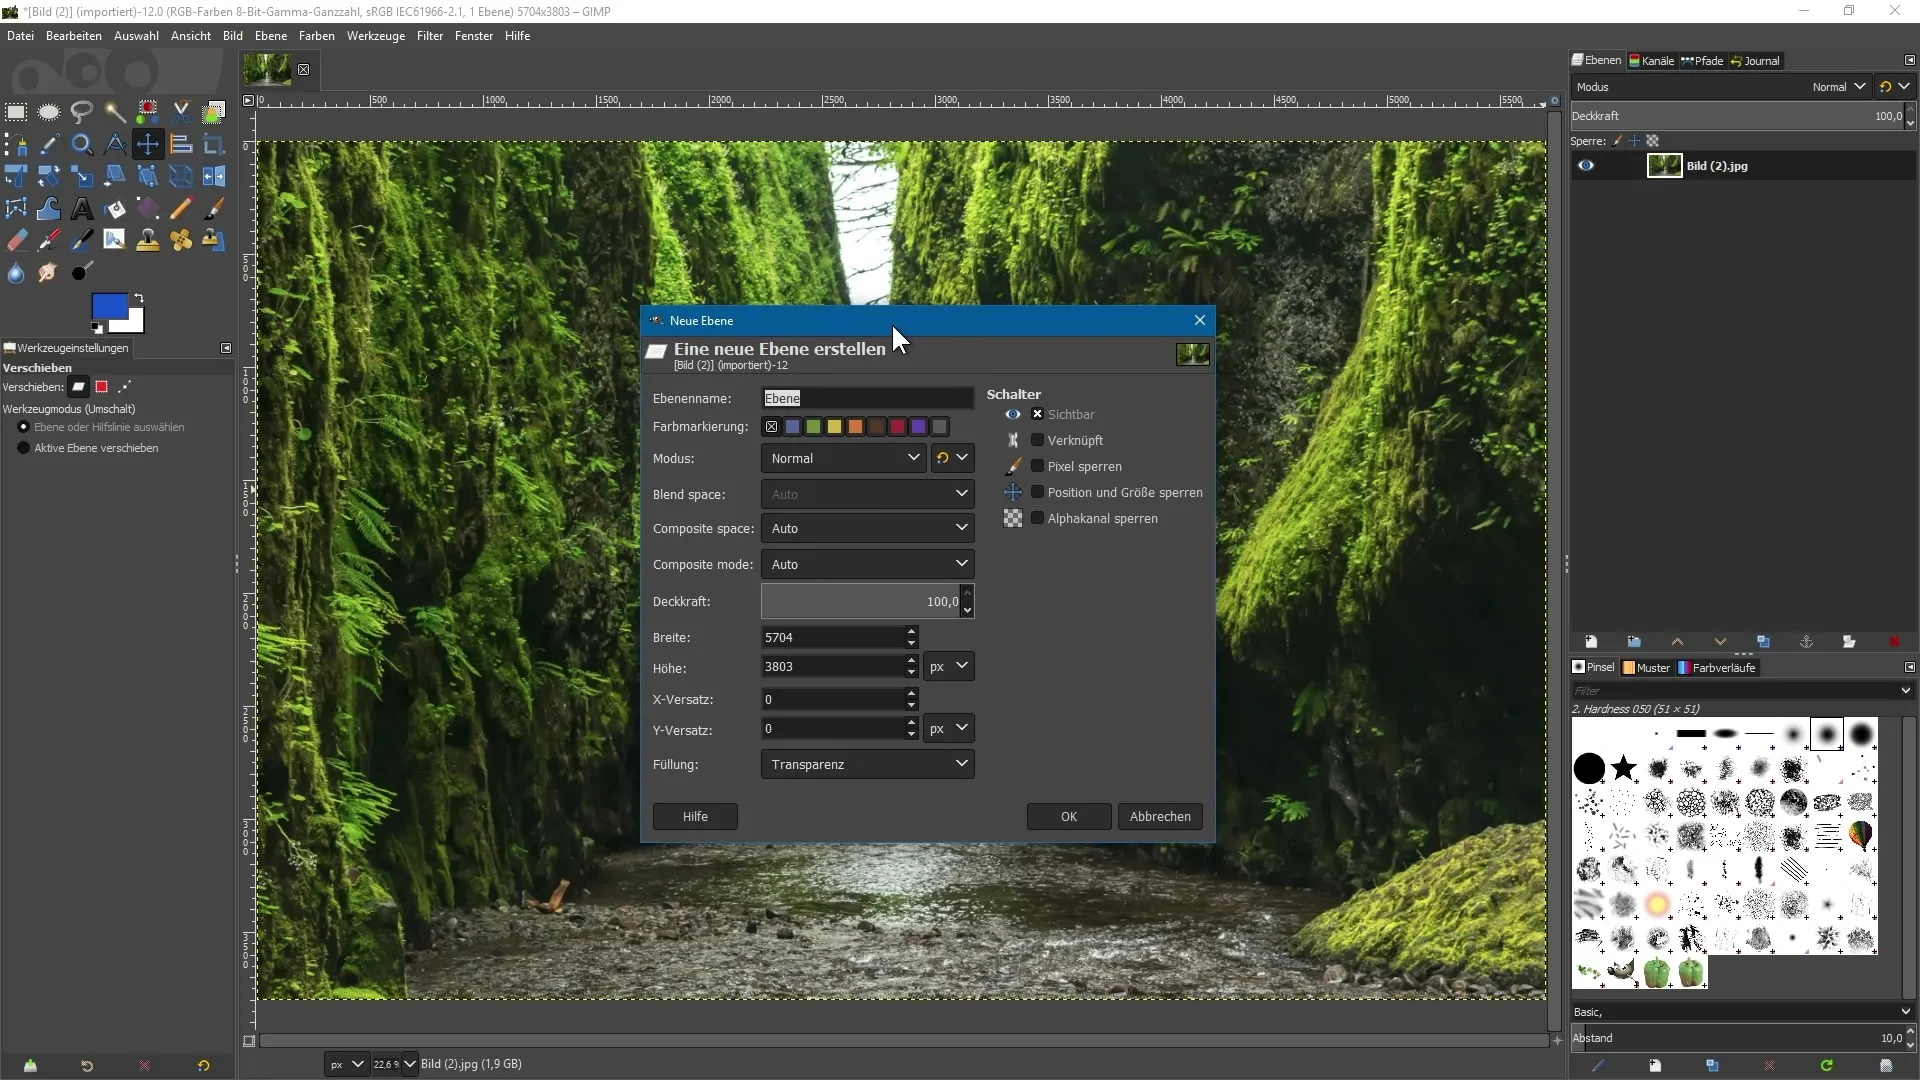
To create a new layer, open the Layers palette. Click on the appropriate icon at the bottom left. A dialog box appears, where you can now give your new layer a name. For example, you can call it “Example”. In addition, you can highlight the layer with a color, which is especially helpful when working with many layers. For example, choose the color green. This provides more clarity in your work.
2. Set the fill and visibility of the layer
You can also directly determine the fill of the layer. Should it be transparent or filled with a color? For example, if you want a blue layer, activate the preset “Foreground color” and click “OK”. This will create the new layer with the foreground color. You can also determine the visibility of the layer at creation. Is it visible or hidden?
3. Apply layer masks
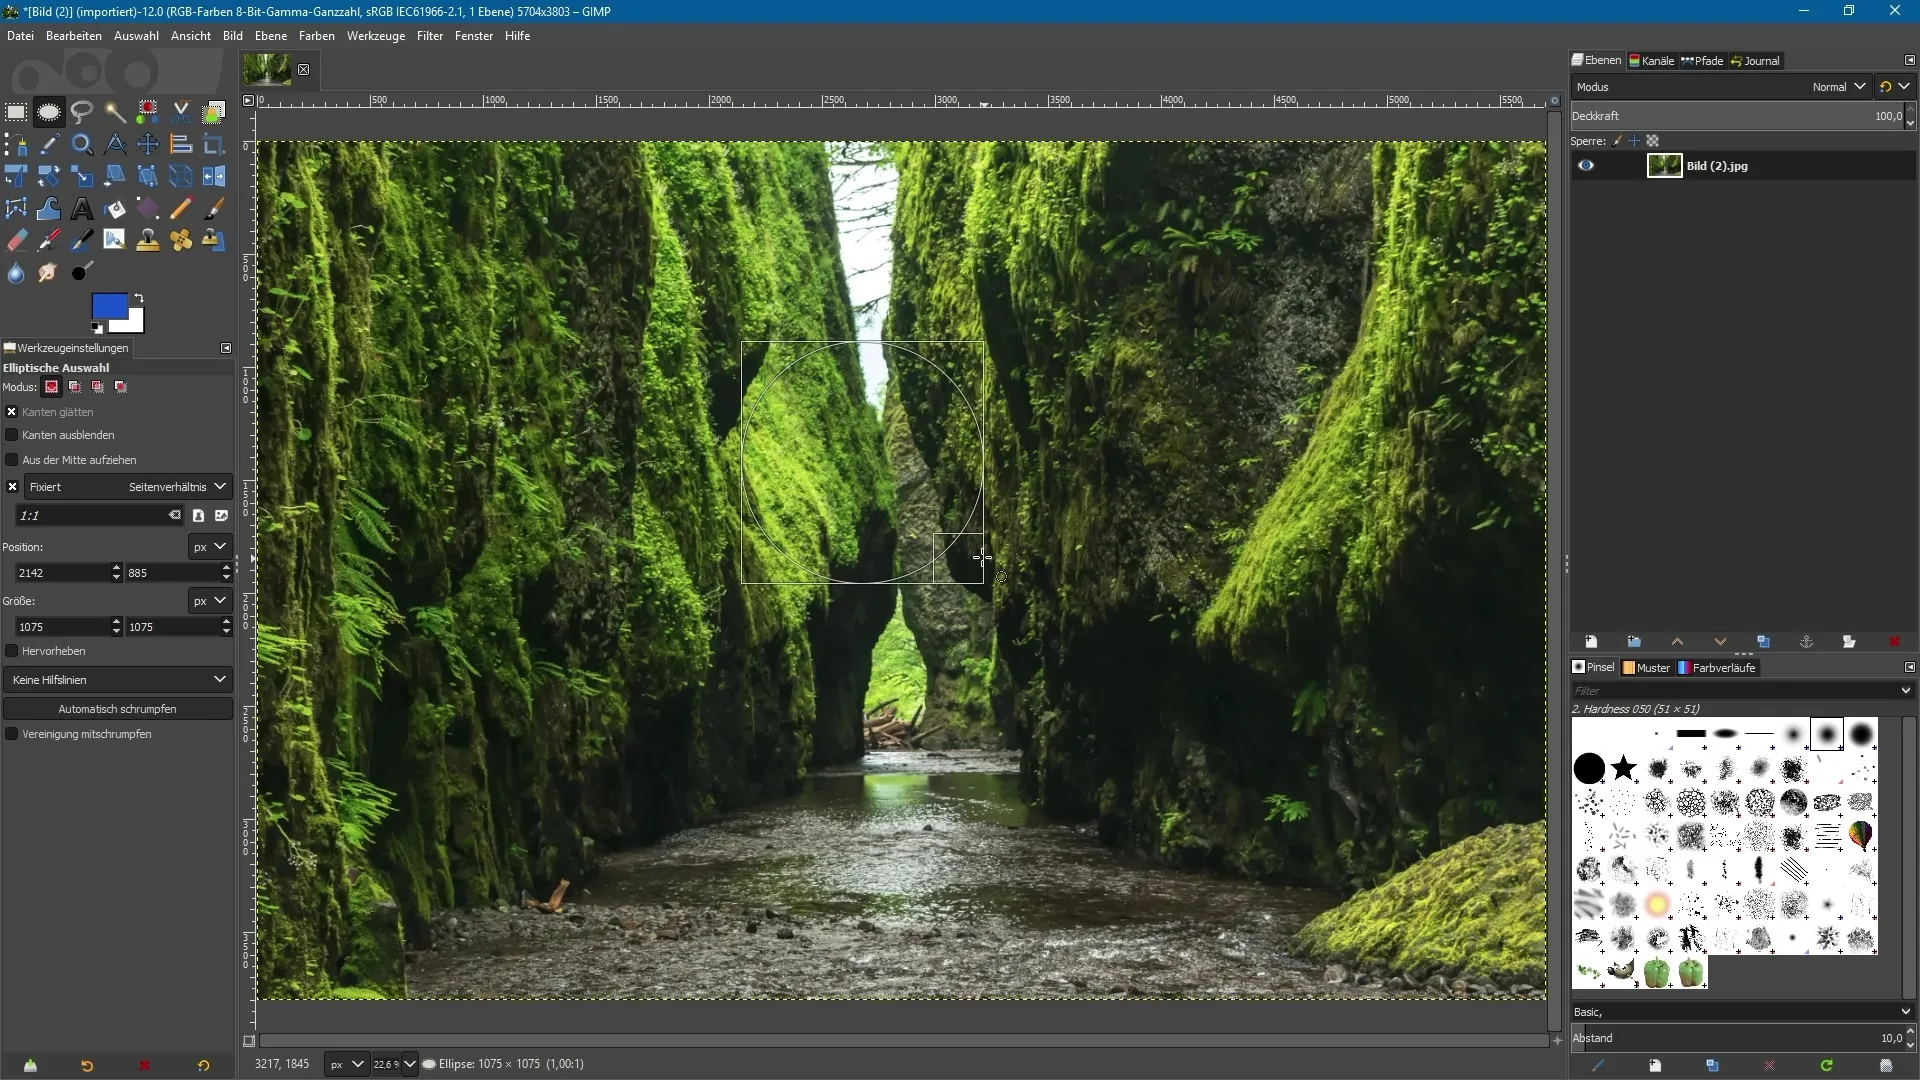
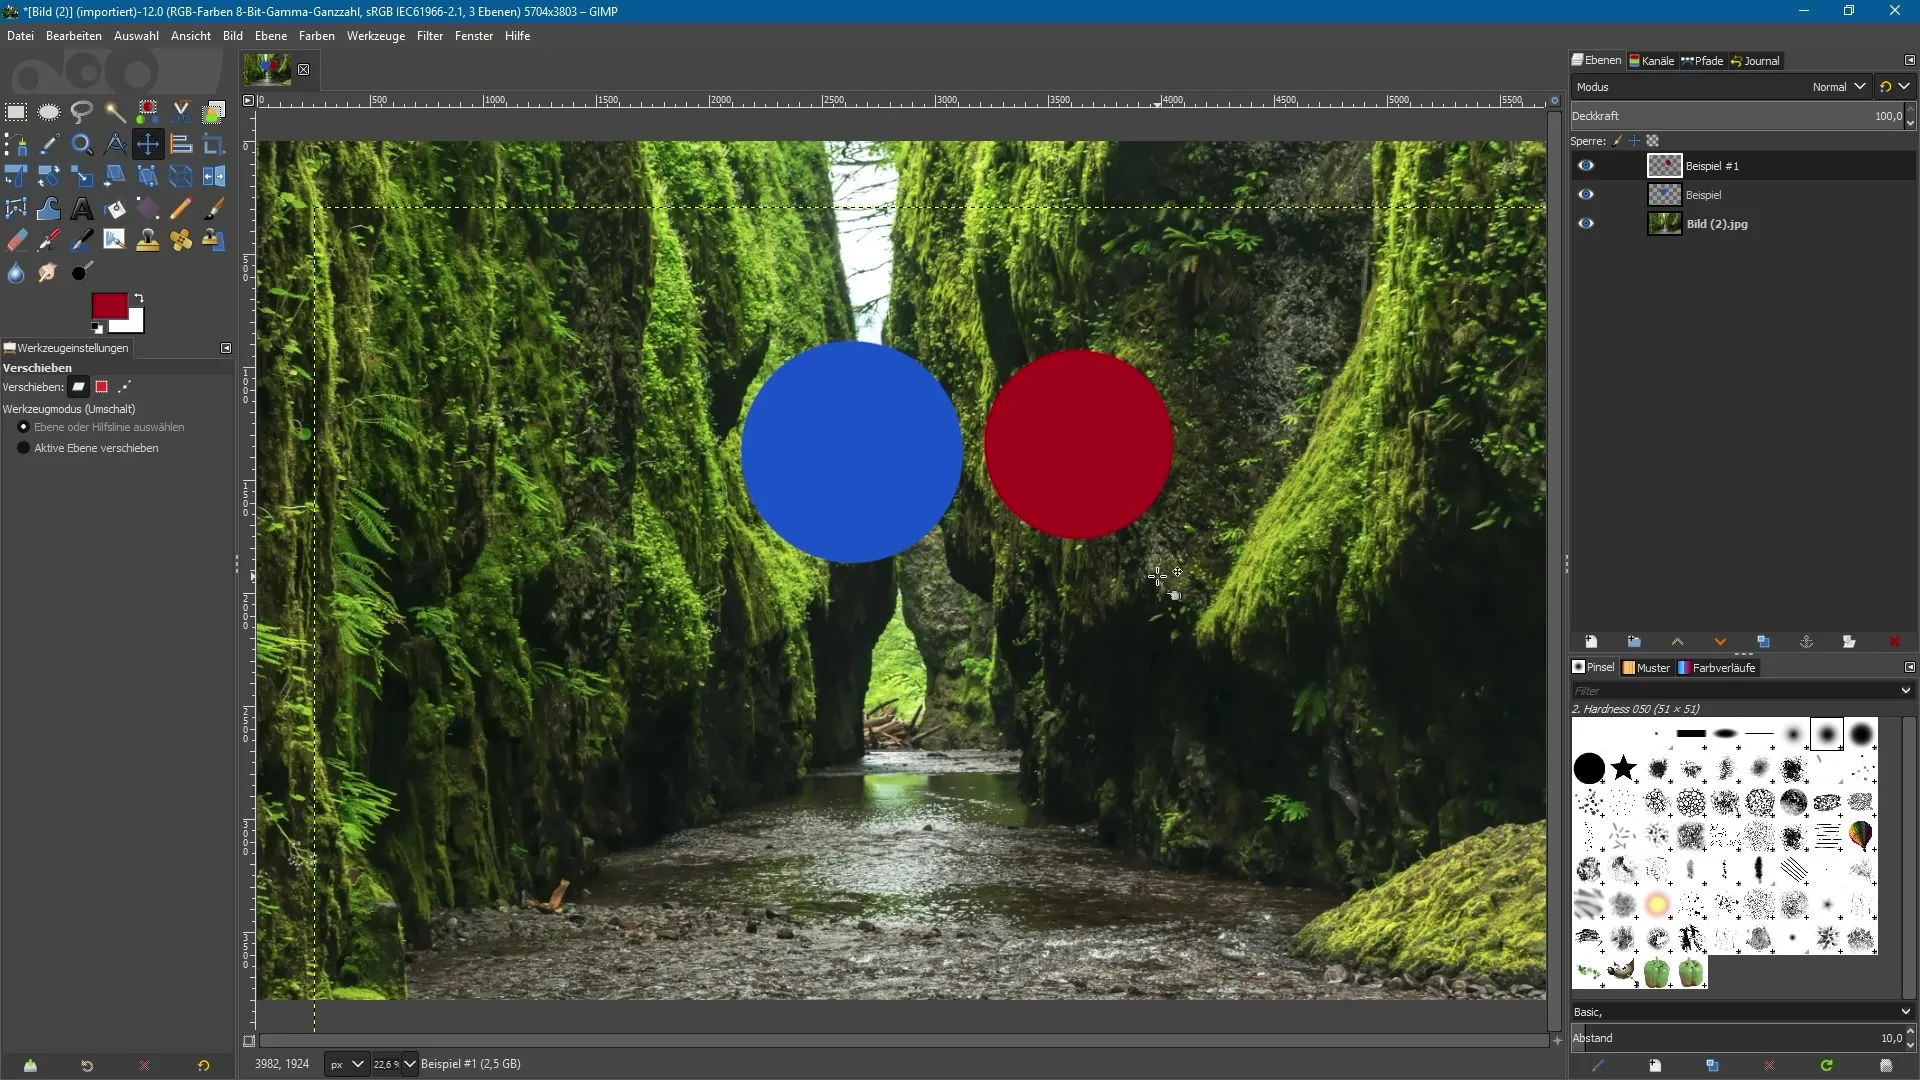
Starting with GIMP 2.10, you have the option to assign masks to layer groups. Create two layers with circles: Use the elliptical selection tool to draw a circle, holding down the Shift key to get a perfect circle. Create a new transparent layer and fill it with the desired foreground color, for example blue. Repeat this step for a second layer, which you fill with another shade, like red.
4. Crop to content
Now move the layers in the workspace. To restrict the size of the layers to the area of the circle, activate the layer and click on "Layer" and then "Crop to Content". This helps you organize your layers efficiently and is especially useful when you want to scale or rotate objects.
5. Organize layers into groups
You can pack the two circles into a group. Click on the folder icon in the layers palette to create a new layer group, drag the two layers into it, and name the group. Grouping layers allows for better management and simplifies the editing of complex compositions.
6. Individual masks for layers within a group
Now select one of the layers in the group and create a new mask. With the brush tool and black foreground color, you can mask areas of the layers that you want to hide. You can also add a separate mask to the group to make even more precise adjustments.
7. Use new layer modes
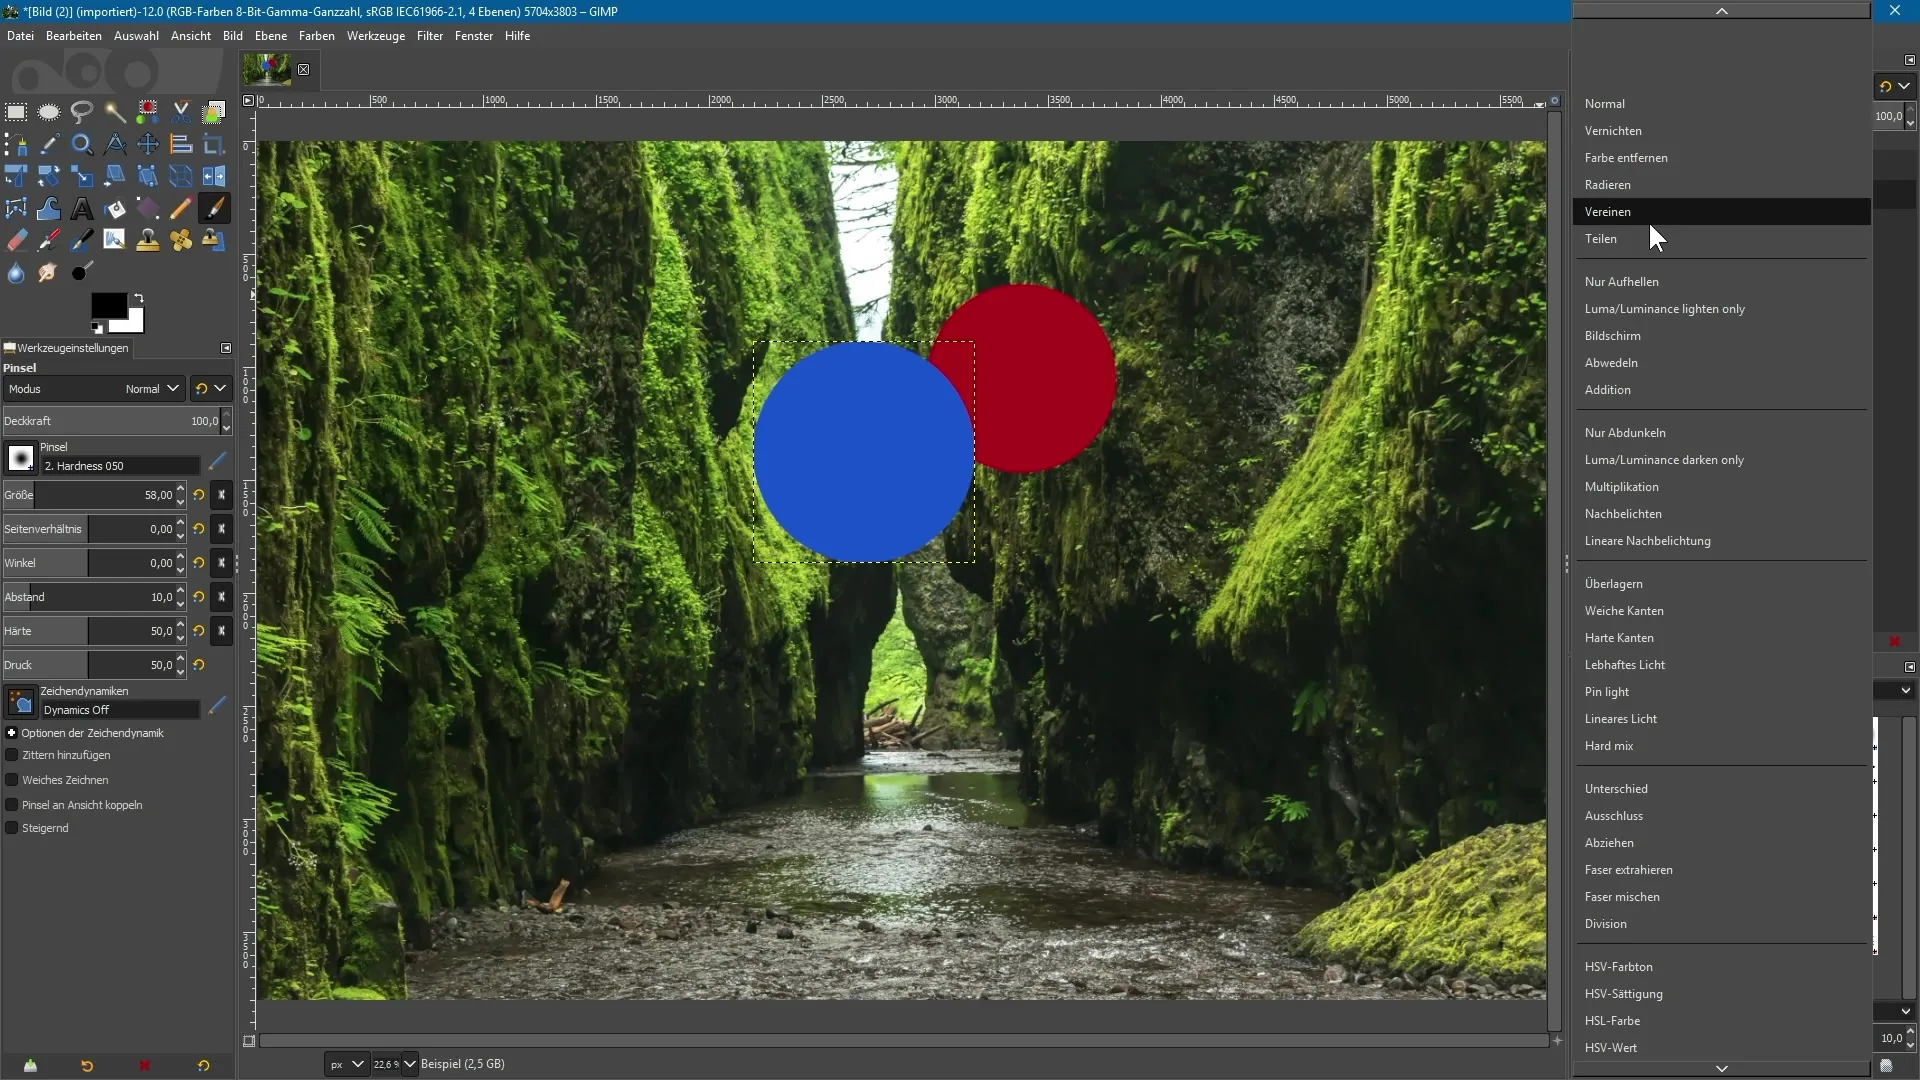
In GIMP 2.10, there are various new layer modes available. For example, you can choose between “Divide,” “Vivid Light,” and others. To quickly find the desired modes, you can display the old modes in the menu as needed. Note that the assignment of new modes to layer groups has finally been fully resolved.
8. Activate the alpha channel
By default, an imported image, such as a JPG image, opens without an alpha channel, meaning it does not support transparency. To change this, right-click on the layer and select “Add Alpha Channel”. This allows you to make content transparent, which is particularly useful for creative work.
9. Change global settings
If you want imported images to automatically have an alpha channel, go to GIMP’s settings. Under “Import and Export of Images”, you will find the option “Add an alpha channel to imported images”. Enable this and click “OK”. Now, every import will automatically be assigned an alpha channel.
Summary - Efficiently use new features for layers and masks in GIMP 2.10
In this guide, you have learned how to specifically use the new features of GIMP 2.10 to optimize your work with layers and masks. The introduction of new layer modes, the ability for group masks, and many other improvements make GIMP an even more powerful tool for creative projects.
Frequently Asked Questions
How do I create a new layer in GIMP 2.10?Click the appropriate icon in the layers palette and fill out the dialog boxes.
Can I set the visibility of a new layer at creation?Yes, you can set the visibility of the new layer directly in the creation dialog.
How can I use masks in GIMP 2.10?Select the desired layer, create a mask, and edit it with the brush tool.
What new layer modes are available in GIMP 2.10?The new modes include “Divide,” “Vivid Light,” and “Pass Through”.
How can I add the alpha channel to an image?Right-click on the layer and select “Add Alpha Channel” from the context menu.


