Video editing can be a challenging but also very rewarding experience. When you open iMovie, you will discover a variety of features and options that help you turn your creative ideas into moving images. The goal of this guide is to give you a structured introduction to the iMovie user interface so that you can get started quickly and implement your first projects.
Key Insights
- The iMovie user interface is intuitive and divided into different areas.
- You can distinguish between creating movies and trailers.
- The workspace allows you to import, edit, and customize video content.
Step-by-Step Guide
Step 1: Open iMovie
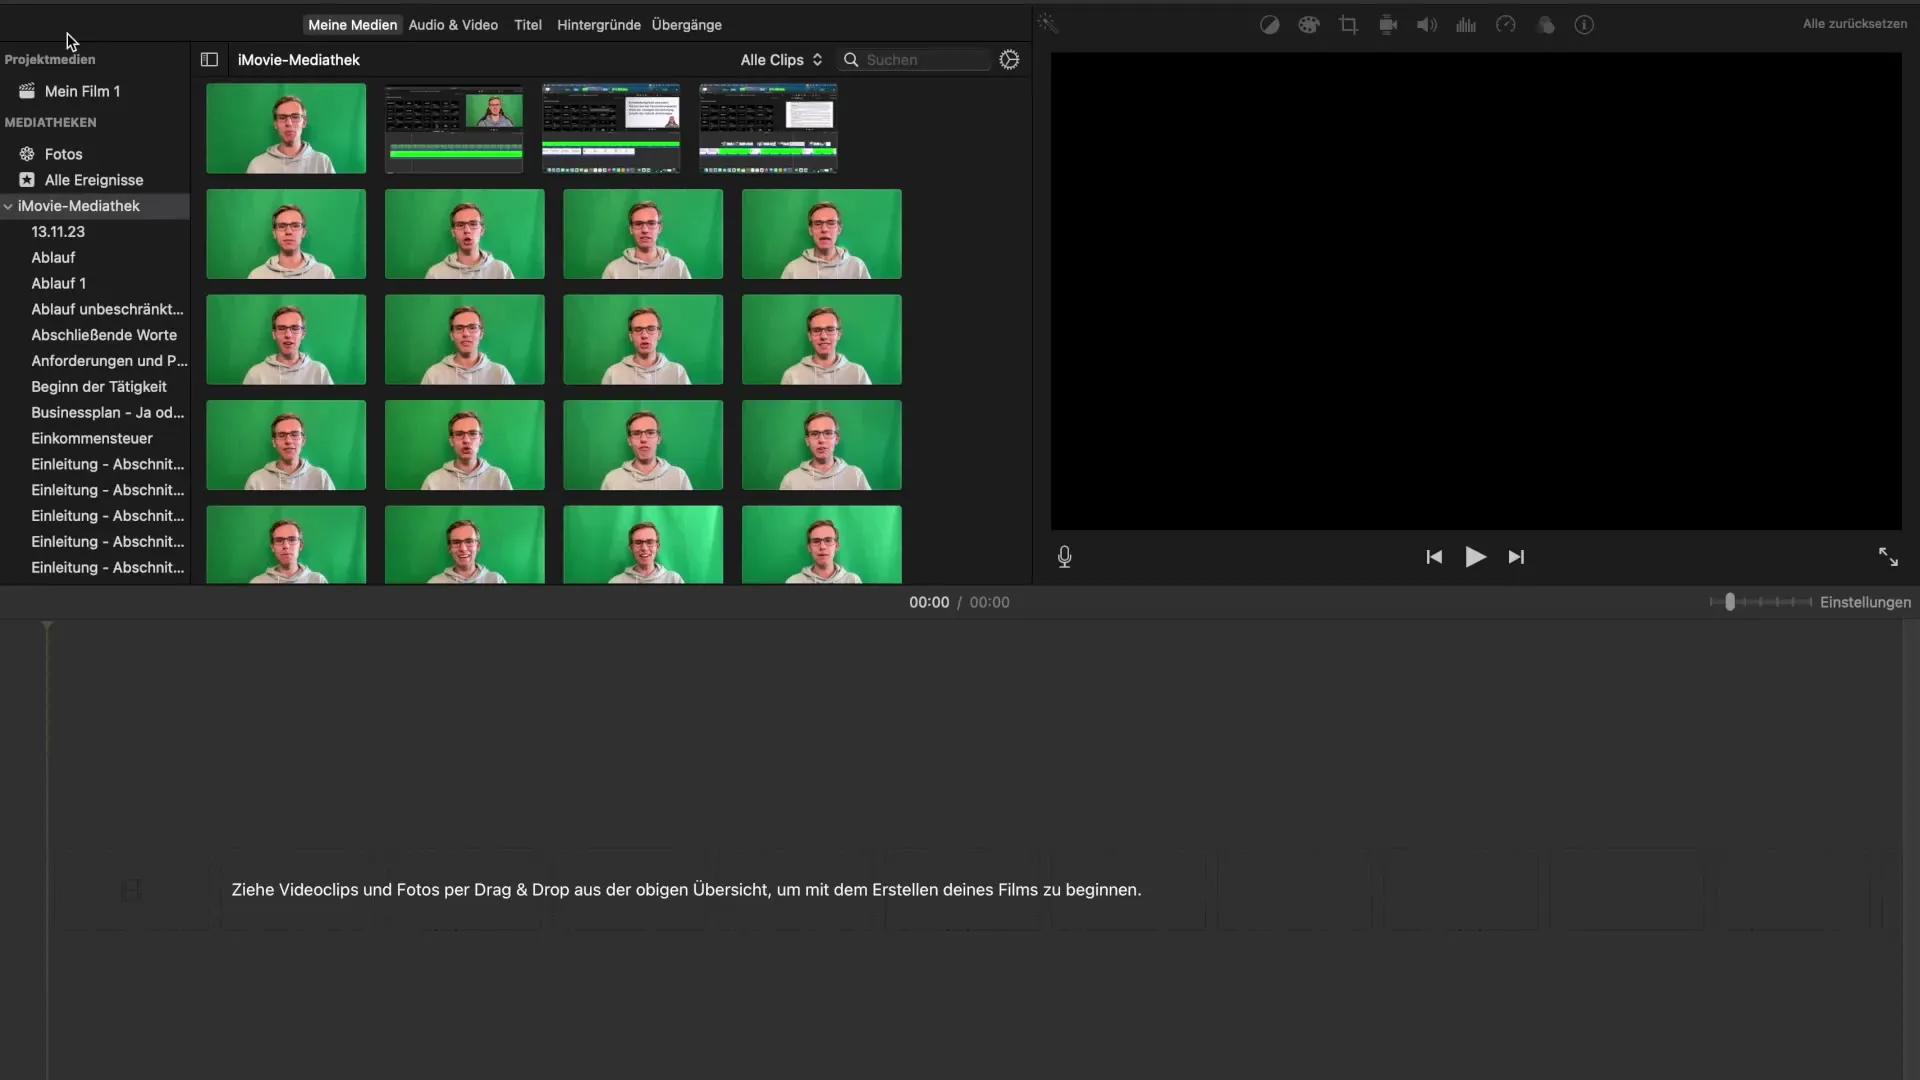
First, open iMovie and take a look at the user interface. If you are opening the software for the first time, the screen may initially be empty if you haven’t created any projects yet. Don’t worry! The layout will look similar for every user.
Step 2: Create a New Project
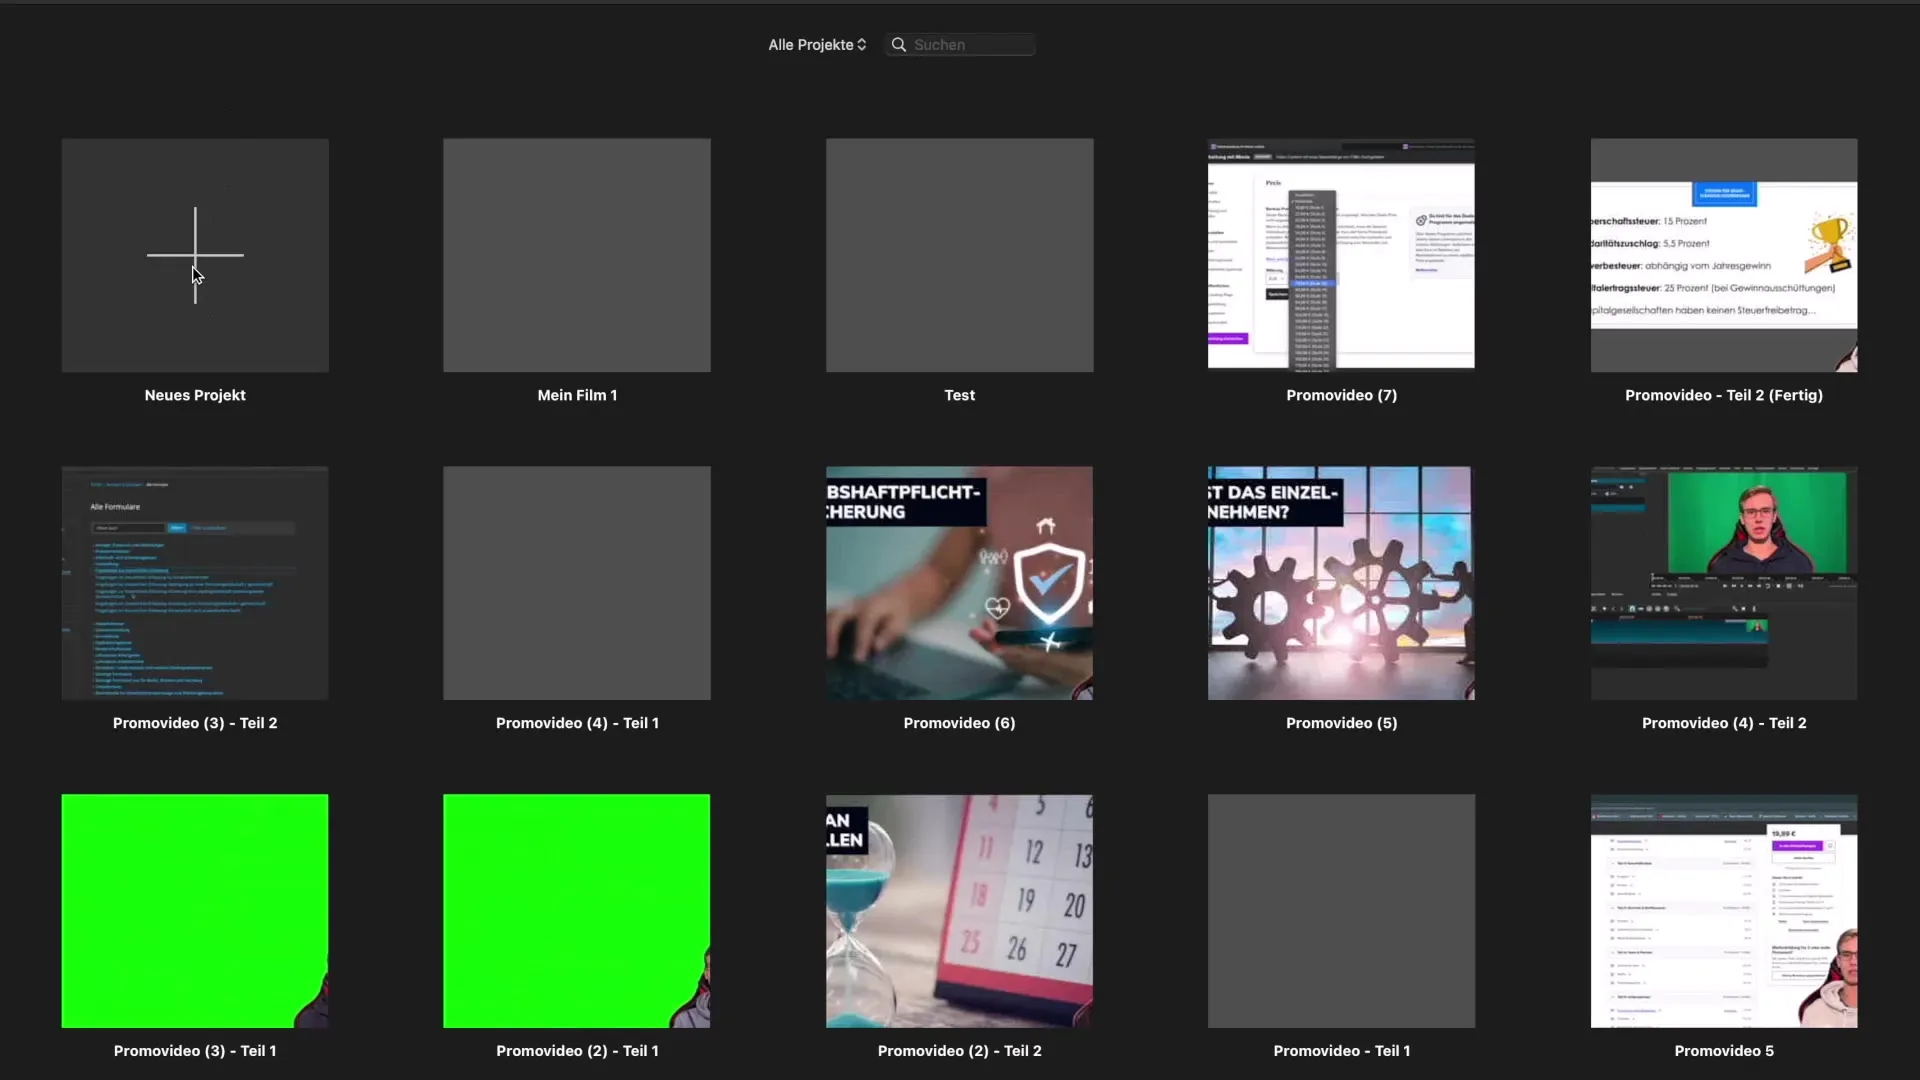
To create a new project, click on “New Project.” You will then be asked if you want to create a movie or a trailer. Both options offer different approaches and possibilities for video editing.
Step 3: Select Movie Option
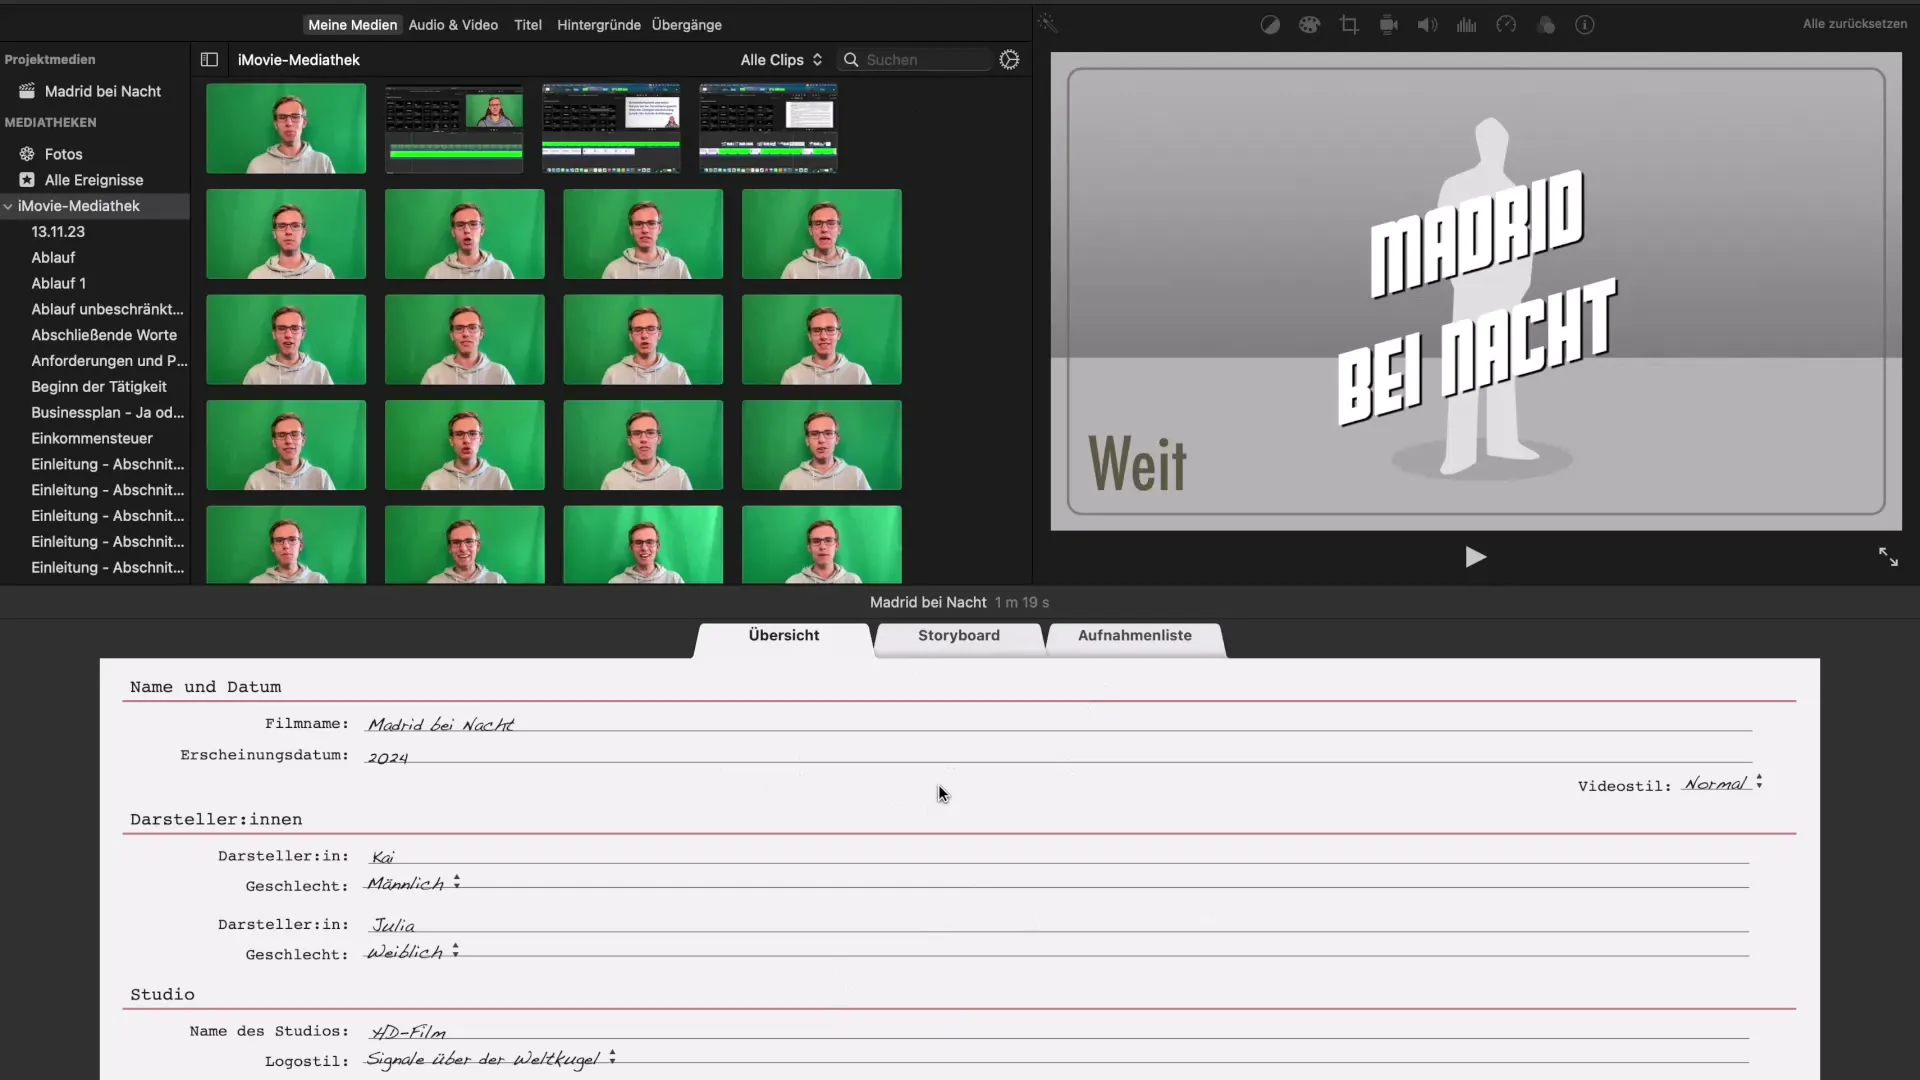
Select the “Movie” option to work with the full functionality of iMovie. This allows you to edit individual video tracks, add audio tracks, and insert transitions between clips.
Step 4: Create a Trailer (Optional)
If you are interested in creating a trailer, you can browse through the corresponding templates. Trailers offer pre-made designs that allow you to quickly create movie-quality clips.
Step 5: Explore the Workspace
Now that you have created your project, you can see the workspace. This consists of various areas, including the timeline for video clips, and allows you to adjust and edit the clips.
Step 6: Import Video Content
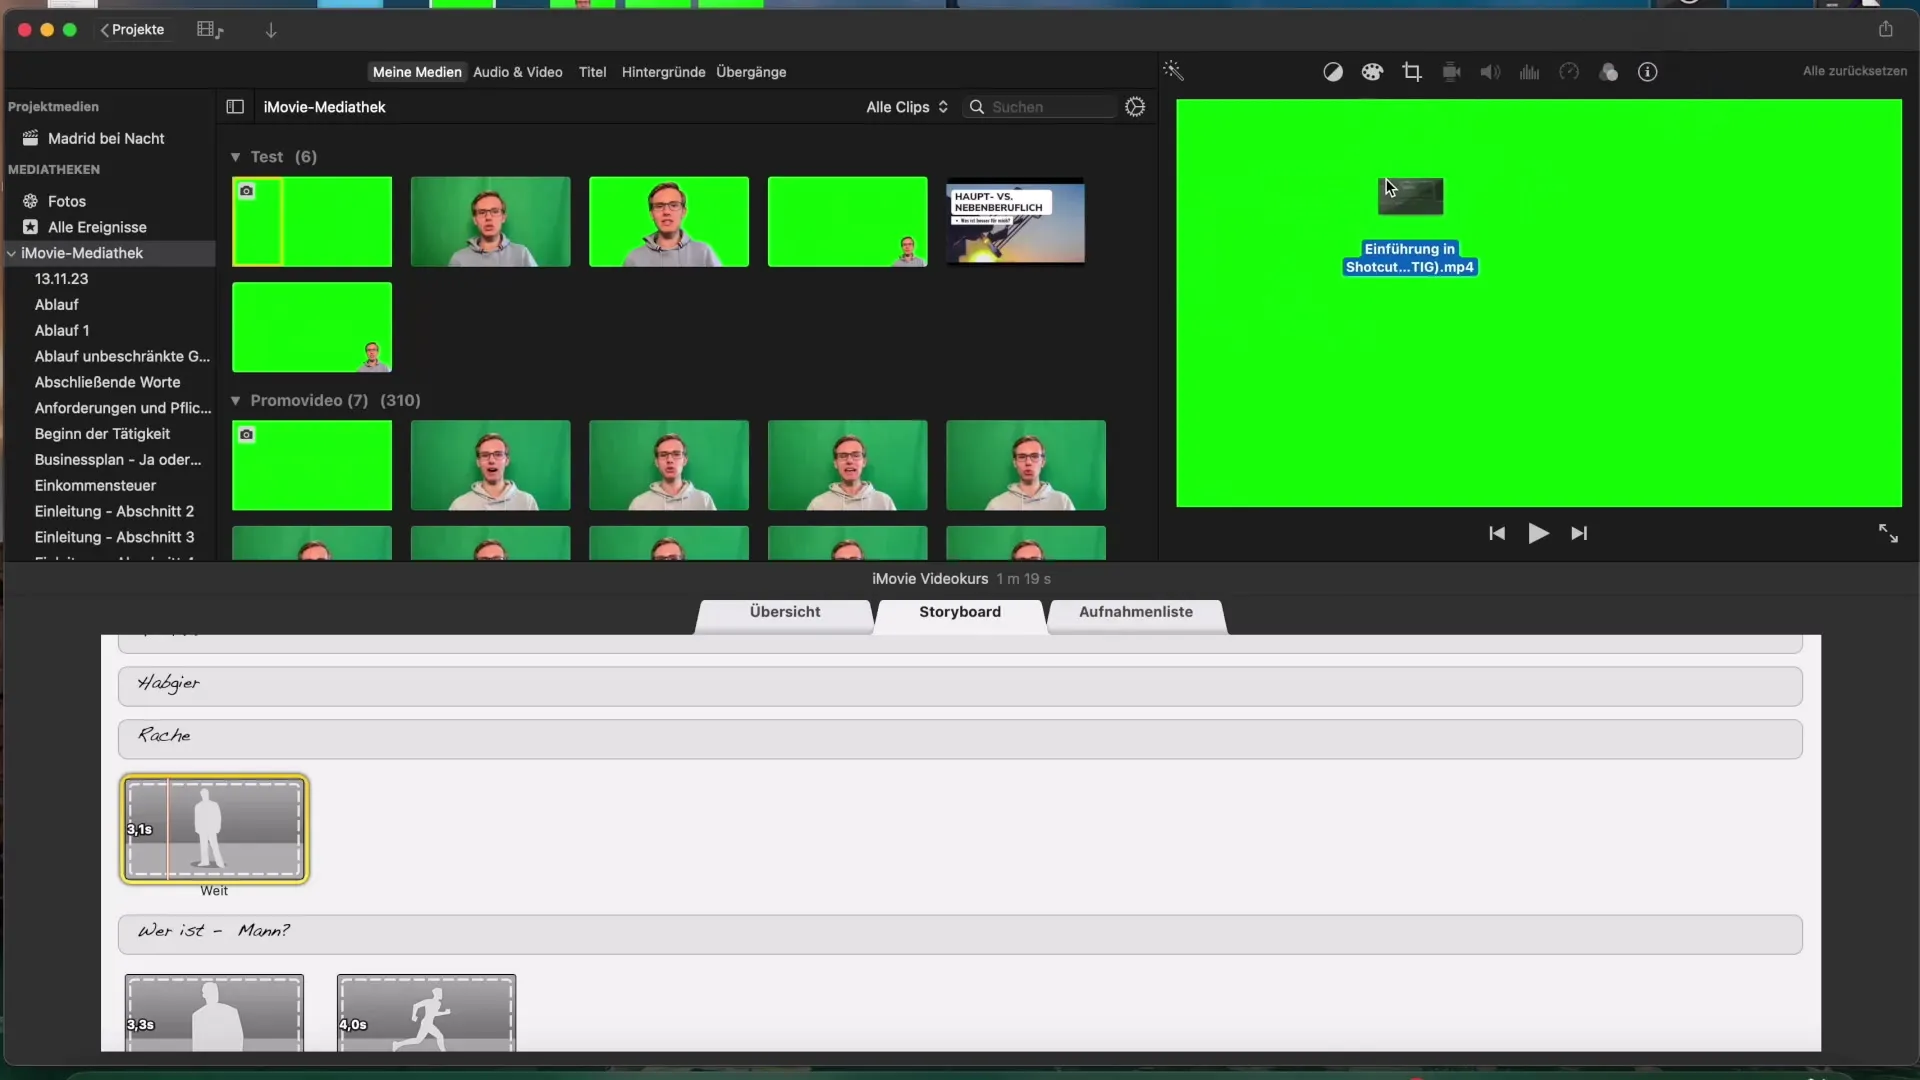
To add videos to your project, drag and drop them into the workspace or use the import window to select your files. iMovie provides a preview so you can ensure that you are selecting the right clips.
Step 7: Edit Videos
After importing, you can use various editing options. You can trim the clip, adjust the volume, and select filters. Through the preview, you can see how your changes will appear.
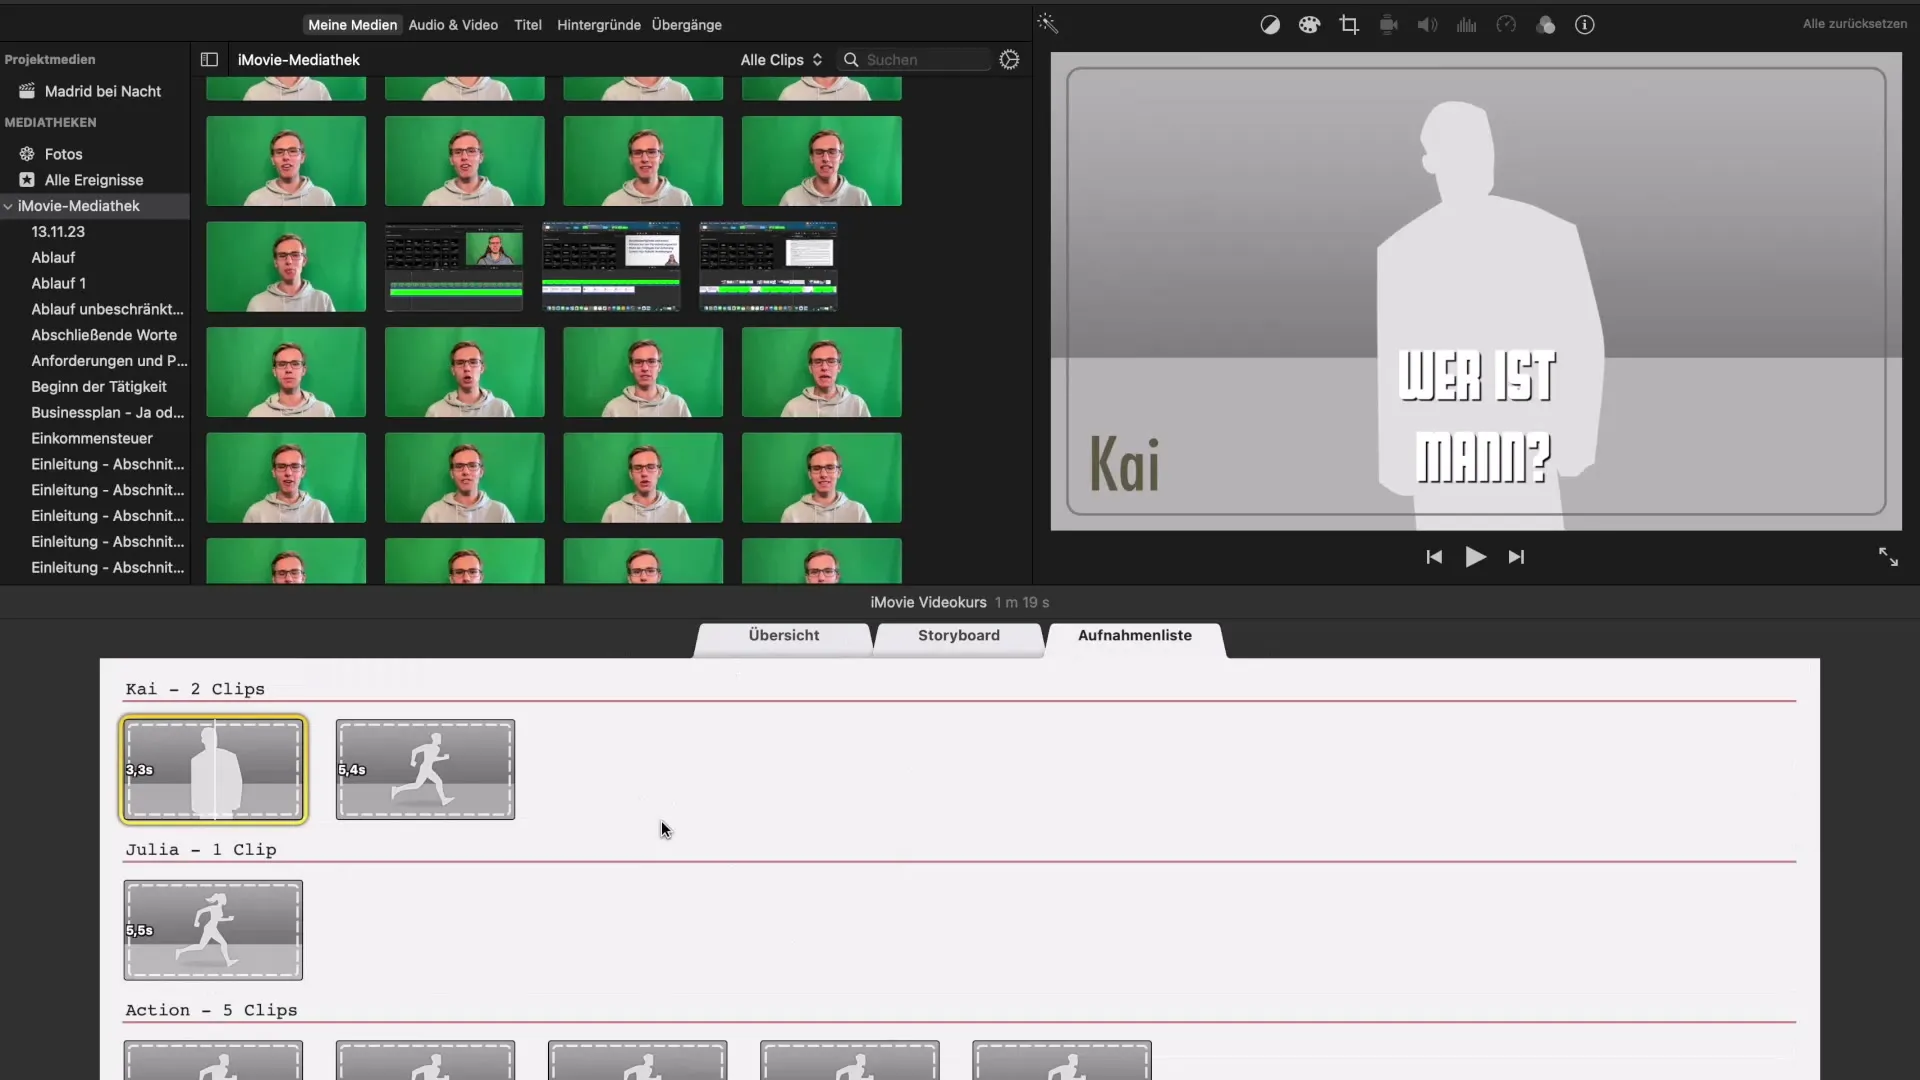
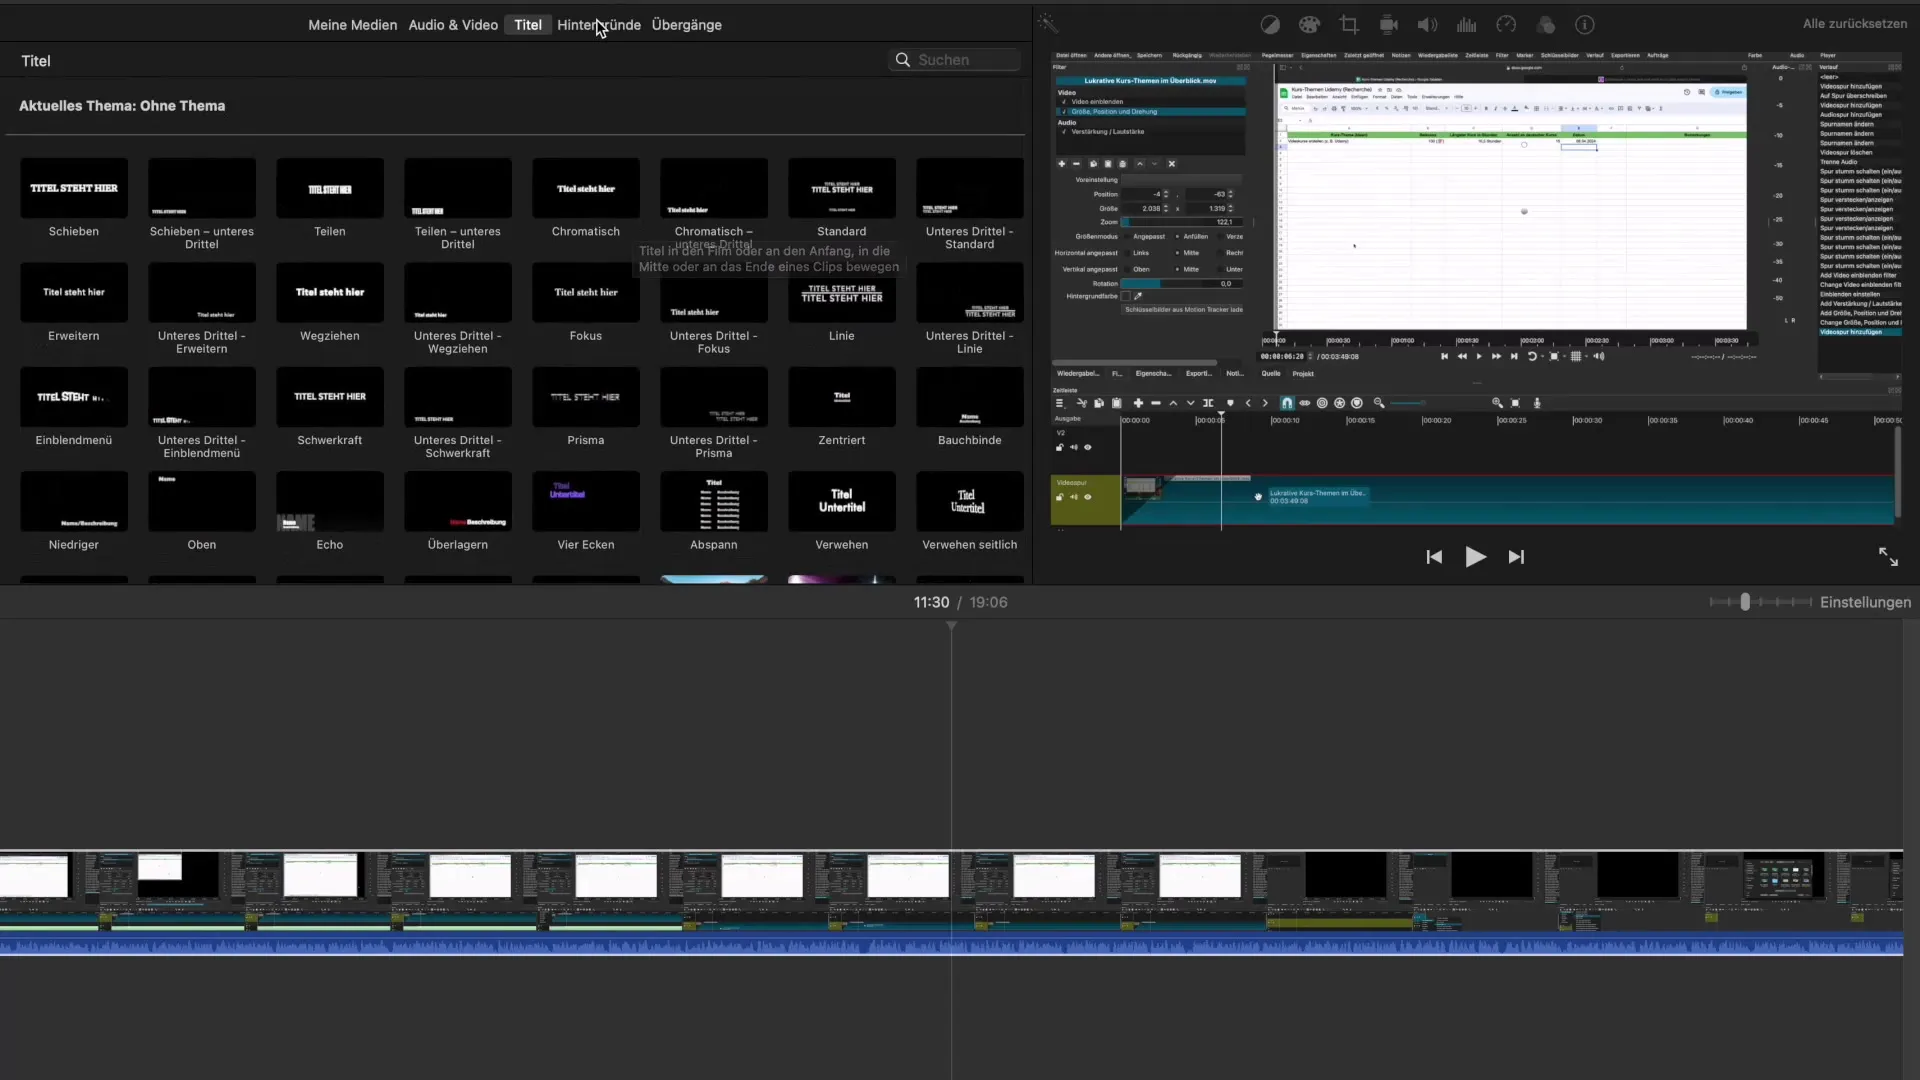
Step 8: Add Text and Titles
If you want to add text to your video, you can do this through the “Titles” tab. There you will find various types of text animations that integrate well into your video.
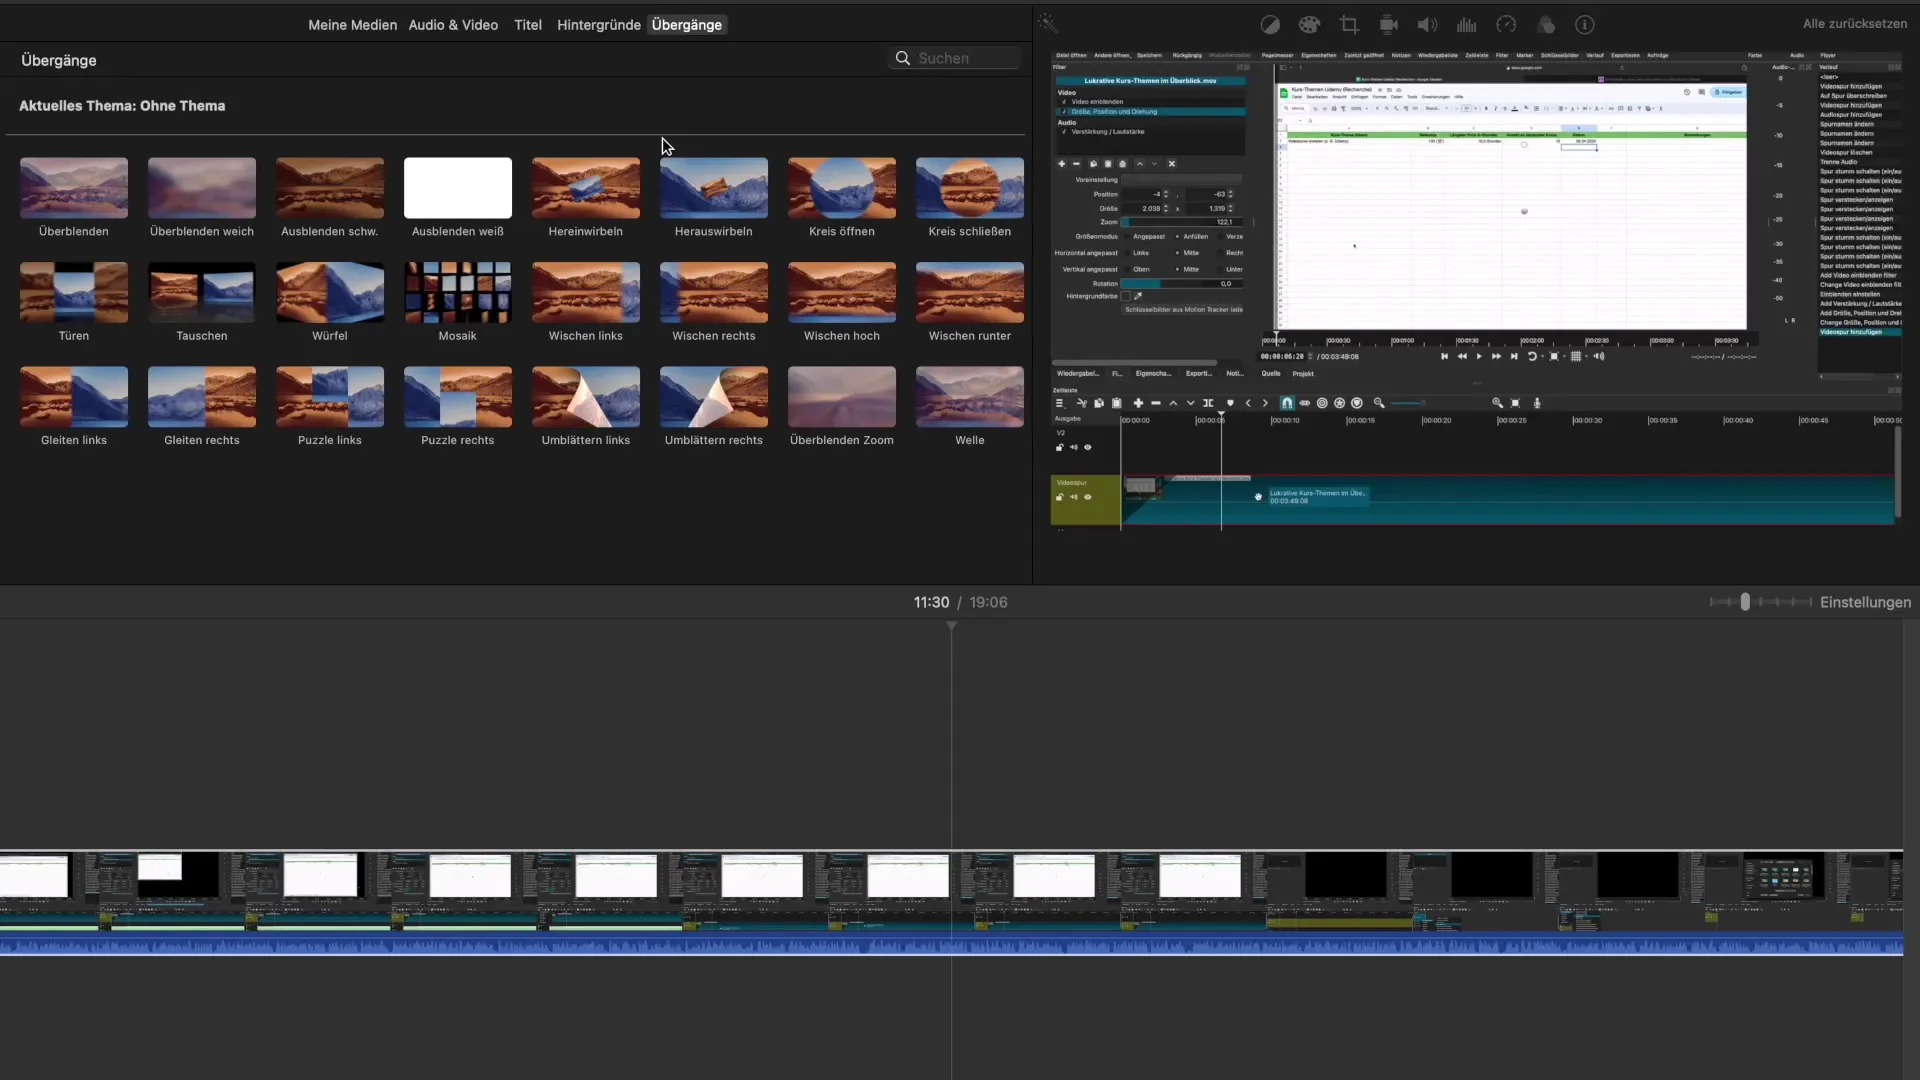
Step 9: Insert Transitions
Go to the “Transitions” menu, select the desired transitions, and drag them between the clips in your timeline. This will ensure a smooth transition between the different scenes of your video production.
Step 10: Add Audio
To give your video emotional depth, you can add audio content. You will find these in the audio tab and can also drag and drop them into your timeline.
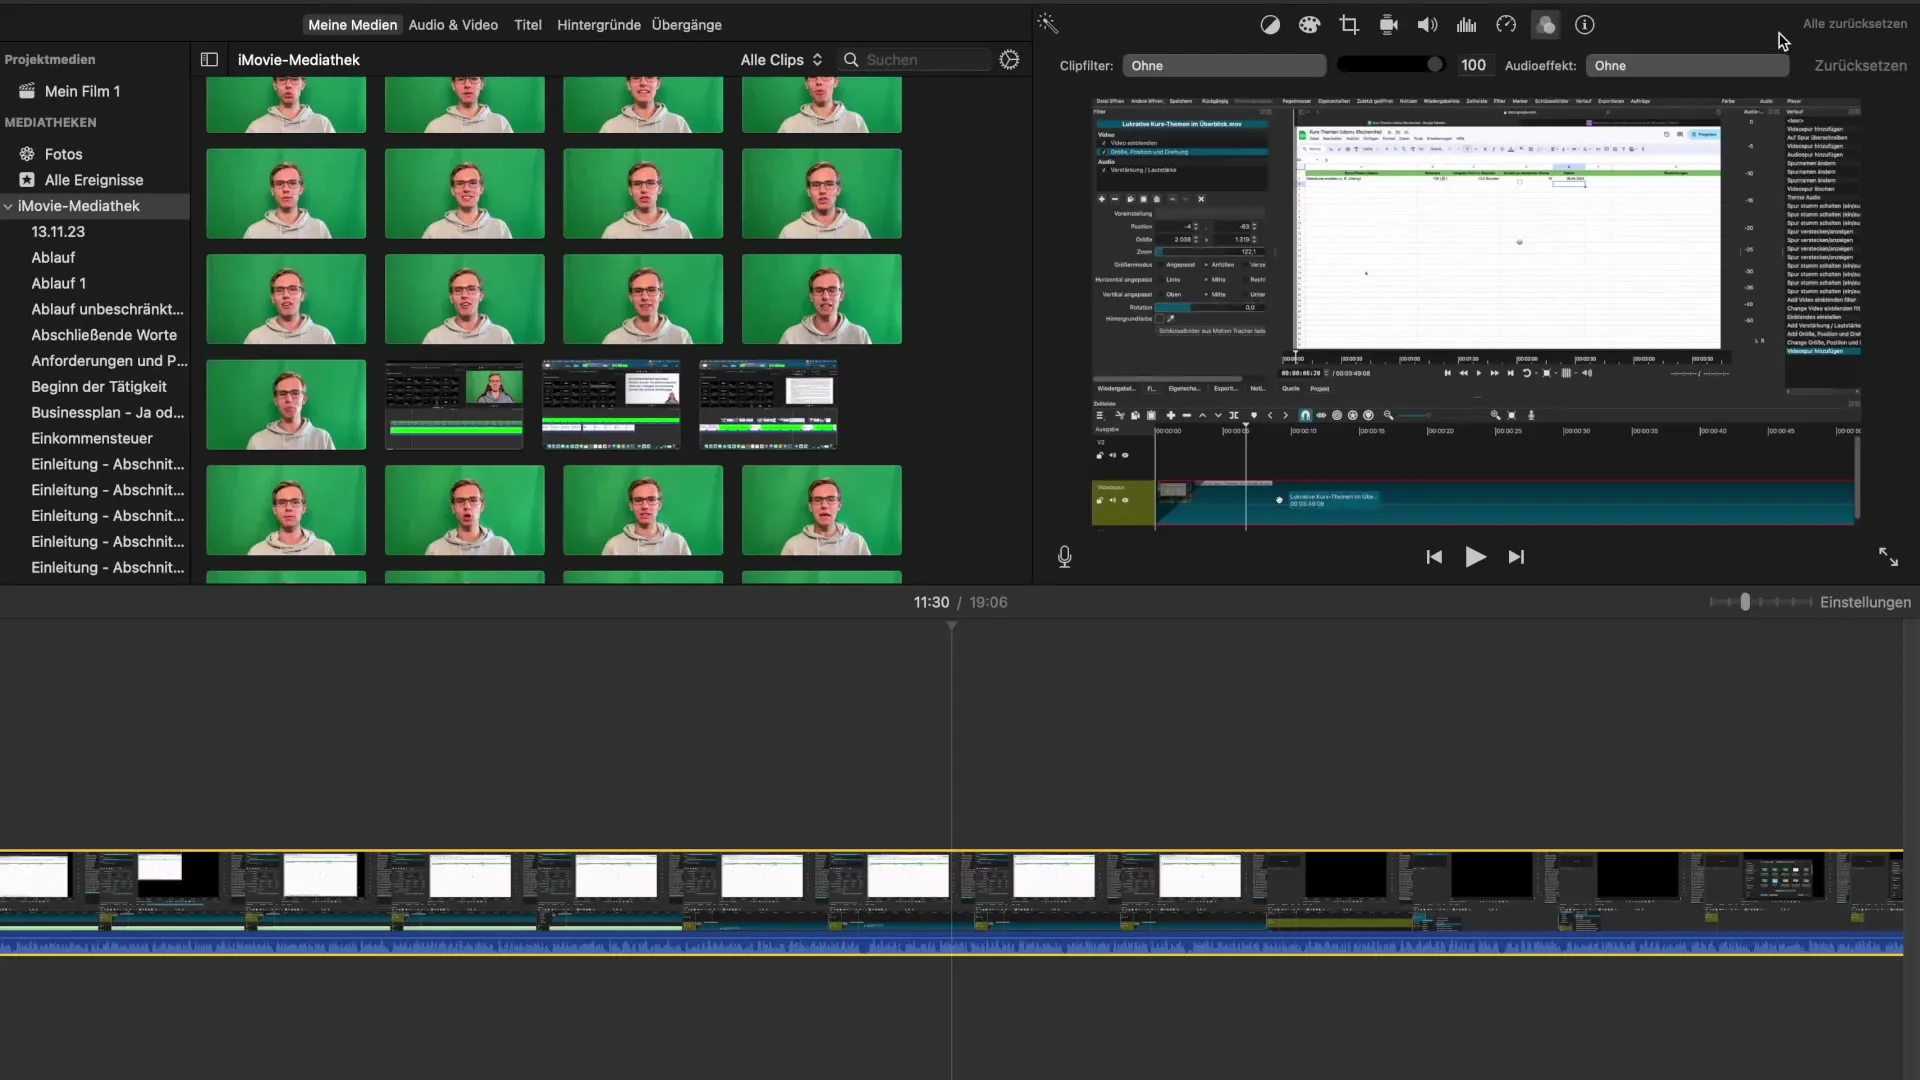
Step 11: Preview and Adjustments
Use the preview function to check your video in real-time. Here, you can immediately see the changes you have made – perfect for making final adjustments.
Step 12: Save and Export Project
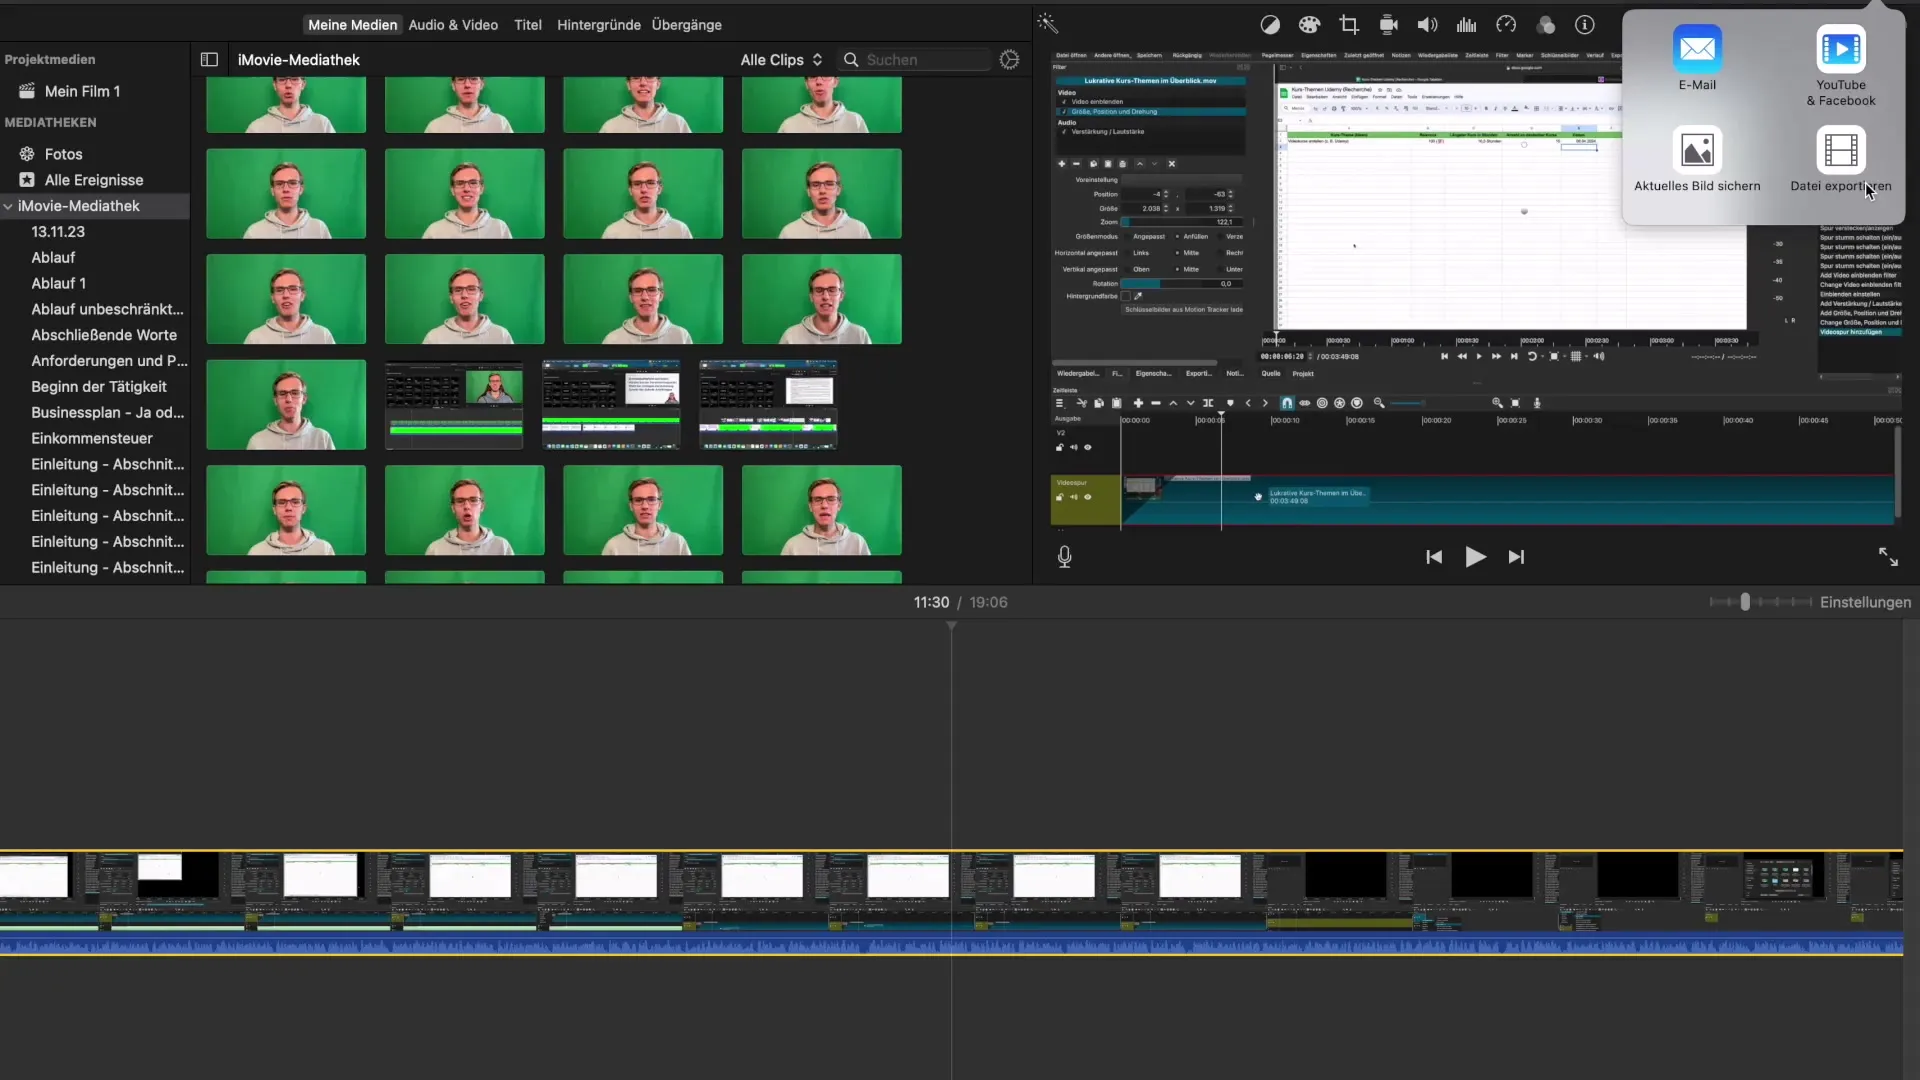
Once you are satisfied with the edits, save your project. iMovie offers various export options, allowing you to upload your video directly to social media or save it on your computer.
Summary – iMovie Tutorial: Introduction to Video Editing
In this guide, you have learned how to efficiently use iMovie to get started with video editing. The user interface, key functions like importing clips, adding text and transitions, as well as the ability to add audio content, provide you with everything you need to create creative videos.
Frequently Asked Questions
What are the system requirements for iMovie?iMovie is available for macOS and iOS, so you will need a compatible Apple device.
What if my video doesn’t import correctly?Make sure that the file format is supported by iMovie; normally, the most common formats are accepted.
Can I also use iMovie on the iPad or iPhone?Yes, iMovie is also available as an app for iPad and iPhone, although the user interface may be slightly different.
Where can I find music for my videos?iMovie offers a built-in audio library that you can use for your projects.


