Inserting images and visual elements into your videos can significantly enhance the overall picture. You can use graphics to clarify information or simply to create visual interest. iMovie offers a user-friendly interface that allows you to quickly and easily integrate these visual elements. Here you will learn how to effectively insert and adjust images and graphics in your projects.
Key Takeaways
- Images can be inserted into iMovie via drag and drop.
- The default display duration of an inserted image is four seconds.
- You can adjust the size and position of images and use them as "picture-in-picture".
- iMovie often adds automatic effects that can enhance the appearance of your images.
- You can also add text elements and additional graphics to make your video more informative.
Step-by-Step Guide
Insert Image
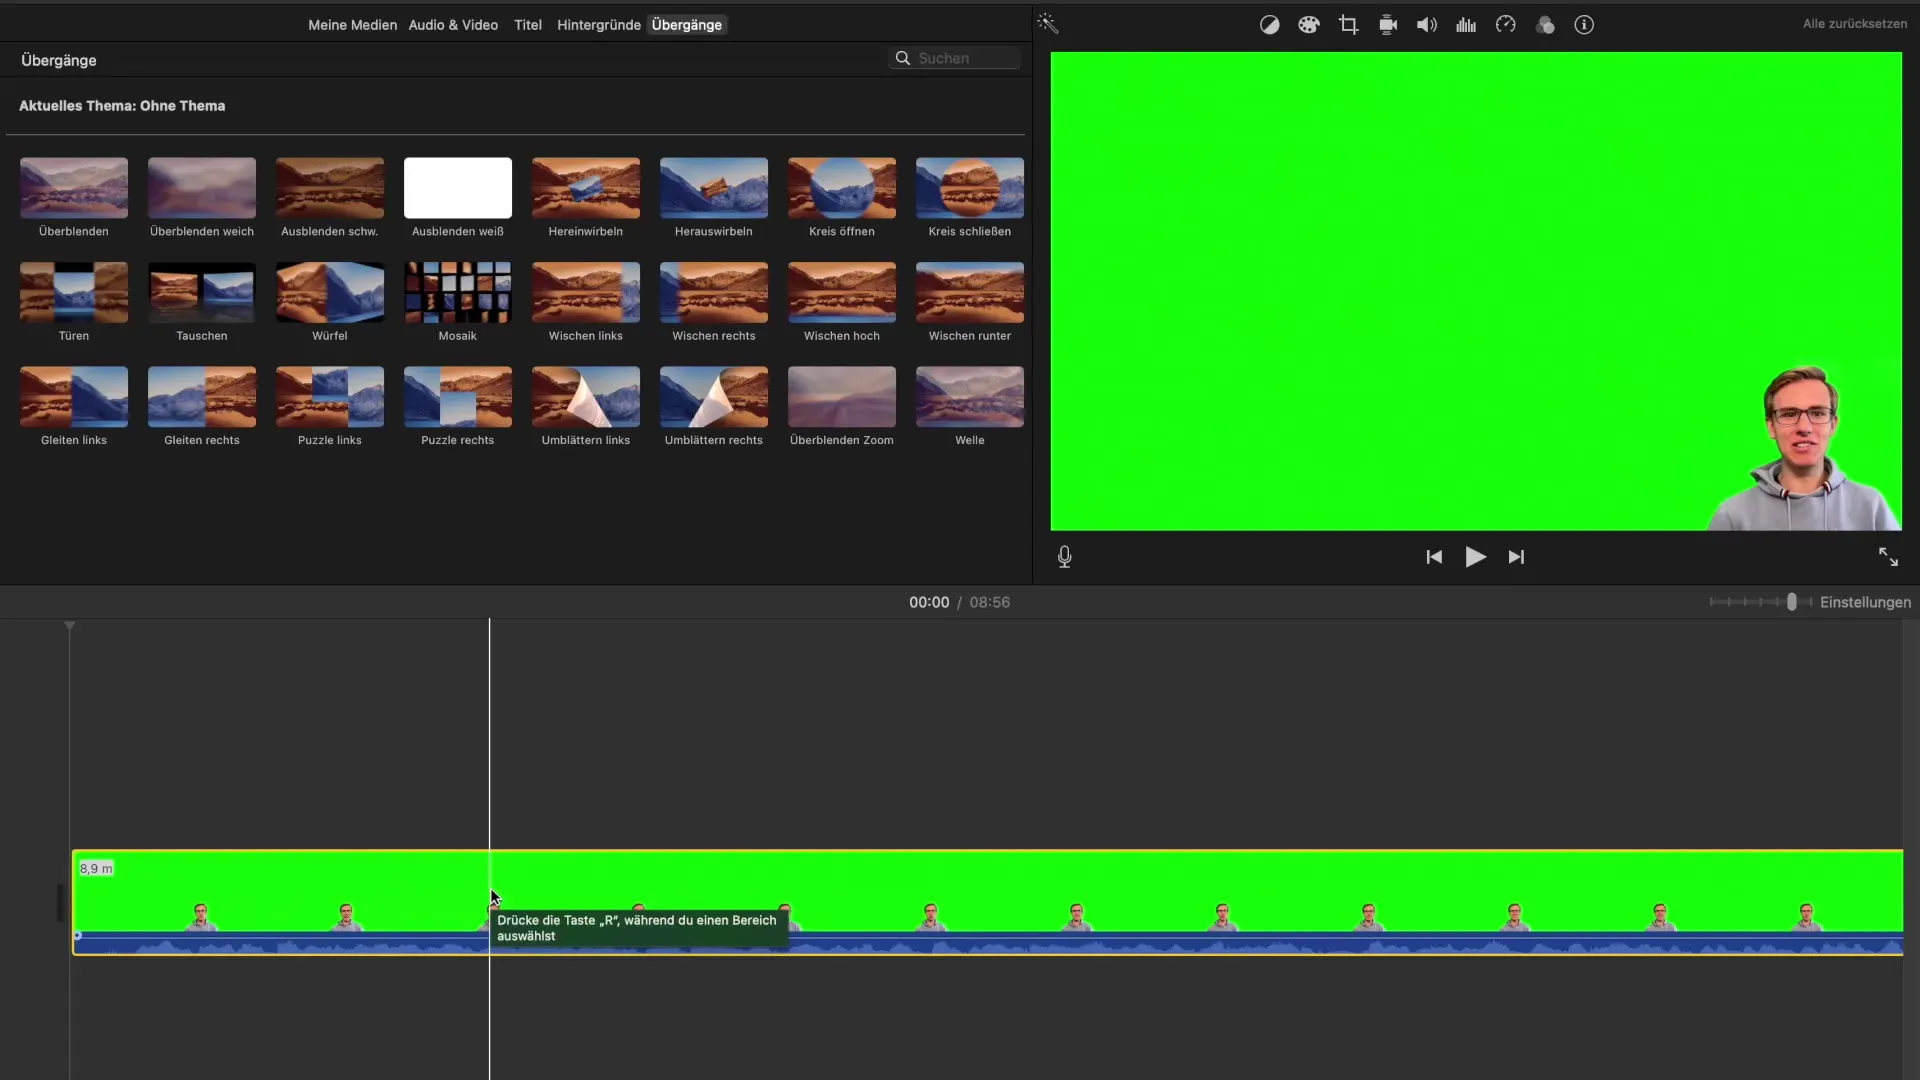
To insert an image or graphic into your project, open iMovie and select the desired project. Simply drag and drop the image you want to use into the timeline of your video. Once the image is inserted, you will see that it is a four-second long video. A video element is automatically created from the image.
Adjusting Image Settings
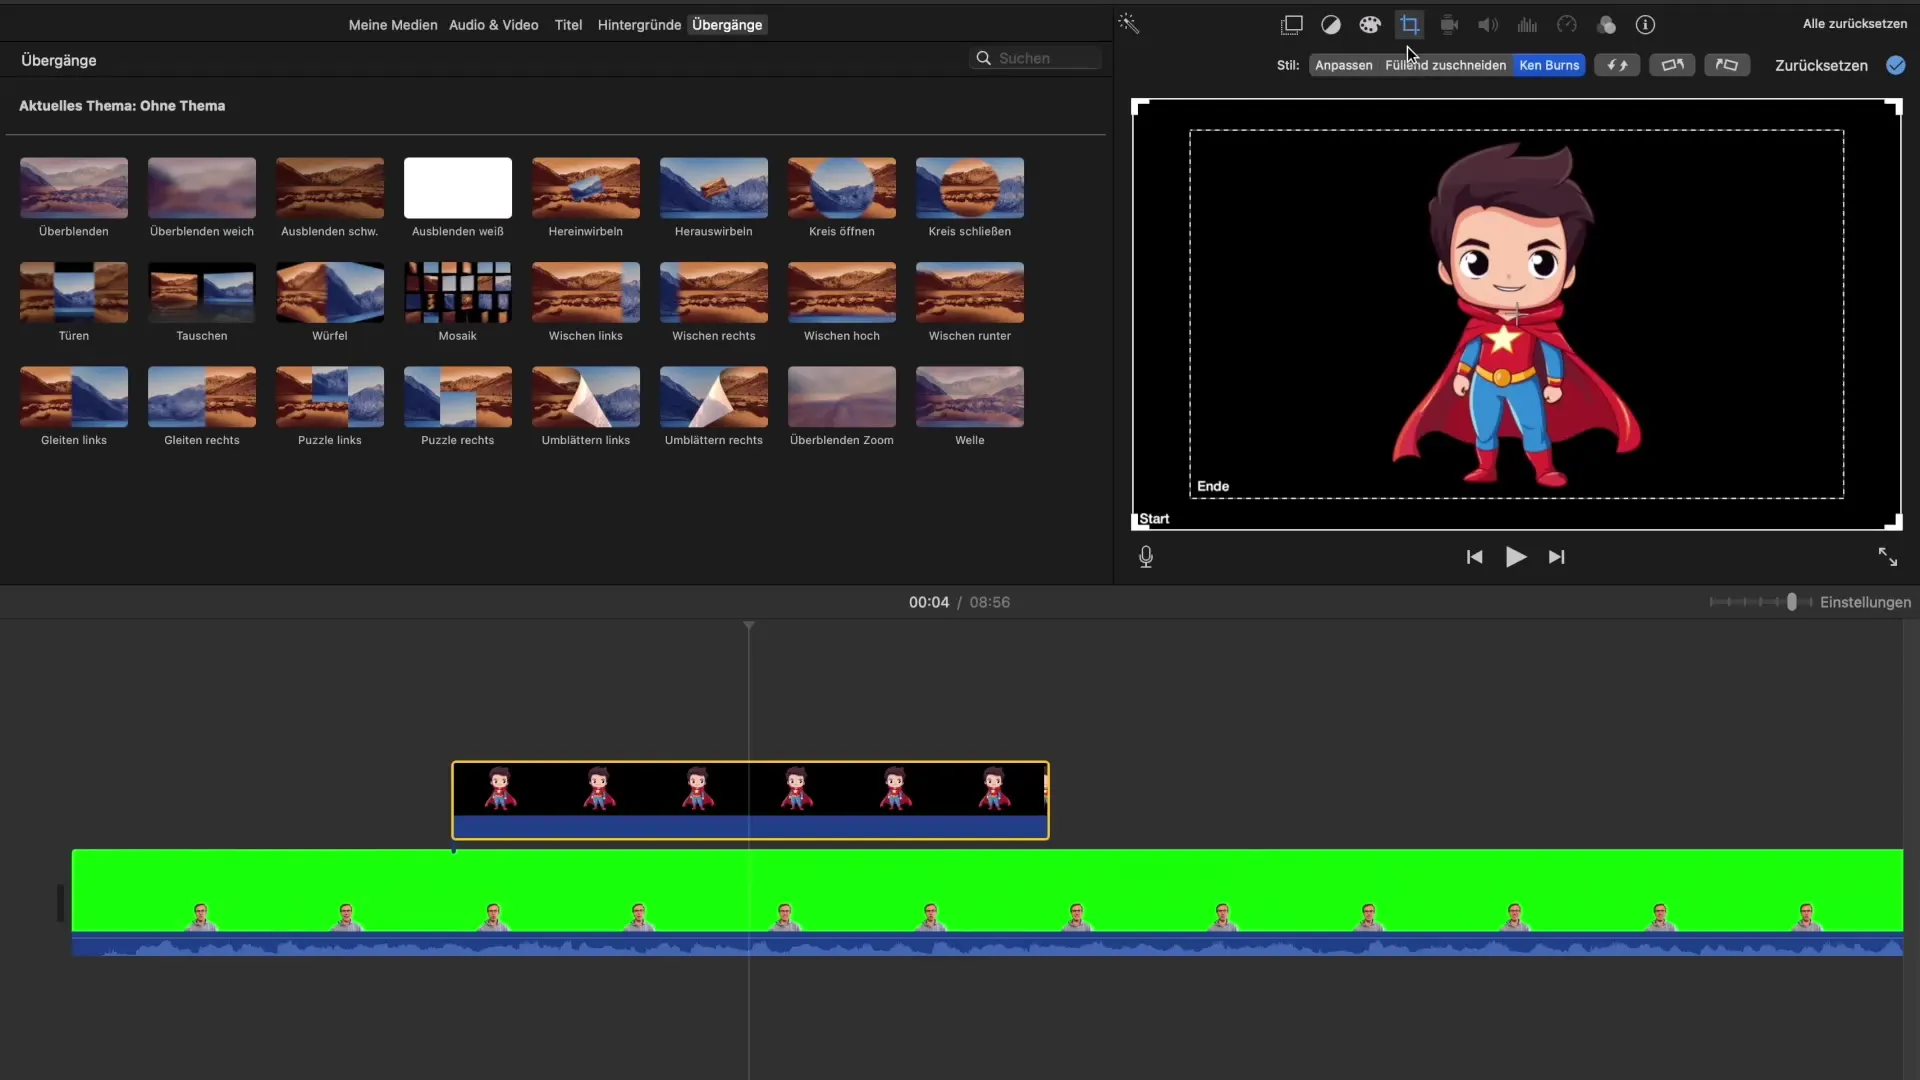
After inserting an image, you can adjust the vase with the available tools. There are various options that help you edit the image. You can change colors, crop the image, or use the option for a split-screen effect. Experiment with the available adjustments to achieve the desired result.
Using the Picture-in-Picture Function
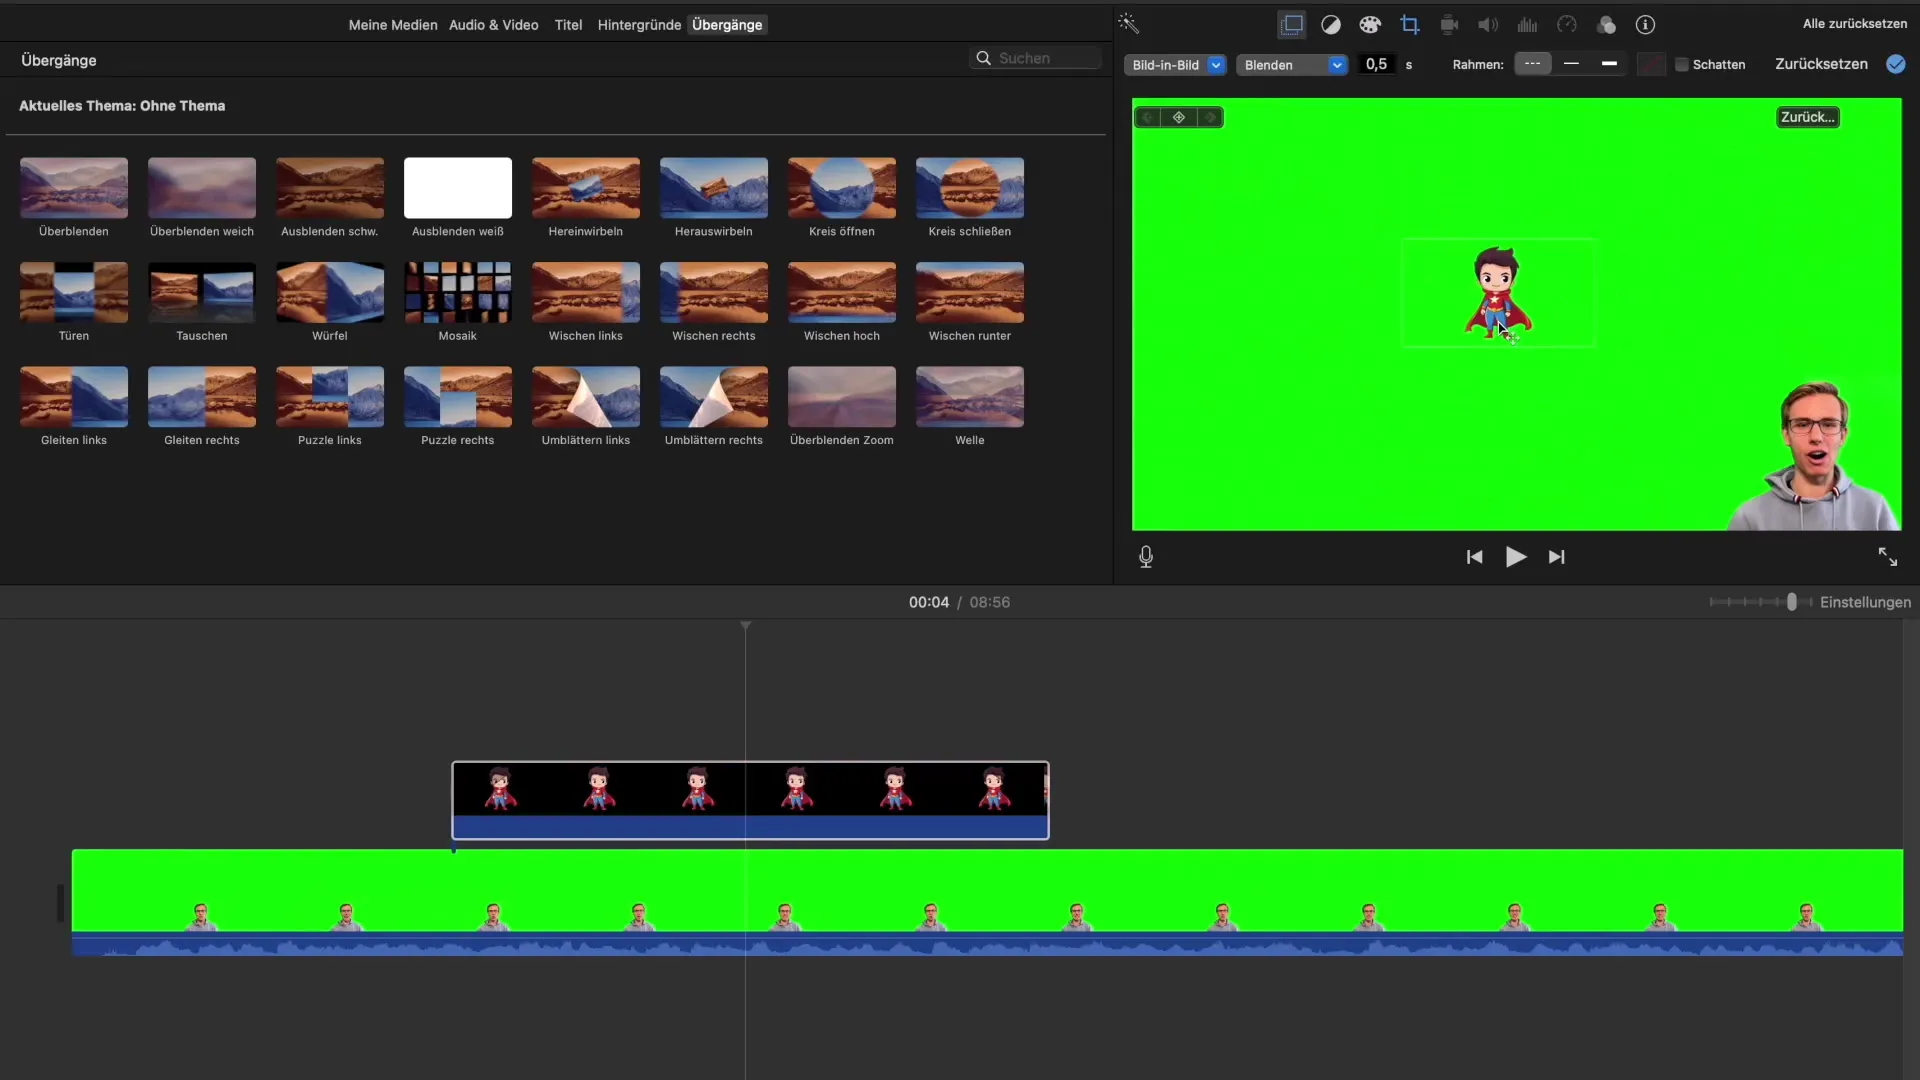
If you want to use the image as picture-in-picture, go to the transition settings and select the "Picture-in-Picture" option. The image will then be displayed smaller, allowing you to move it anywhere in the video. You can scale and position the image depending on how you want to place it in the context of your video.
Positioning and Resizing
Once you have selected the picture-in-picture function, you can decide where the image should appear in the video. Do you want to position it left, right, top, or bottom? The possibilities are diverse. Place the image so that it harmonizes with the rest of your video content.
Adjusting the Length of the Image
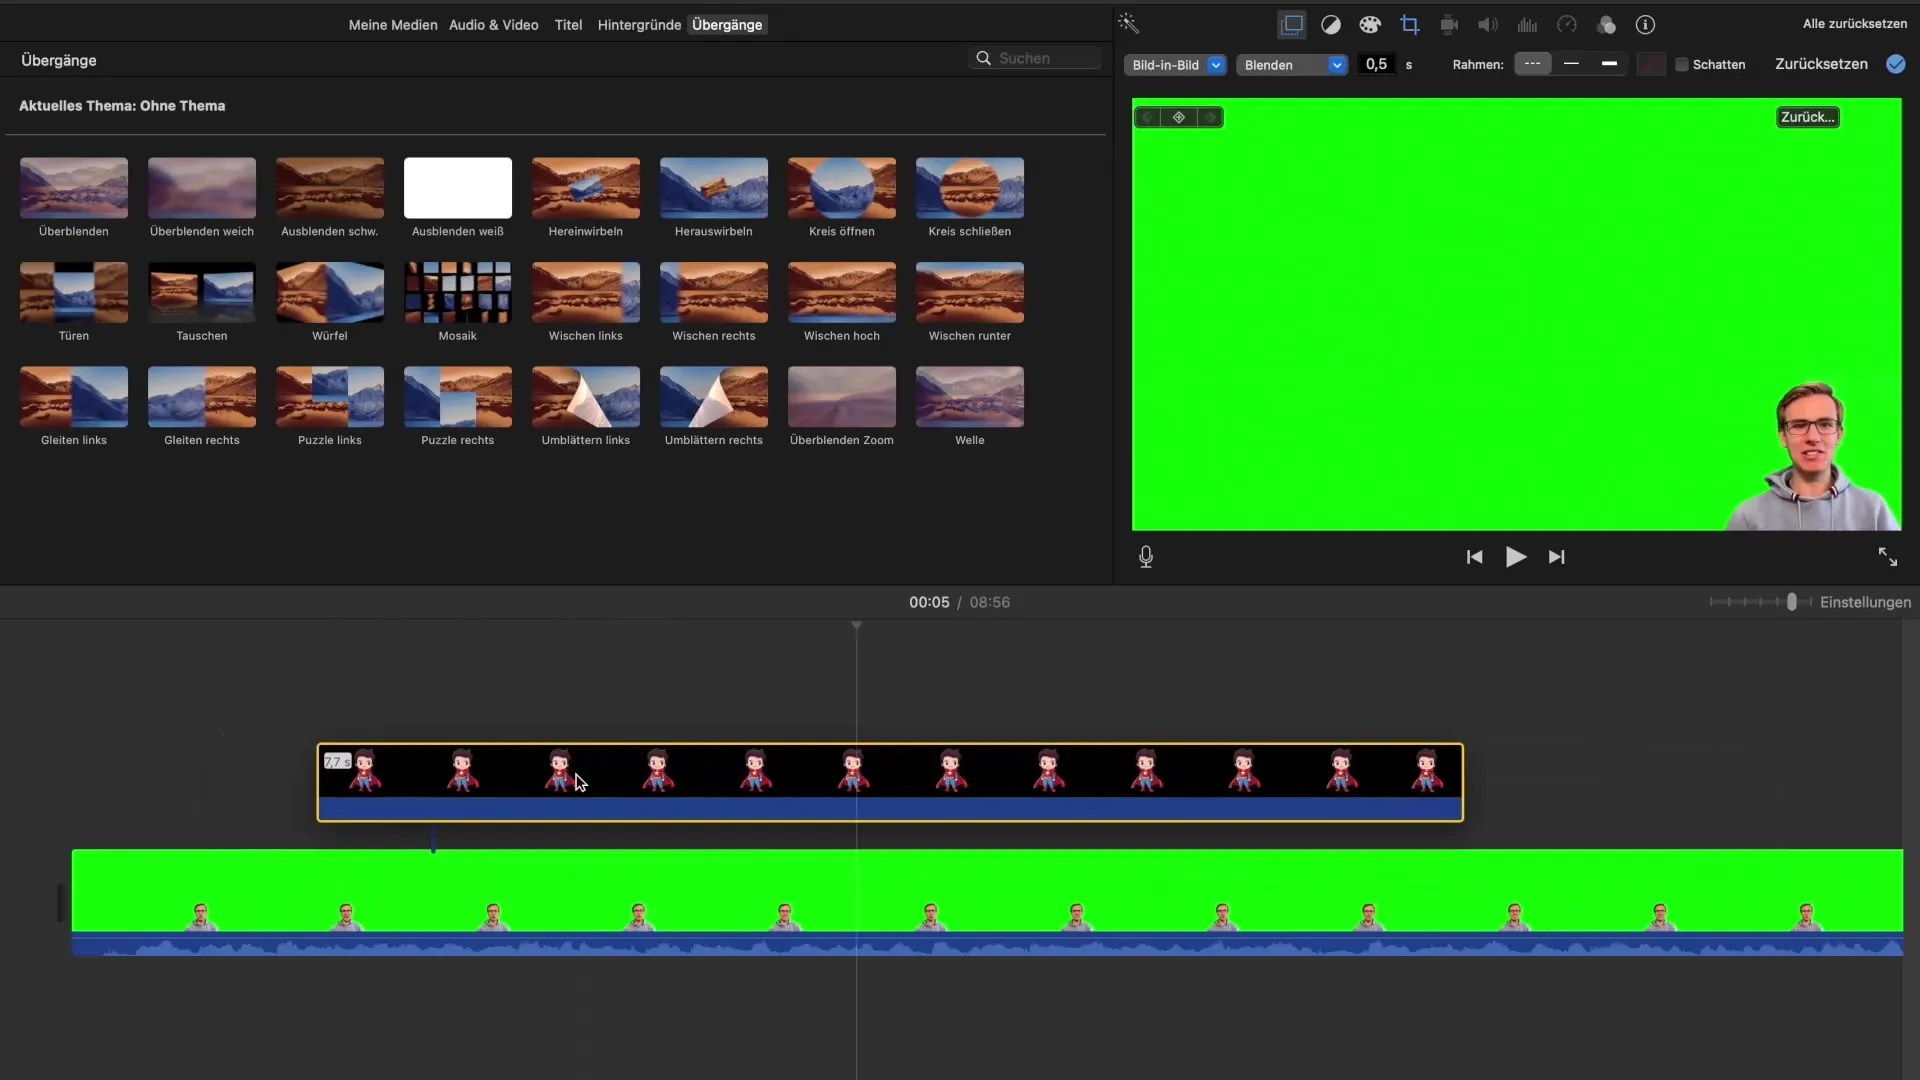
The duration for which the image is displayed on the screen can also be adjusted. You can drag the image to the beginning or end of the placement in the timeline to extend or shorten the display duration. This way, you can ensure that the image appears exactly when it is most relevant.
Using Transition Effects
If you want the image to be smoothly introduced into the video, you can use transition effects. iMovie automatically adds animations, such as a gentle zooming in and out of the image. You also have the option to remove these effects if you do not like them.
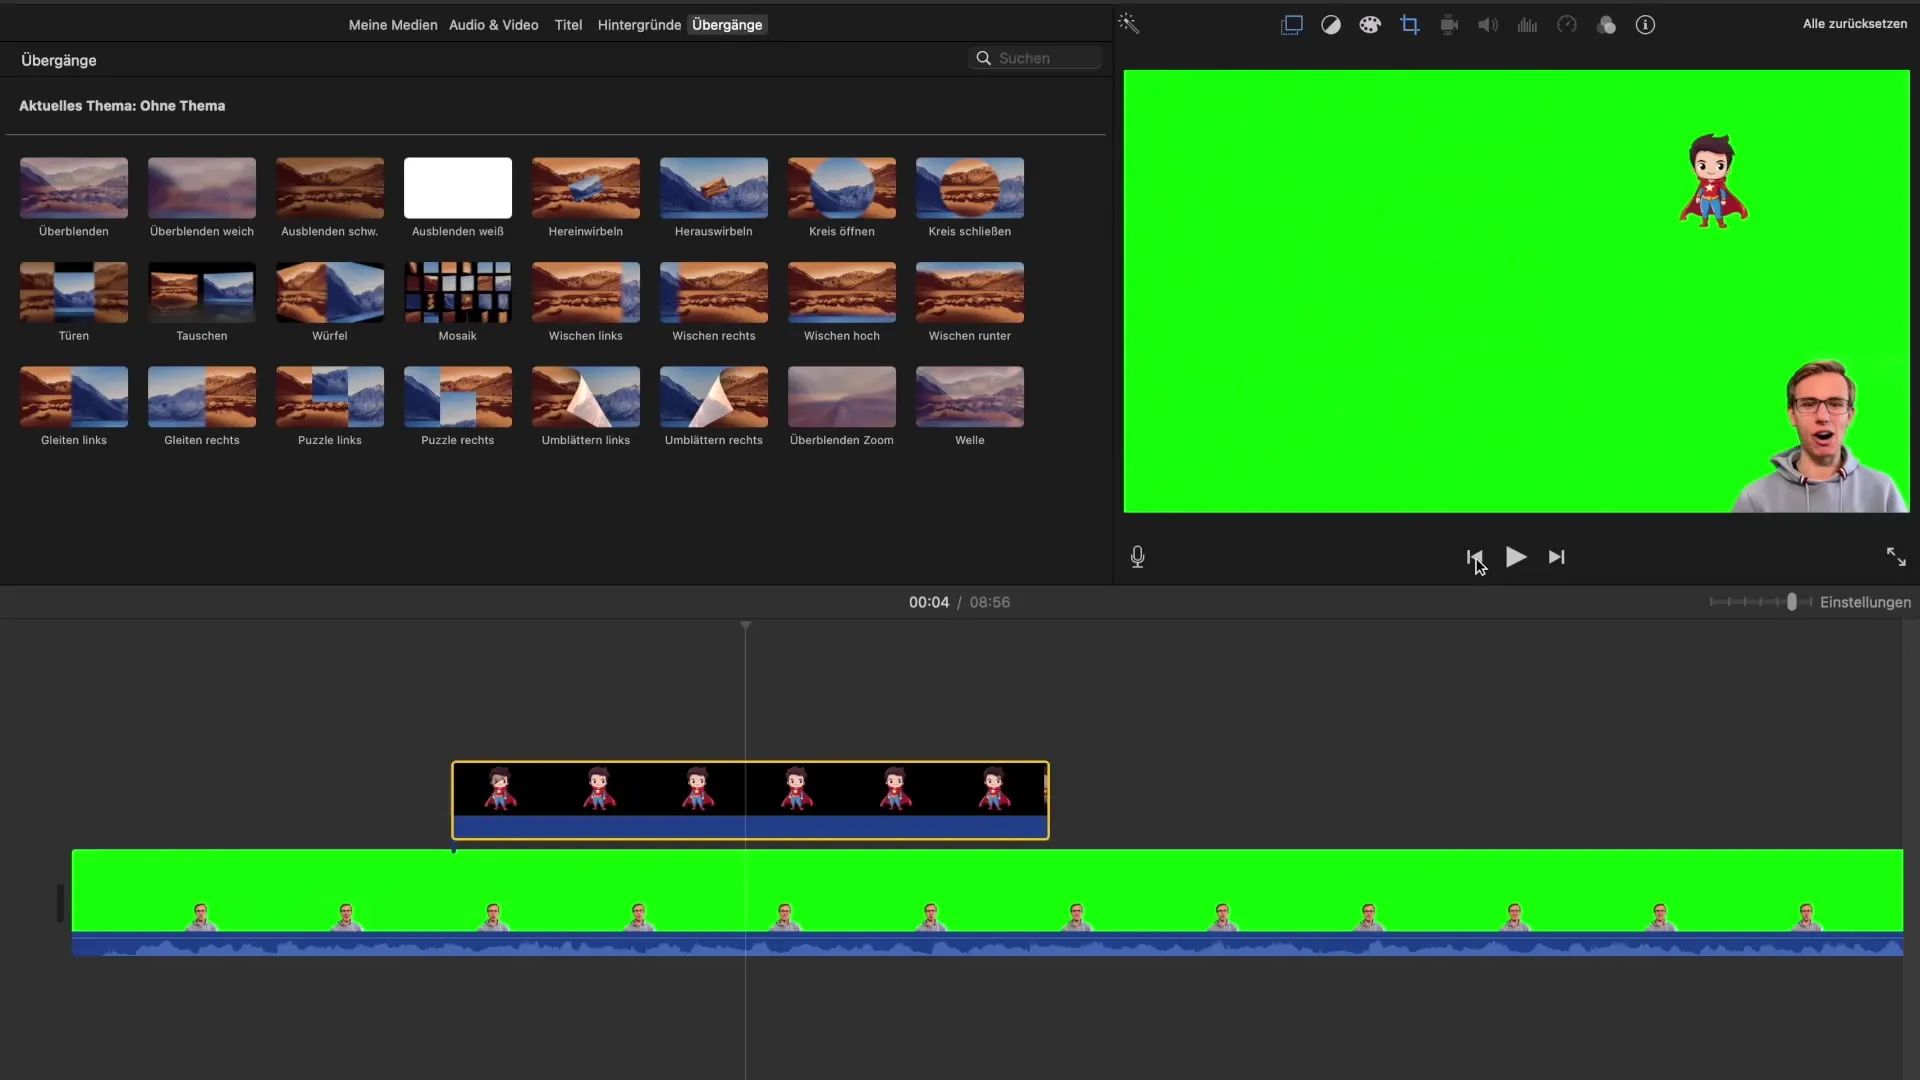
Adding More Visual Elements
In addition to images, you can also insert text elements to add additional explanations or citations to your video. Use the text tools in iMovie to supplement important information to your content. Remember, the combination of images and text can greatly improve viewer understanding.
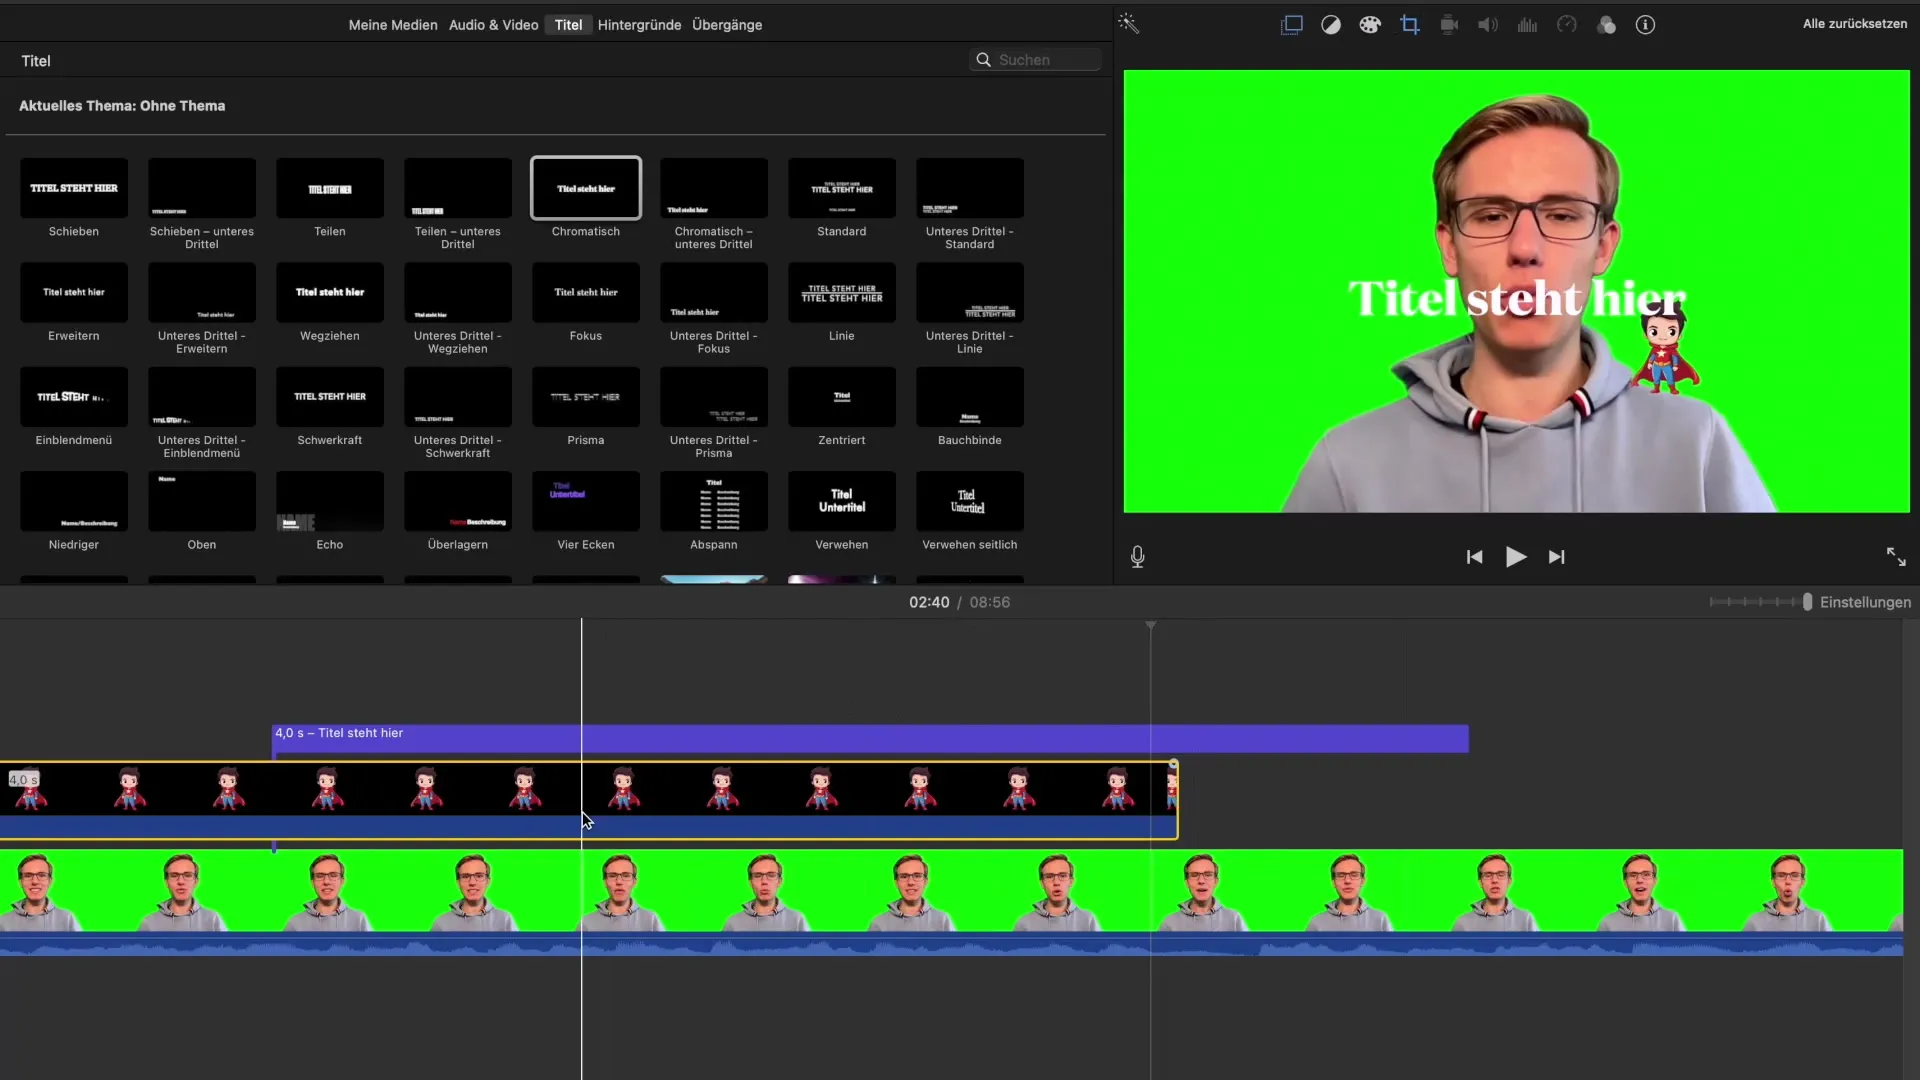
Summary - iMovie Tutorial: Inserting Images and Visual Elements
In this tutorial, you learned how to efficiently integrate images and visual elements in iMovie. The simple drag-and-drop feature as well as adjustments to size and position allow you to make your videos more engaging. Utilize iMovie's features to give your content more weight through visual support and reach your audience better.
Frequently Asked Questions
What is the default duration for which an image is displayed in iMovie?The default duration is four seconds.
How can I adjust the size of an image in iMovie?You can adjust the size by selecting the image in the preview and dragging with the mouse.
Can I add text elements to my video?Yes, you can add text elements to provide additional context or information.
What is the advantage of the picture-in-picture function?The picture-in-picture function allows you to overlay an additional image over your main video, creating visual variety.
Can I remove effects from images in iMovie?Yes, you can remove effects at any time by adjusting the respective settings.


