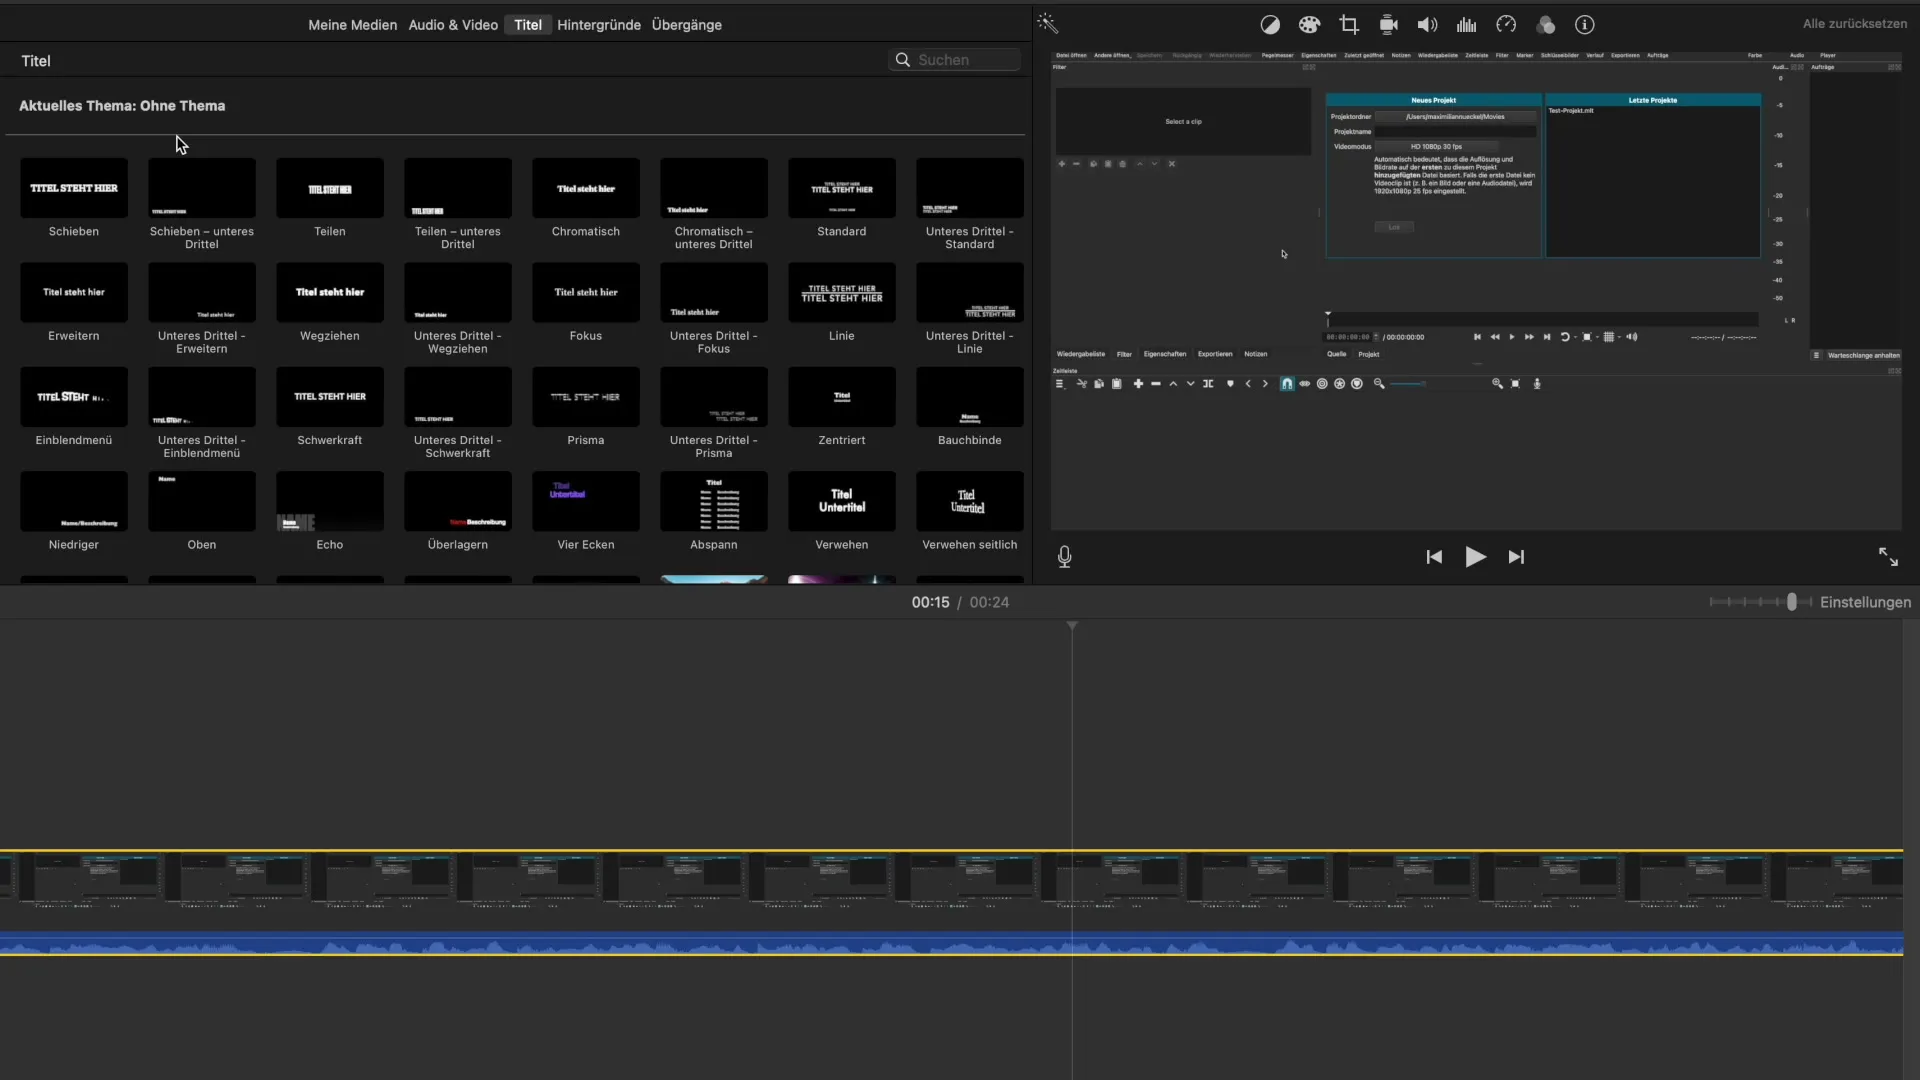
Adjusting the speed of video clips is one of the fundamental techniques to create exciting visual effects in your projects. Whether you want to use time-lapse or slow-motion – the ability to change the speed of your clips allows you to tell creative stories and captivate your audience. In this guide, you will learn in detail how to effectively adjust the speed of your clips in iMovie.
Key insights
- You can make clips slower or faster.
- There are various presets as well as the option to customize the speed.
- Be mindful of the audio effect that may accompany the speed change.
- Using the "Preserve Audio" button can help maintain audio quality.
Step-by-step Guide
One of the first features you should use when editing a video in iMovie is speed adjustment. To find this function, you will first need a clip in your timeline. Starting here is easy. Go to your video project and select the clip whose speed you want to adjust.

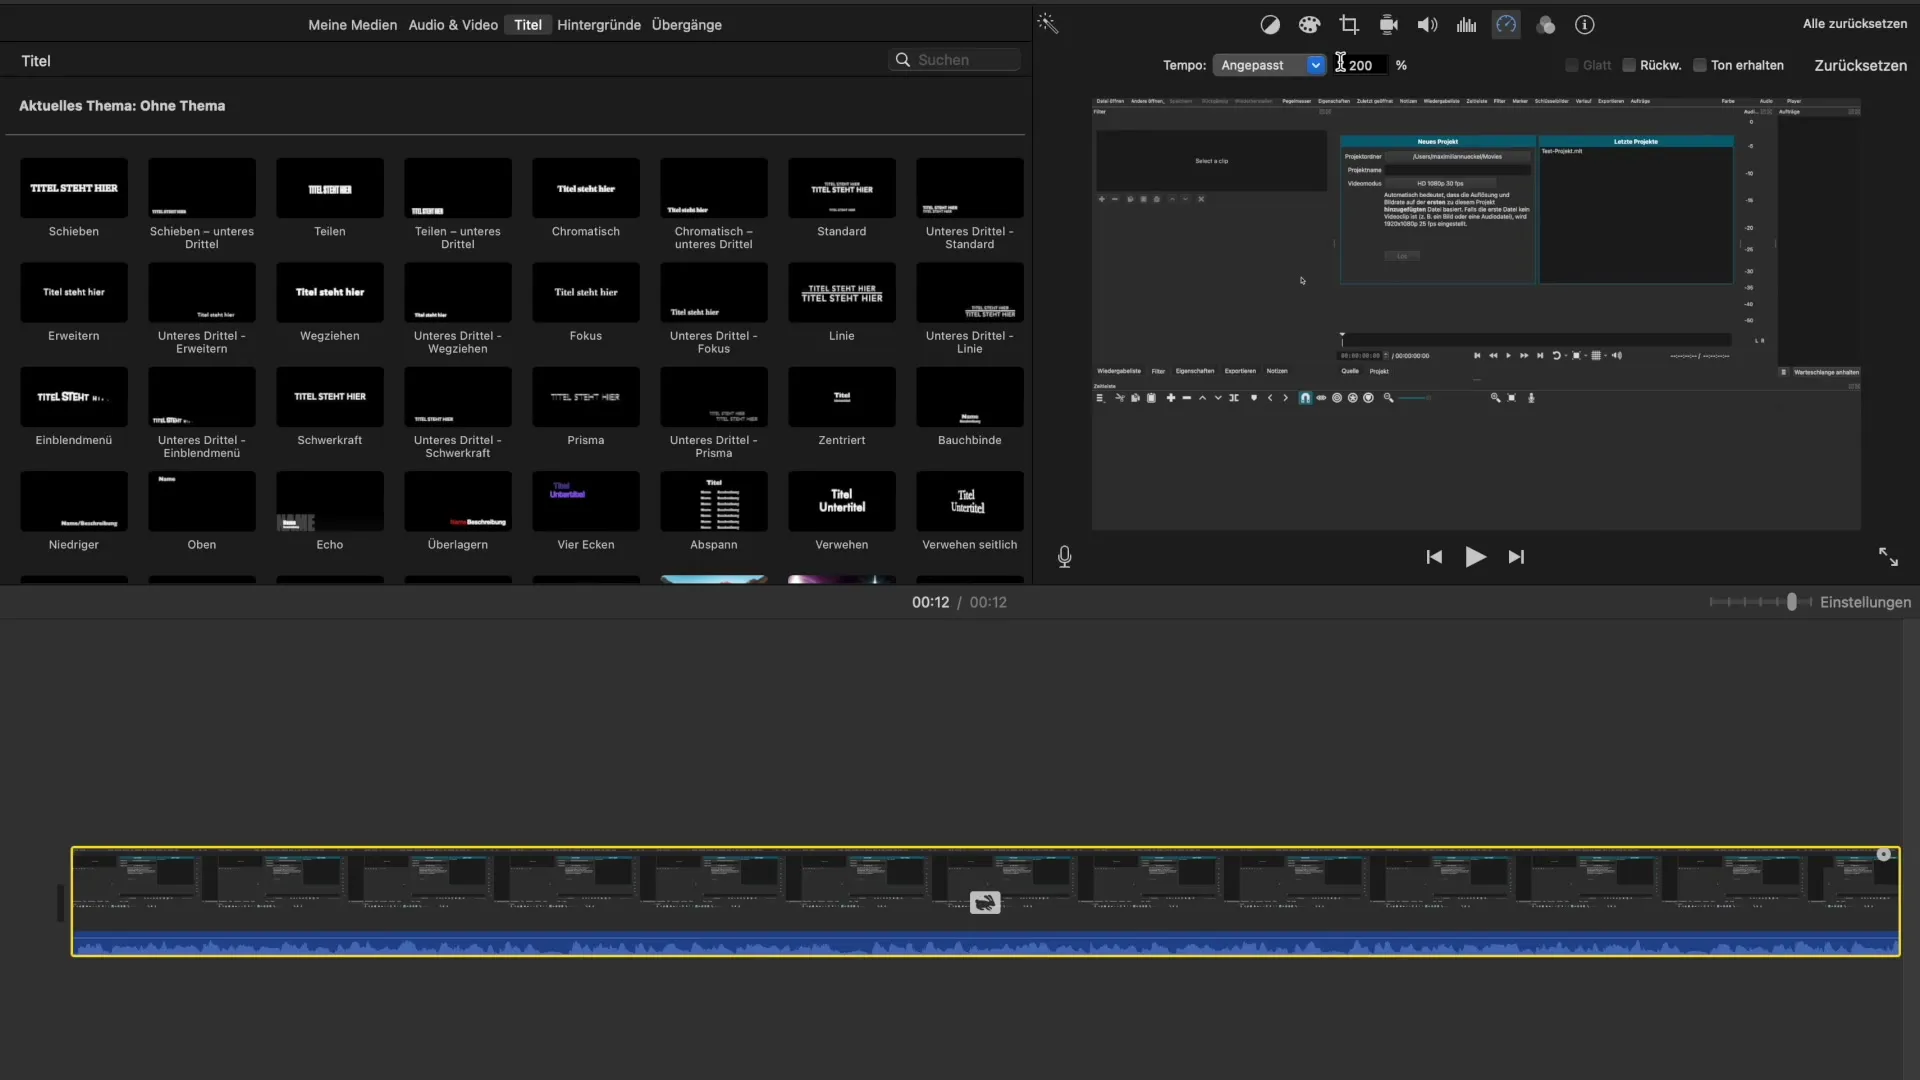
Next, look for the speed icon that resembles a speedometer. A click on it will open the speed adjustment menu, giving you several options for adjustment.
Slow-motion, time-lapse, or the option to display clips as still images – all these options are available to you here. You should first decide what you want to achieve. Do you want to make your clip slower, play it faster, or achieve a still image effect?
A special setting is “custom speed.” This option allows you to specify the speed in percentage yourself. This gives you full control over the change. Preset speeds such as 10% slower or 490% faster are also available, but I recommend setting this yourself for the best results.

The standard speed in iMovie is 100%. Values above 100% will make your video play faster, while values below 100% will slow it down. For example, if you want to create a time-lapse recording, you could simply set the speed to 200% or even 1000%.
Now it’s time to test the adjustments. If you want your clip to run twice as fast, set it to 200%. If you want it to be three times faster, that would be 300%. The platform automatically adjusts the video so you can see the result of your adjustments immediately.
Another exciting effect is reversing the clip. Here, you can play the clip backward, which opens up interesting creative possibilities. However, note that at higher speeds, the audio is often not clear anymore.
However, there is a way to preserve the sound during these speed changes. You can activate the “Preserve Audio” button, which helps maintain the clarity of the voice even when the video is played faster. Notes on audio quality are extremely important when the speed of your clip is affected.
If you set a speed of over 200%, the audio quality is significantly affected, and comprehensibility suffers. Here it can be helpful to use additional software like Shotcut to better control not only the speed but also the sound.
If you have followed all the steps, you have now learned how to adjust the speed of your clips in iMovie – for both visual and auditory effects.
Summary - Guide to Adjusting Speed in iMovie
You have learned the basic steps to effectively adjust the speed of your clips in iMovie. After making the right decisions regarding the tempo and audio effect, you can make your videos more dramatic and exciting. With a little practice, you will quickly achieve impressive results that take your projects to the next level.
Frequently Asked Questions
What is the standard speed in iMovie?The standard speed is 100%.
How can I increase the speed of a clip?Select the clip, click on the speed icon, and set the speed to over 100%.
Can I also adjust the audio?Yes, you can activate the “Preserve Audio” button to maintain audio quality.
How do I use the reverse function?Activate the reverse playback option in the speed menu.
What is Shotcut and what is it used for?Shotcut is a free video editing program that gives you additional control over speed and audio.


