Creating a promo-video is an art in itself. With iMovie, you have various tools at your disposal that make the process both easy and creative. Whether you're cutting a video for a video course, a product, or a service – the right approach helps you leave a lasting impression.
Key Insights
- The combination of greenscreen footage and visual elements is crucial for an engaging promo video.
- A structured approach and the use of already created elements can significantly simplify the editing process.
- Quality is key: double-check your finished video to ensure everything runs smoothly.
Step-by-Step Guide
To create an effective promo video with iMovie, follow these steps:
1. Create Raw Footage
Start by creating your raw footage. You will need a greenscreen recording, which is imported into iMovie. Make sure you have good lighting to minimize shadows and unevenness.
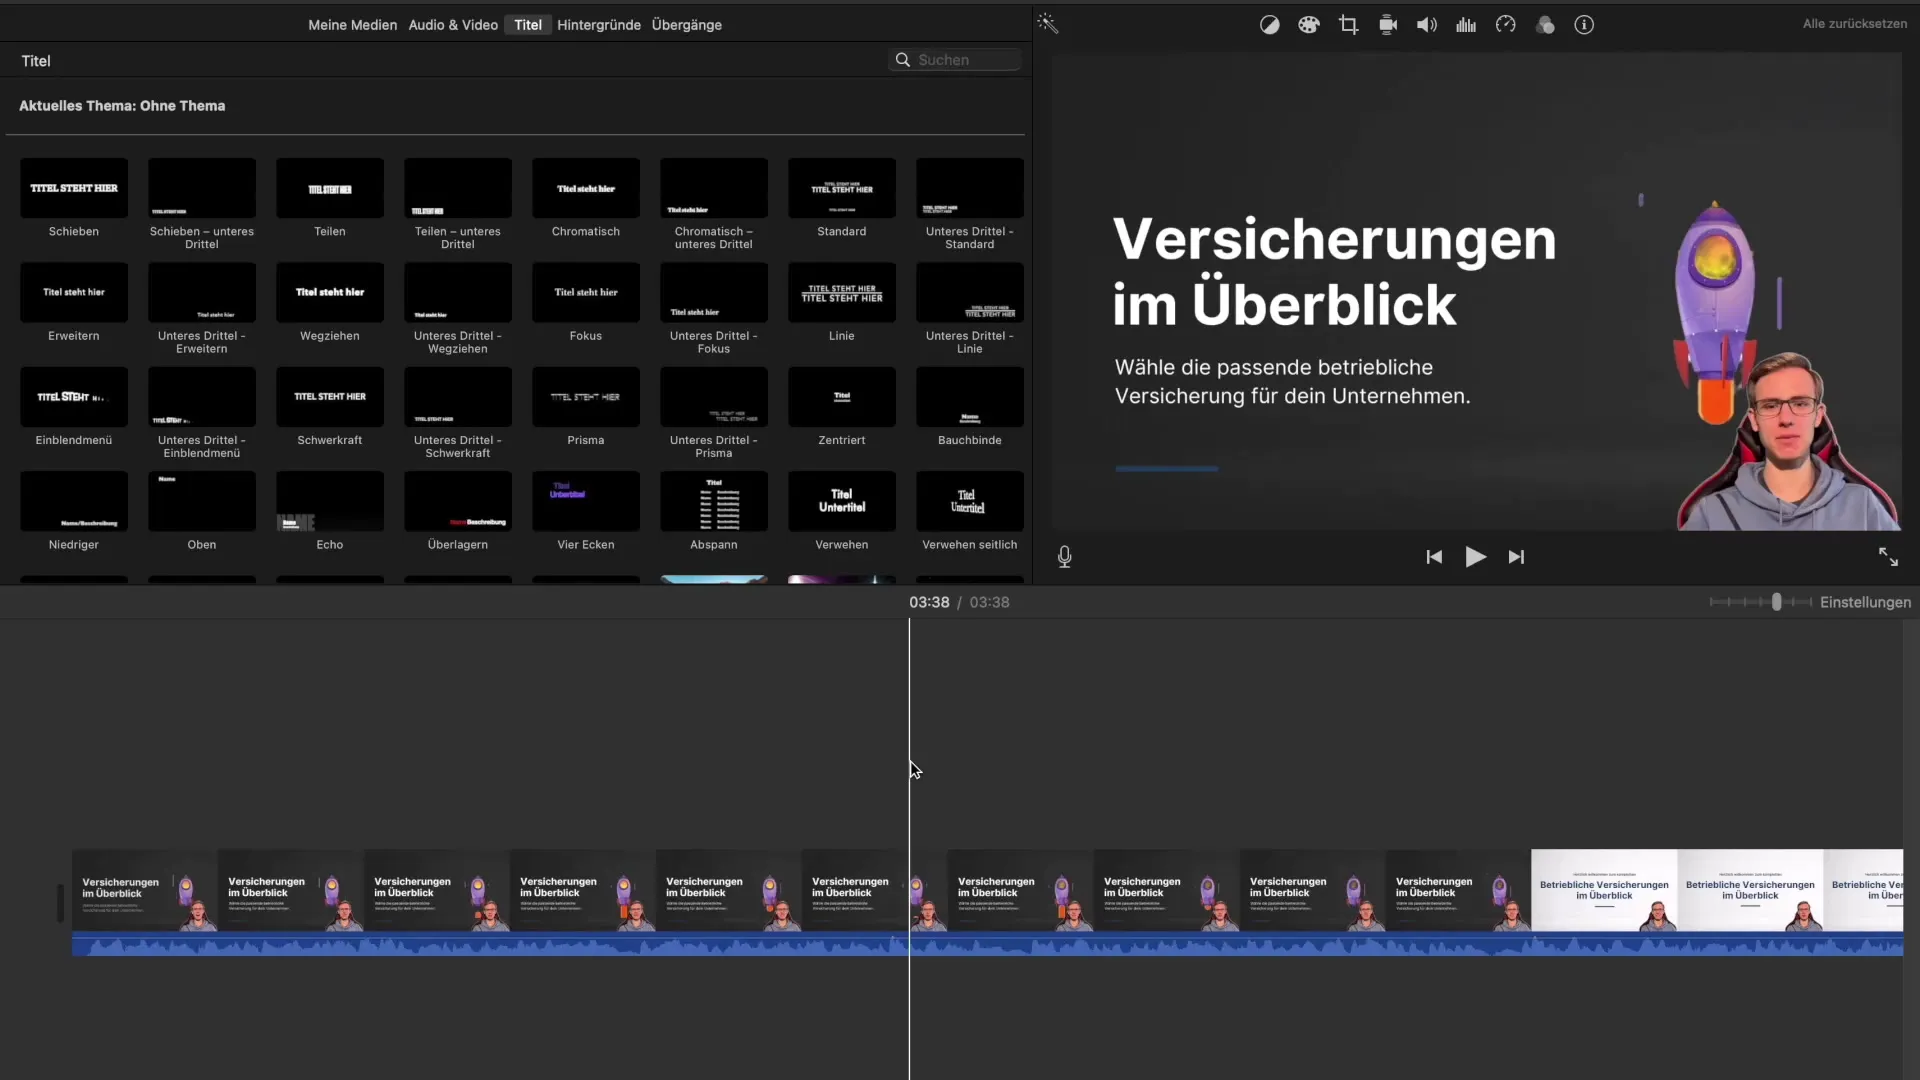
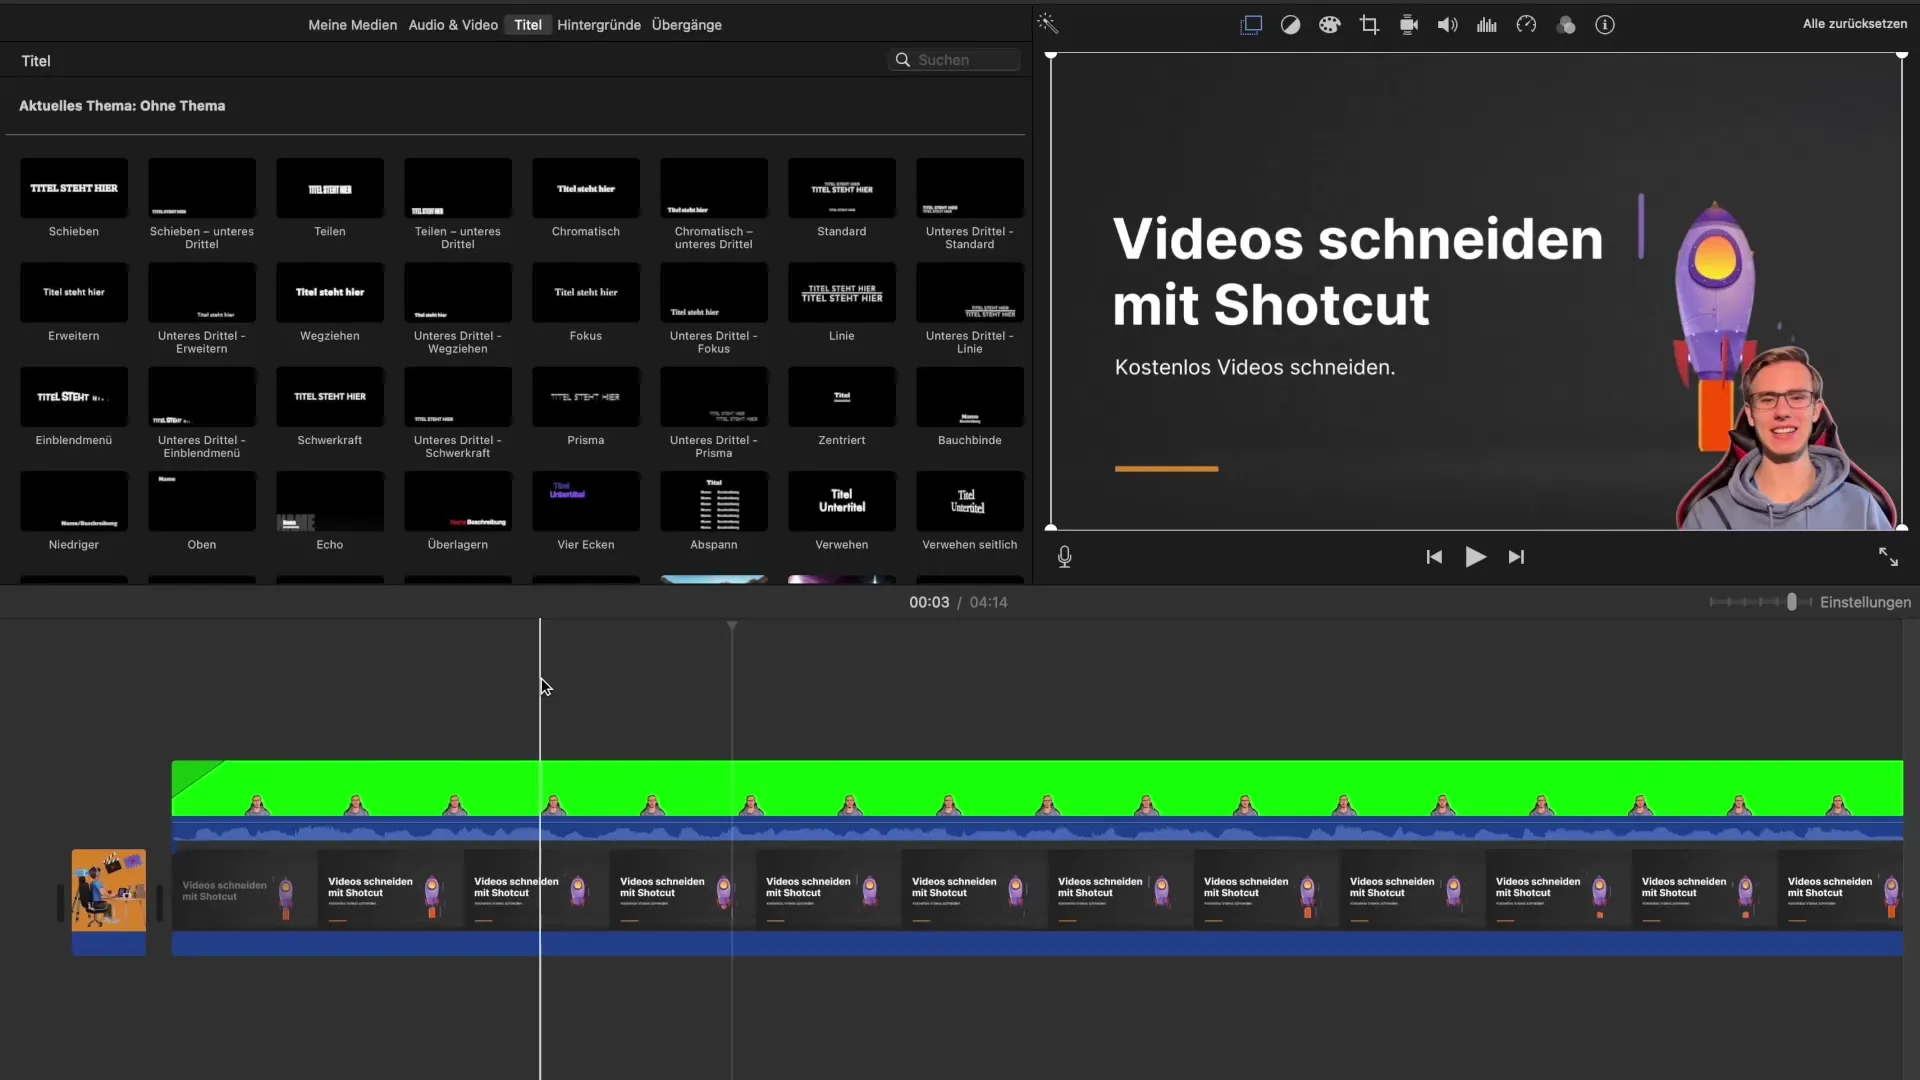
First, drag your greenscreen recording into iMovie. You can use a green image as a background and activate the greenscreen filter to represent the footage optimally.
Then, click on "Picture in Picture" and apply the greenscreen filter multiple times to correct any color errors that may arise from poor lighting.
2. Prepare Visual Elements
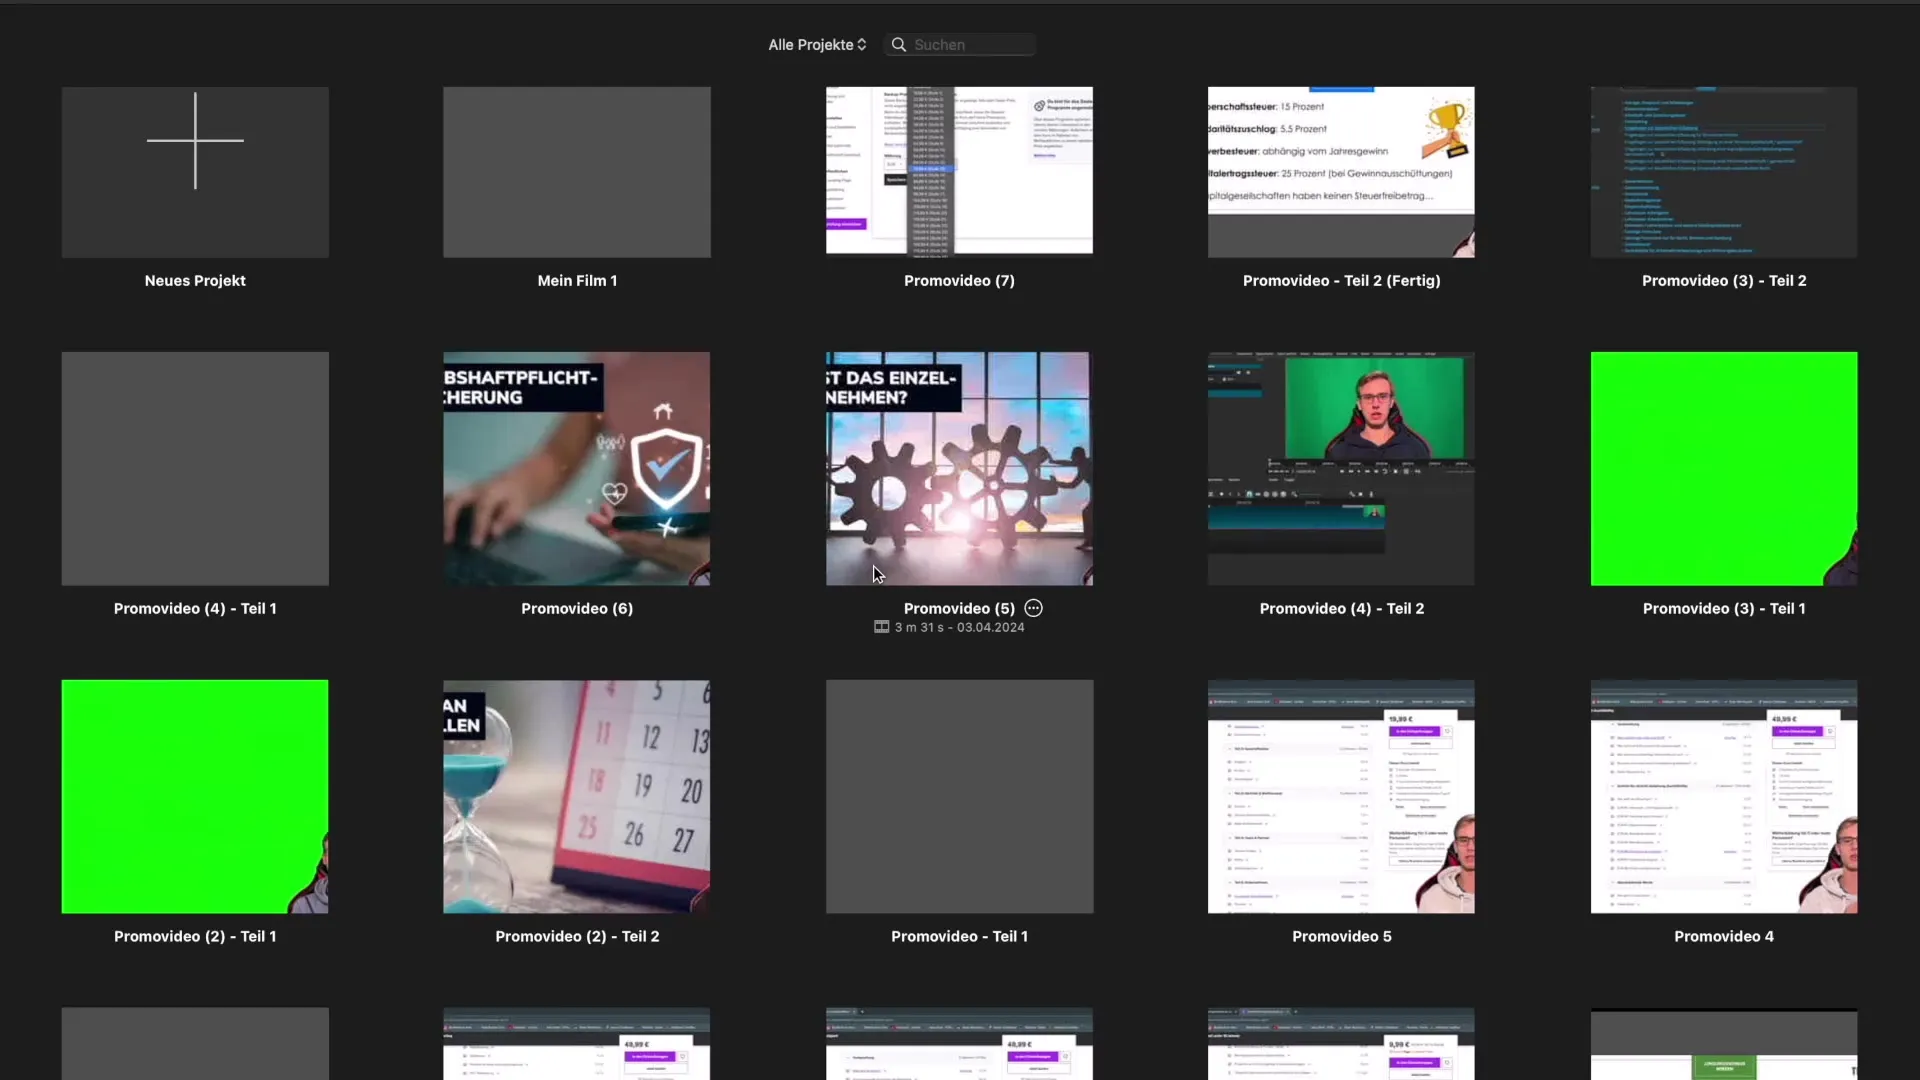
In the next step, you need to create and download your visual elements. These must be imported as separate files into iMovie. Use a program like Canva to design them appealingly.
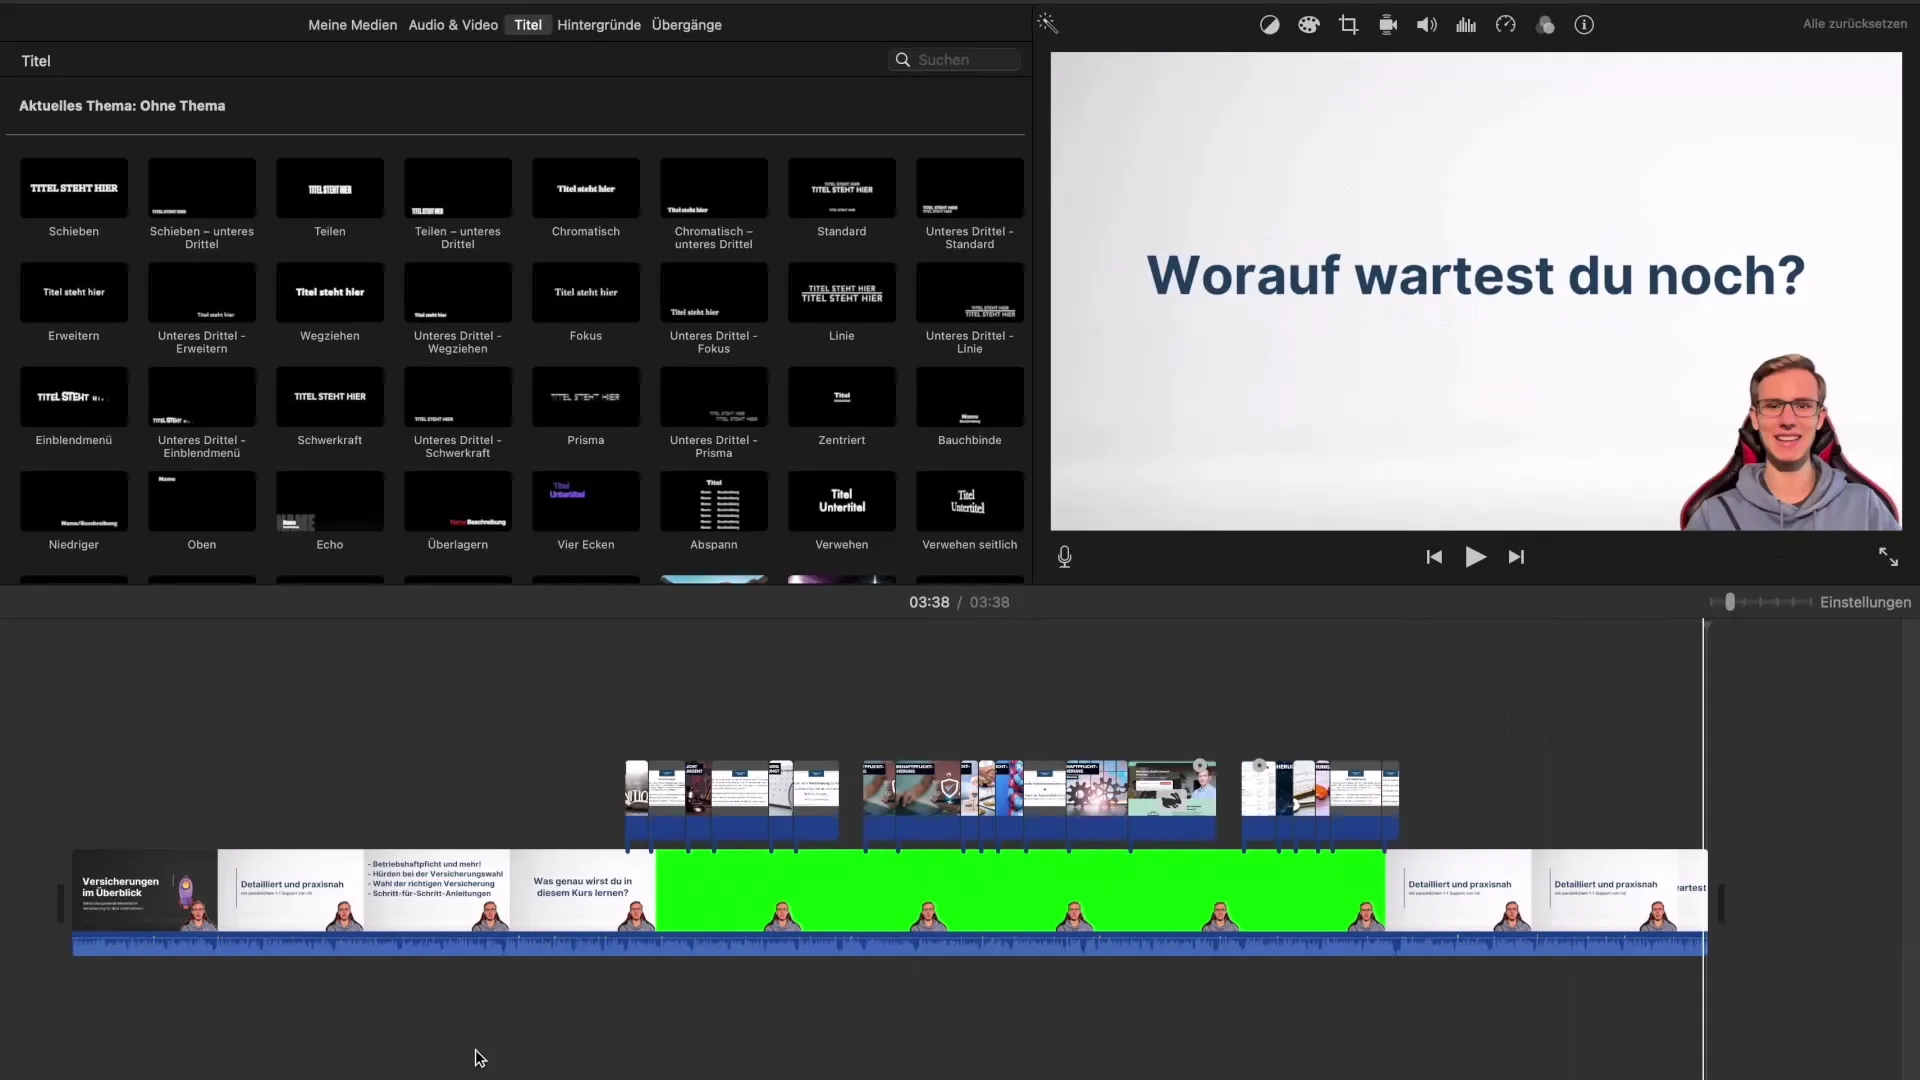
Make sure you have a separate video for each visual part. This allows you to work flexibly with different elements. These visual support elements are essential for the content of your promo video.
3. Edit and Combine Videos
Start by editing your videos. First, drag the greenscreen recording and the visual elements together into your project. It is now important that the content of your greenscreen recording harmonizes with the visual elements.
For example, you can add a title or subtitle to your video course to capture the viewers' interest.
4. Transitions and Effects
To give your promo video a professional touch, add transitions between the individual scenes. This will make the cuts smoother and the video overall more appealing.
Additionally, you can use various effects such as fading in and out images. To do this, simply drag the end area of the clip as long as you need it.
5. Audio Editing
Ensure that the audio volume of your clips is balanced. It may be helpful to remove background music or sounds to focus on your voice.
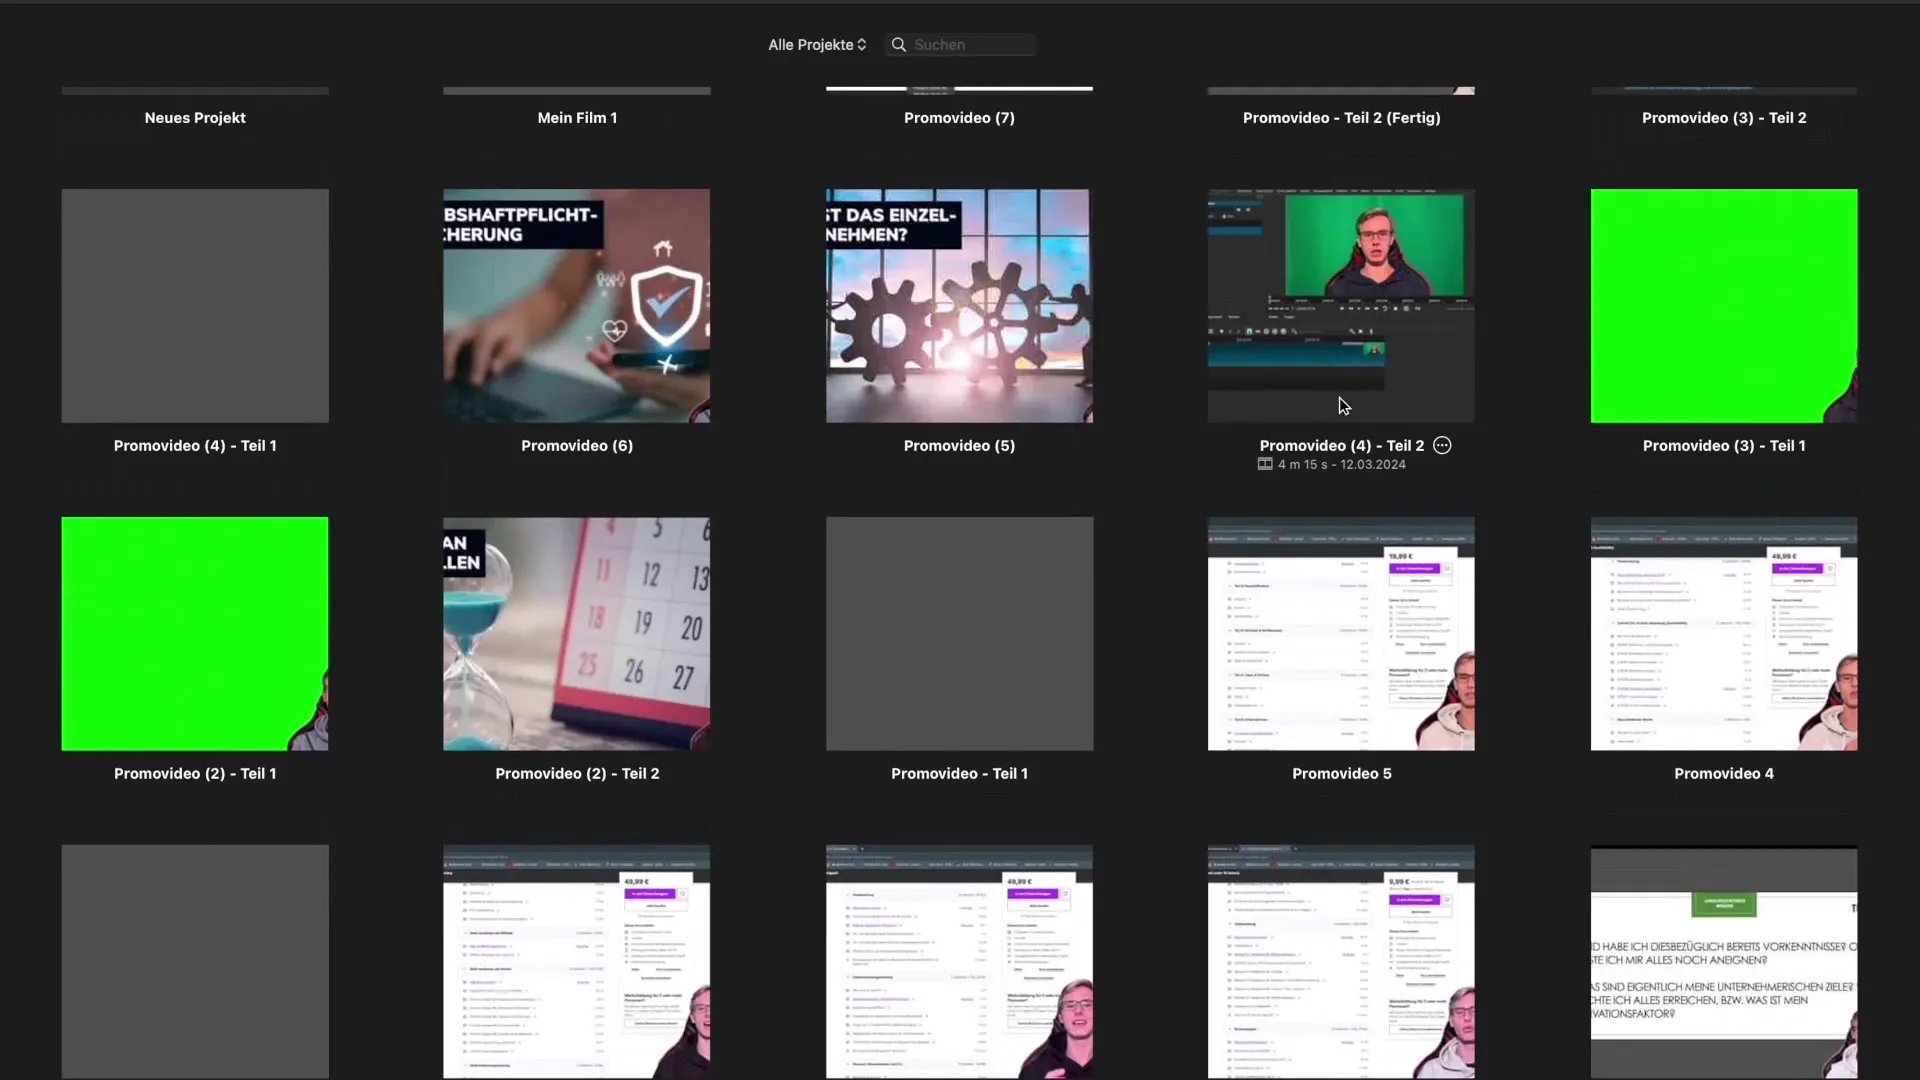
Use iMovie's audio tools to adjust the behavior of the various audio tracks linearly, optimize the volume, and create a clear, pleasant viewer experience.
6. Export and Review
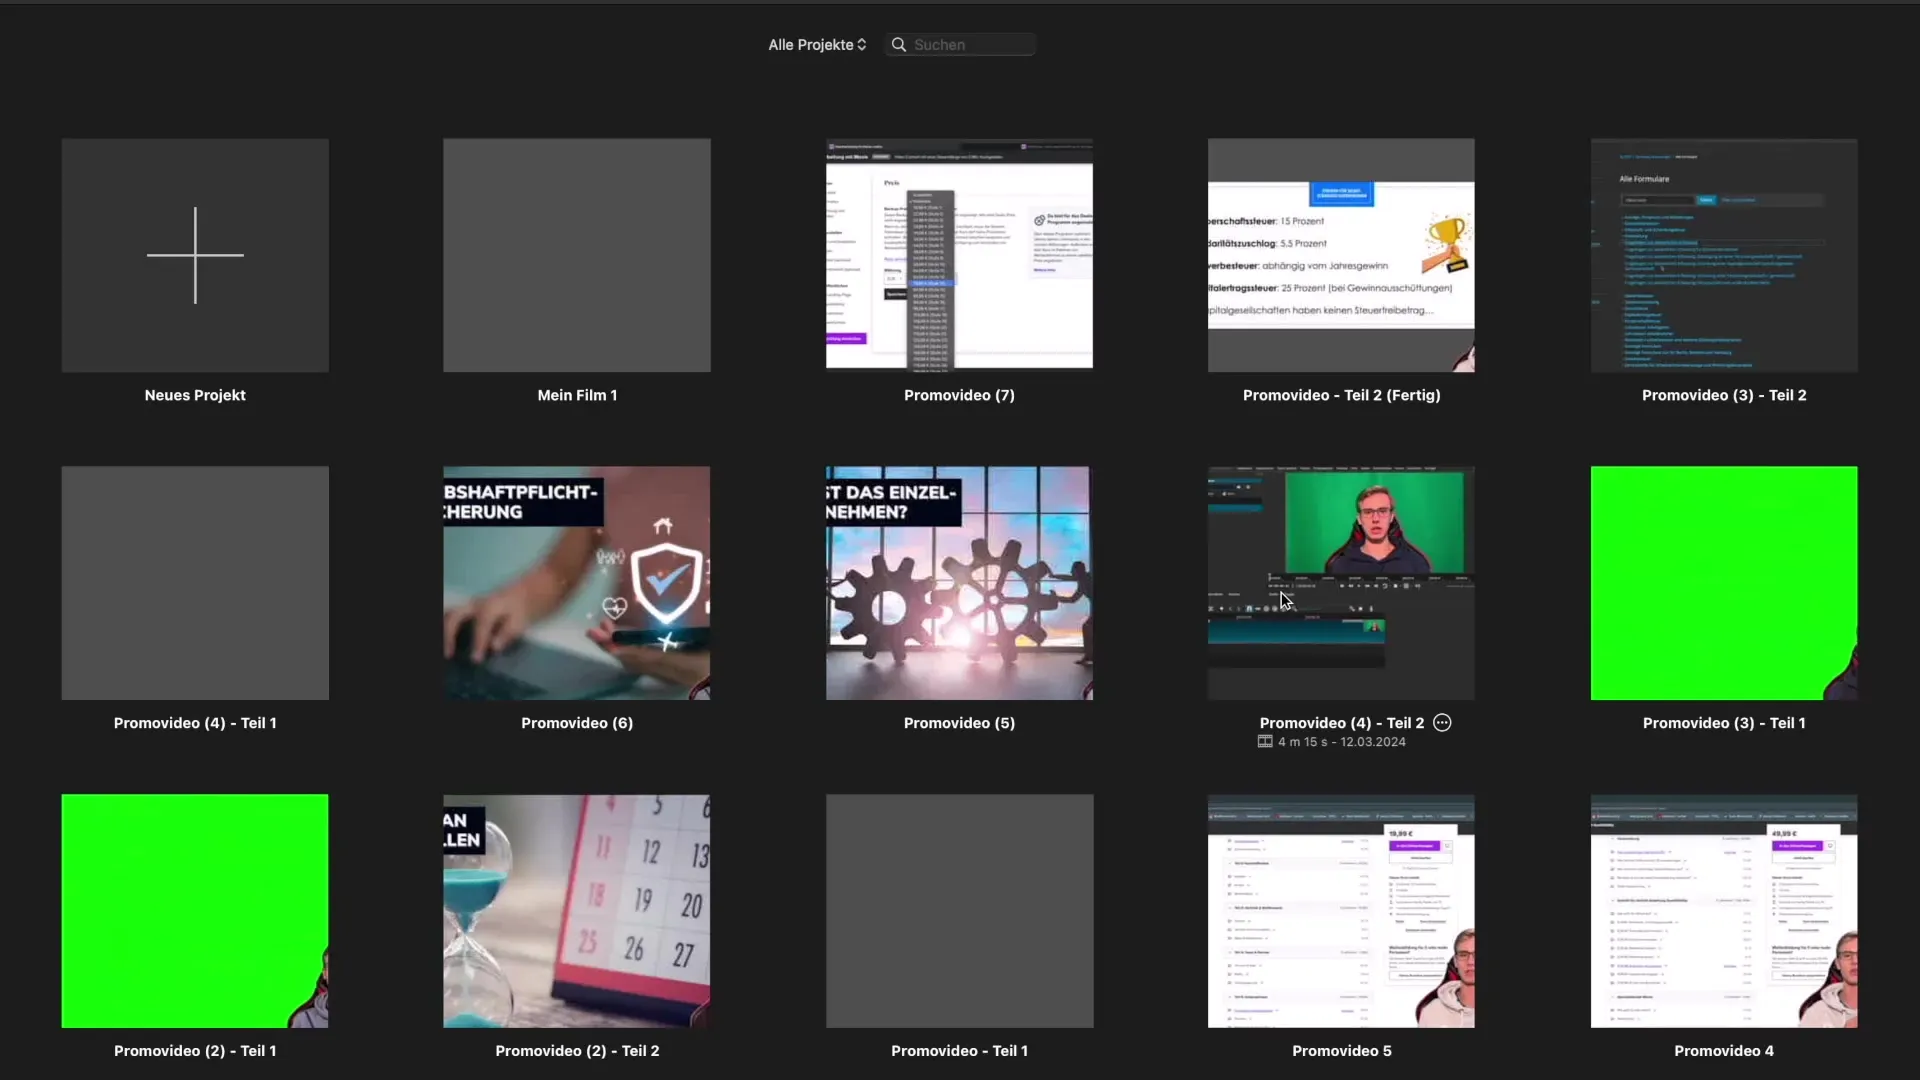
Once you are satisfied with editing your video, export the project. Watch the exported video at least twice to ensure everything is displayed correctly and flows smoothly.
Especially for promo videos, where every detail counts, this review is essential. You want your video to be convincing both in terms of content and technically.
Summary – Creating Professional Promo Videos with iMovie
You have now learned all the necessary steps to edit engaging promo videos with iMovie. From careful preparation and recording to editing and final export – each step contributes to making your video a real eye-catcher.
Frequently Asked Questions
What software do I need to create the video?You need iMovie to create your promo video.
Can I create a promo video without a greenscreen?Yes, it is possible, but a greenscreen offers more design options.
How long does it take to edit a promo video?Typically, you can create a professional video within 2 to 5 hours.
What visual elements should I use?Use appealing graphics and texts that support your product or service.
Is it necessary to edit the audio quality?Yes, balanced audio quality increases the professionalism of your video.


