The technologies available to us make recording and editing screen content easier than ever before. QuickTime Player is a convenient tool on macOS that allows you not only to play videos but also to create screen recordings. In this guide, I will show you step by step how to use QuickTime Player to create screen and audio recordings and then edit them in iMovie.
Key insights
- QuickTime Player is pre-installed on every MacBook and iMac.
- You can make both screen and audio recordings.
- After recording, you have the option to further edit the files in iMovie.
- Options for microphones and recording areas are available to you.
Opening QuickTime Player
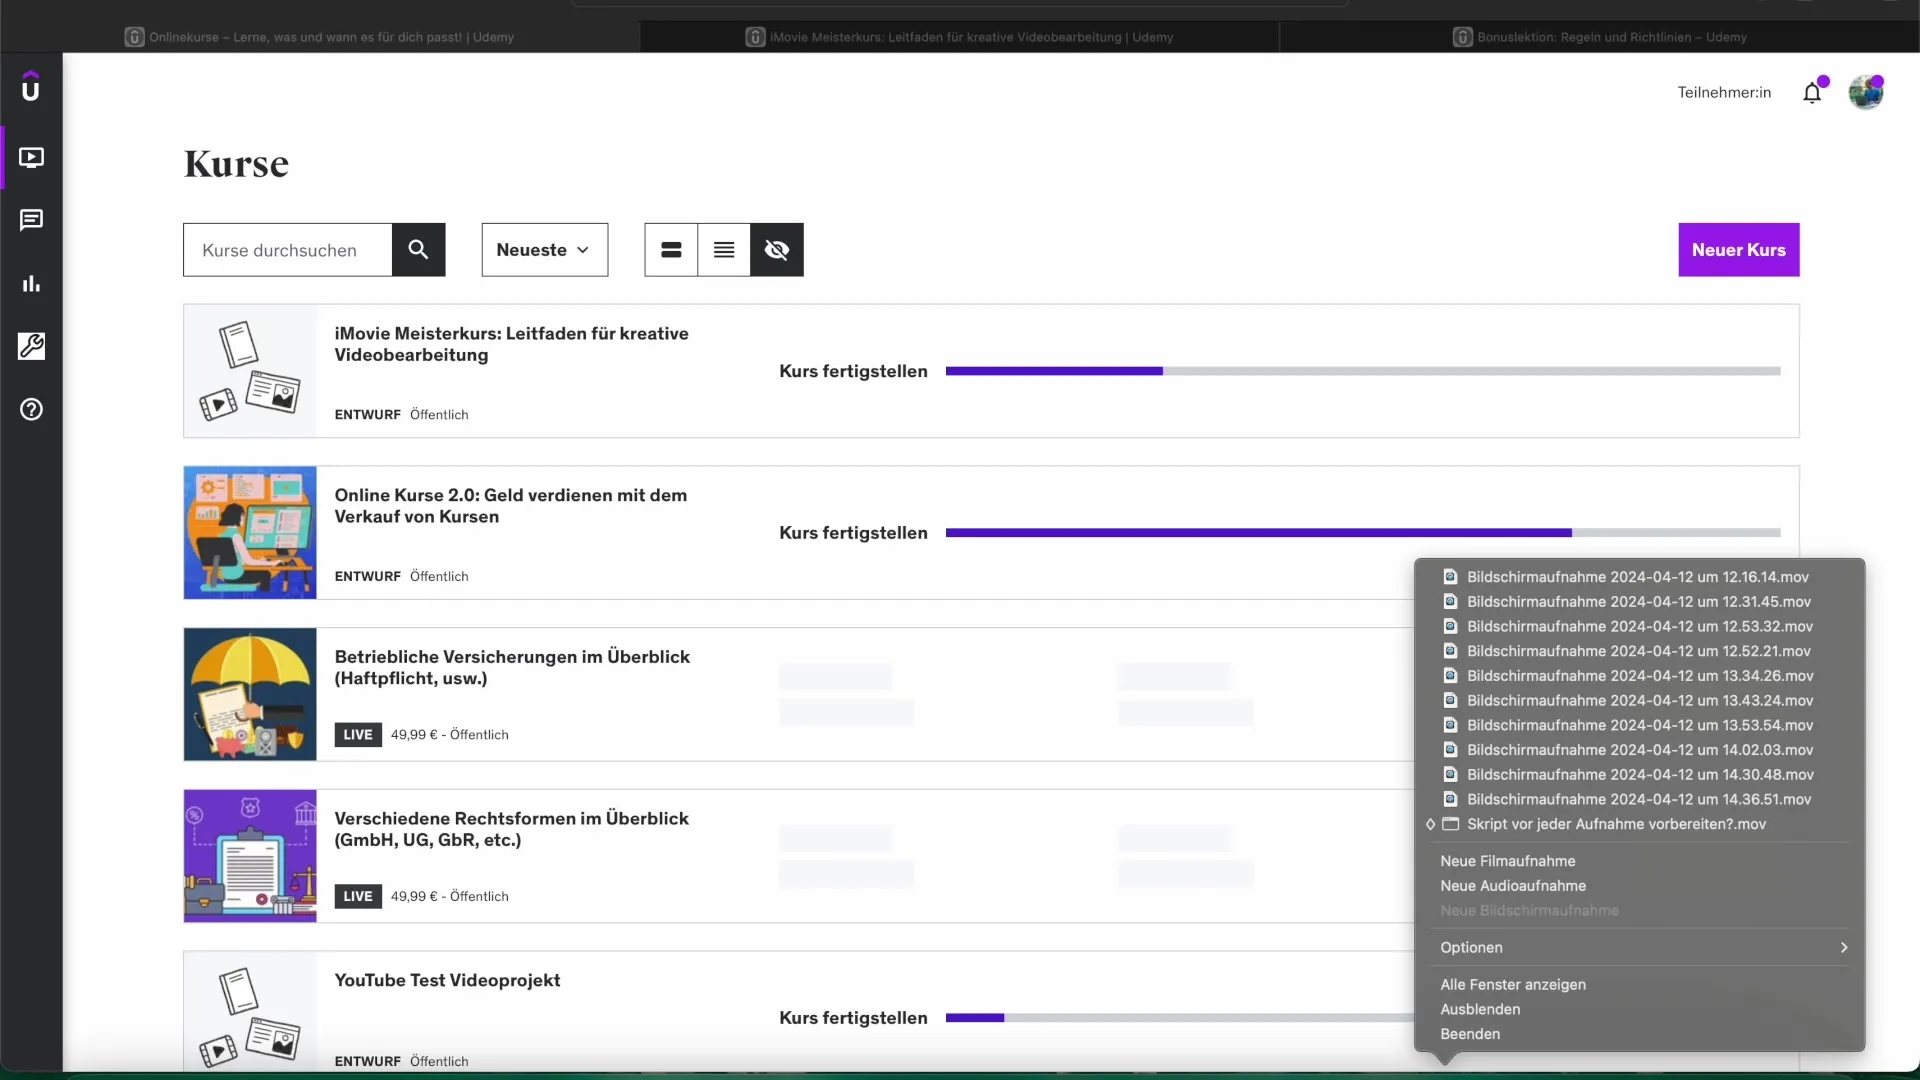
To start your recordings, first open QuickTime Player. You can start it in two ways: by searching in Launchpad or via Spotlight.

In the opened QuickTime Player, you will see an overview of your recent recordings. Here, the options to start new recordings are also displayed.
Starting a New Project
Click on the plus icon or go through the “File” menu to start a new recording. Here you have the choice between movie recording, audio recording, and screen recording. Since we want to focus on demonstrating the screen recording, we will select this option.

Starting a Screen Recording
To begin the screen recording, select “New Screen Recording.” If this option is not visible, it may be because there is already a recording running in QuickTime. Make sure to stop any ongoing recordings beforehand.
Once you click on “New Screen Recording,” a small recording window will open. Here you have several options: you can choose whether to record the entire screen or just a part of it.
QuickTime also offers the option to select the microphone you want to use during the recording. Through the dropdown menu, you can choose your built-in microphone or an external microphone.
Conducting the Recording
When you are ready, click on the red recording button. Depending on whether you want to record the full screen or a specific area, you will be prompted to either click on the screen or drag a selection.

While recording, you can speak normally or perform other activities on your screen. If you want to stop the recording, simply press the stop button that appears in the menu bar at the top.
Creating an Audio Recording
If you need an audio recording instead of a video recording, click again on “New Audio Recording.” A new window will open, where you can also select your microphone. After clicking on “Record,” you can start speaking.
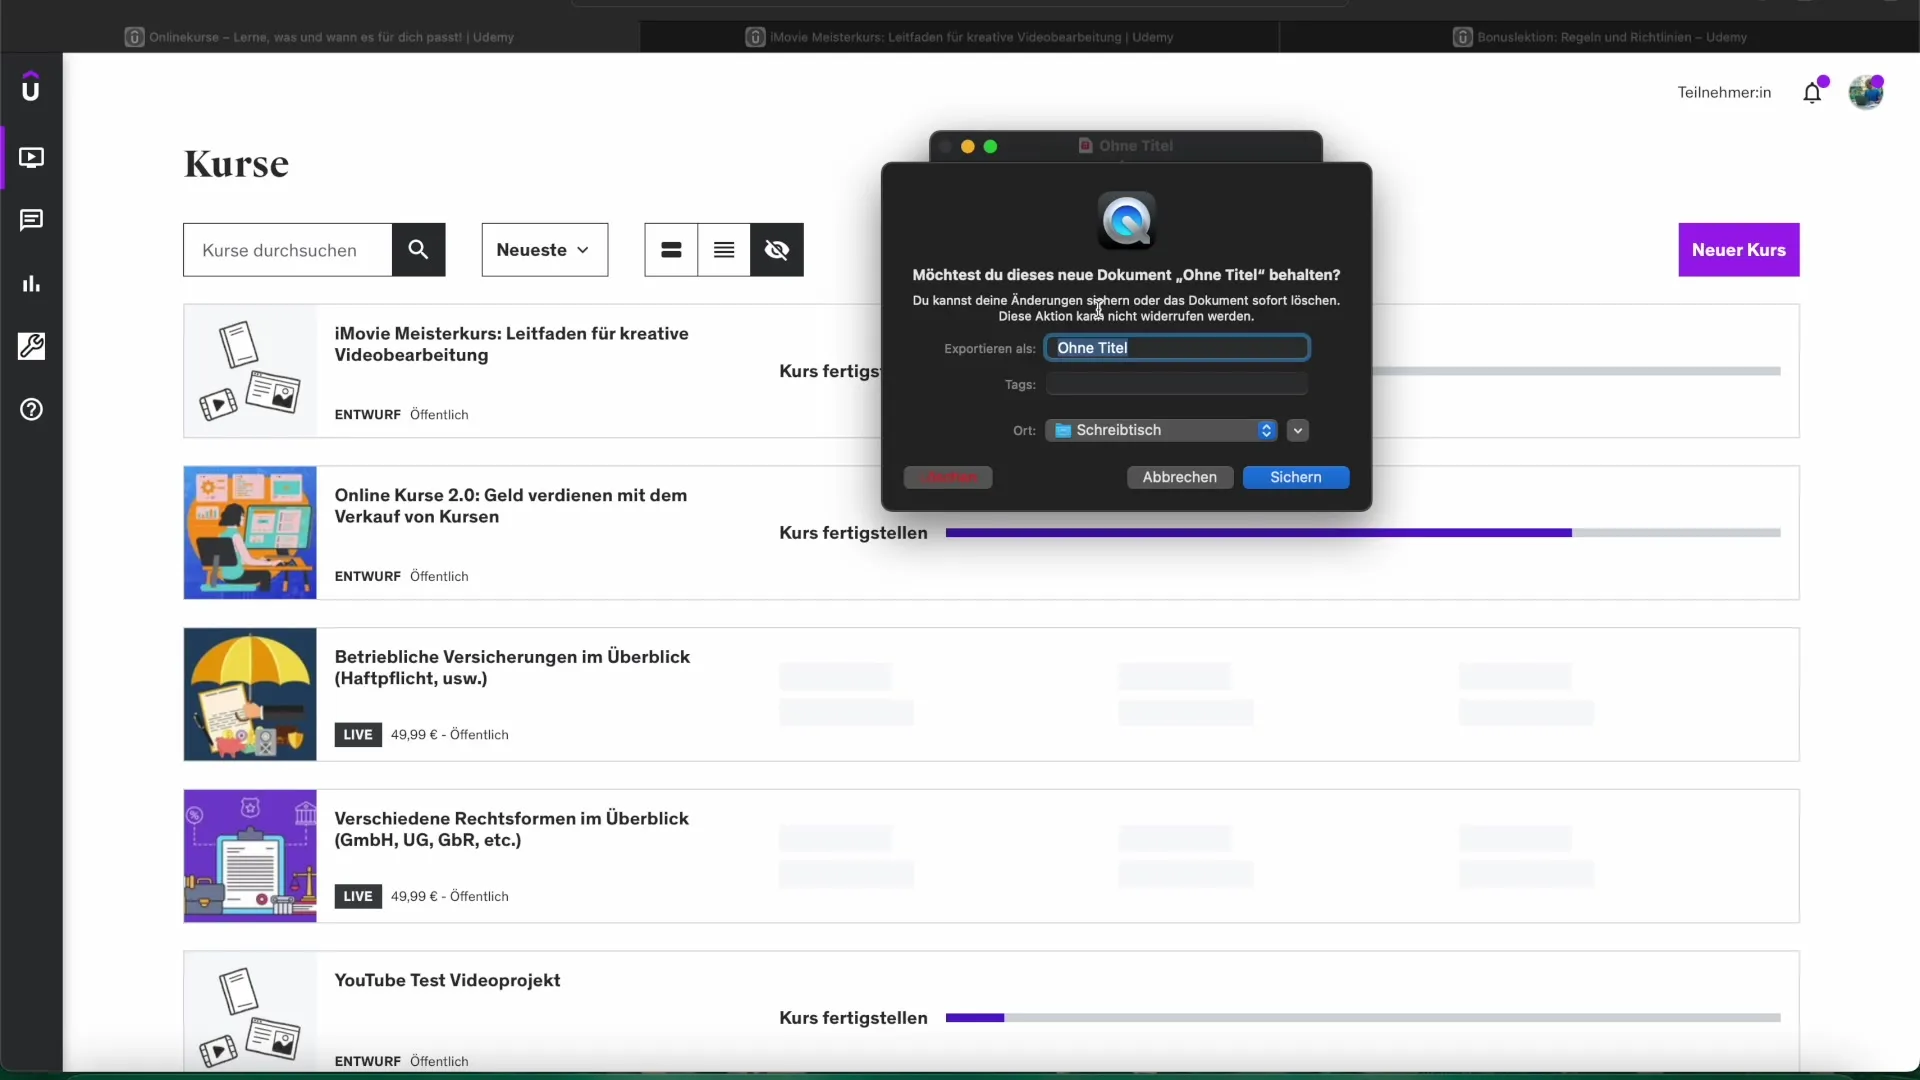
When you are done with the recording, press “Stop.” You will be prompted to save the file. Saving takes place in a menu where you can define the title and the storage location.
Film Recording with Camera
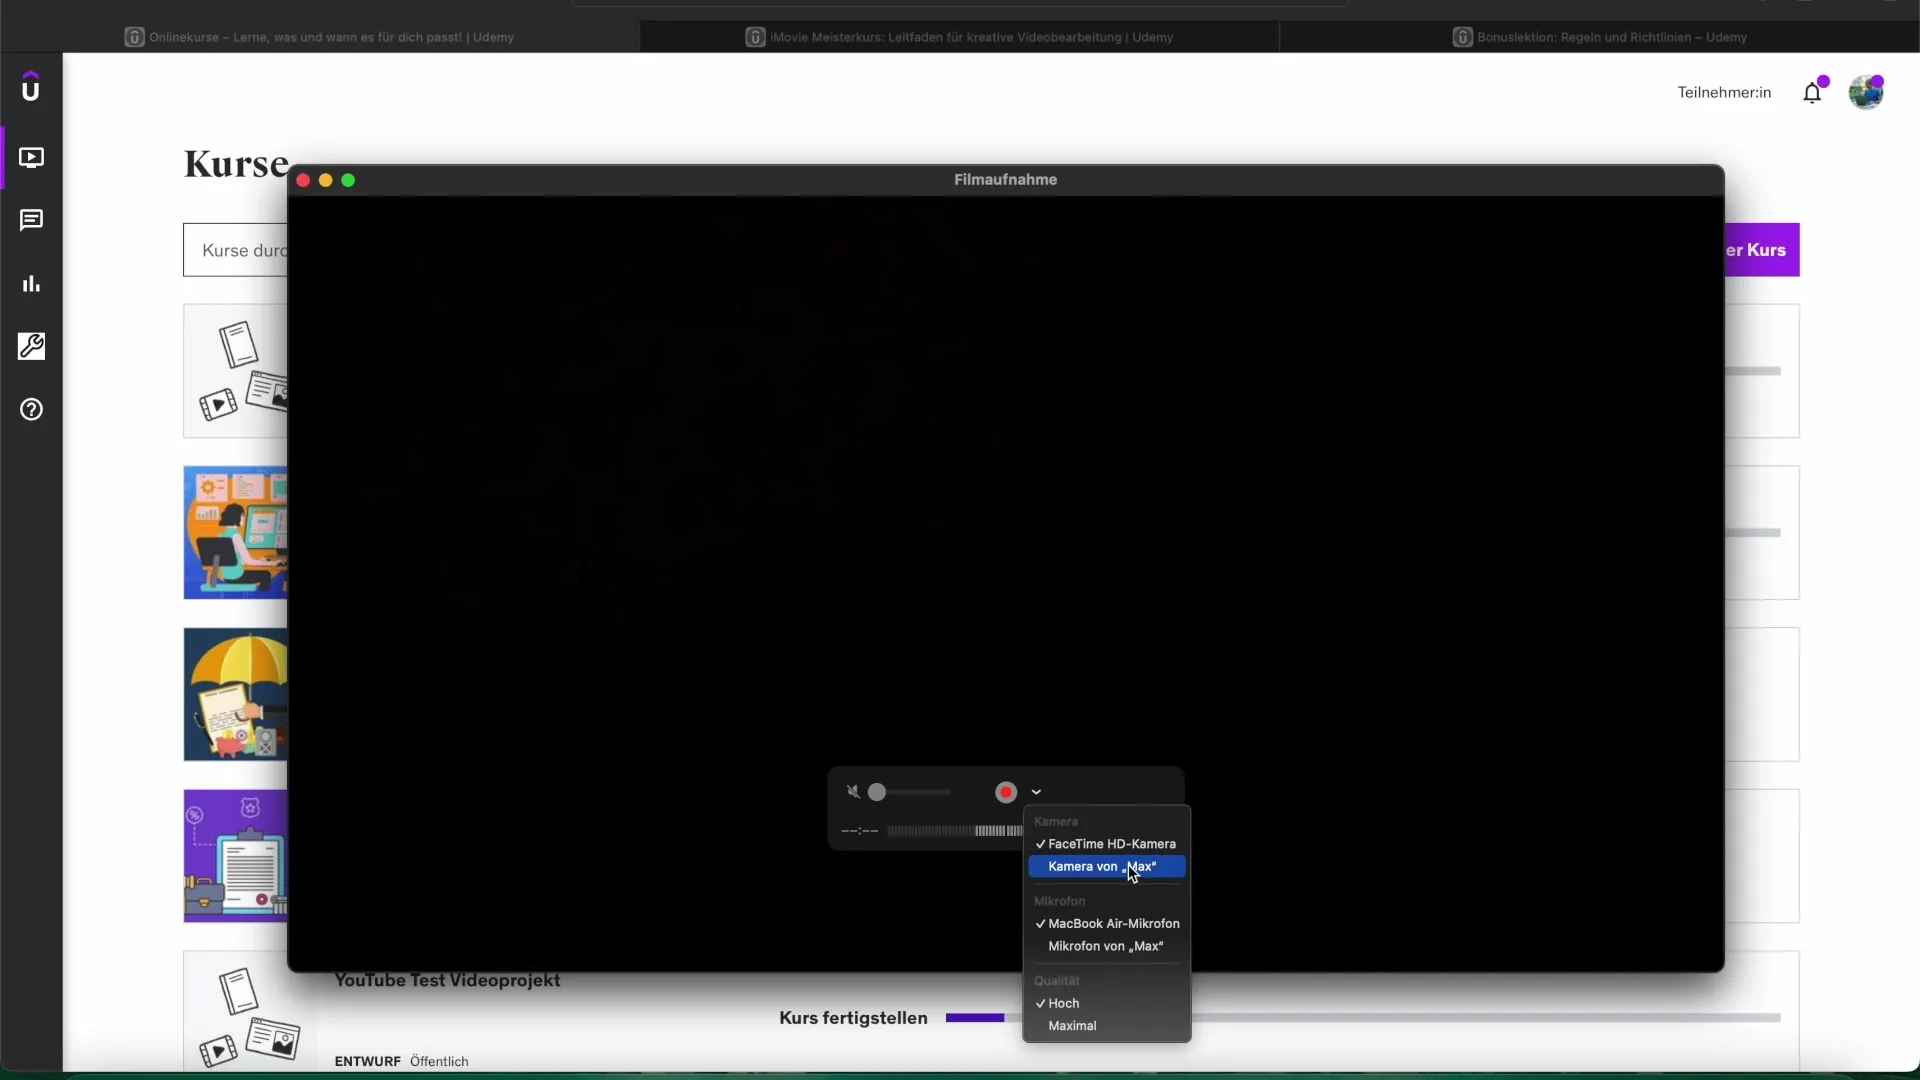
The film recording function is similar. Here, you select the option “New Movie Recording.” You can also choose your camera, which will be displayed in a preview window. This works either with your Mac's built-in camera or with an external webcam.

Make sure that the image is well-lit to improve the quality of your recording. Once you have set everything with the camera, press the red recording button again to begin.
Post-Processing in iMovie
After recording, you can open the files and import them into iMovie to further edit your videos there. This allows you to add transitions, insert audio tracks, and cut the clips according to your preferences.
By simply dragging and dropping your screen recording into the iMovie project, you can start the editing process. Use the various tools in iMovie to make your project look professional.
Summary - Effectively Capturing and Editing Screen Content with QuickTime Player and iMovie
In this guide, you learned how to use QuickTime Player to make screen and audio recordings. The steps include opening QuickTime, selecting the type of recording, conducting the recording, and then editing it in iMovie.
Frequently Asked Questions
How do I open QuickTime Player on my Mac?You can open QuickTime Player via Launchpad or by using Spotlight search.
Can I only make screen recordings with QuickTime?No, QuickTime Player also allows you to make audio and movie recordings.
How do I save my recording?After finishing the recording, a window will appear for saving, where you can choose the title and storage location.
Is QuickTime Player pre-installed on all Macs?Yes, QuickTime Player is pre-installed by default on every MacBook and iMac.
How do I import my QuickTime recordings into iMovie?You can simply drag and drop the file into your iMovie project.


