iMovie offers a variety of features, including the ability to record voiceovers. If you want to underscore your video projects with a clear voice, you are in the right place. This guide will walk you step by step through the process of recording and inserting a voiceover in iMovie, so your message is communicated clearly and convincingly.
Key Insights
- Voiceover is an additional voice recording that is added to a video afterwards.
- When using iMovie, you can choose different microphone sources and adjust the volume.
- It's important to fine-tune the volume levels to integrate the voiceover harmoniously into the overall project.
Step-by-Step Guide
1. Activate Voiceover Function
To start the voiceover process, you need to click the microphone icon in iMovie. You can find this symbol directly in the user interface. It represents the voiceover function and is the starting point for your recording.

2. Select Microphone Source
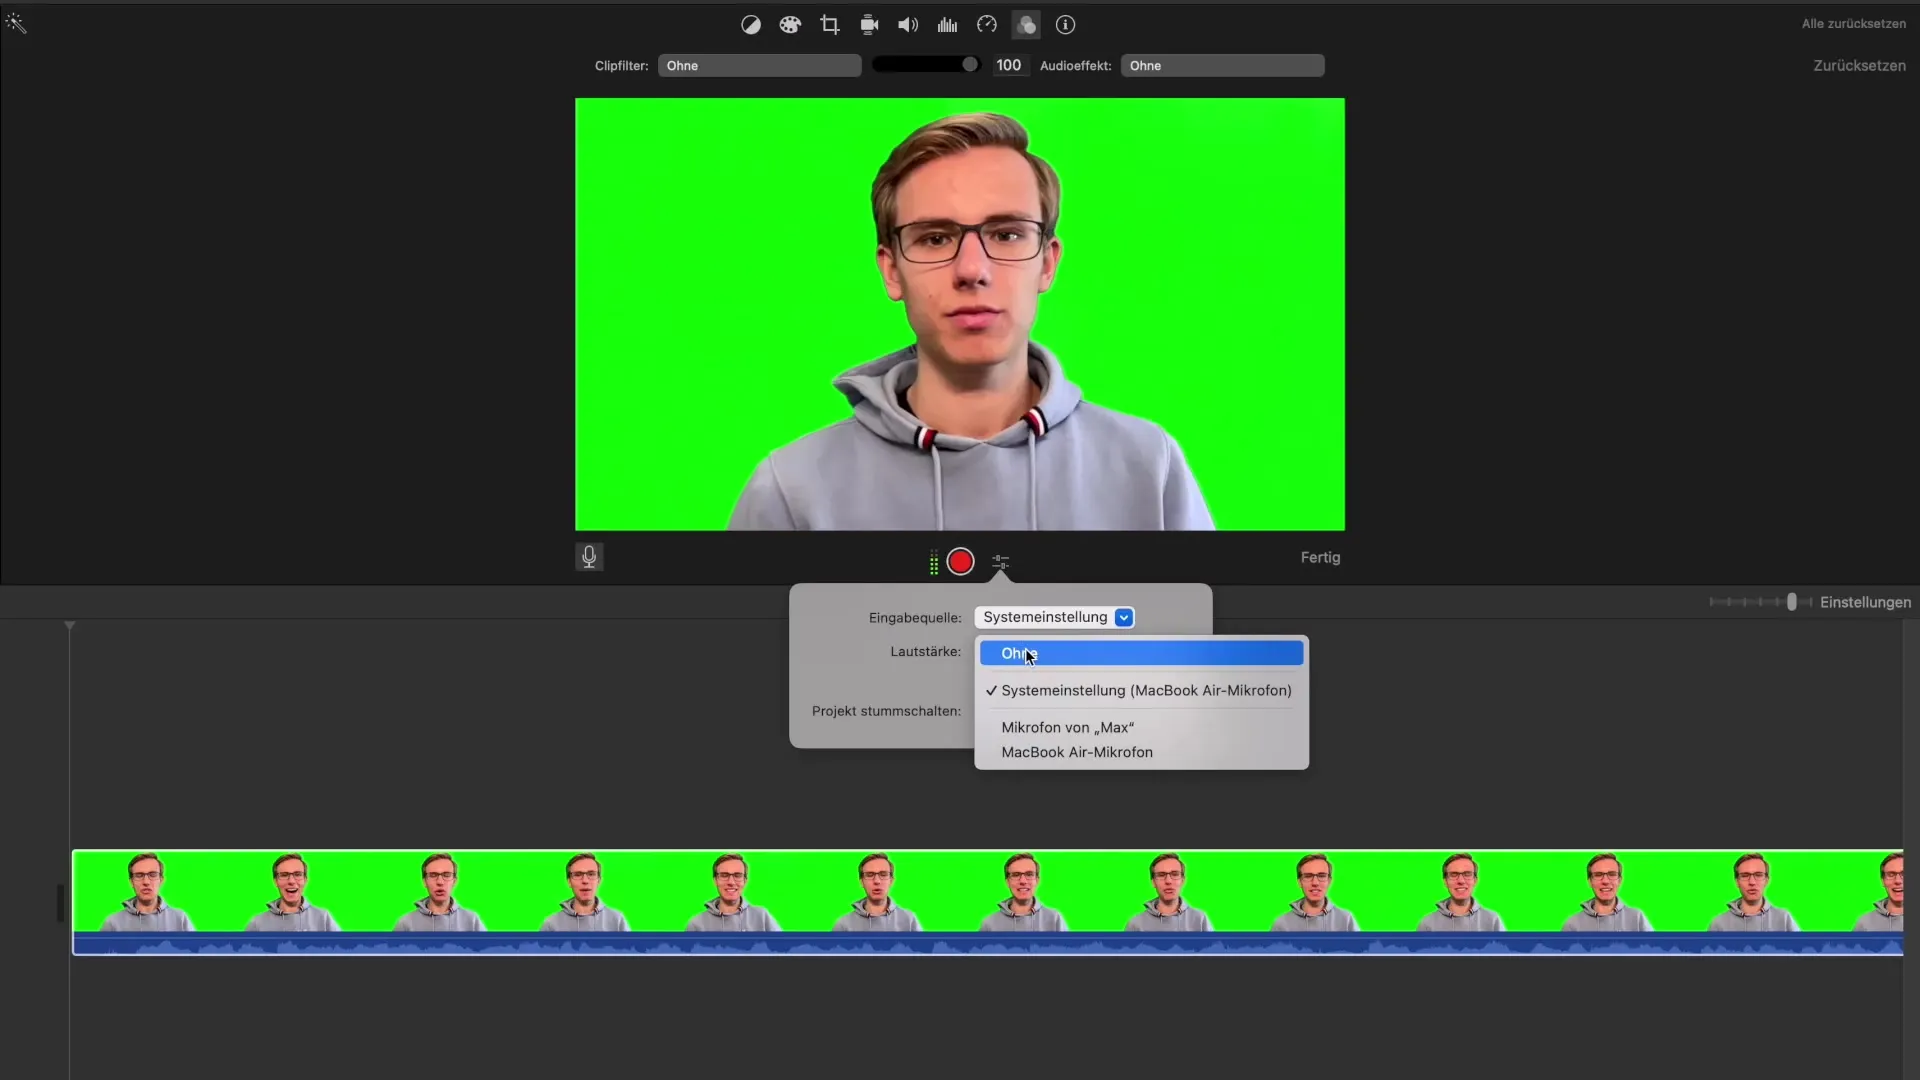
Once you have activated the voiceover function, you can choose the microphone source. iMovie offers various options such as the built-in microphone of your computer, external microphones, or the microphone of an iPhone, if compatible. It is crucial that you choose a high-quality microphone source to ensure clear audio quality.
3. Set Project Status
Here, you choose whether your project should be muted during the recording. This means you can either hear the sounds of your video while recording the voiceover or mute everything else to avoid distractions. Consider what makes the most sense for your project.
4. Adjust Volume
Before recording, you can adjust the volume. This is important to ensure that your voice is audible without overshadowing the other audio elements in the video. You have the option to adjust the volume both before and after the recording.

5. Start Recording
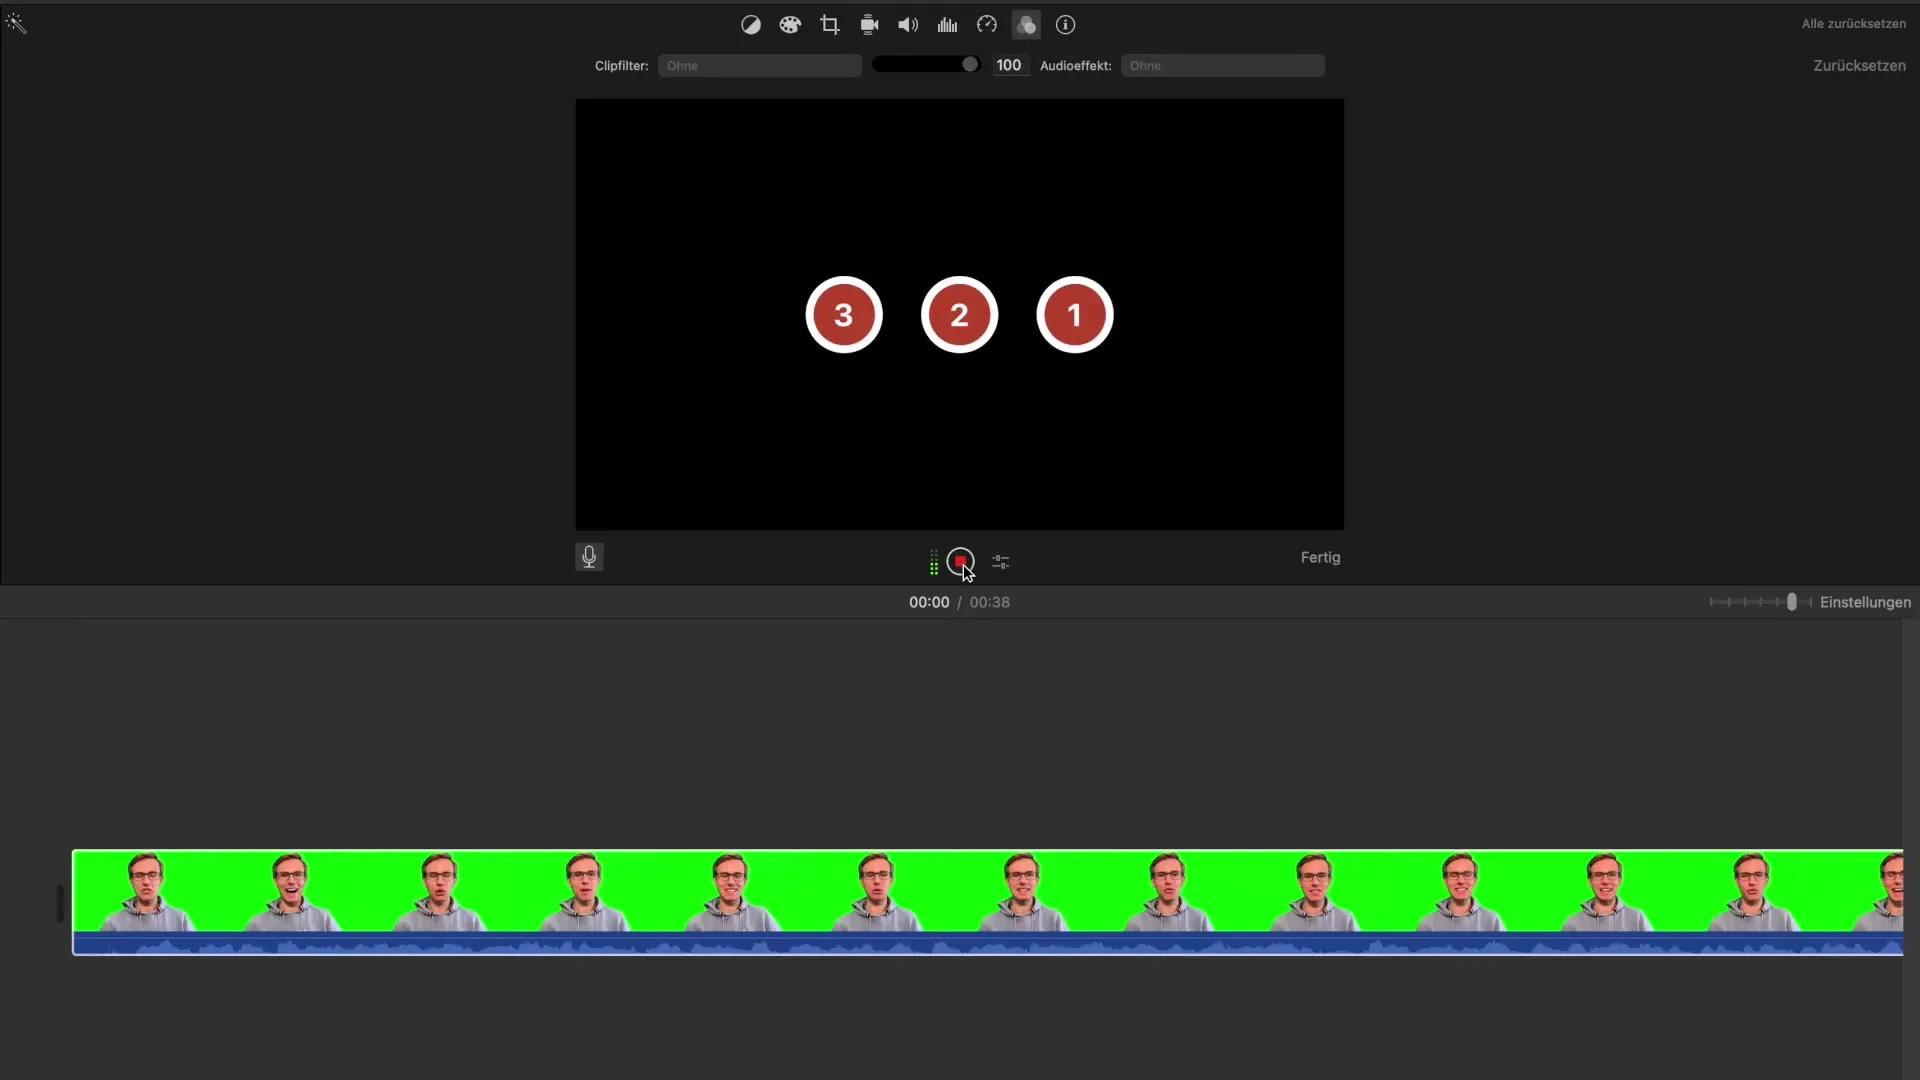
Click "Start" to begin the recording. A countdown will be displayed so you can prepare for the start. While you are recording, you will watch the video and provide your commentary at the same time.

6. End Recording and Listen
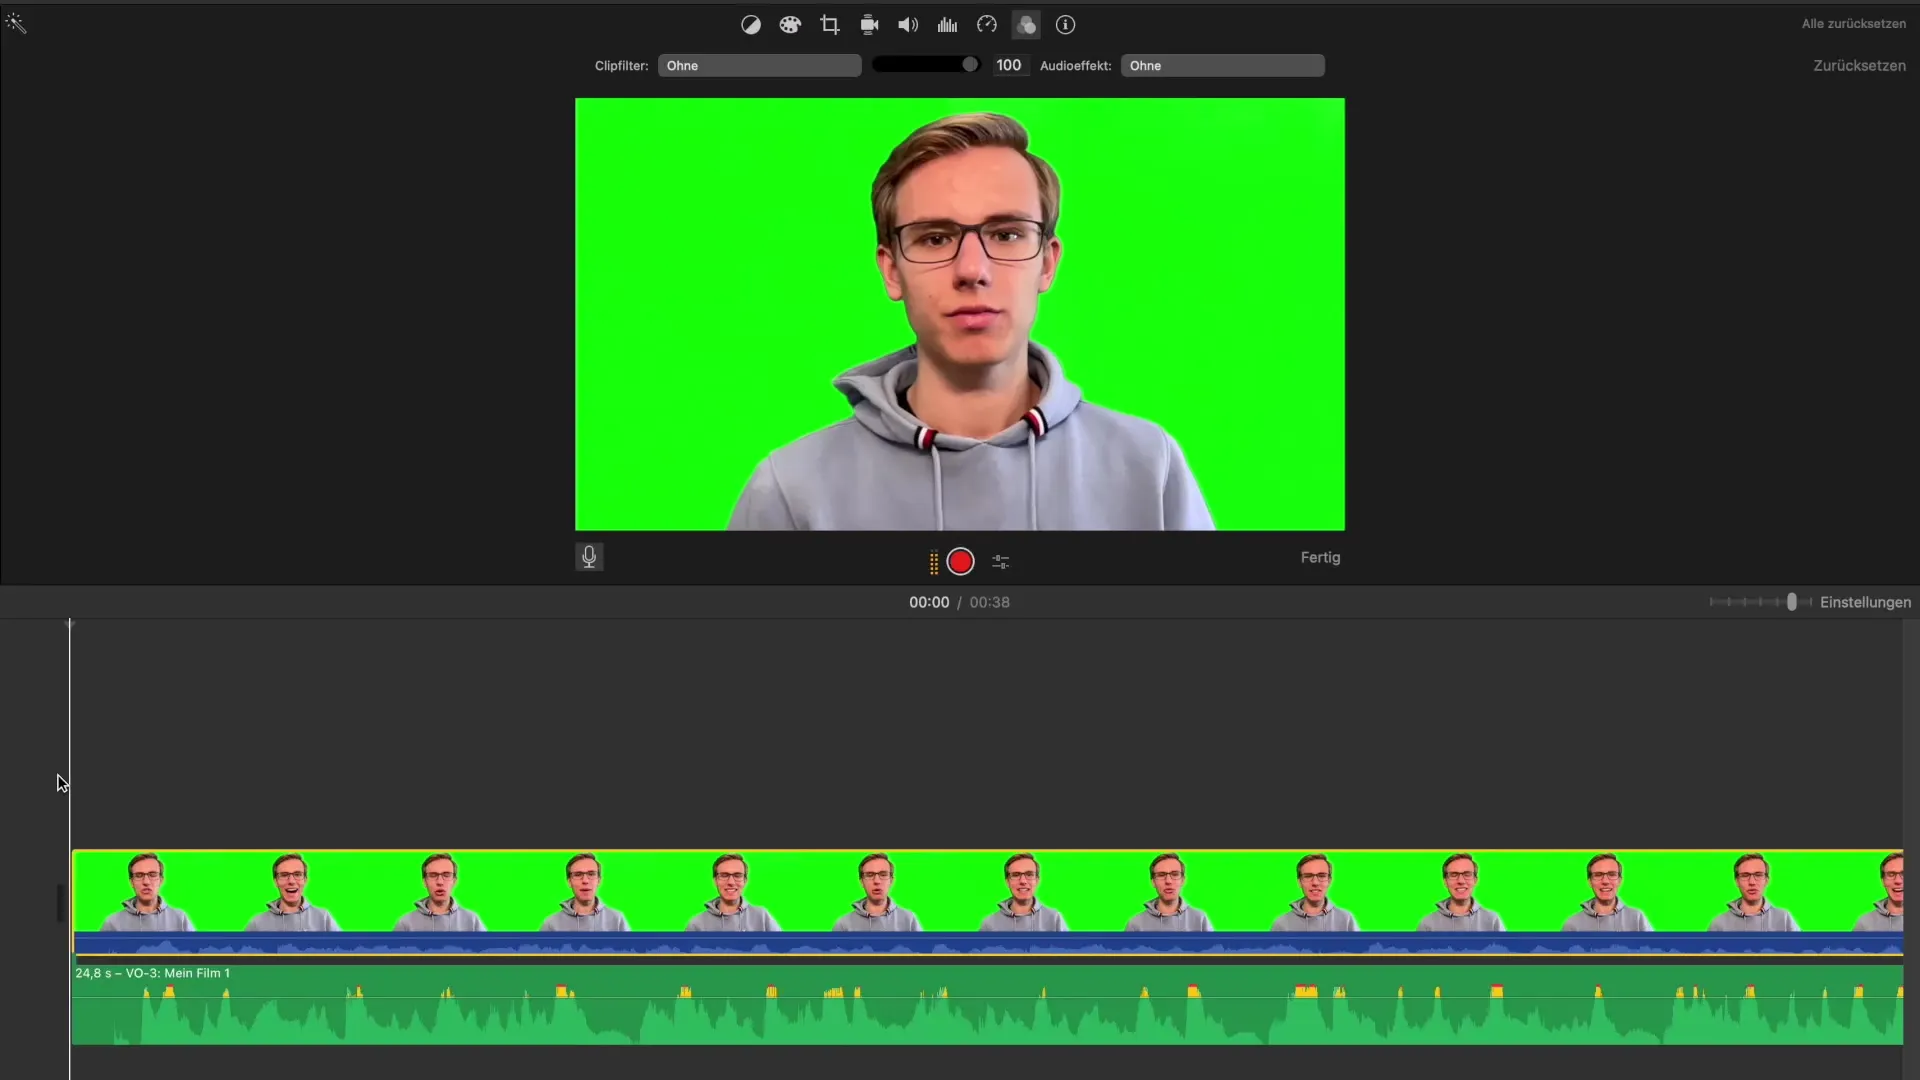
After the recording, you can listen to the voiceover directly. The new audio will be displayed as a separate track below your video. Listen to how it sounds and consider whether any adjustments are necessary.

7. Adjust Volume After Recording
After the first listening of your voiceover, pay special attention to the volume. You can decrease or increase the volume of the new track to ensure that the voiceover harmonizes with the rest of the audio content.
8. Editing and Refining
If you are not completely satisfied with the result, you can re-record or edit parts of the voiceover. Make sure that the relationship between the image and sound fits well together, especially when speakers are visible in the video.
9. Review Conclusion
Before finalizing your project, watch the entire video to ensure everything is well-coordinated. Pay special attention to the flow between the voiceover and other audio elements to guarantee a smooth viewing experience.
Summary – Professional Voiceover in iMovie – Here's How
Adding a voiceover to your video projects in iMovie is a simple yet effective process. With the right choice of microphone, adjusting the volume, and focusing on the overall impression, you can make your videos more professional and engaging.
Frequently Asked Questions
How do I start the voiceover function in iMovie?Click the microphone icon in the user interface.
Which microphone source should I select?Select the microphone source that offers the best audio quality, such as an external microphone.
Can I adjust the volume of my voiceover?Yes, you can adjust the volume both before and after the recording.
What if I'm not satisfied with my voiceover?You can redo the recording at any time or edit individual parts.
How do I optimally integrate my voiceover into a video?Pay attention to the flow between the voiceover and other audio elements for a harmonious overall experience.


