The greenscreen effect is a popular tool in video production that allows you to replace backgrounds and create creative scenes. Whether you're working for YouTube, presentations, or other projects, understanding and properly applying the greenscreen effect can give your material a professional touch. In this guide, you will learn step by step how to effectively use the greenscreen effect in iMovie.
Key insights
- The greenscreen effect allows you to replace a solid background with any image or video.
- To achieve optimal results, the quality of the recording and the background is crucial.
- iMovie offers various tools to apply and adjust the greenscreen effect.
Step-by-step guide
Step 1: Prepare your recording
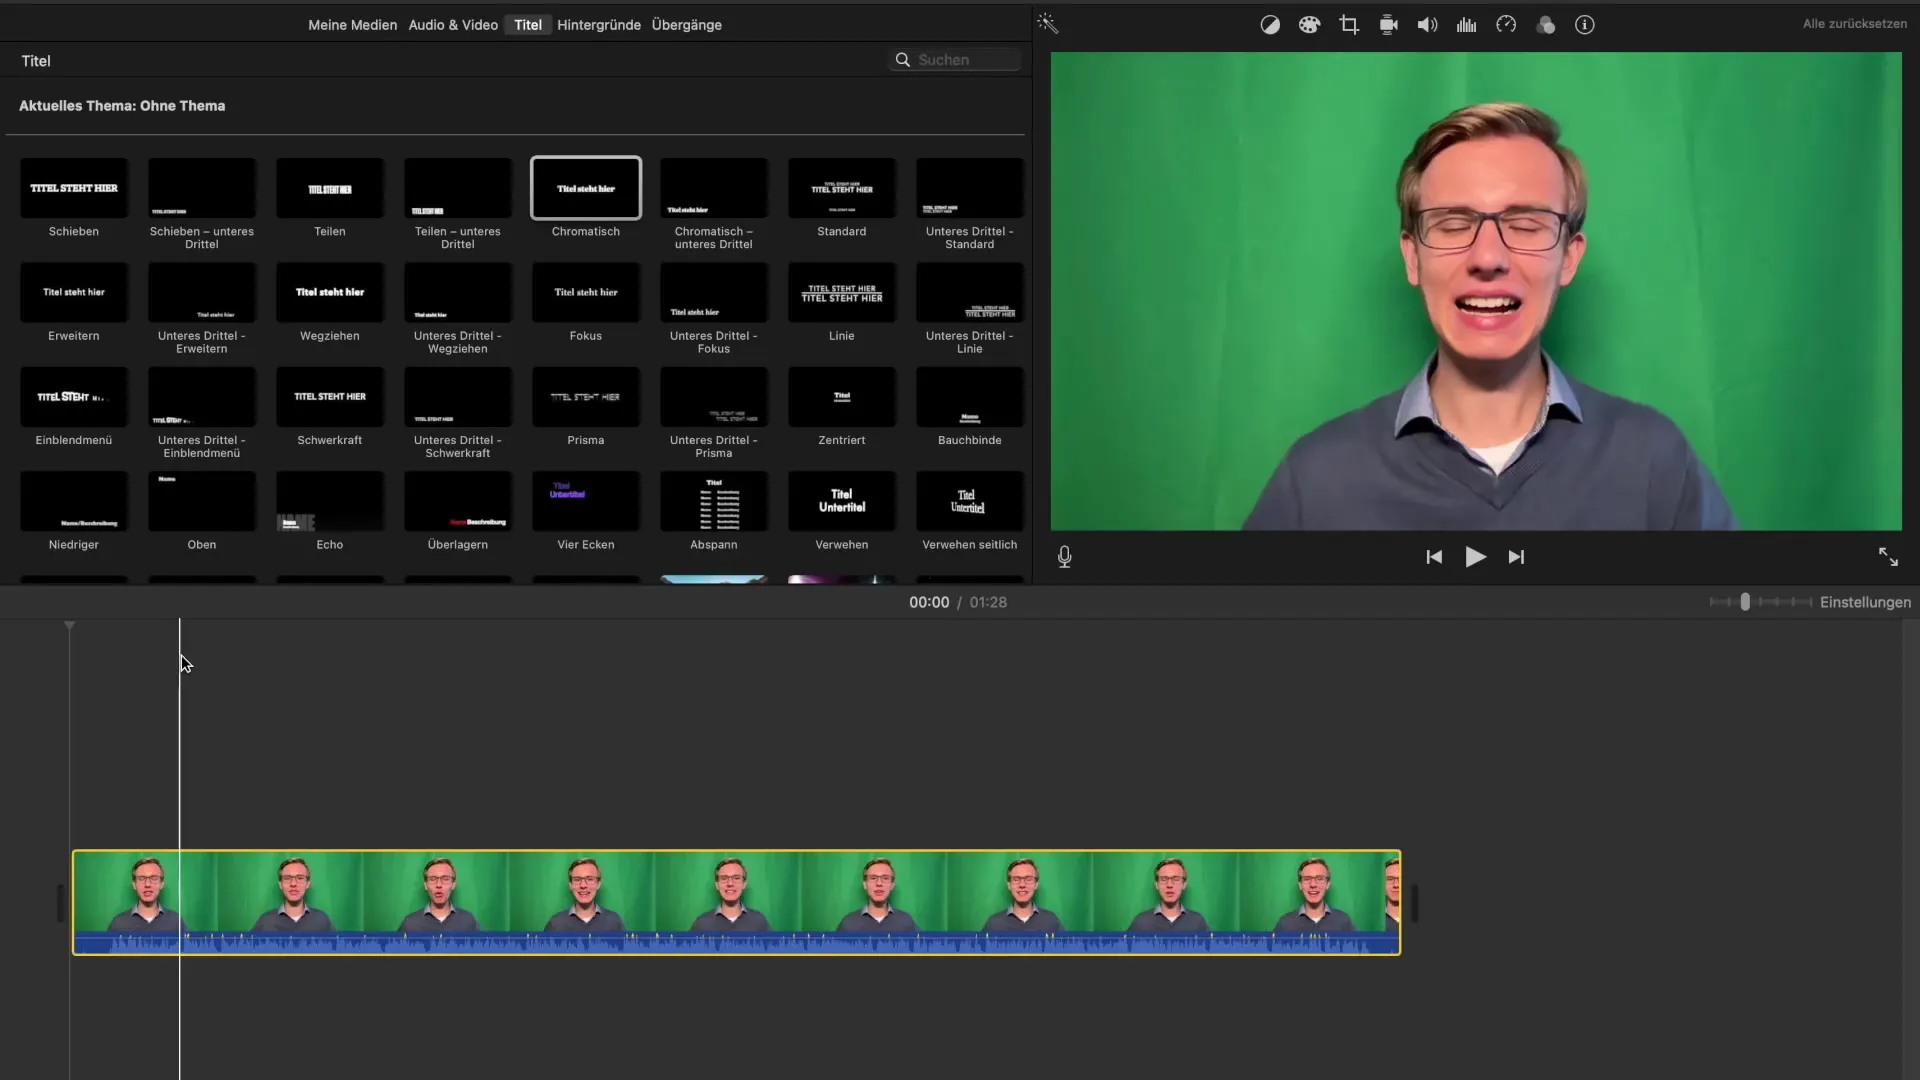
Before you start working with the greenscreen effect in iMovie, you first need a suitable recording that was made in front of a uniformly green background. Typically, the greenscreen is made of fabric, attached with a rod, and takes up the entire background. This ensures you can effectively replace your background later. Make sure your greenscreen is well-lit and free of wrinkles to ensure a high-quality recording.
Step 2: Import your recordings into iMovie
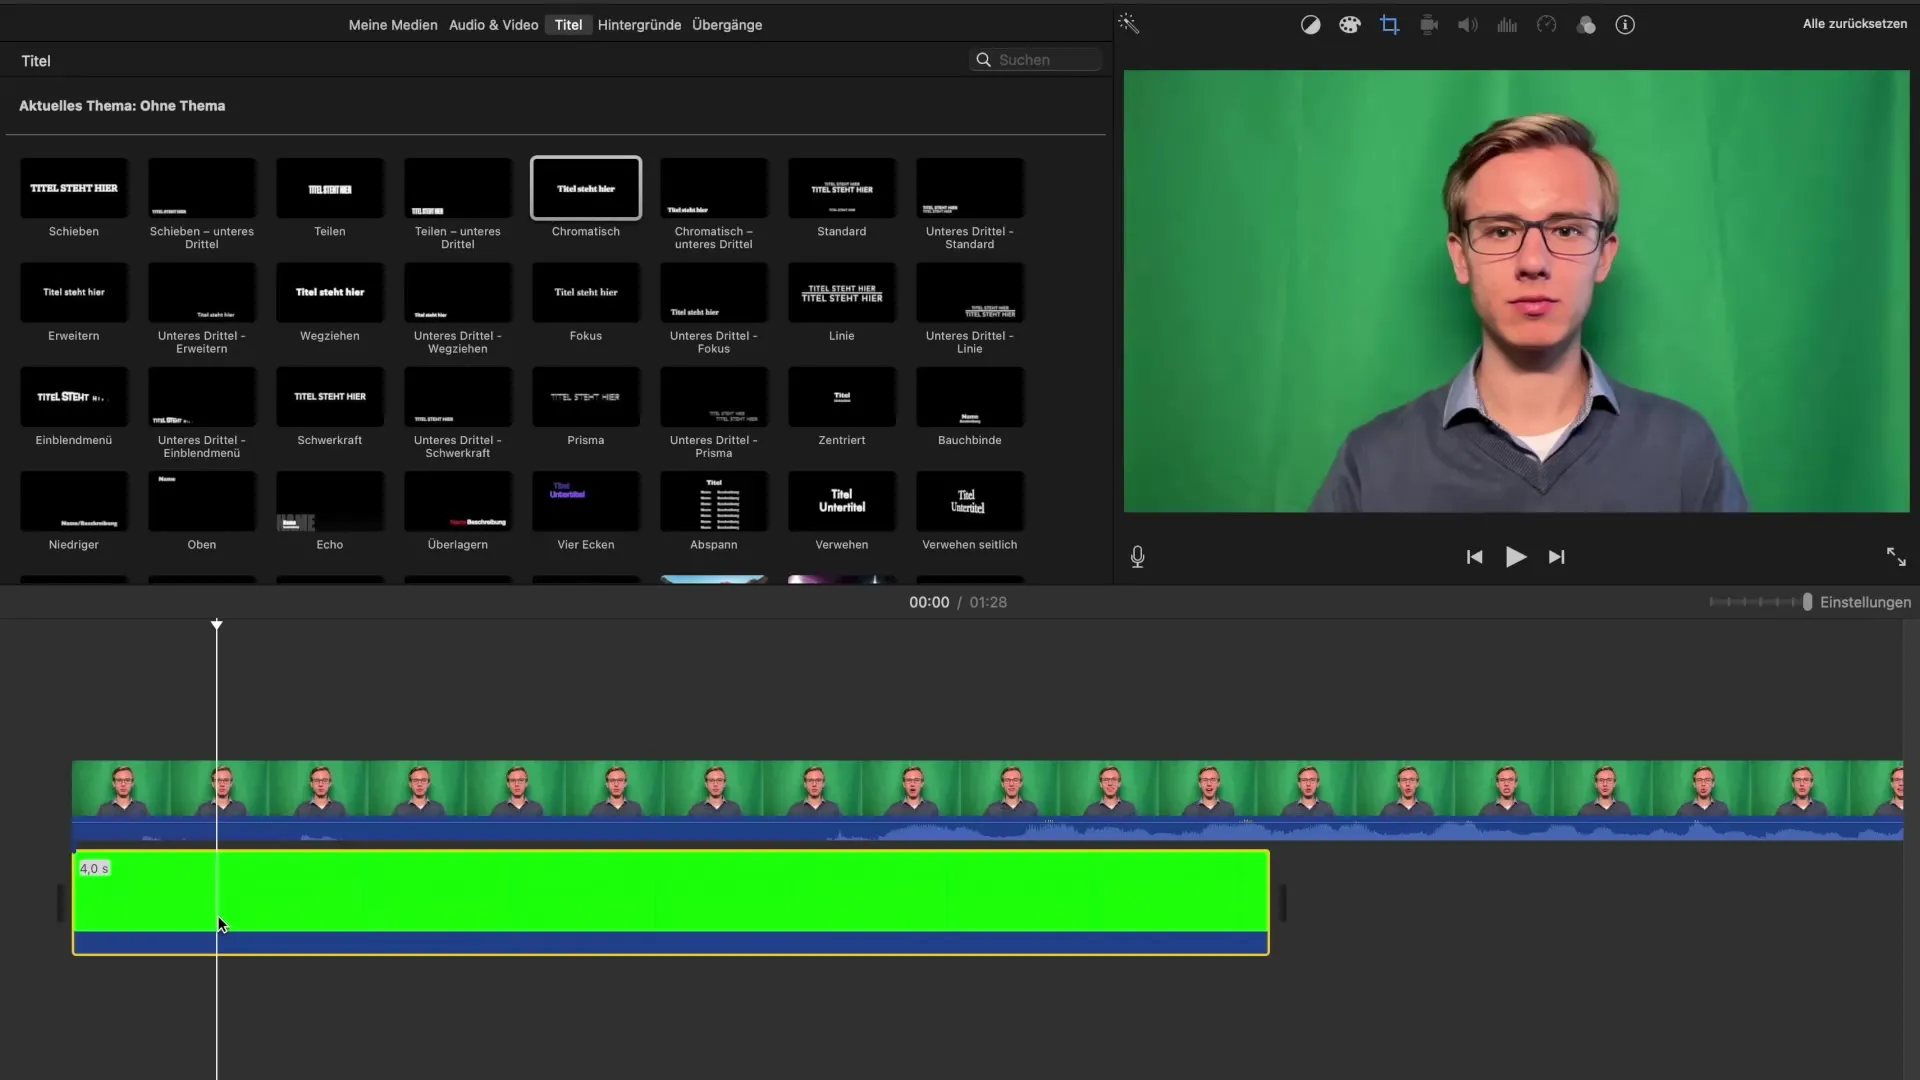
Next, import your greenscreen recording as well as the desired background into iMovie. Make sure the background is the first clip you import. You can easily create a solid green background yourself or download one from the internet.
Step 3: Add the background
Now you need to insert the green background as the first layer in your project. To do this, click on the "Media" button and select the background you imported. This is crucial, as iMovie does not allow you to place the greenscreen below the recording.
Step 4: Apply the greenscreen effect
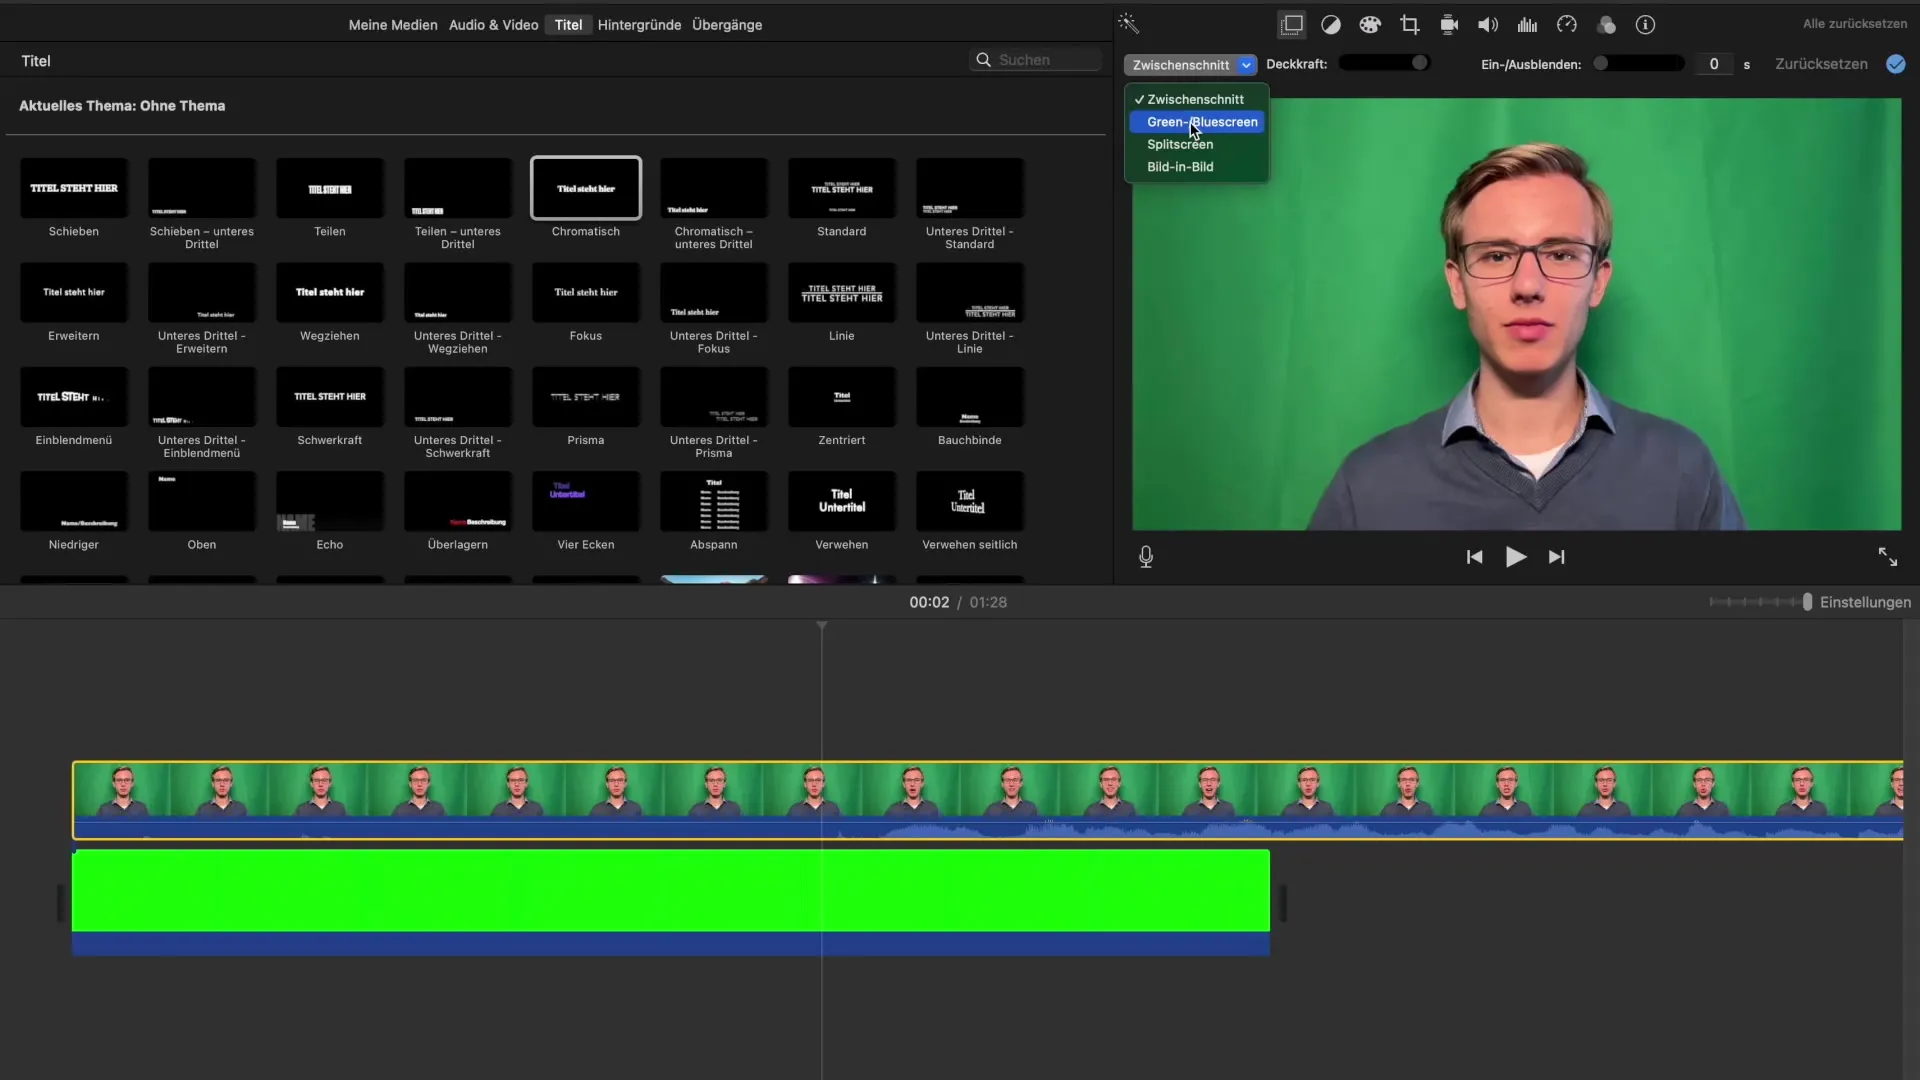
Once the background is added, click on your greenscreen recording. A new menu will appear where you can select the "Green/Blue Screen" effect. Click on it to apply the effect. If the application was successful, you will see that the green background has been removed.
Step 5: Perfect the layers
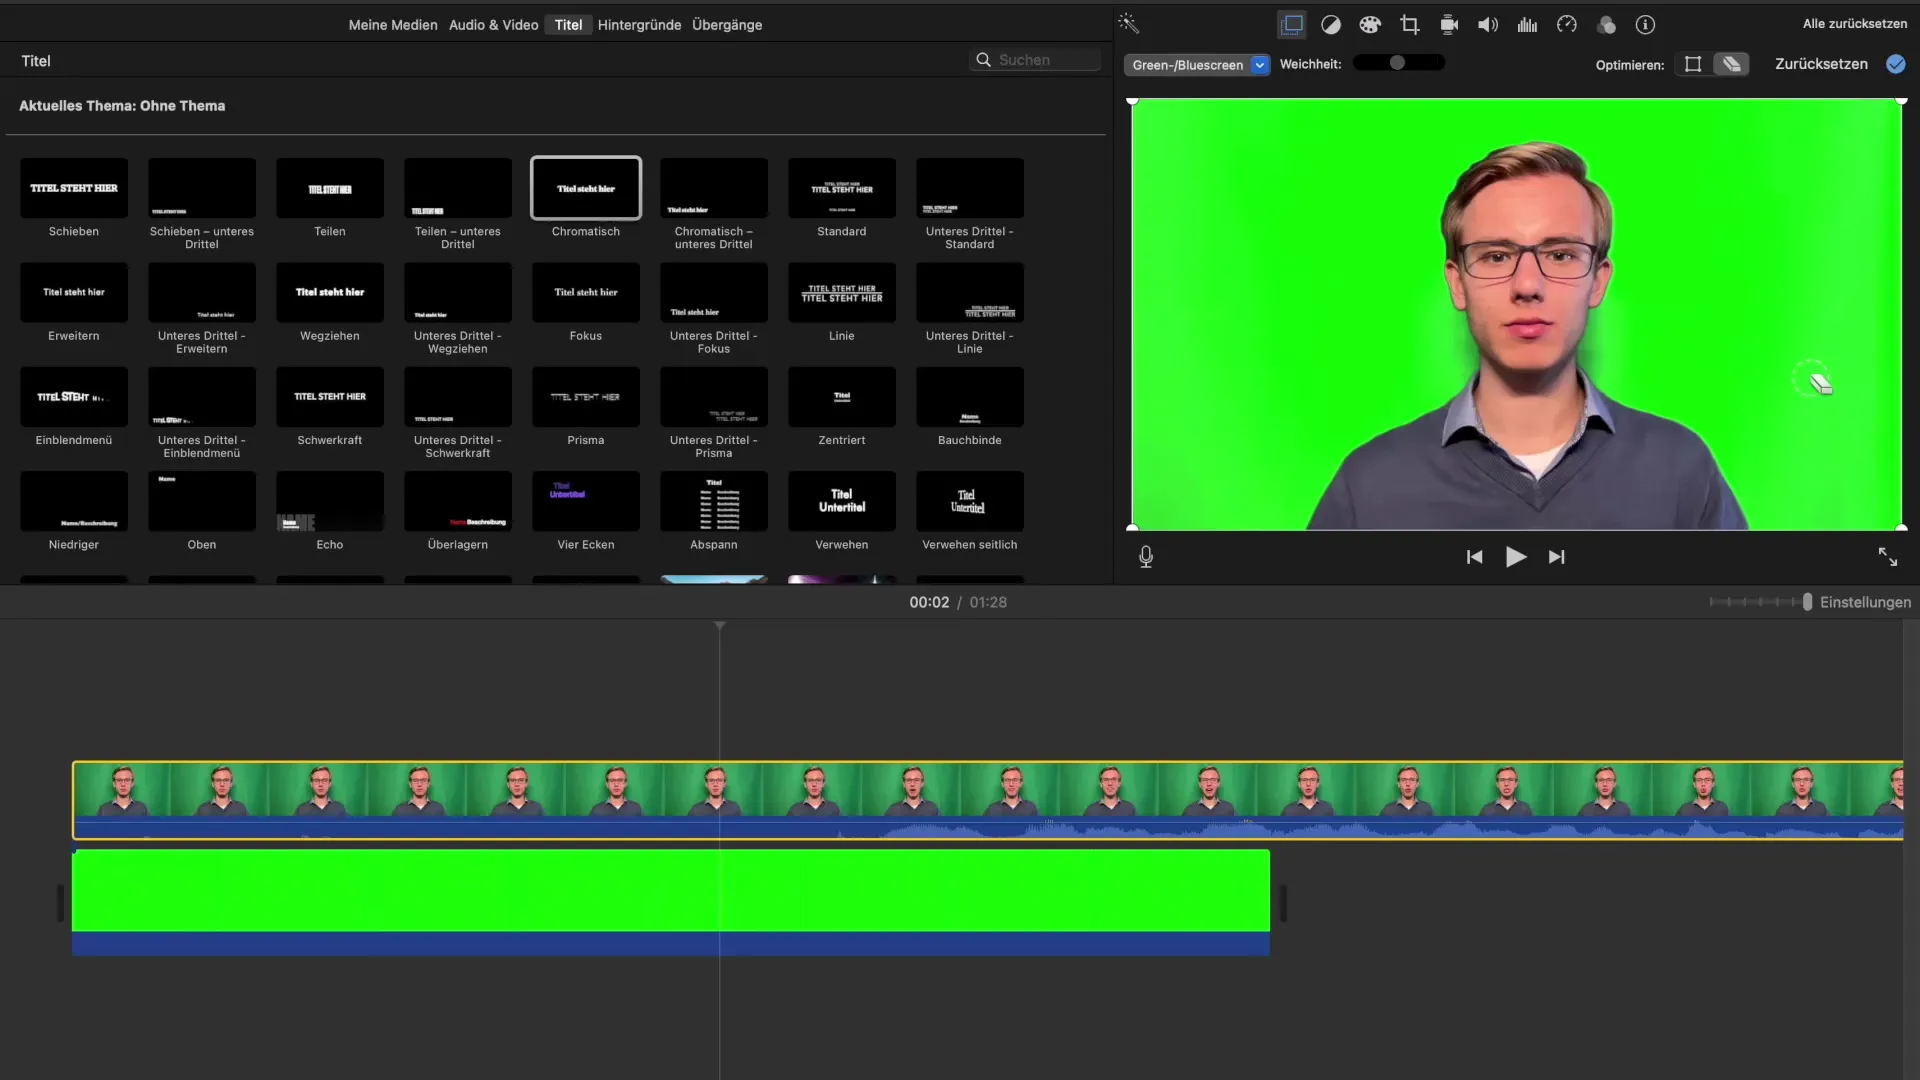
Unfortunately, the background may not be perfectly removed, and remnants or shadows of the greenscreen may remain visible. Use the eraser tool from the menu to manually correct the unwanted areas. This can significantly improve the quality of your video.
Step 6: Adjust the size and position
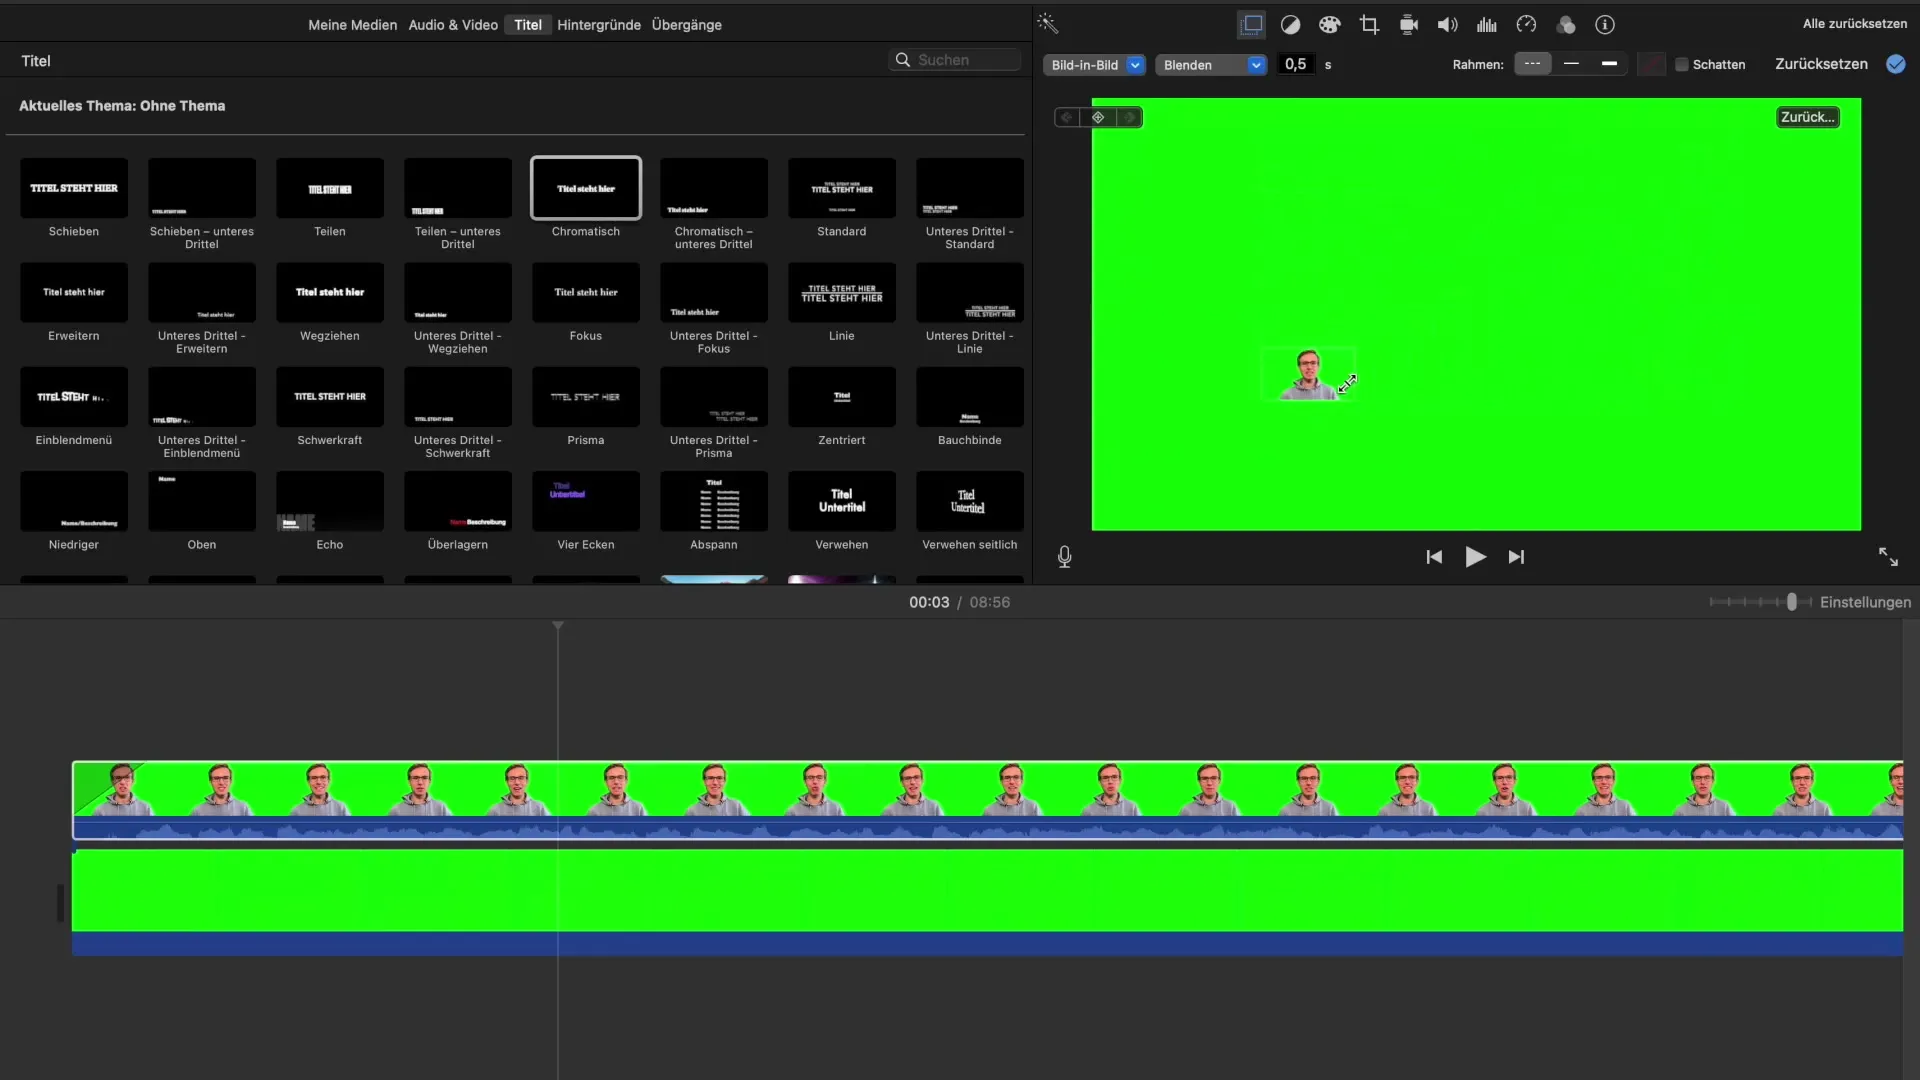
Now it's time to scale your greenscreen recording (your clip with the removed background) and adjust the position. Select the clip and drag it to the desired size. You can also change the position of the clip in the video to ensure everything looks good. Make sure your adjustments do not disturb the overall image.
Step 7: Export the video
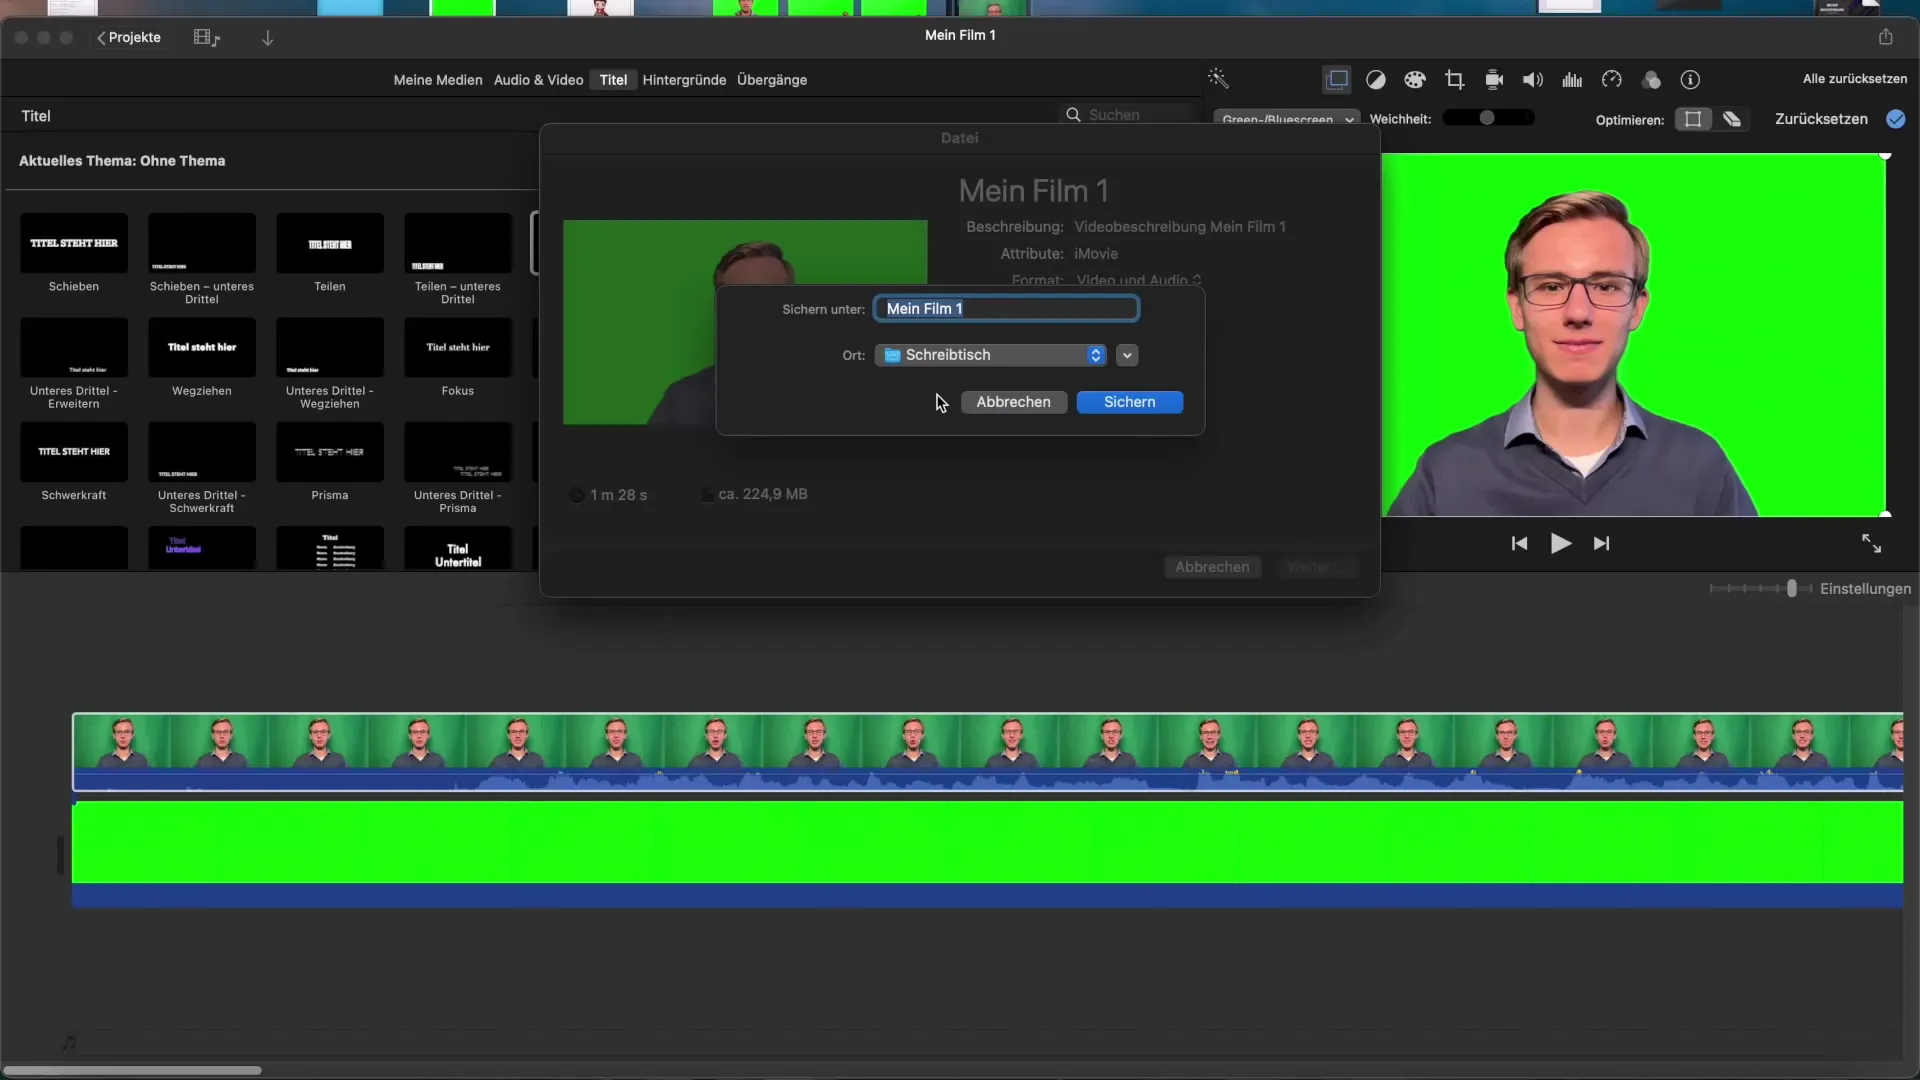
Once everything is arranged and optimized, you can export the video. To do this, go to "File" and select "Share." You then have the option to export the video in various formats. Give your video a meaningful name and save it.
Step 8: Additional adjustments
If you want, you can now add further adjustments such as shadows or effects to make the video even more appealing. You can find these options in the effects menu of iMovie as well.
Step 9: Final review and deletion
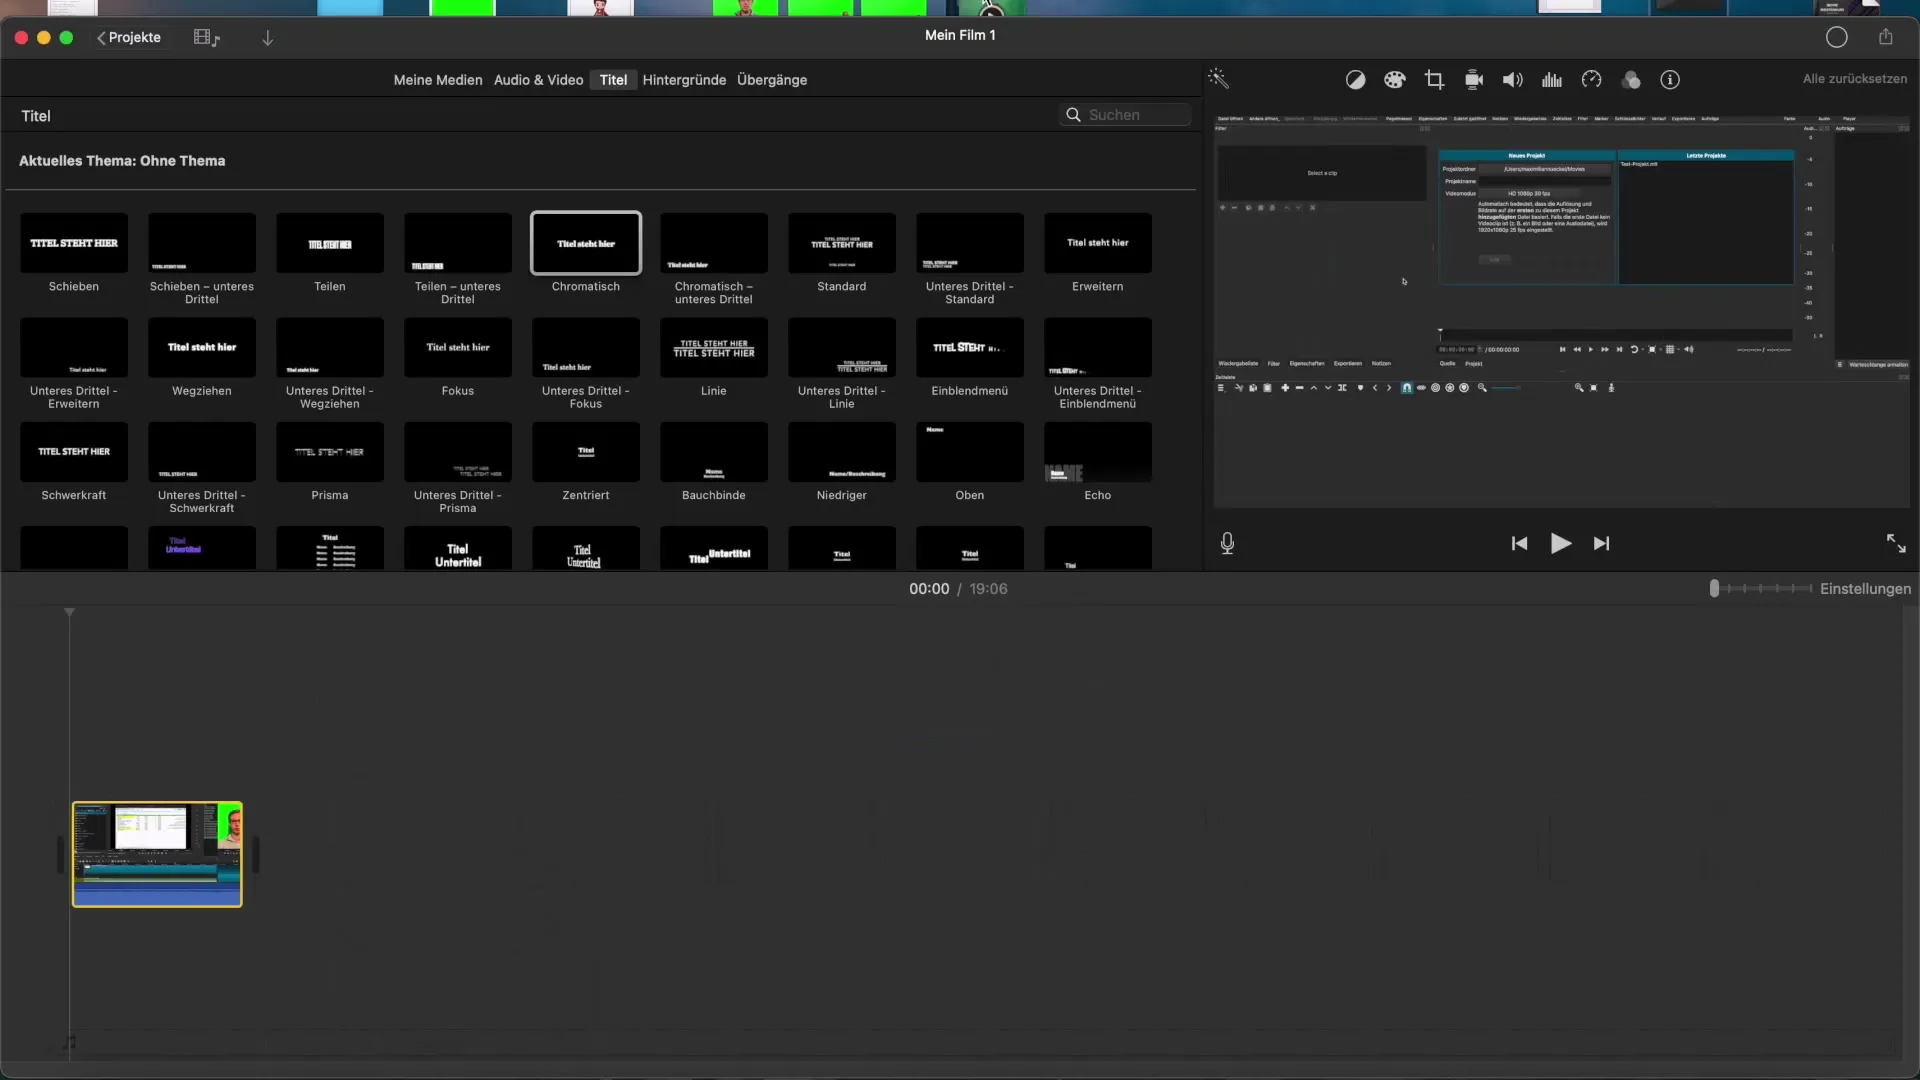
Preview your video to ensure that all transitions and the overall picture are as you wish. Remove the original clips from your project once you are satisfied with the end result.
Step 10: Final export
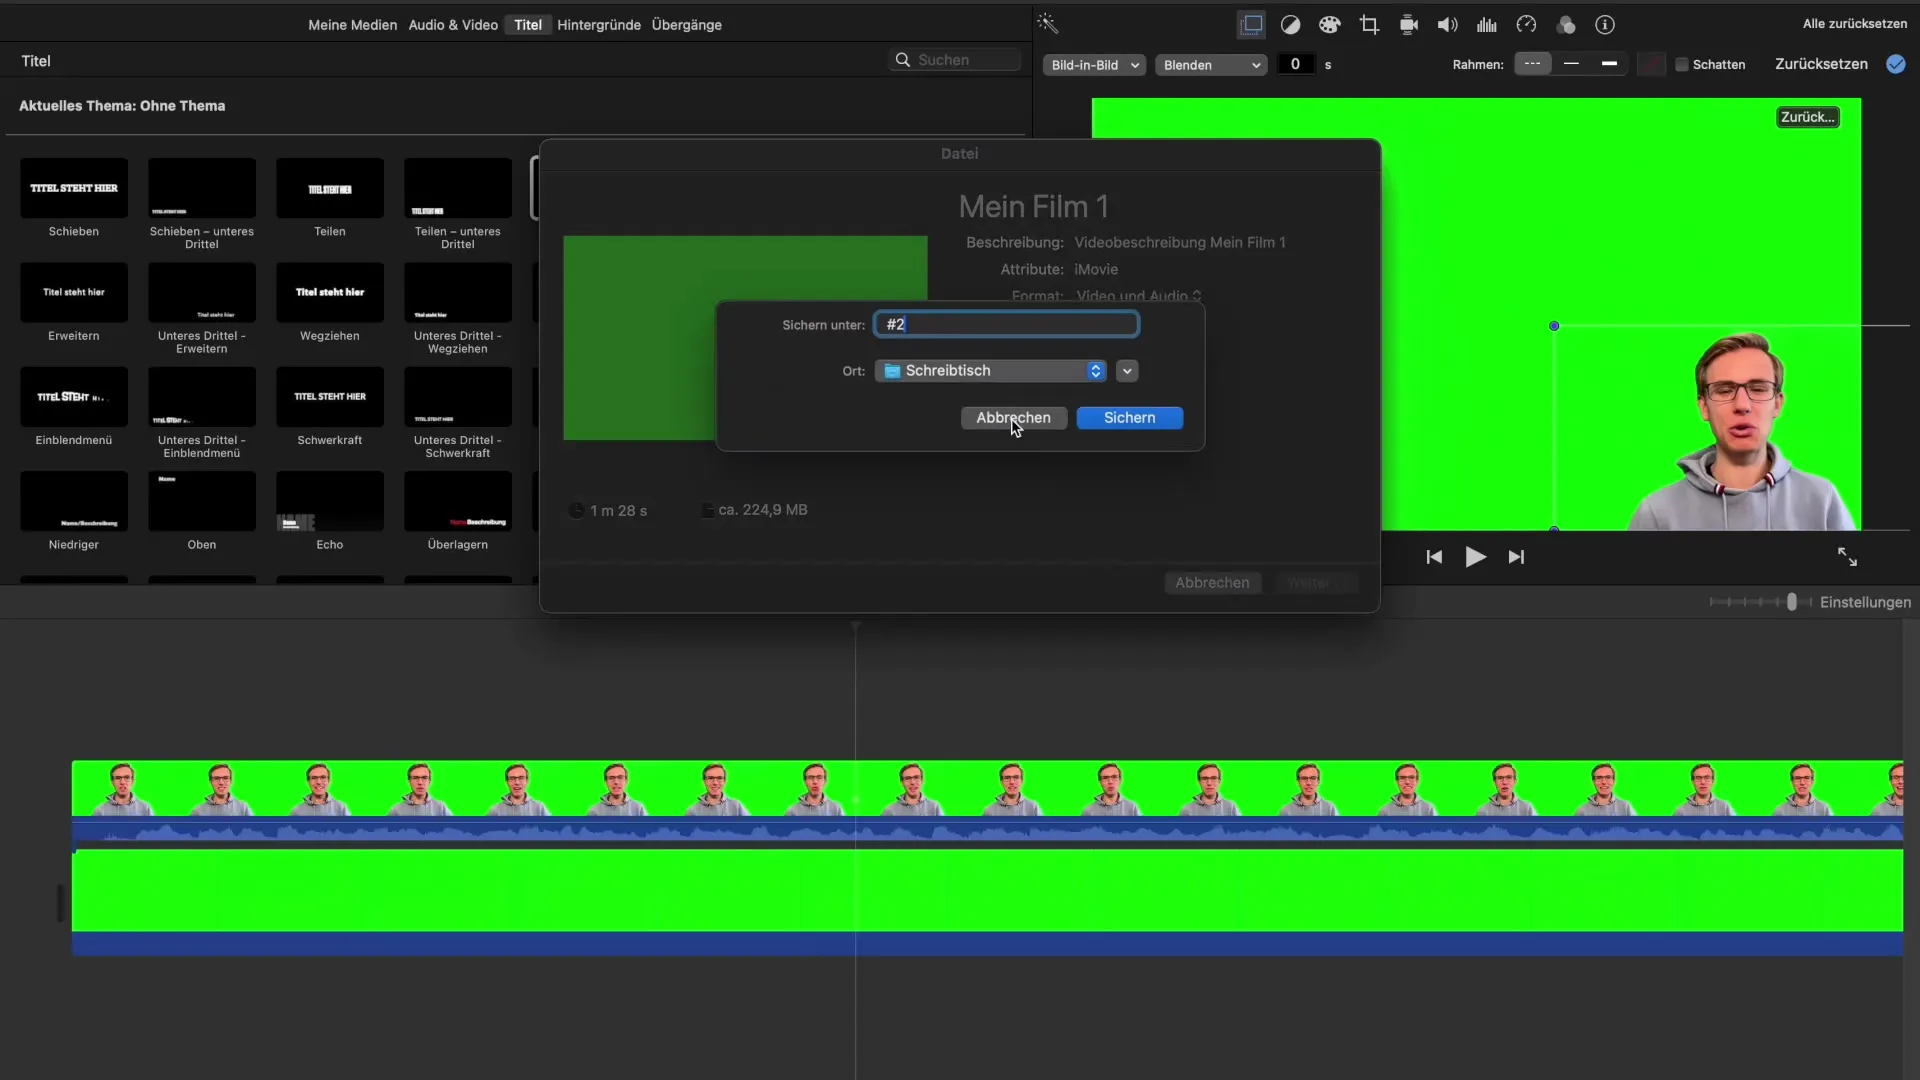
To save your final project, export the video again and select "File" and "Share" once more. These steps will ensure that the final adjustments are retained.
Summary - Greenscreen Effect in iMovie: A Comprehensive Guide
Using the greenscreen effect in iMovie is a creative process that requires several steps, but it can be easily managed with the right guidance. You should always ensure that your recordings are well-lit and that you work with a high-quality greenscreen to achieve the best results. With the right tools in iMovie, you can beautifully design the backgrounds in your videos and impress your audience.
Frequently Asked Questions
How important is the background for the greenscreen effect?A homogeneous, well-lit background is crucial for achieving optimal results.
Can I use colors other than green?Yes, you can also use a blue background, but be mindful of appropriate clothing.
What should I do if I see shadows or remnants of the background?Use the eraser tool in iMovie to correct problematic areas.
Can I undo the greenscreen effect?Yes, you can use undo options in iMovie or re-import the clip.
What is the difference between "green screen" and "picture in picture"?"Green screen" removes the background, while "picture in picture" inserts a clip into another scene without changing the background.


