The precise cropping of videos is a crucial step in video production. With iMovie, you have various options available to remove unwanted parts and focus the footage on the essentials. A well-cropped video can make the difference between an average and an engaging final product. In this guide, you will learn how to efficiently crop videos in the iMovie interface.
Key insights
- iMovie offers different cropping methods: Fit, Fill, Crop.
- With the Fill mode, you can ensure that your video stays in the correct aspect ratio.
- iMovie also supports the use of green screen effects and working with multiple video tracks.
Step-by-step guide
Step 1: Import video
Before you can start cropping, you first need to import your video into iMovie. Open iMovie and upload the video you want to crop. After importing, you will see the video in the media library.

Step 2: Choose cropping option
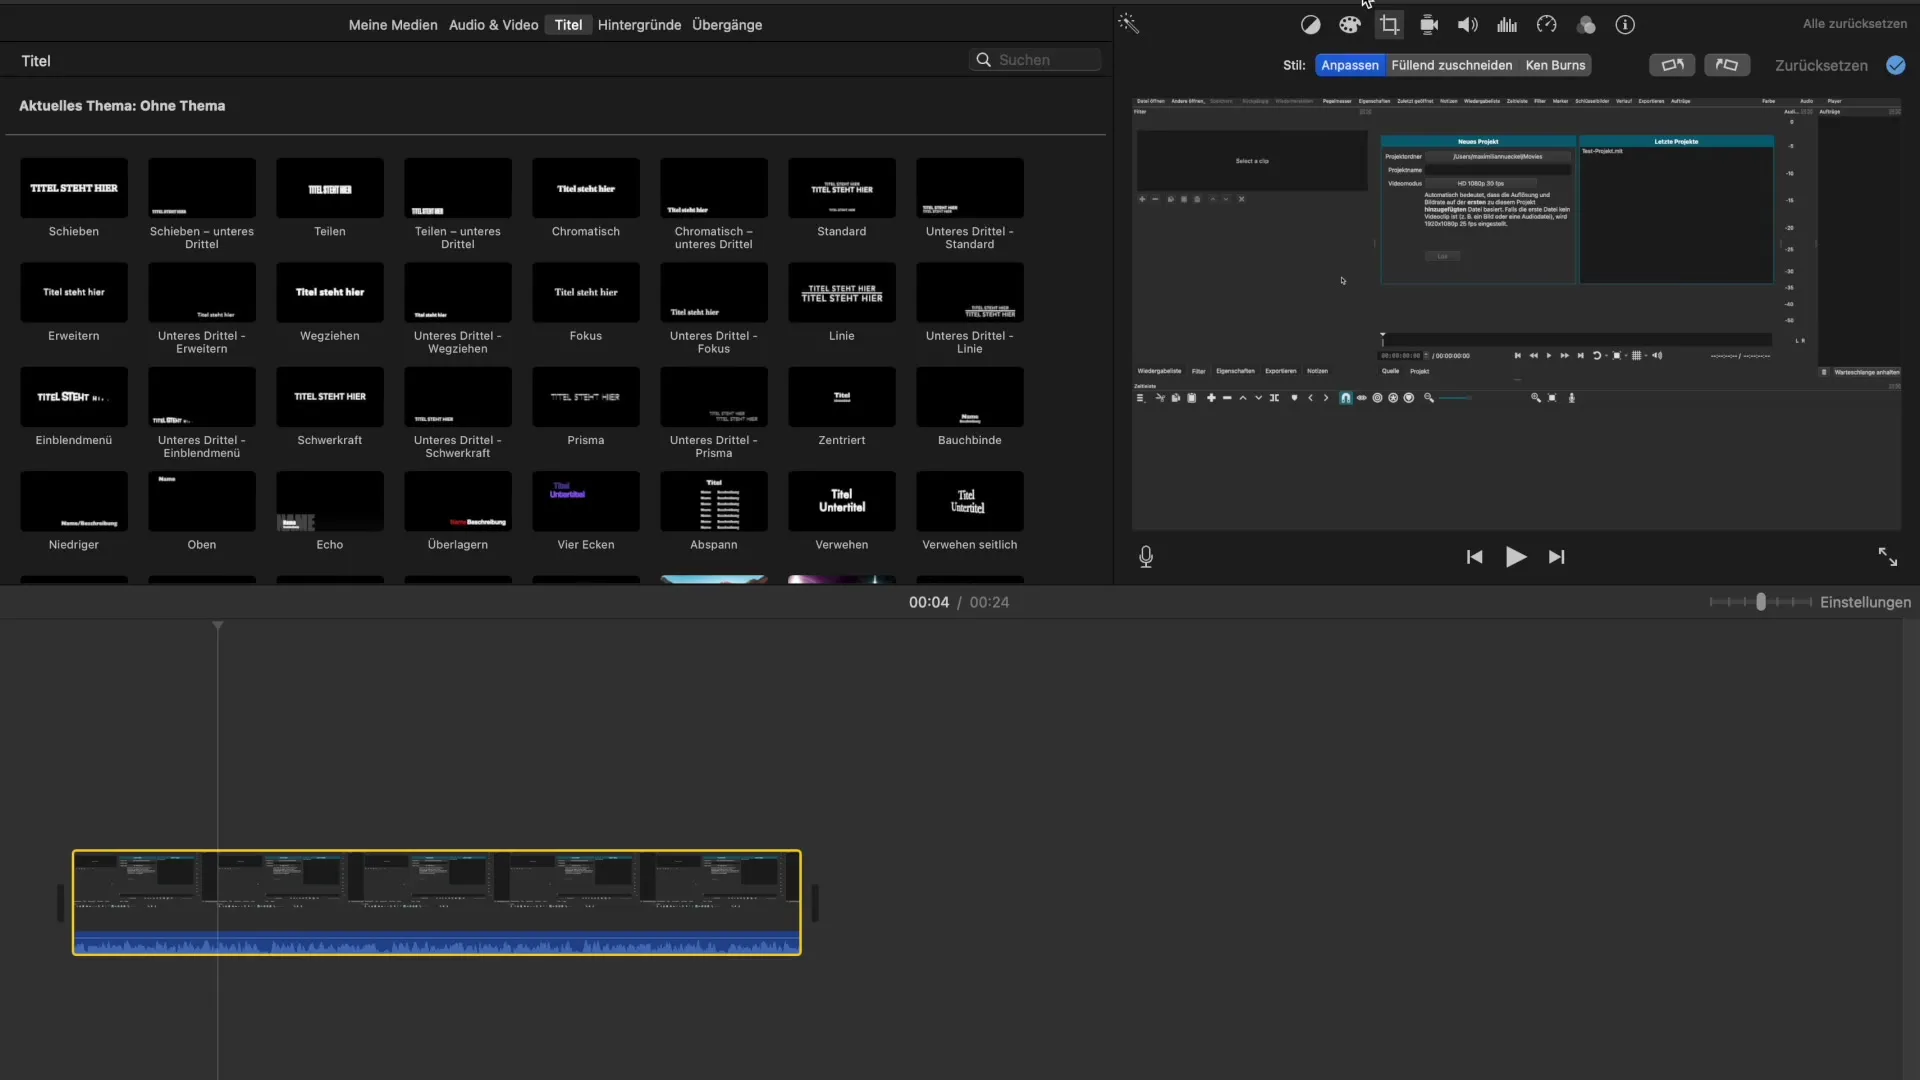
Now, select the "Crop" option in the menu bar. Here you will see three different options: "Fit," "Fill," and "Crop." Each of these options has its own characteristics and areas of application.
Step 3: Cropping option "Fit"
When using the "Fit" option, you can directly change the size and position of the video. Move the frame to precisely select the area you want to keep. This helps you to specifically remove elements that do not fit the frame.
Step 4: Select cropping option "Fill"
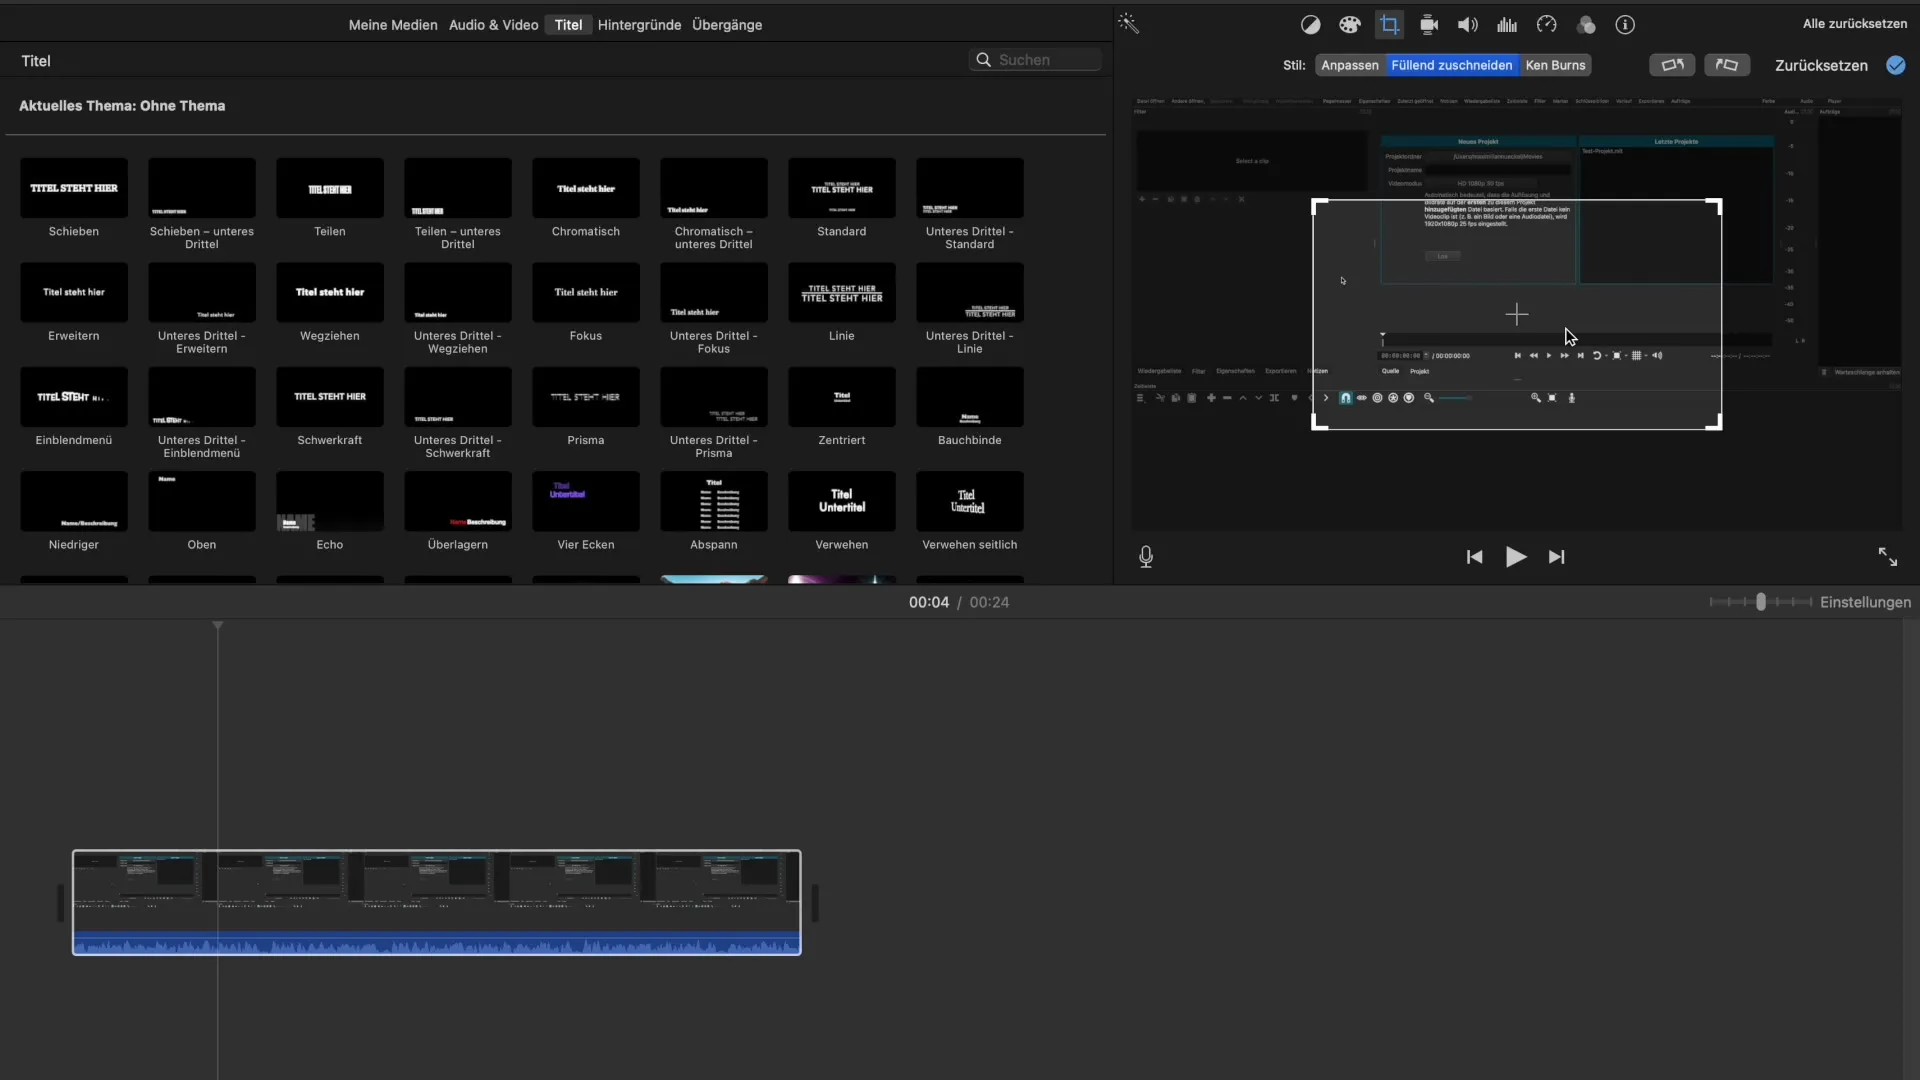
The next option you can use is "Fill." This method ensures that the most important parts of the video remain within the frame. You can then resize the video and position it exactly where you want. Use this option to ensure that your image is not distorted.
Step 5: Apply cropping
Once you have selected the cropping option that suits your needs, you can adjust the desired area. Typically, iMovie helps you center the middle of the video, which is particularly useful when working with two video tracks or creating instructional videos, for example.

Step 6: Working with video tracks
If you want to add multiple video tracks, enable the multi-track editing feature. This allows you to overlay multiple clips and work more precisely. It is also important to pay attention to which parts of the videos are visible.
Step 7: Adjusting size
When you insert a second clip, check the aspect ratios. It can be helpful to move the clips to the desired position and adjust their sizes accordingly to achieve a harmonious overall image.

Step 8: Rotation and further adjustments
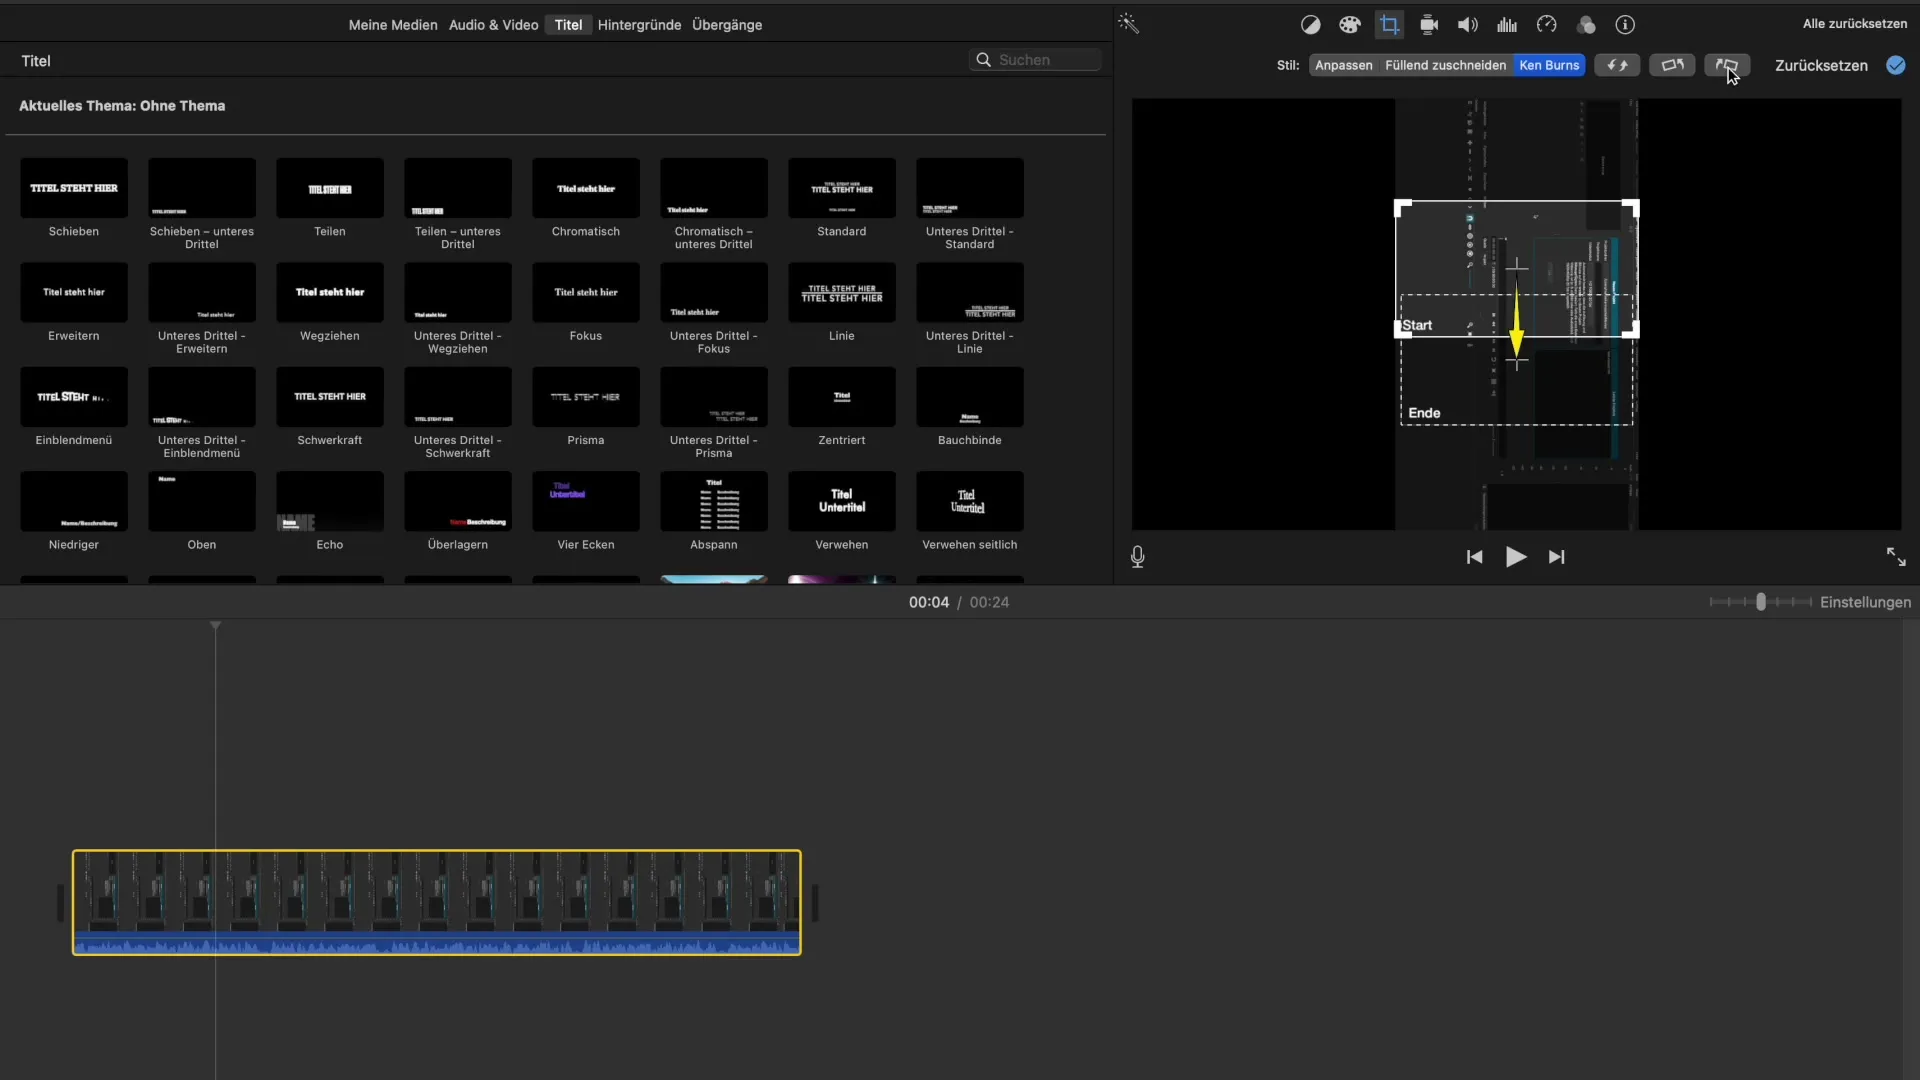
In addition to size adjustment, you can also rotate your video. iMovie offers you the option to rotate the clip by 90 or 180 degrees. This feature is particularly useful if you want to change the recording perspective, for example.

Step 9: Additional settings
Beyond the basic cropping functions, iMovie offers additional capabilities for customization. You can refine the appearance of your video with further filters and effects to cater to the needs of your target audience.
Summary - Cropping Videos in iMovie: A Guide
You now have an overview of the various techniques for cropping videos in iMovie. By using the different cropping options, you can effectively adjust and optimize your video material. It is up to you to choose the method that best suits your project to create engaging and high-quality videos.
Frequently Asked Questions
How do I import a video into iMovie?You can import your video by opening iMovie and uploading the desired video to the media library.
What cropping options does iMovie offer?iMovie offers the options "Fit," "Fill," and "Crop" for different cropping techniques.
How can I adjust the position of a video?Select the cropping option and move the frame to adjust the position of the video.
Can I use multiple video tracks in iMovie?Yes, iMovie allows you to edit and overlay multiple video tracks.
How does rotation of videos work in iMovie?You can use the rotation function in iMovie to rotate your video by 90 or 180 degrees.


