Do you want to quickly and easily enhance your video and audio quality in iMovie? With just a few clicks, you can use the magic wand in iMovie to optimize your clips without diving into technical details. This guide will take you through the process step by step and show you how to achieve the best results.
Key insights
- The magic wand in iMovie allows for automatic enhancement of video and audio quality.
- All adjustments are transparent and can be reset at any time.
- Manual adjustments are also possible if you have preferences.
Step-by-step guide
Step 1: Select a clip
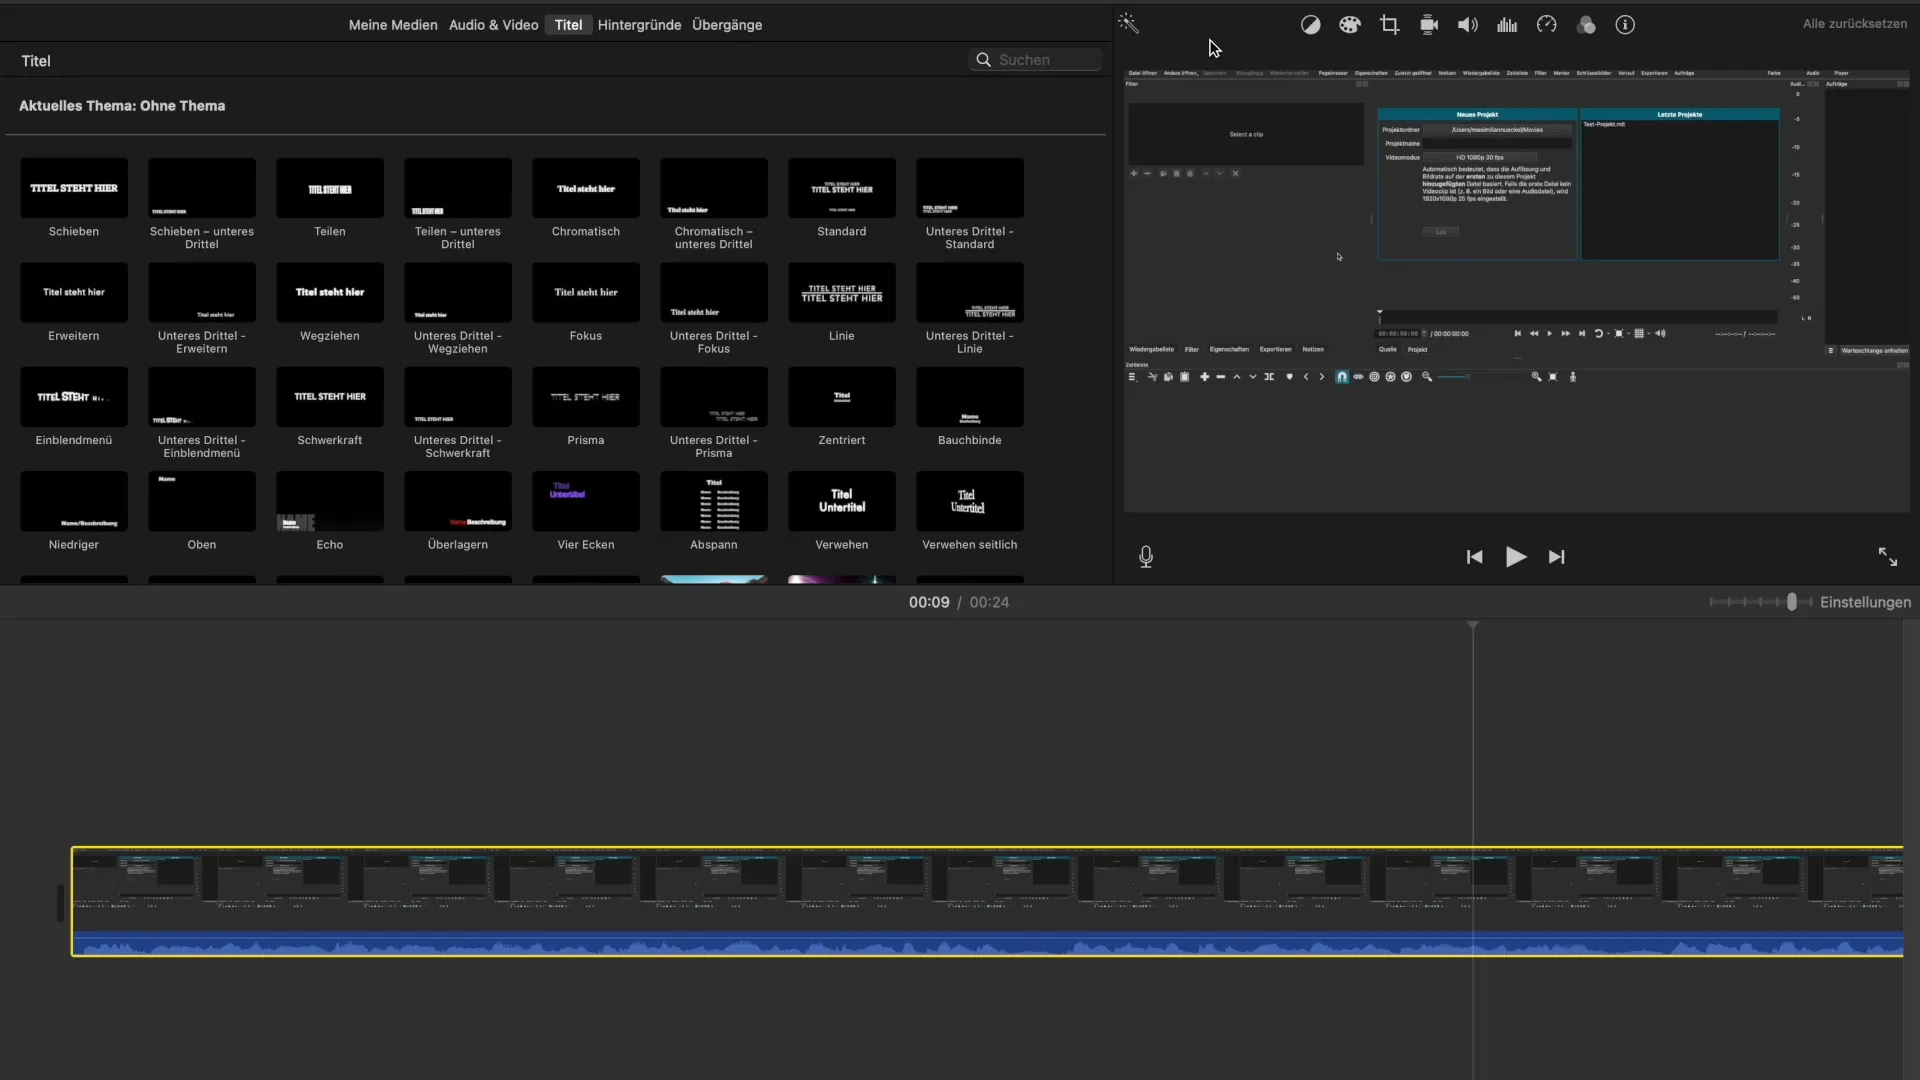
Before you begin the improvement, select the clip you want to enhance the quality of. Make sure that the clip is highlighted in the timeline so that iMovie can make the appropriate adjustments.

Step 2: Activate the magic wand
Now comes the easy part: Hover your mouse over the magic wand button in the toolbar. When you do, a tooltip will appear indicating that the video and audio quality of the selected clip can be automatically improved. Click once on the magic wand to start the automatic analysis.
Step 3: Quality analysis
While iMovie analyzes your clip, the software evaluates various aspects such as color values and audio levels. It may take a few seconds for the analysis to complete, so be patient. After the analysis, you will see what changes have been made.
Step 4: Review results
After the analysis, the adjustments will be displayed. You can visually see the changes made to color correction, volume levels, and possibly other aspects. Pay particular attention to the color adjustments, as they can significantly enhance the visual appeal of your video.
Step 5: Accept or reset adjustments
If you are satisfied with the changes, you can keep them. If not, use the reset function to revert to the original settings. You can either reset only specific adjustments or the entire process at once using the "Reset" button.
Step 6: Make manual adjustments (optional)
If you feel that the automatic adjustments do not meet your expectations, you can manually intervene in the settings. Go through the individual adjustment options such as color correction, noise reduction, and volume. Here, you can set the perfect values to suit your style.
Step 7: Conduct quality checks
Before proceeding with your edited video, preview the result. This will help you determine if the changes meet your expectations. Keep an eye out for possible visual or audio improvements.
Step 8: Export your project
Once you are satisfied with all the changes, export your project. Save it in the desired quality and share it with other platforms or save it locally.
Summary - Optimal enhancement of video and audio quality in iMovie
To improve the quality of your videos in iMovie, it is best to use the automatic function of the magic wand. This function analyzes and optimizes video and audio quality in an easy way. If the automatic adjustments are not sufficient for you, manual options are still available.
Frequently Asked Questions
How does the magic wand work in iMovie?The magic wand analyzes your clip and recommends adjustments in video and audio quality.
Can I reset the automatic adjustments?Yes, you can use the reset function to undo the changes.
What if I don't like the automatic adjustments?Then you can use the manual adjustments to optimize every aspect yourself.
What impact do the color corrections have on my video?Color corrections can significantly enhance visual appeal and make images more vibrant.
Do I need techniques to improve video quality?No, iMovie provides simple tools that help you improve quality without technical knowledge.


