The saving and exporting of videos is a crucial step in editing that is often overlooked. In this tutorial, I will show you how to correctly save your projects in iMovie and export them in different formats. This will allow you to safely share or publish your results. Let’s get started!
Key Insights
- You can export your video in different formats to share it or post it on platforms like YouTube.
- It is important to name your projects logically and store them in an organized manner to keep track.
- The exporting process offers you options to customize the quality and file size.
Step-by-Step Guide
Prepare Project for Export
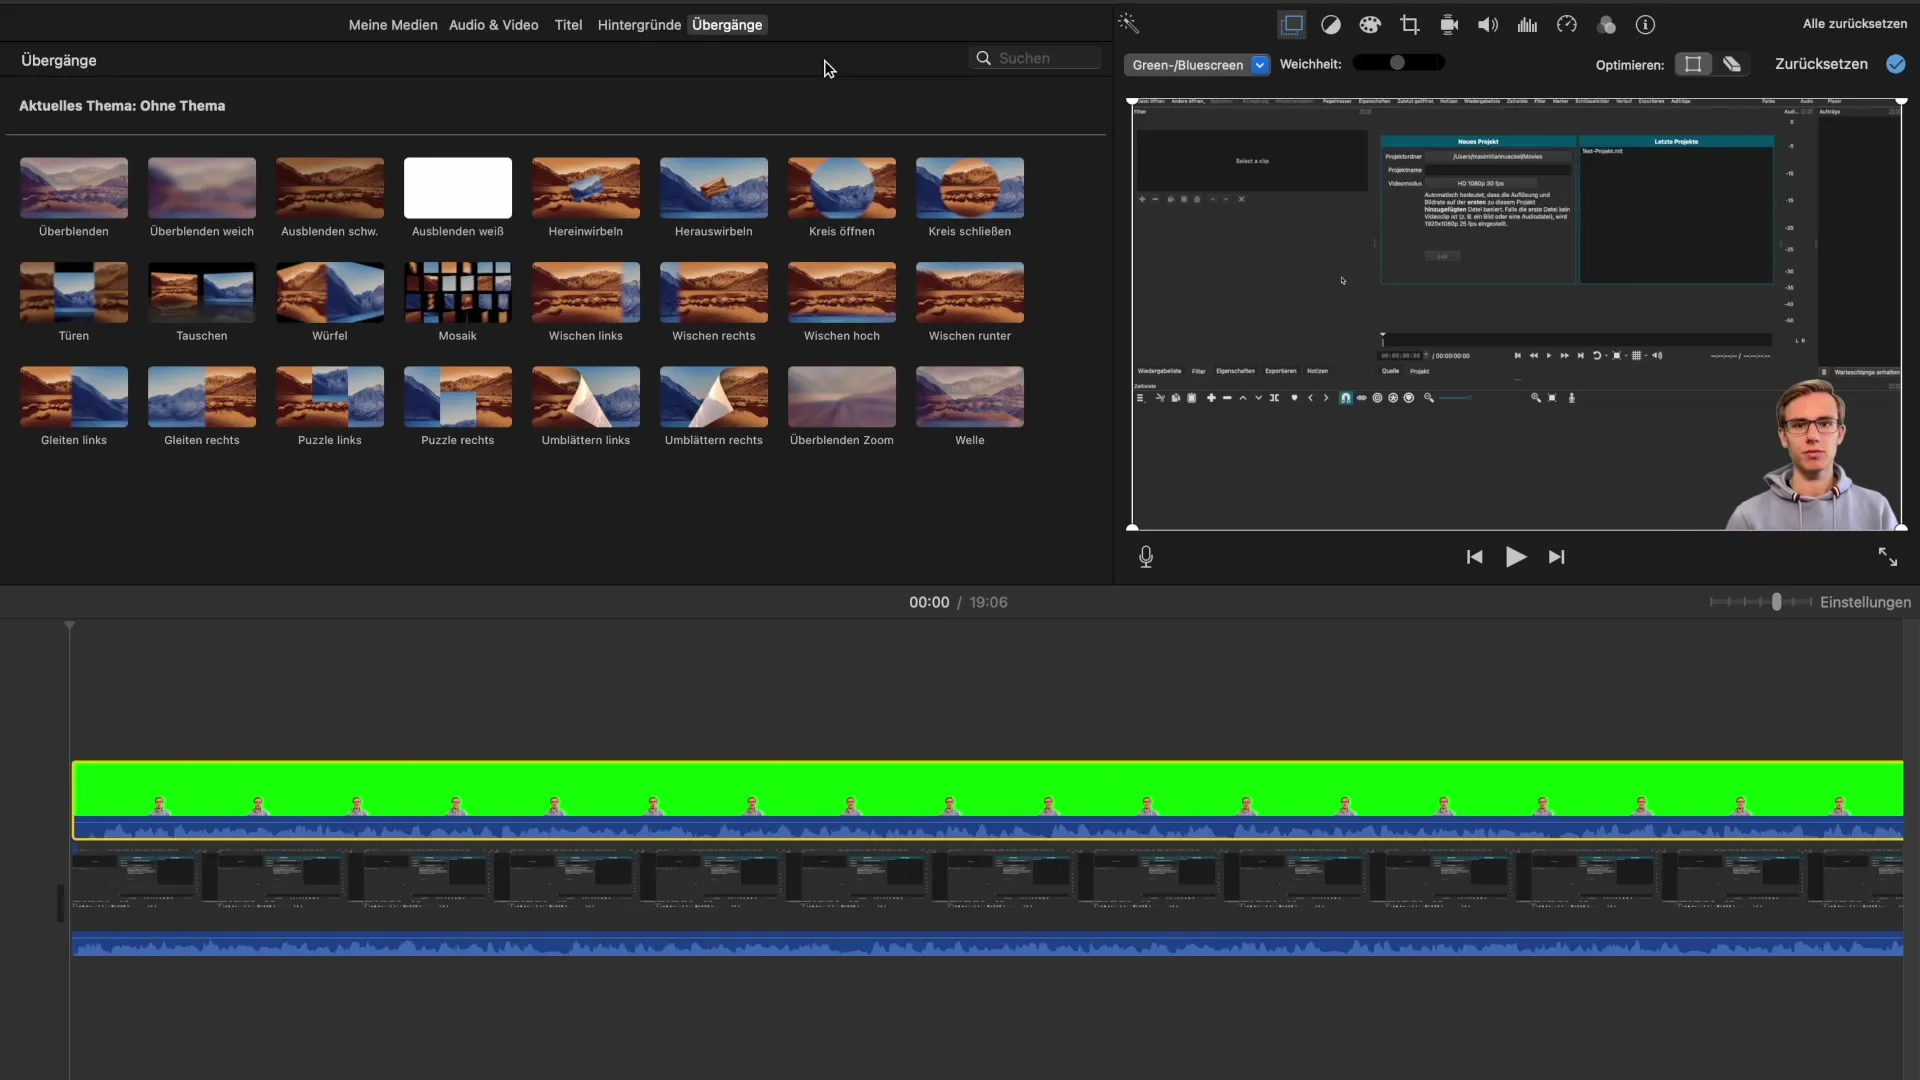
Before you start exporting your finished video, make sure that you have completed all desired edits. You now have a fully edited video in iMovie that you want to export. Click on the corresponding export icon in the top right corner.
Select Export Options
After selecting the export icon, a menu with various export options will open. You can choose between "Email", "YouTube", "Facebook", or "Export File". For most applications, the "Export File" option is the most relevant. Click on it to proceed.
Customize Export Settings
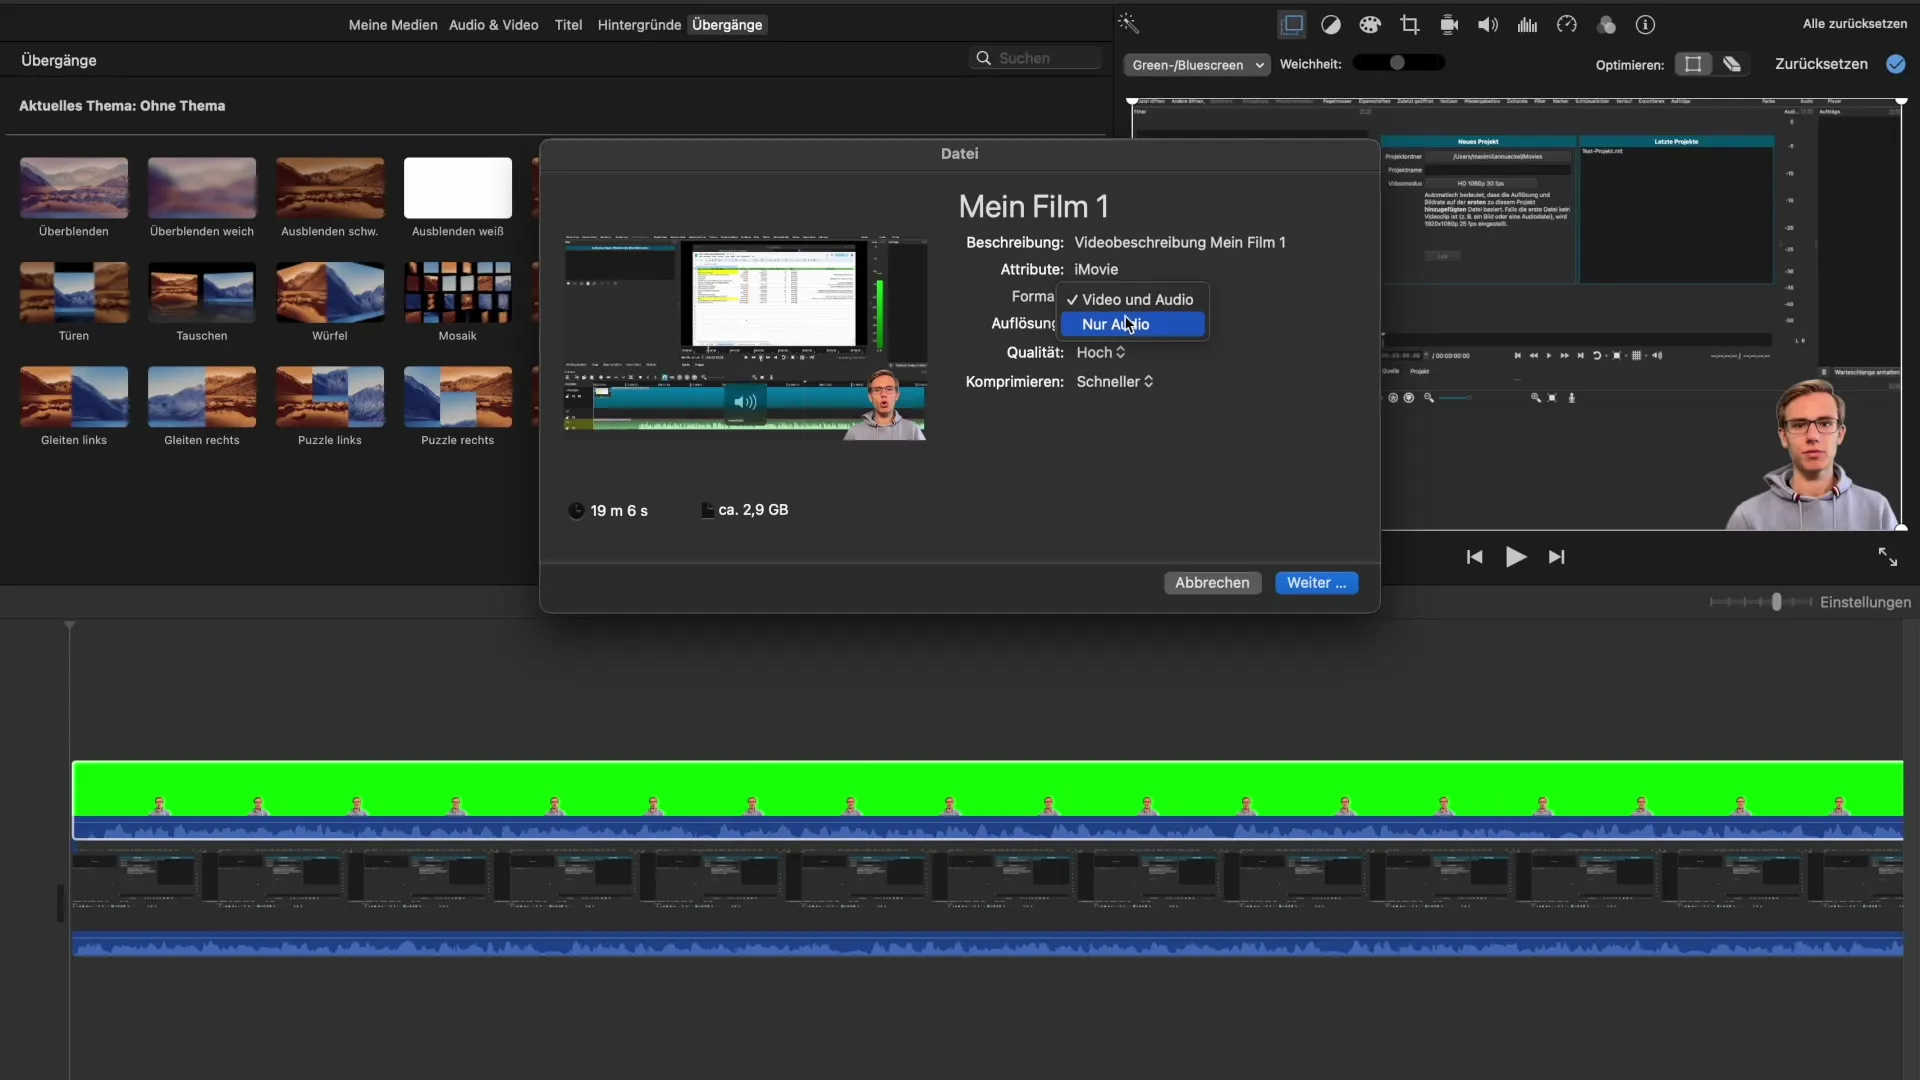
In this step, you gain access to the export settings. Here you can specify whether you want to export just the audio or both video and audio. You also have the option to reduce the resolution and quality of the video or even compress the file. Keep the default values for the best results unless you have specific requirements.
Check Video Thumbnail
Hover over the preview area to allow for a further review of the entire video. This can be helpful to get a final overview of your project before proceeding with the export. Note the estimated file size and export duration.
Agree to a Custom Save Location
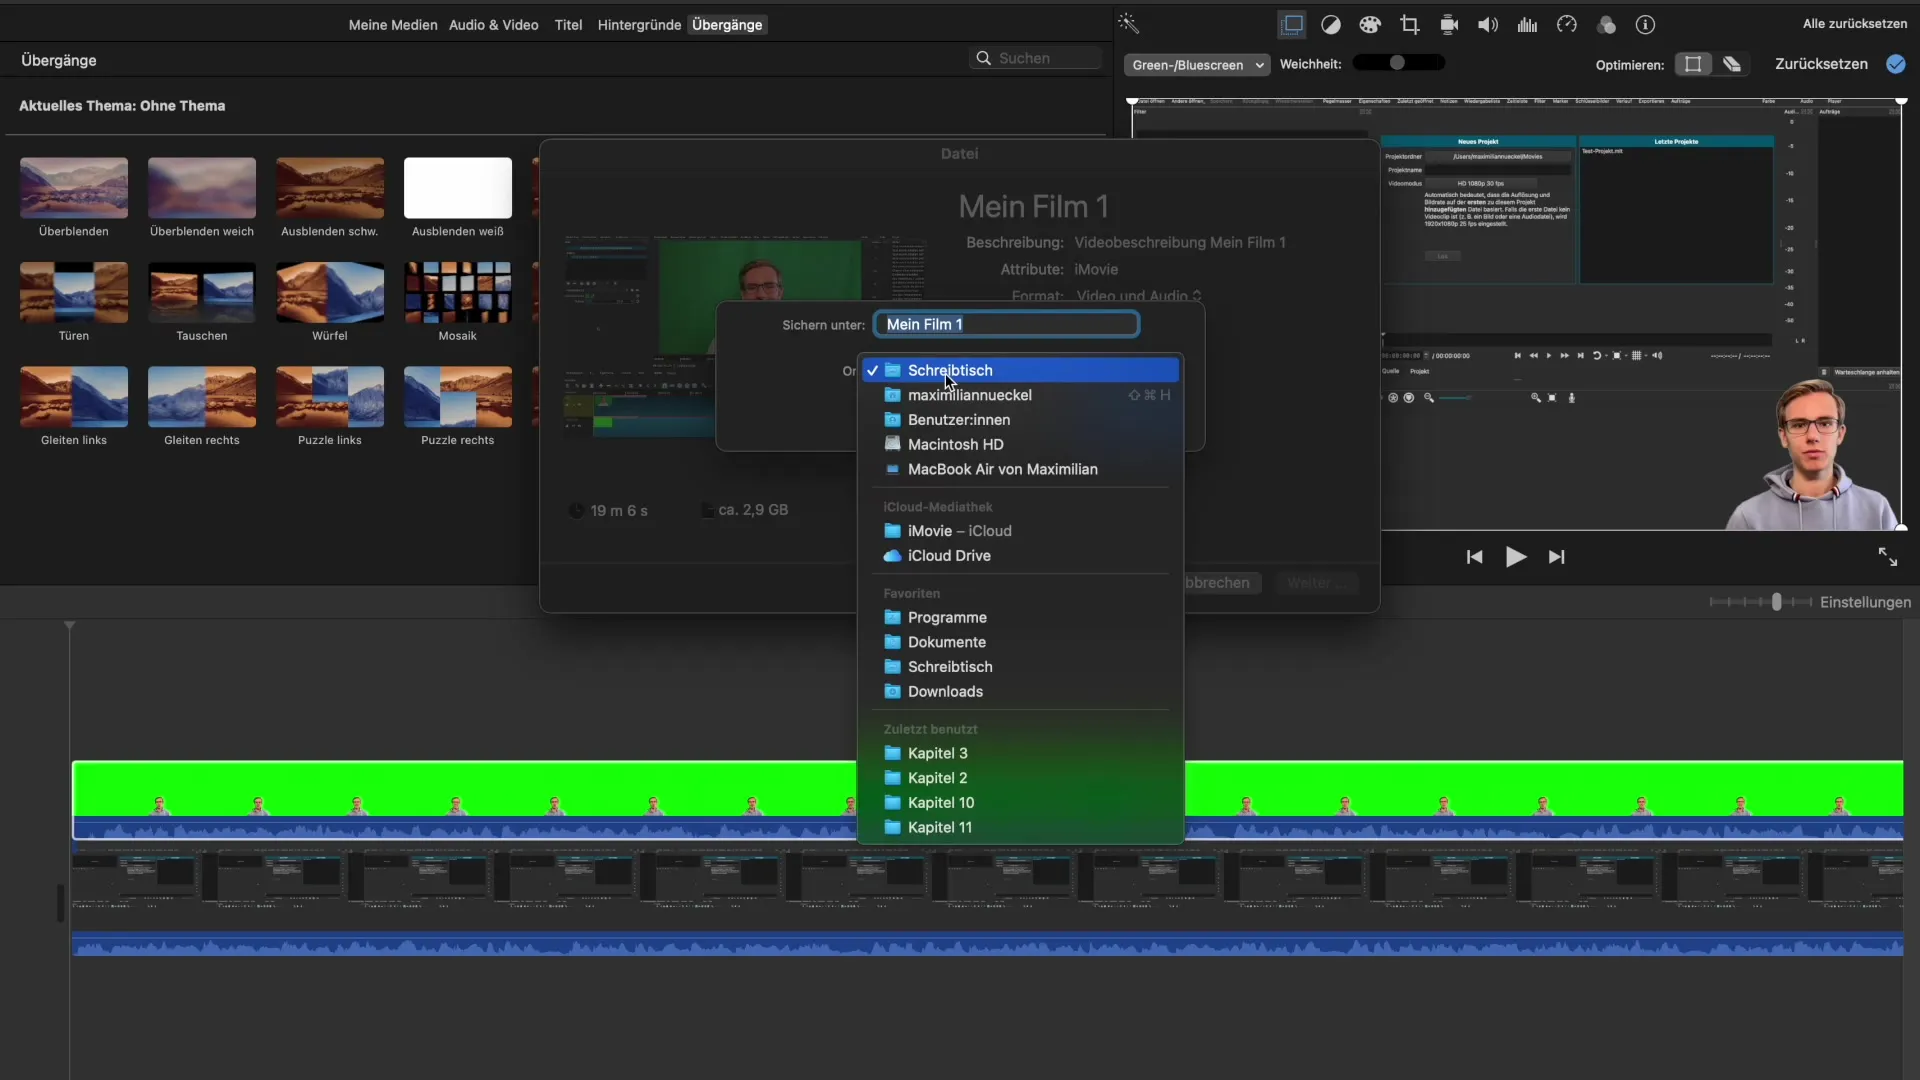
Click "Next" to set the location for your video. You can choose whether the file should be saved on your desktop or in a specific folder. Think carefully about where you place the file so that you can easily find it later.
Set File Name
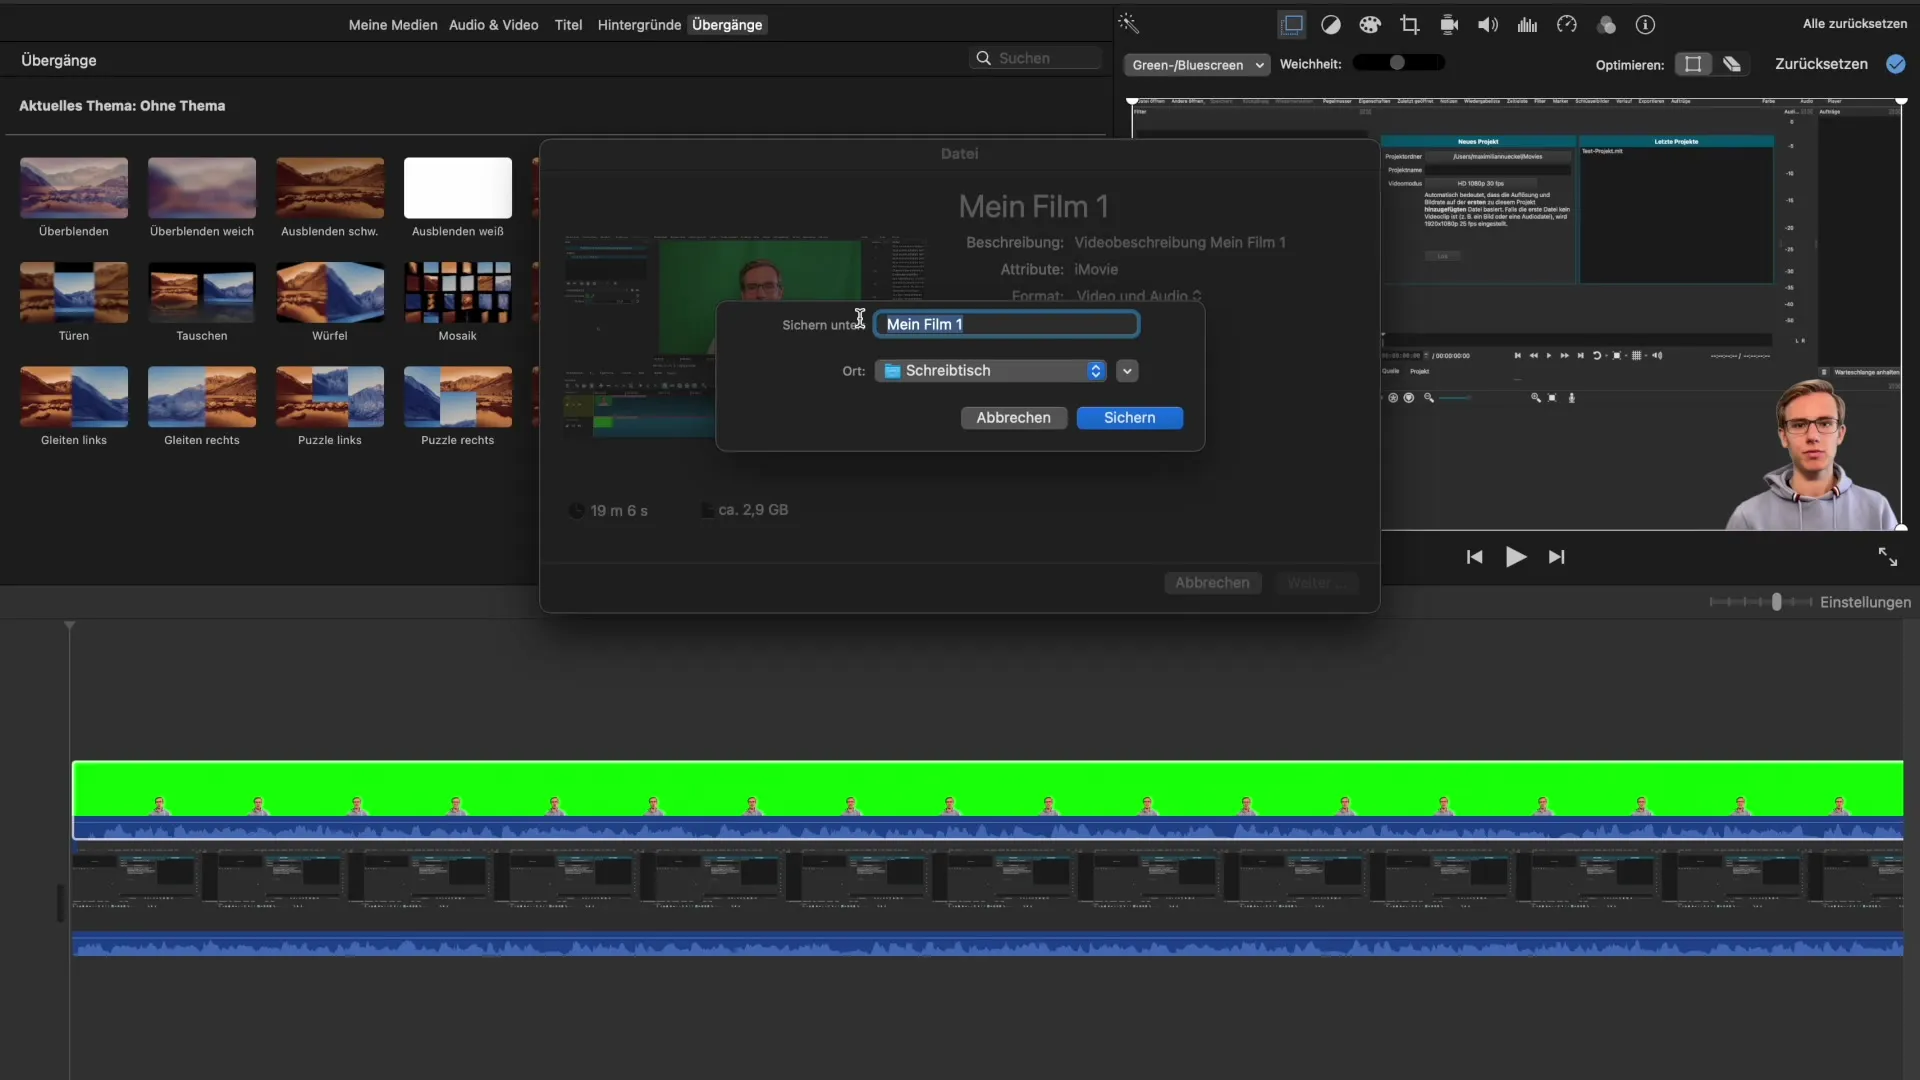
Now you can set a name for your video. Choose a concise title that reflects the content of the video. You should also include the date in the name to avoid future confusion and ensure better organization.
Save Projects in iMovie
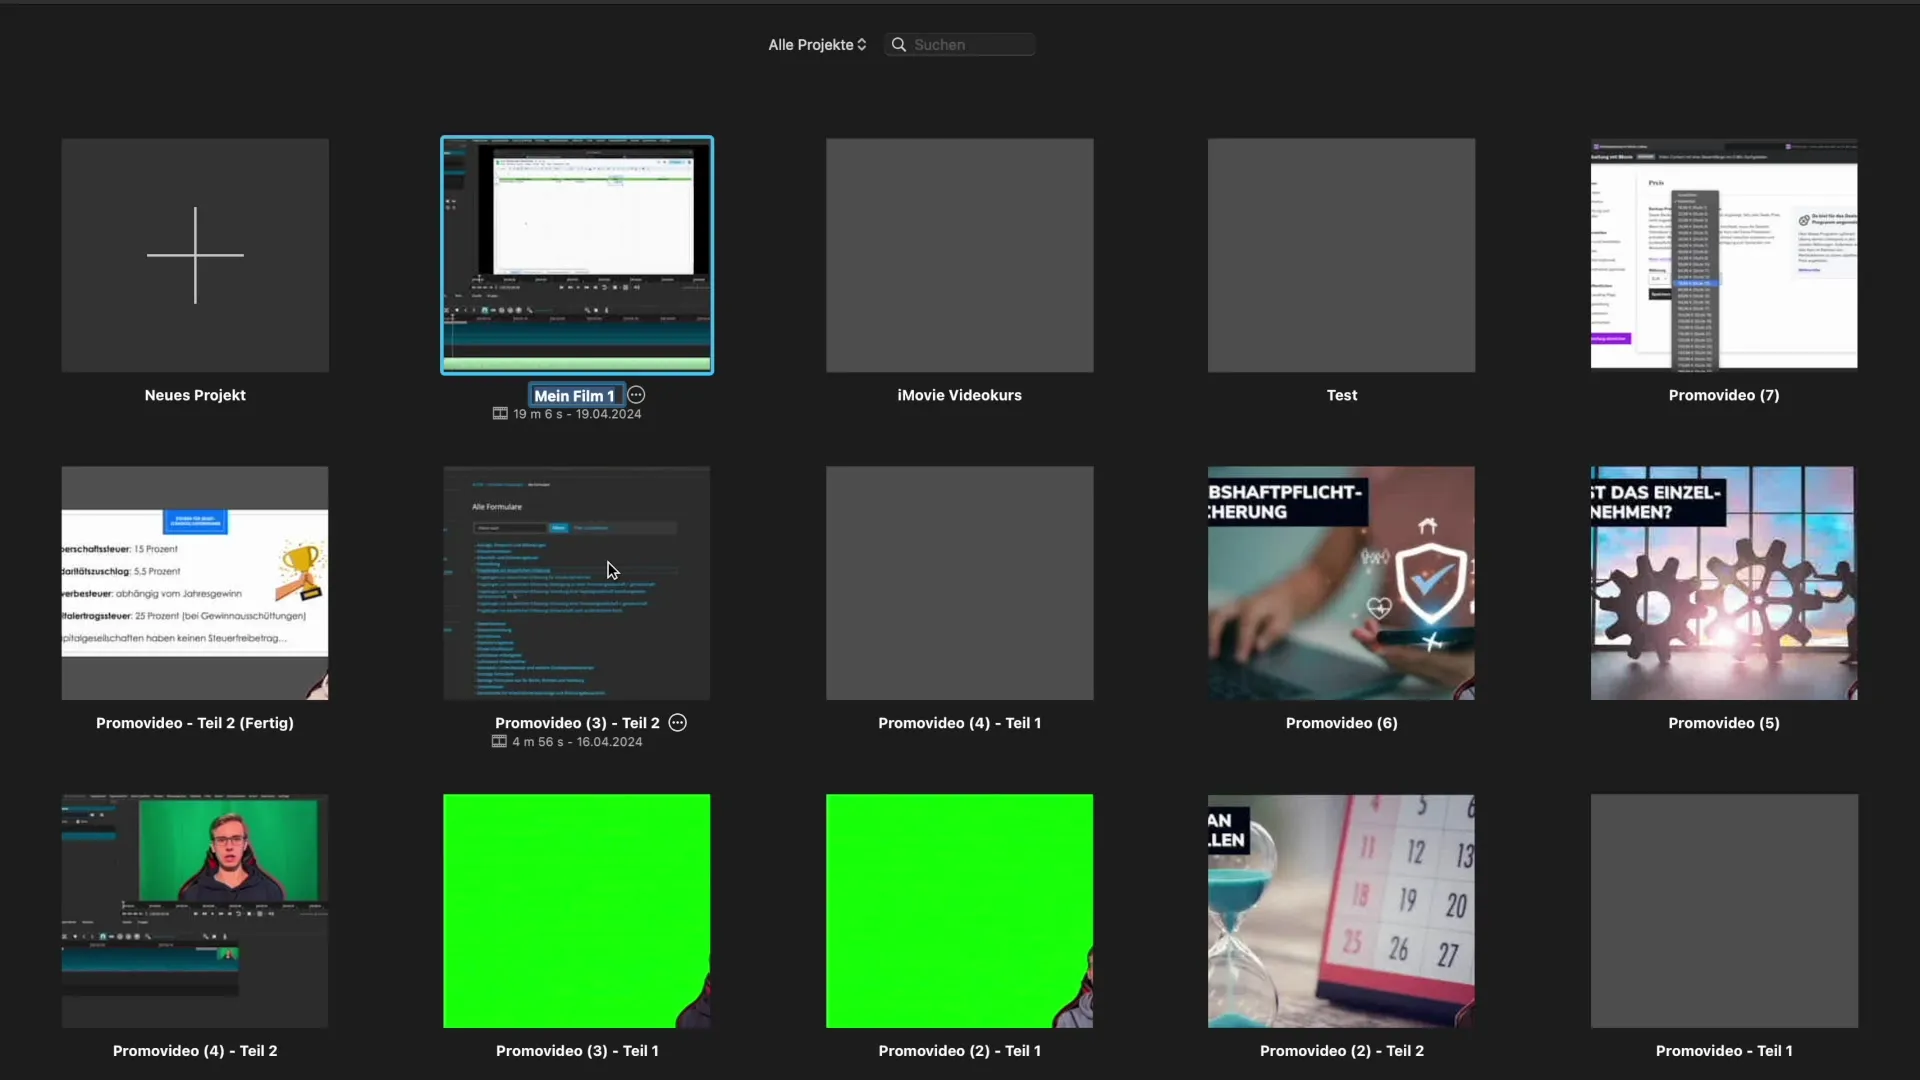
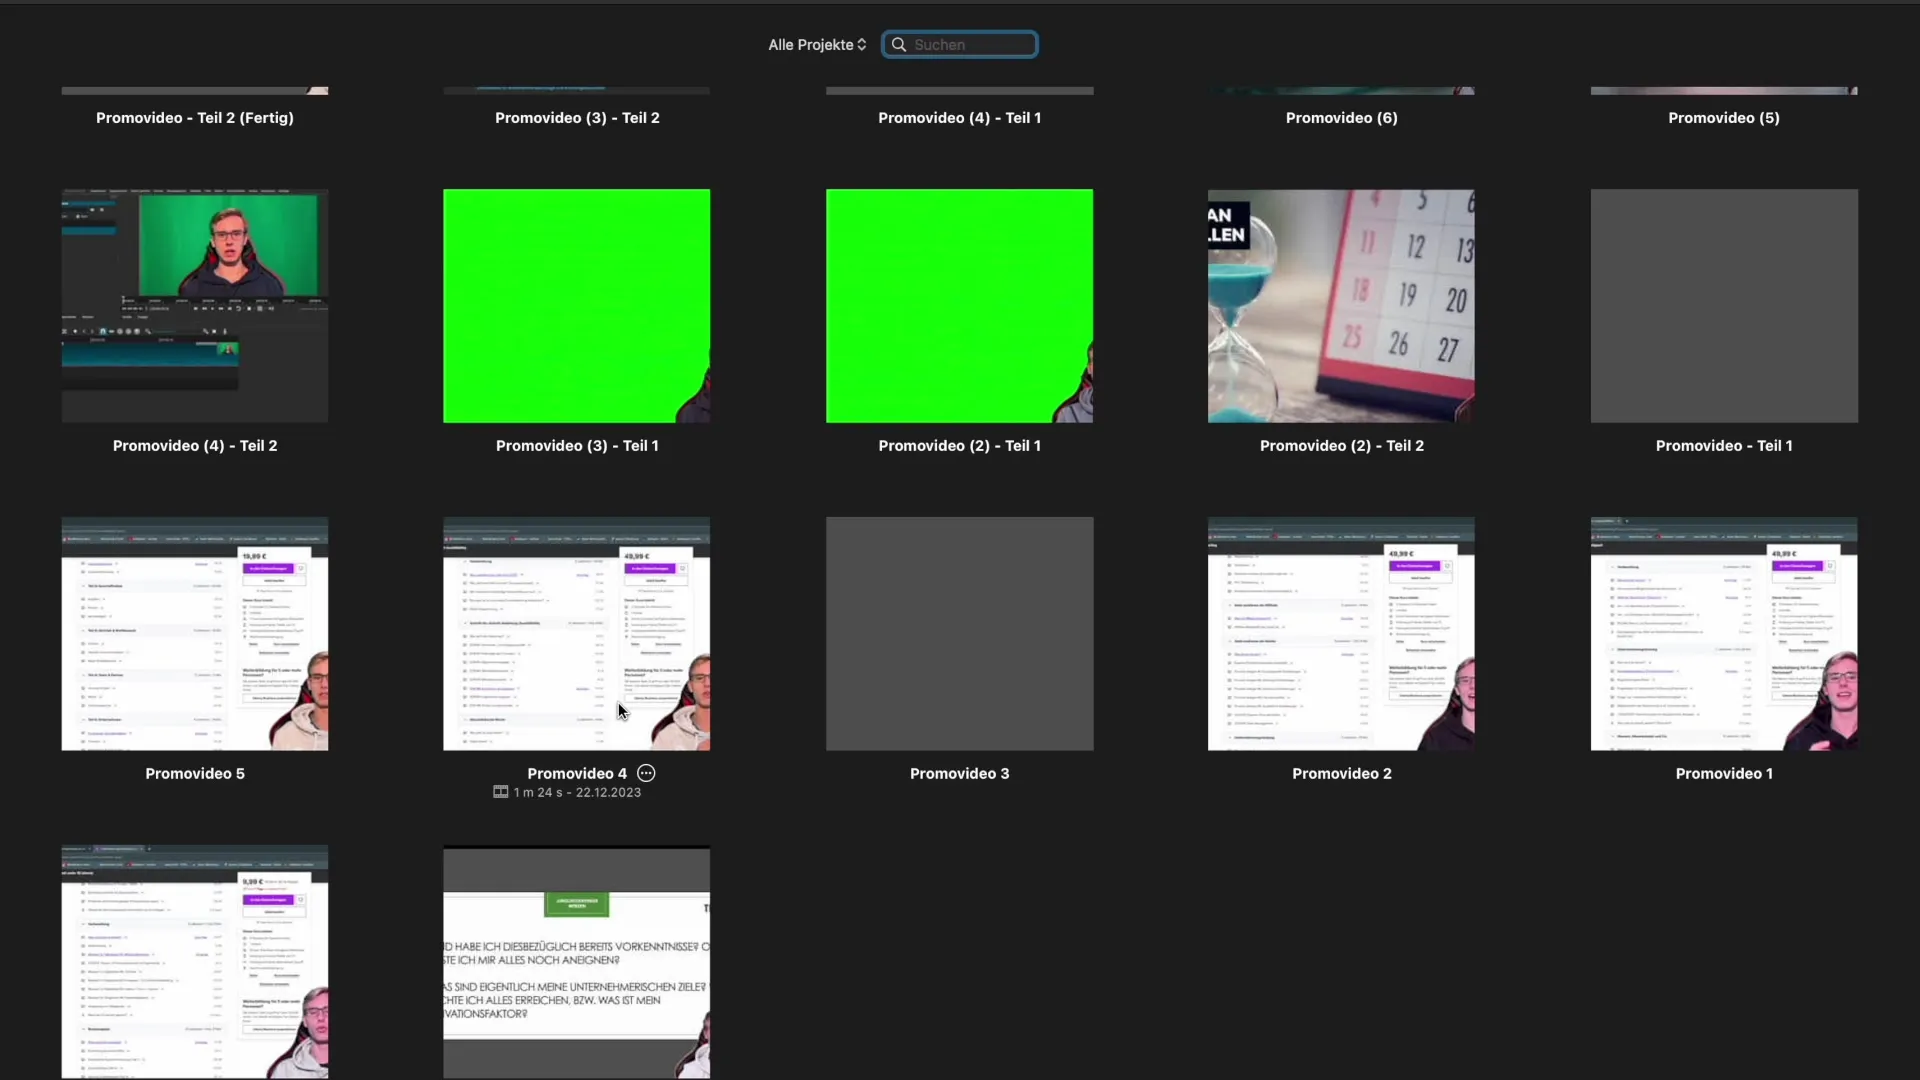
After you have exported your video, return to the project view in iMovie. Here you can rename or organize a project. If you are working on larger projects, save them regularly to ensure that your work is not lost.
Name Projects Meaningfully
It is helpful to name your projects meaningfully and to integrate the date into the title. This way, you will keep track even among many files and can quickly find what you’re looking for.
Back Up Important Projects Separately
For particularly important projects that must not be lost, you should create additional backups. Use cloud services or external storage to ensure that your data is always accessible and backed up.
Summary - iMovie: Properly Save & Export Projects
In this guide, you learned how to effectively save and export your projects in iMovie. From the settings options to naming conventions, you have all the necessary information to successfully share your videos.
Frequently Asked Questions
How do I export a video in iMovie?Click on the export icon, select “Export File”, and adjust the settings.
What formats can I choose from when exporting in iMovie?You can choose between Email, YouTube, Facebook, and “Export File”.
How do I name my projects meaningfully?Add a short title and the date in the name to make them easier to find.
Are the estimated export times in iMovie accurate?Often the estimated times are inaccurate, so you shouldn’t rely on them.
How often should I back up projects?Regularly save important projects to avoid data loss.


