When working with iMovie, it is essential to manage your media efficiently and in a structured way to ensure a smooth workflow. In this guide, you will learn how to import media into iMovie and organize it optimally. Whether you are a beginner or an experienced user, the following steps will help you create your project effectively.
Key Insights
- Media can be easily imported into iMovie via drag-and-drop.
- iMovie automatically saves your projects, so files are not lost.
- Project media can be viewed and managed as needed.
- You can integrate photos and other media sources to enrich your videos.
Step-by-Step Guide
Step 1: Open iMovie and Grant Media Access
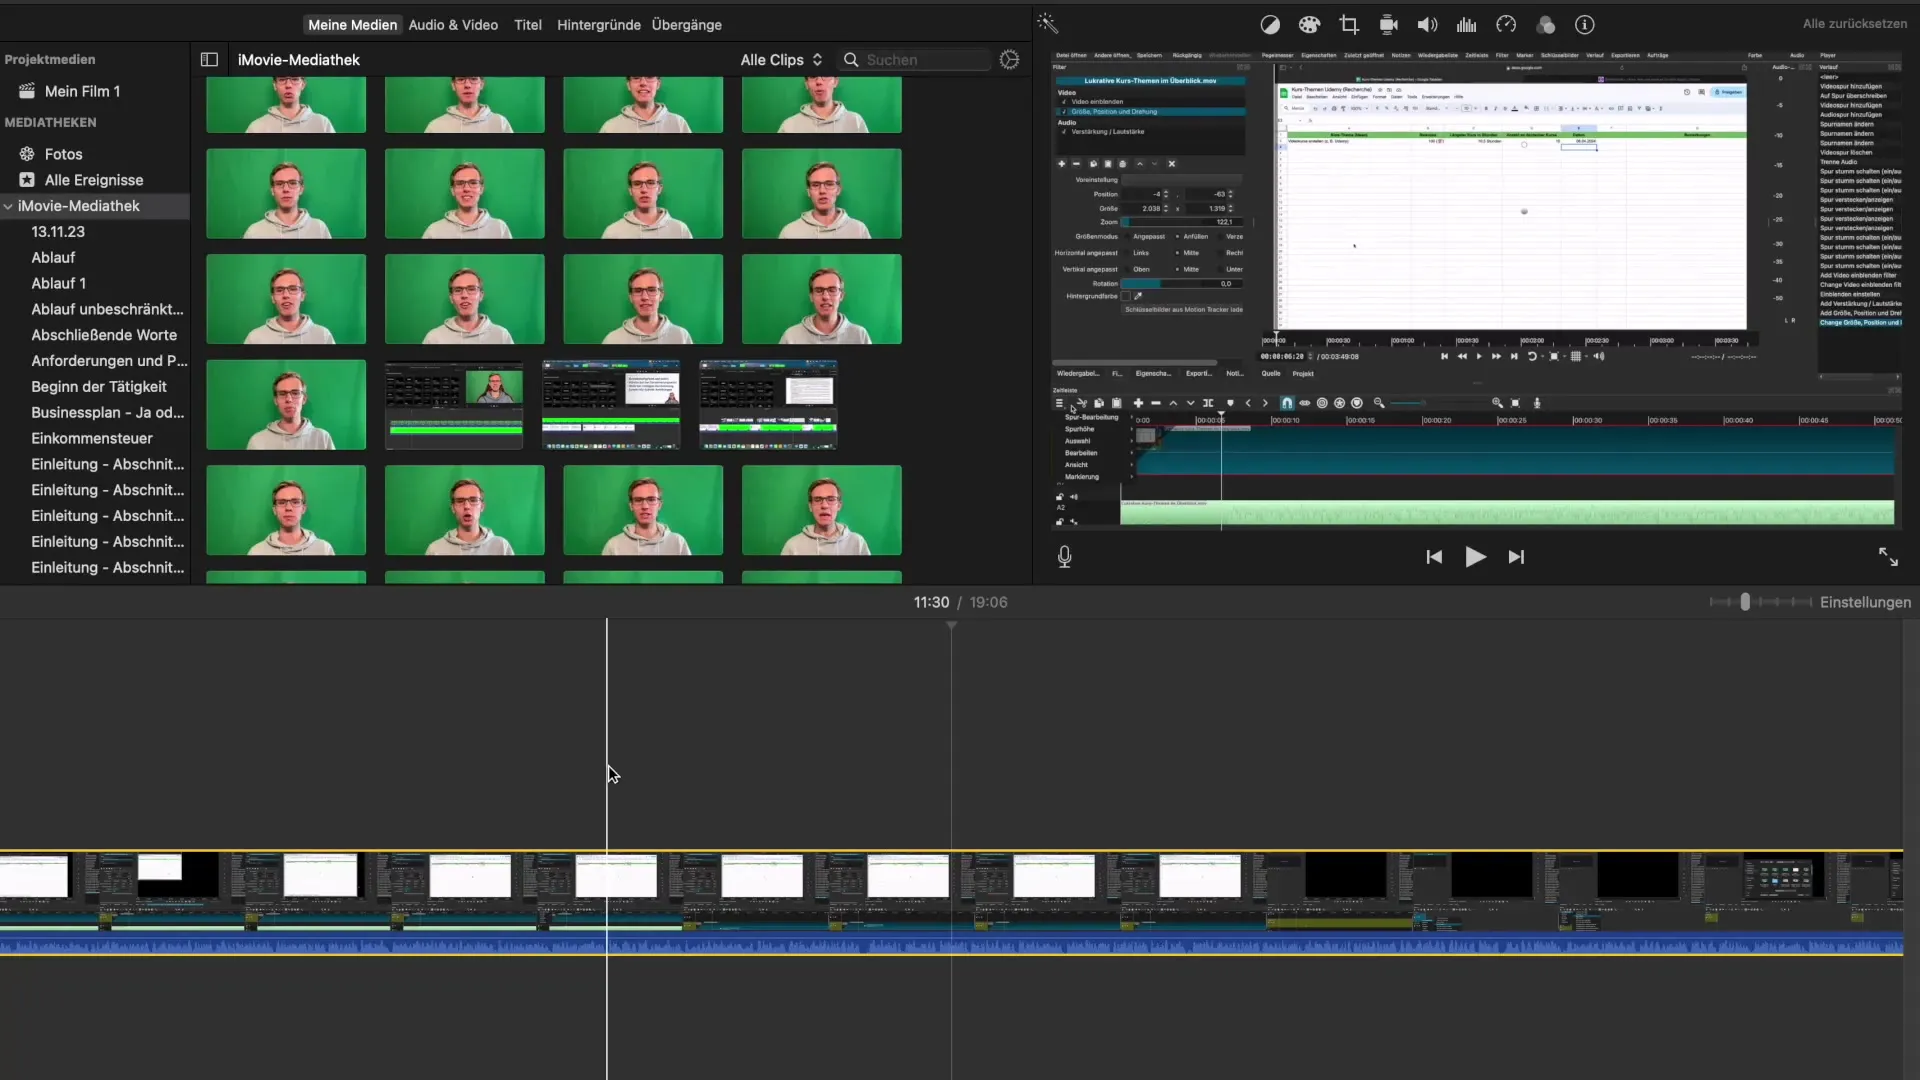
Before you start importing media, open iMovie on your device. If you are using the program for the first time, you may be asked to grant access to your media library, such as photos or graphics. This is important so that you can insert all necessary resources into your projects.
Step 2: Import Media
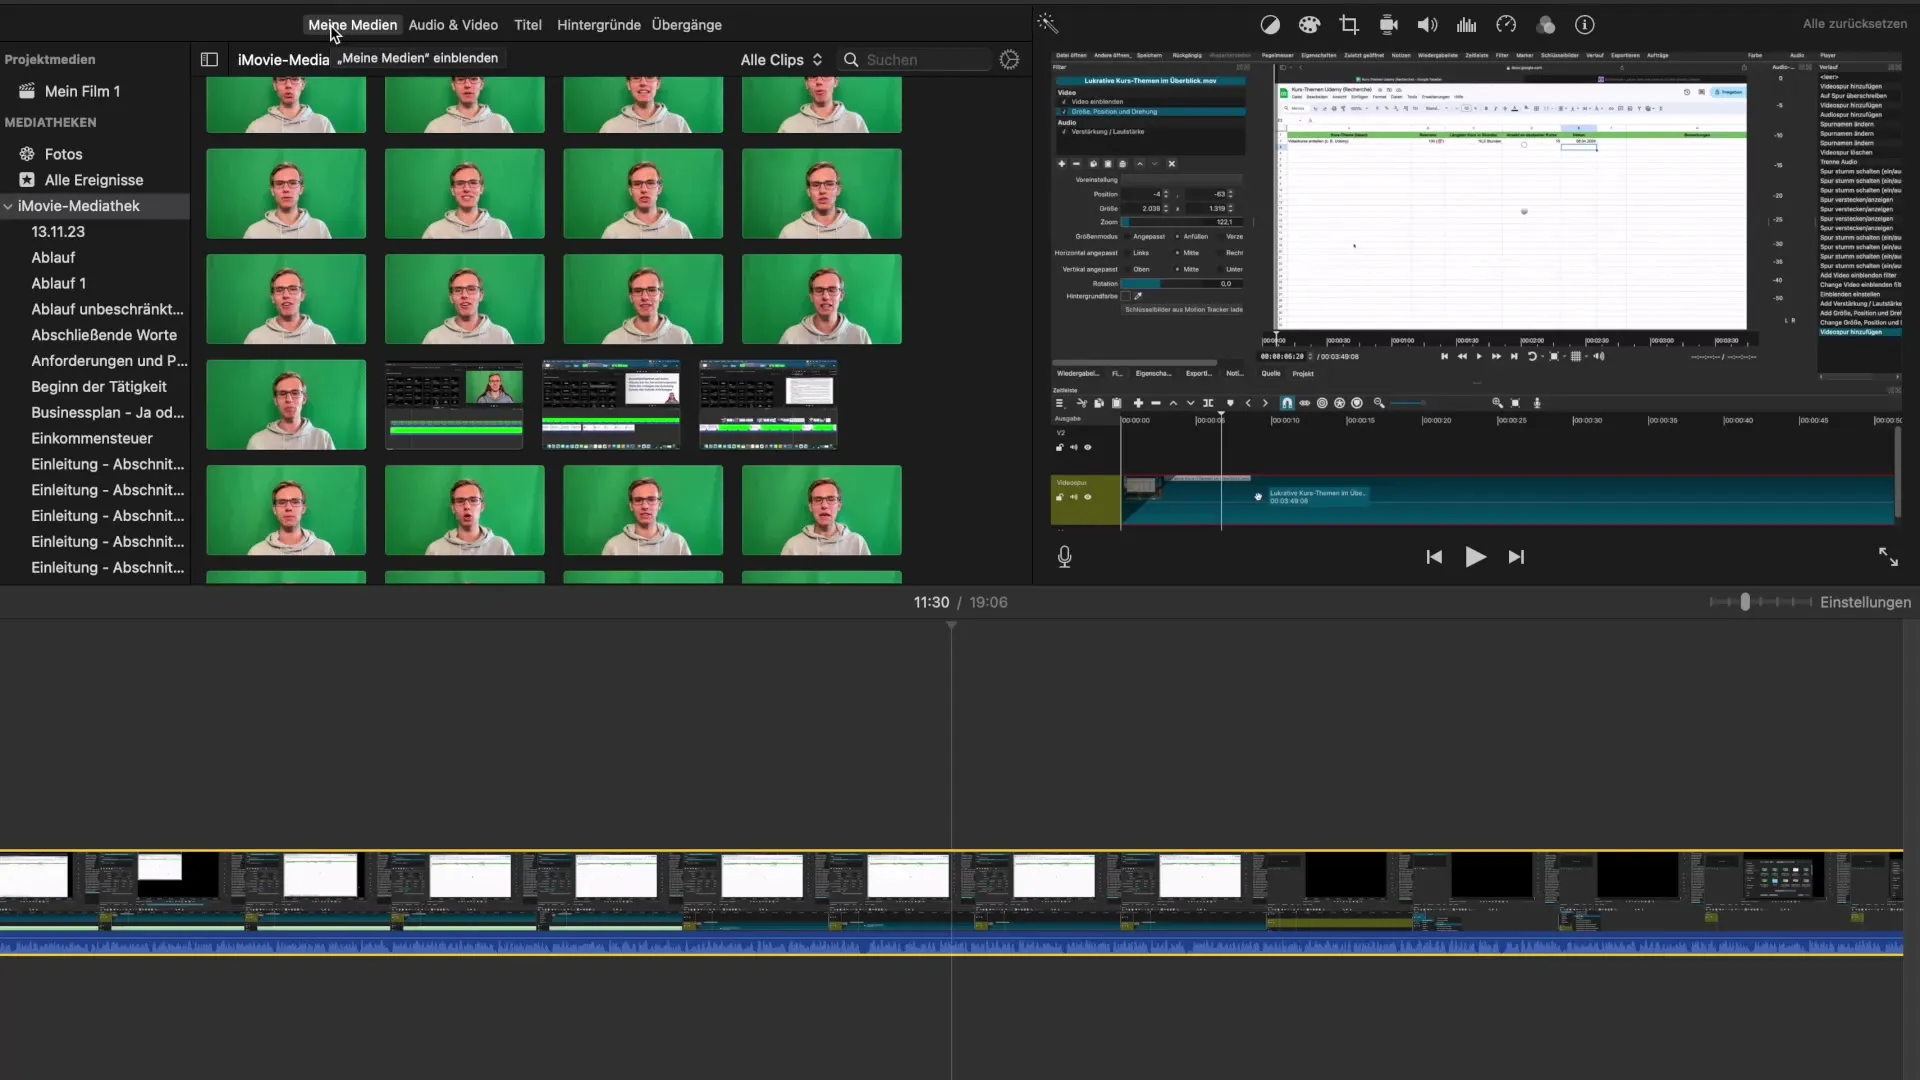
To import media, you can simply drag it into the iMovie library with your mouse. This drag-and-drop feature makes it easy to bring videos, audios, and images directly to the workspace. Alternatively, you can also look for the import option in the menu bar and select specific files there.
Step 3: Organize the Library
After importing, you will notice that your media is displayed in the library. Here, you can switch between different events or projects. This is especially useful when you are working on multiple videos simultaneously. You can preview each project and select only the media relevant to your current project.
Step 4: Delete or Add Media as Needed
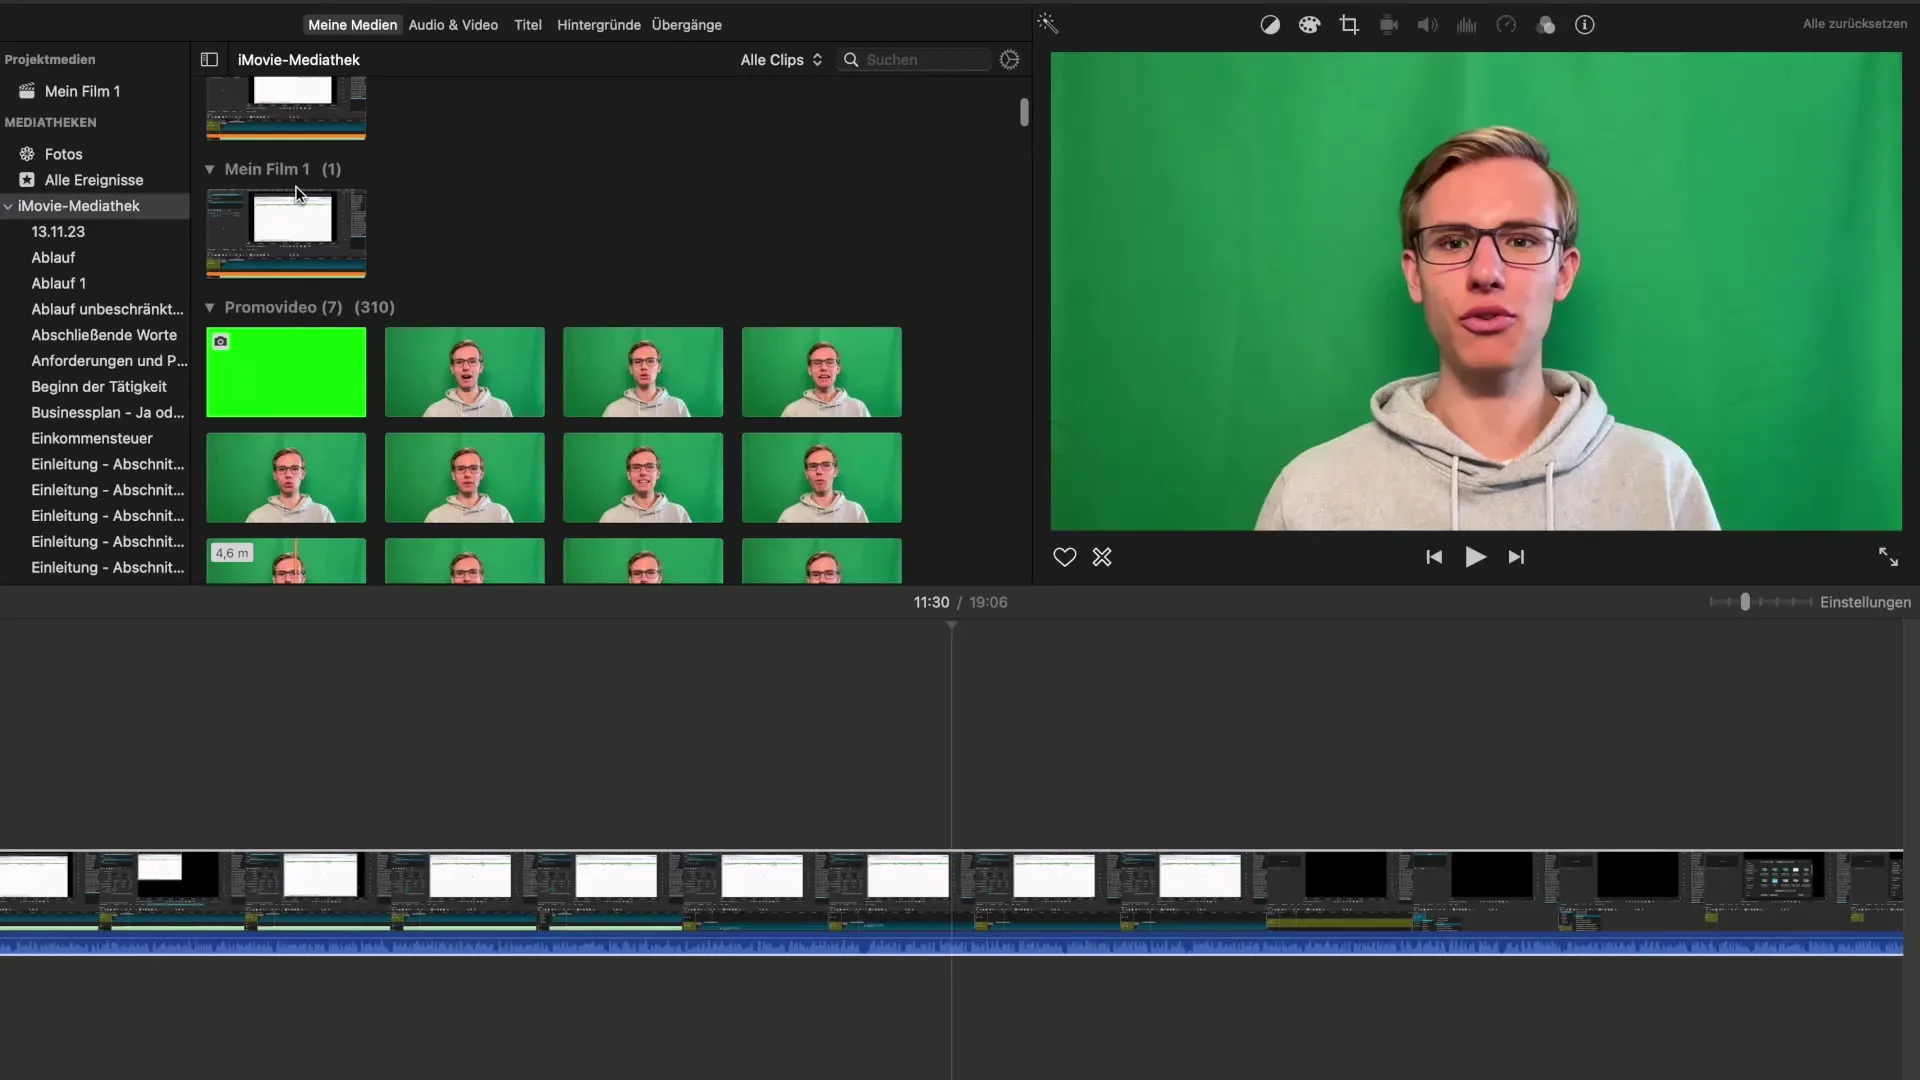
If you no longer need a particular media clip, you can remove it by right-clicking and selecting "Delete." You can also add new events to further categorize your media. A sensible organization of your media helps you keep track and work more efficiently.
Step 5: Use Photos from Your Gallery
In iMovie, you also have the option to access your photo gallery. This feature allows you to insert images or graphics into your project. Adding visual elements can enhance your videos and convey additional information. Remember that the import methods such as drag-and-drop or through the library are also available here.
Step 6: Backup Your Projects
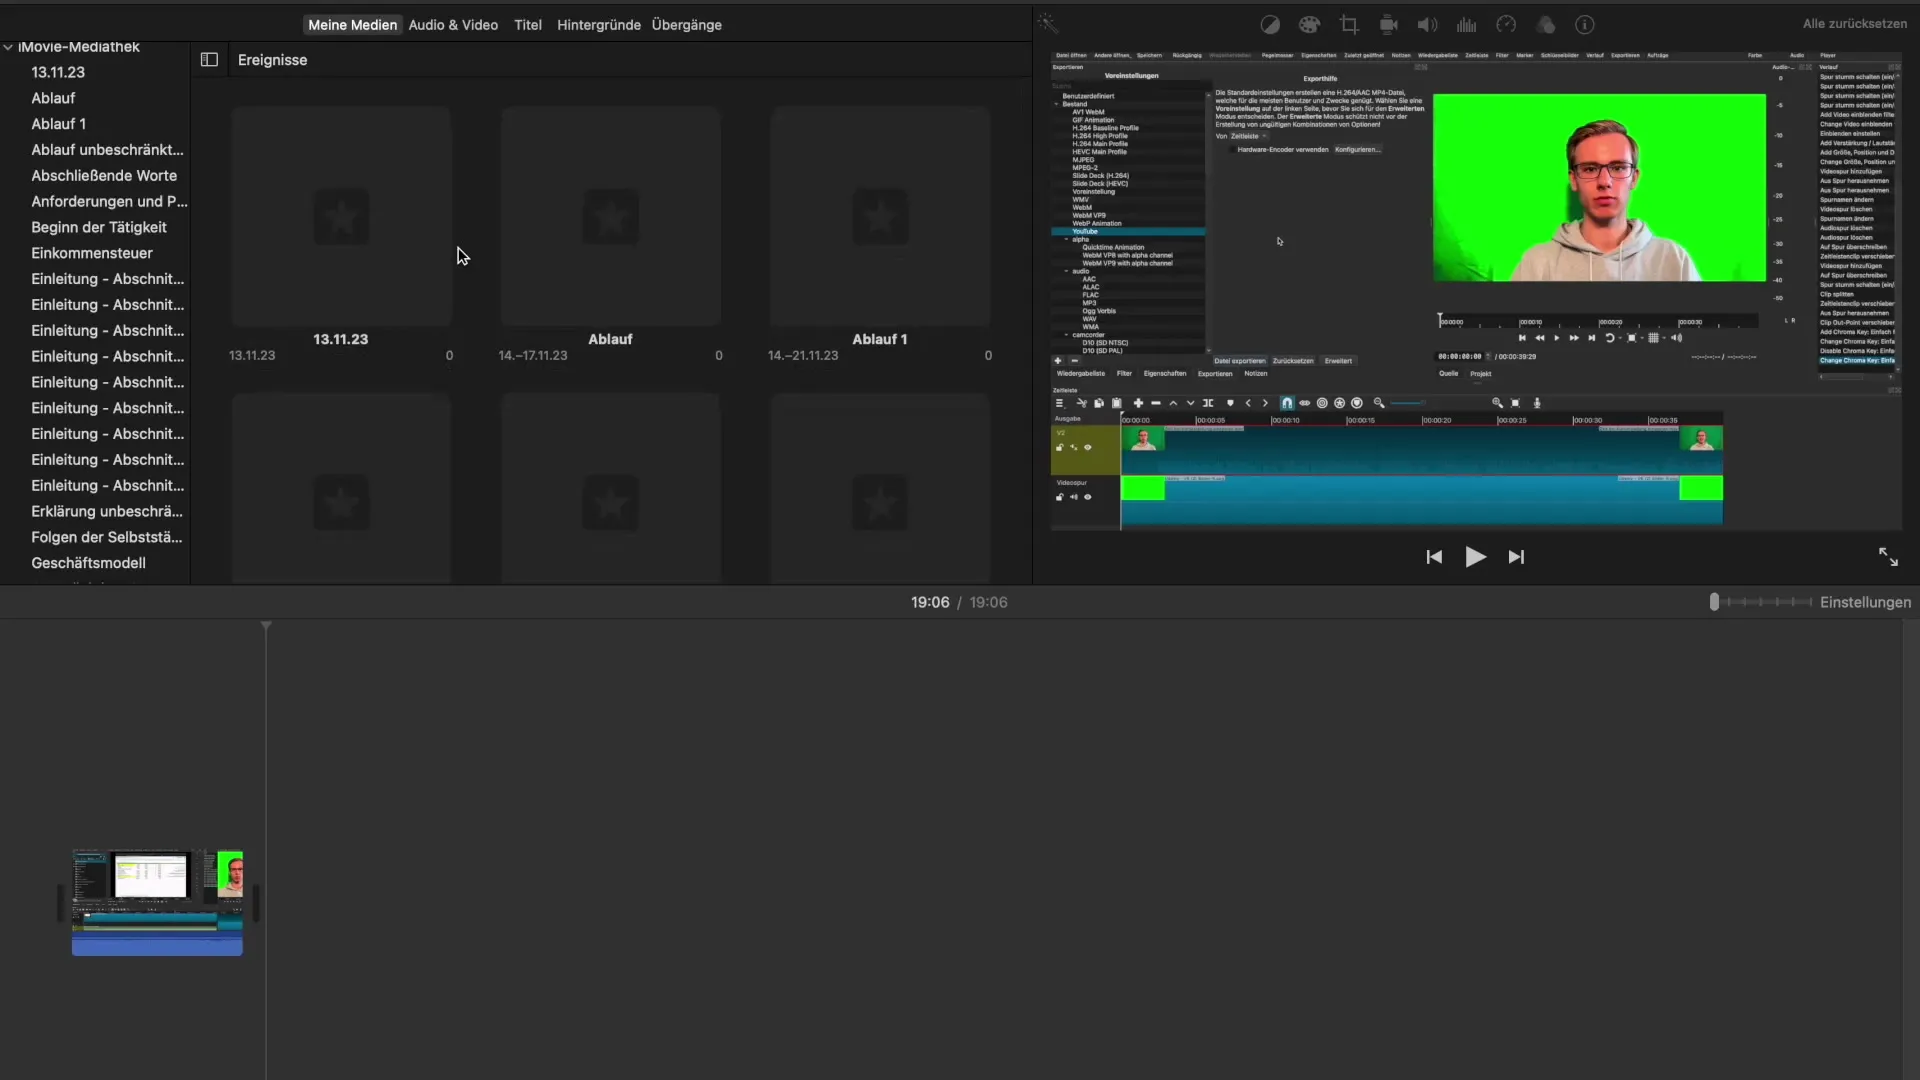
A significant advantage of iMovie is the automatic saving. If you need to close iMovie while working on a project, all changes will be retained. This protects you, even if your device suddenly loses power. To be on the safe side, it is still advisable to save manually on a regular basis.
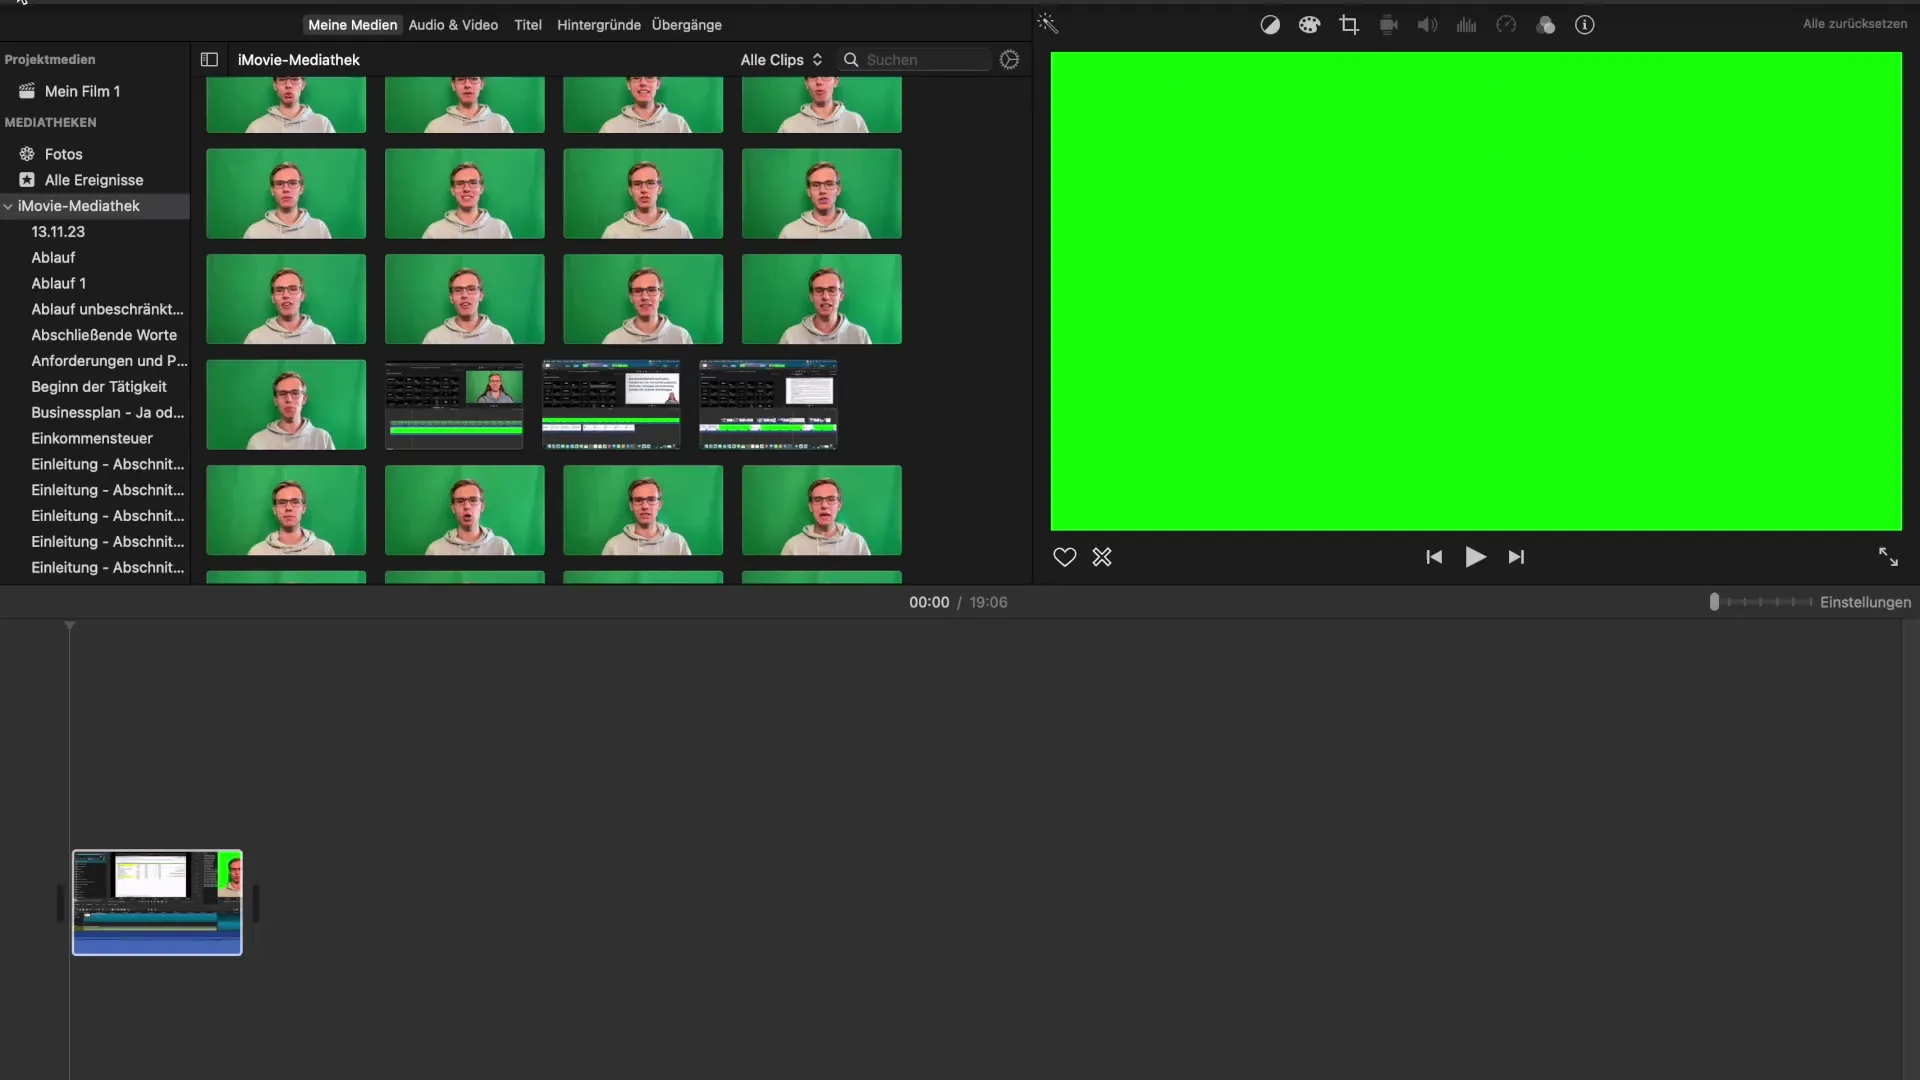
Summary – iMovie Tutorial: Import and Organize Media Efficiently
Importing and organizing media in iMovie is a simple yet essential step to ensure your video projects run smoothly. You have learned how to import media, organize it in the library, delete unnecessary files, and add photos to enrich your videos. Use this knowledge to optimize your iMovie experience.
Frequently Asked Questions
How do I import videos into iMovie?You can simply drag and drop videos into the iMovie library or select the import option from the "File" menu.
Can I delete my videos after importing?Yes, you can delete imported videos at any time by right-clicking.
How can I organize my media?You can create new events and folders to categorize your media and keep track of it.
Will my work be lost if iMovie crashes?No, iMovie automatically saves your projects, so no data should be lost.
Can I insert photos into my videos?Yes, you can access your photo gallery and import photos either by drag-and-drop or through the menu.


