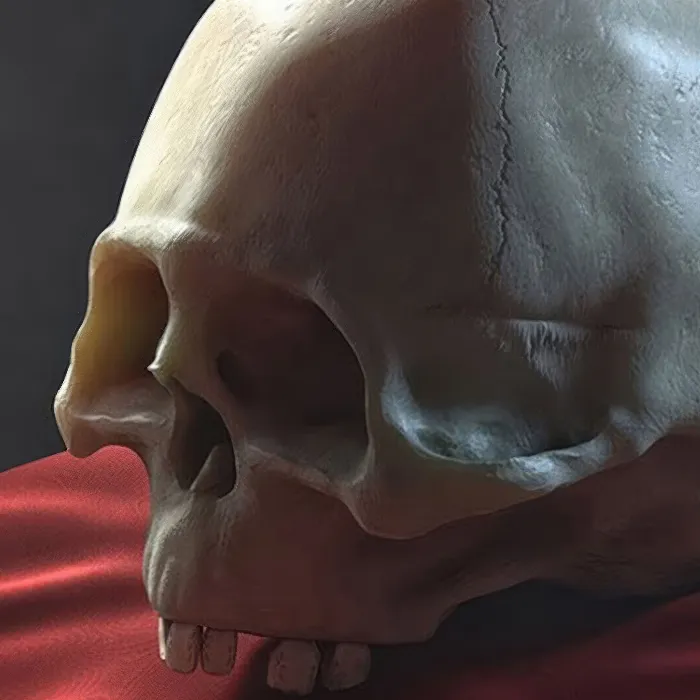
Sculpting 3D objects requires a precise understanding of polygon subdivision. In CINEMA 4D, you will learn how to optimally prepare your objects for the Sculpting process. An important factor is the subdivision level. The detail accuracy of the object greatly influences the quality of your sculpting results. In this tutorial, I will show you how to adjust the subdivision levels and use effective sculpting tools.
Main Insights
- Only real polygon objects allow you to work in sculpting mode.
- The subdivision levels are crucial for the quality of your sculpting details.
- Various tools enable you to create impressive shapes and modify the surface texture of your model.
Step-by-Step Guide
The first step is to convert a parametric base object into a polygon object. To do this, select your object and click the conversion button or simply press "C". This will be necessary to enable the sculpting tools.
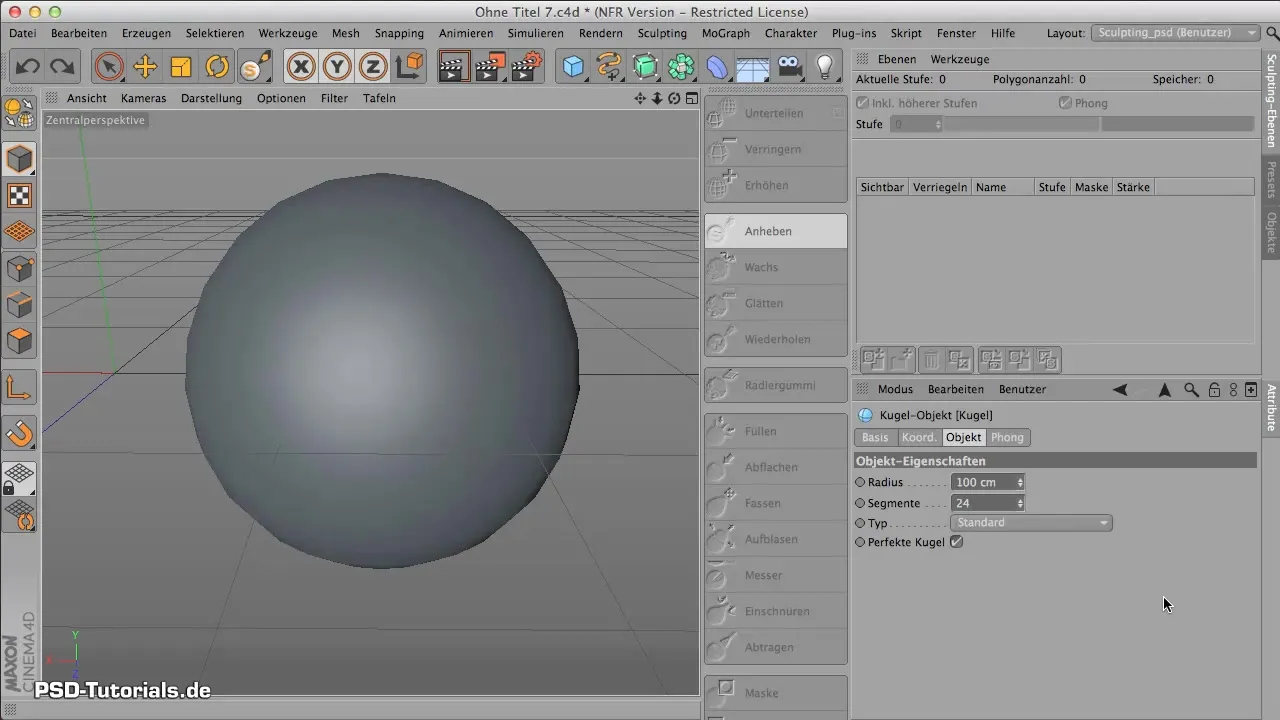
Once you've converted the object, you will see the active button “Subdivide” in your sculpting layout. Click on it to activate subdivision and have access to the first sculpting tools.
You should now see different layers in the interface that allow you to organize your work. While the layers work somewhat differently than in Photoshop, they enable you to manage different stages of your subdivision. Currently, the subdivision level is at 0. If you want to check the polygon count and file size, you can do so by looking at the smoothing in Guro Shading.
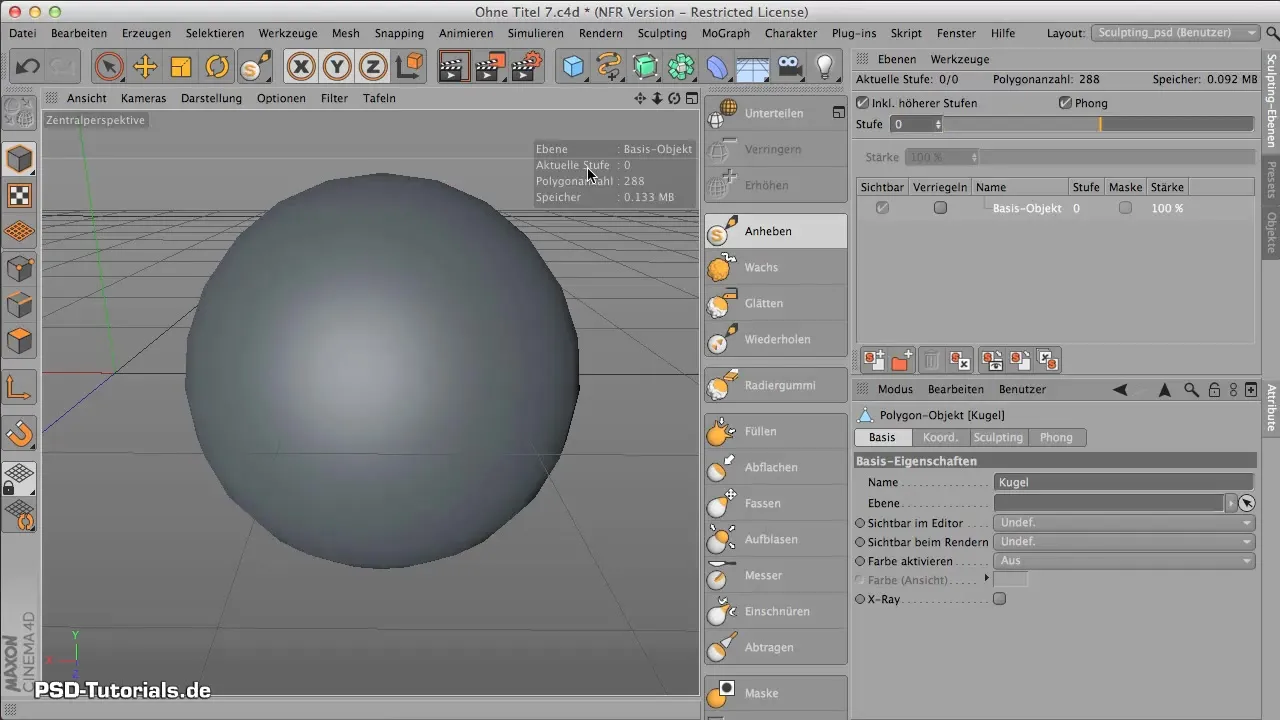
With a subdivision level of 0, you currently have only 288 polygons, leading to a file size of about 0.133 MB. This is very low for sculpting and leaves little room for actual detailing. It’s important to know that you need to set a higher subdivision level to get more polygons and thus finer details.
Activate the subdivision by clicking the button and observe the increase in the polygon count. With each increase in subdivision, you will notice a more visible change in the resolution of your object. Click multiple times in quick succession to significantly raise the level and be cautious with the polygon count. I reached over 70,000 polygons, which is optimal for detail processing.
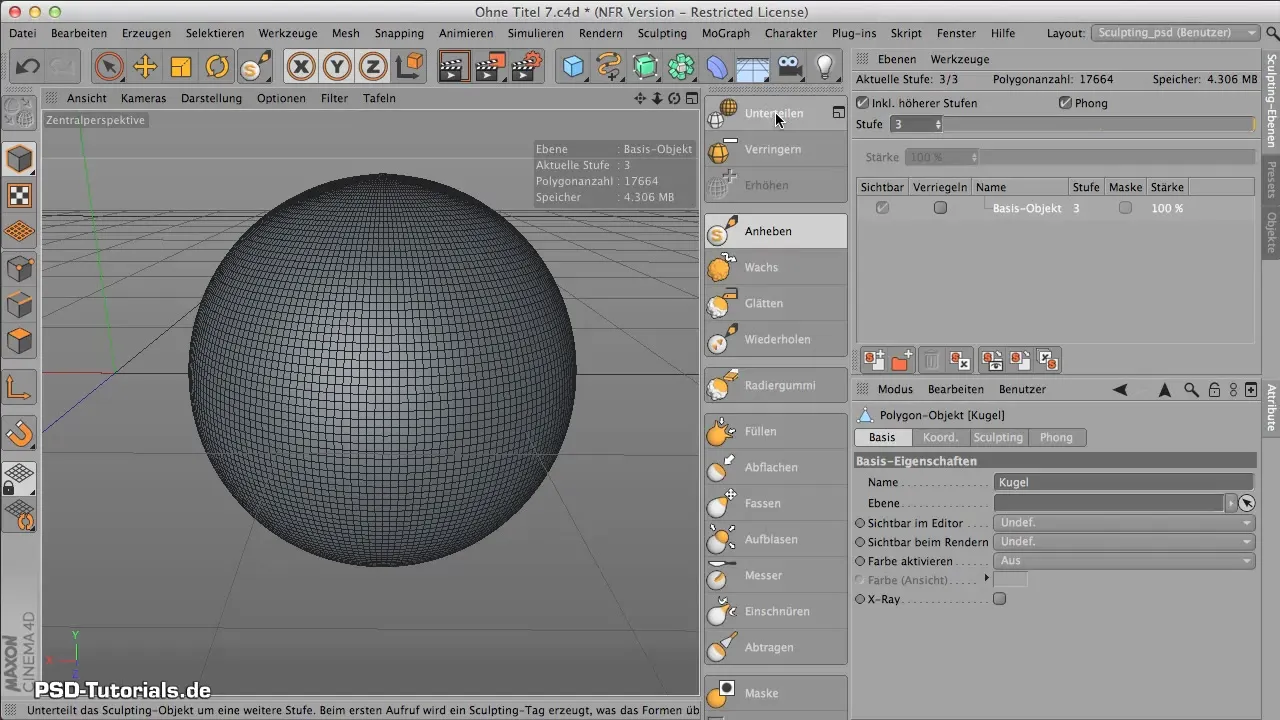
Now you can experiment with the different sculpting tools. Start with the Raise tool. Click on it and drag your mouse over the object. You will see how it conforms to the contours of the sphere. The main parameters you can play with are the size and hardness of the tool.
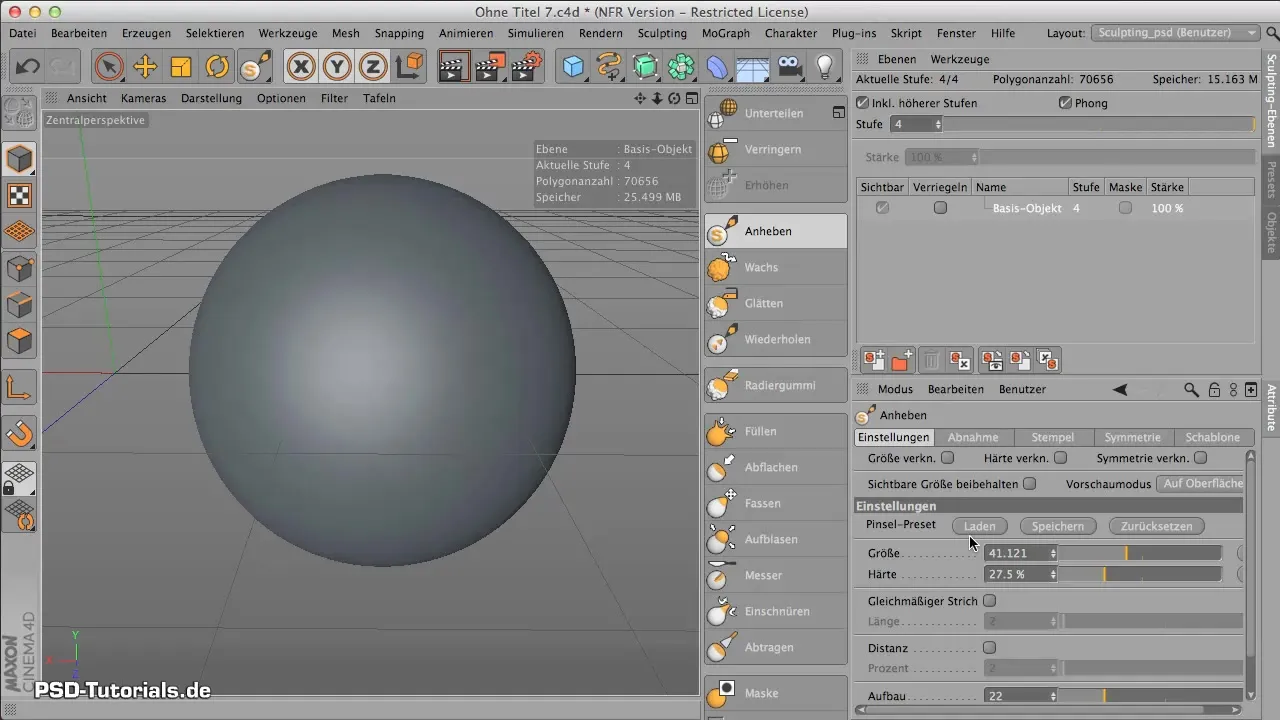
To effectively control the size of the tool, I recommend pressing the control keys (Control and Shift) simultaneously. This allows you to adjust the size and hardness of the tool more quickly without having to return to the panel each time.
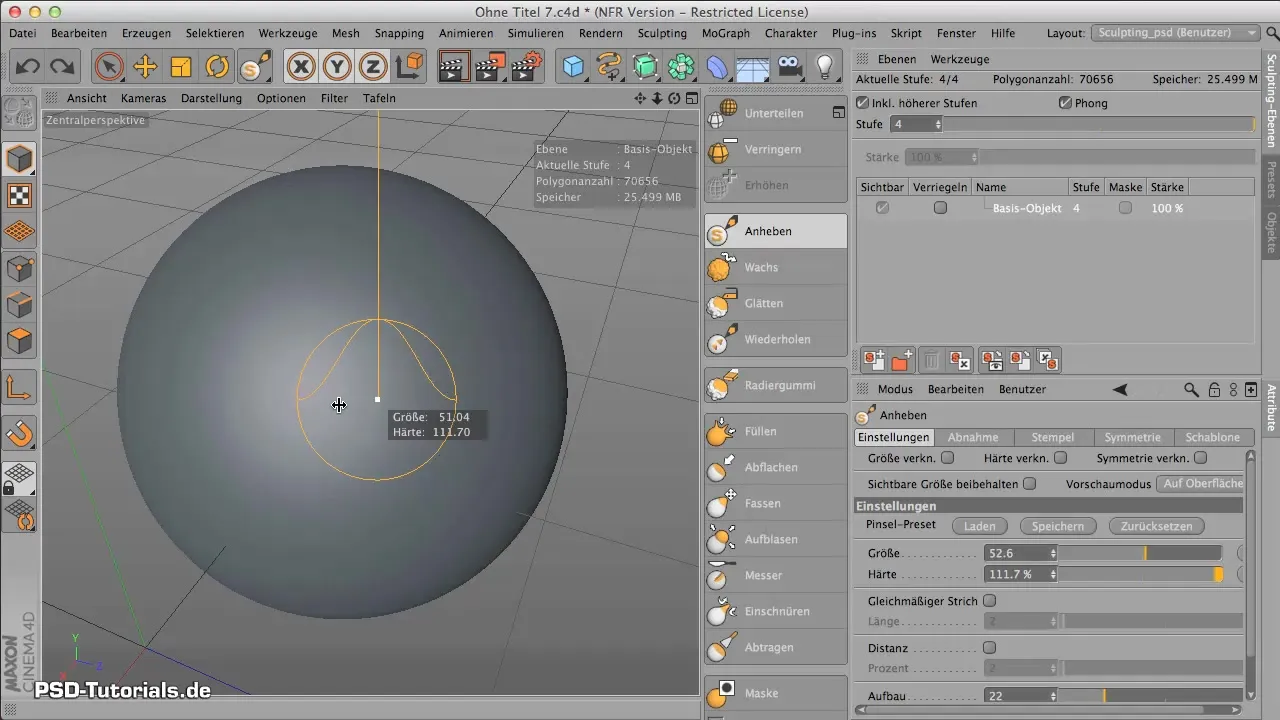
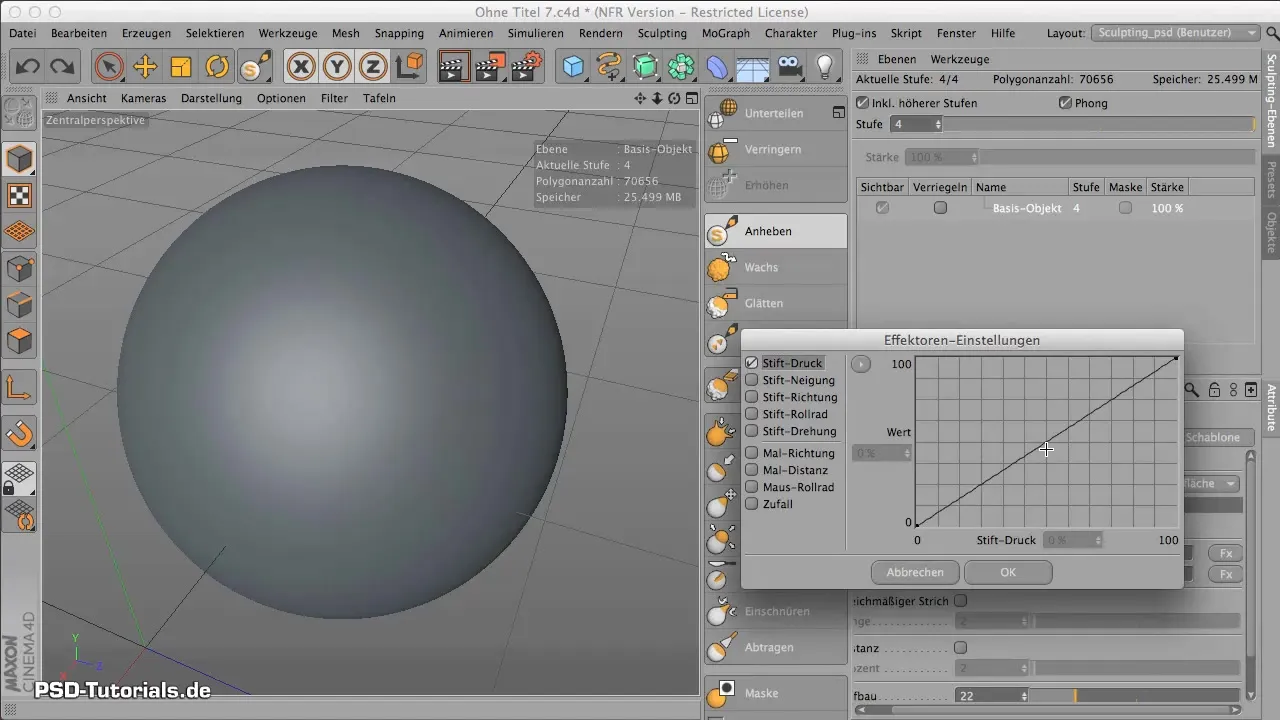
With these features, you can greatly enhance the sculpting experience. When you press lightly, the hardness of the tool changes, allowing you to make subtle or strong changes to your object. Be sure to utilize the pen's response to pressure to finely adjust your sculpting details.
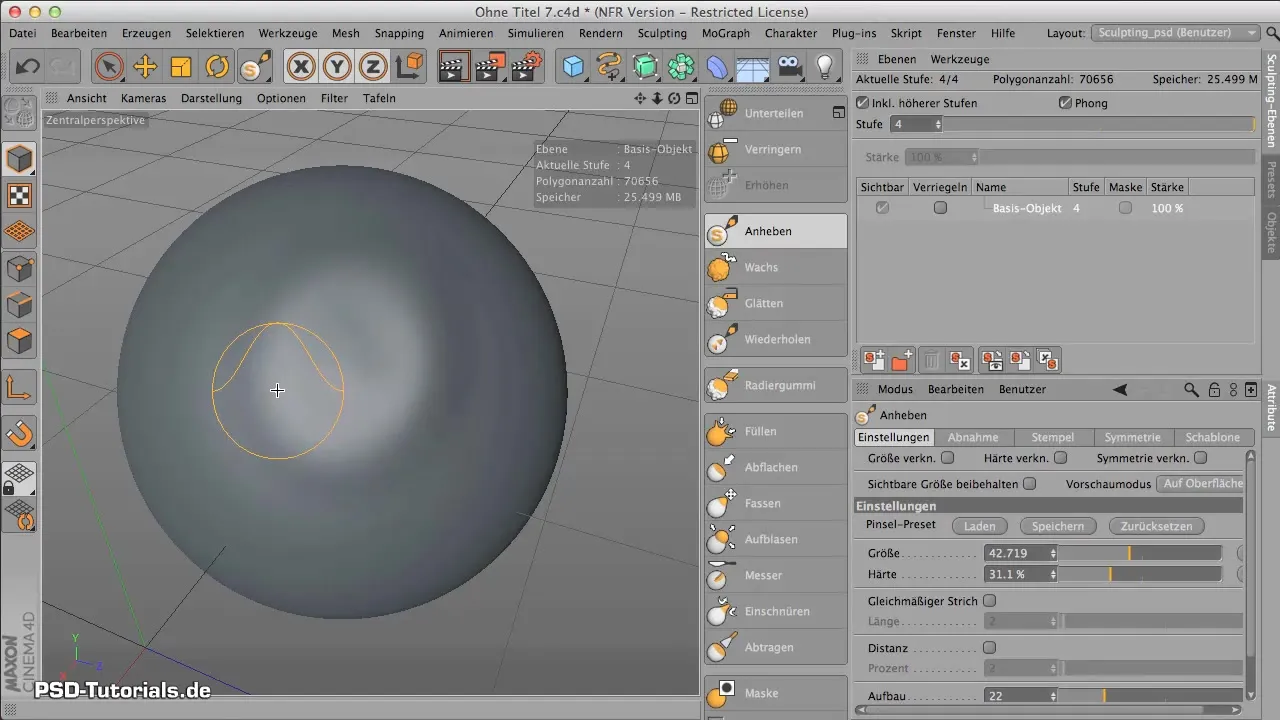
With these tools and control methods, you should be able to work on your object and achieve the desired effects. Remember that combining size and hardness can yield a variety of effects.
Summary - Fundamentals of Sculpting in CINEMA 4D - Subdividing
Learning to sculpt in CINEMA 4D initially requires an understanding of handling polygons. With suitable settings of subdivision levels and the effective use of sculpting tools, you can create impressive 3D models. In this tutorial, we laid the groundwork to fully unleash your creativity in digital sculpting.
Frequently Asked Questions
What is the difference between parametric and polygon objects?Parametric objects are non-editable, while polygon objects are suitable for sculpting.
How can I increase the subdivision level?Click the “Subdivide” button multiple times to increase the polygon count and details.
How do I control the size and hardness of the tools?Use the control keys (Control and Shift) to vary the size and hardness of the tools.
Can I also work with a pen while sculpting?Yes, using a pen provides more precise control and a more intuitive sculpting experience.
