In this tutorial, you will dedicate yourself to the exciting process of modeling the zygomatic bone in CINEMA 4D. The zygomatic bone, which plays a central role in the facial skull, is formed from a sphere using the Lift tool. In this process, it's important not only to shape the basic structure of the zygomatic bone but also to model details such as the eye ridges around the orbit. Let's jump straight into the creative process.
Main Insights
- The zygomatic bone is efficiently formed from a sphere.
- The Lift tool is essential for the finesse of the model.
- A careful structuring of the facial bones is crucial for the final result.
Step-by-Step Guide
Start by integrating the orbit or eye sockets into your base model. After creating the initial shapes, you can further refine the structures. You will notice that the surface is still too smooth, which is not ideal for modeling.
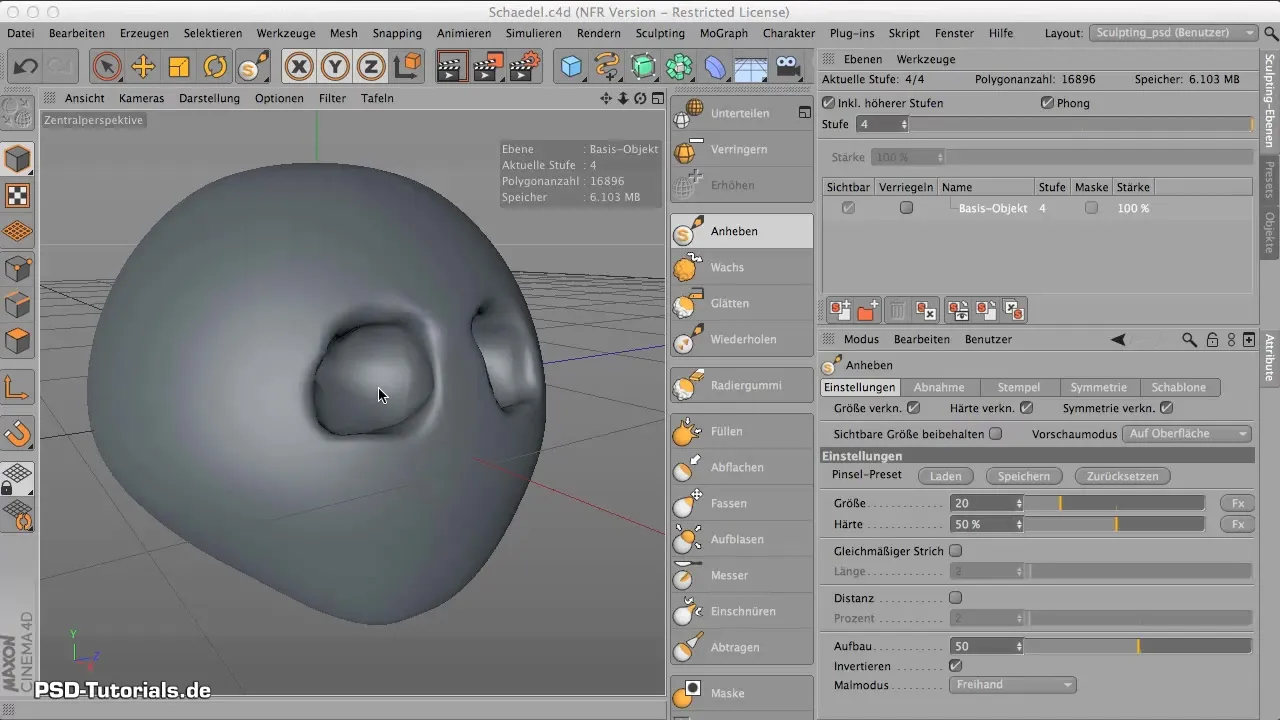
To achieve a more bony appearance, you will use the Lift tool again. Make sure you are working in the right places to precisely shape the eye ridges and the zygomatic bone.
When editing the eye area, keep the sphere selected. Then return to the sculpting level without changing the size of your tool.
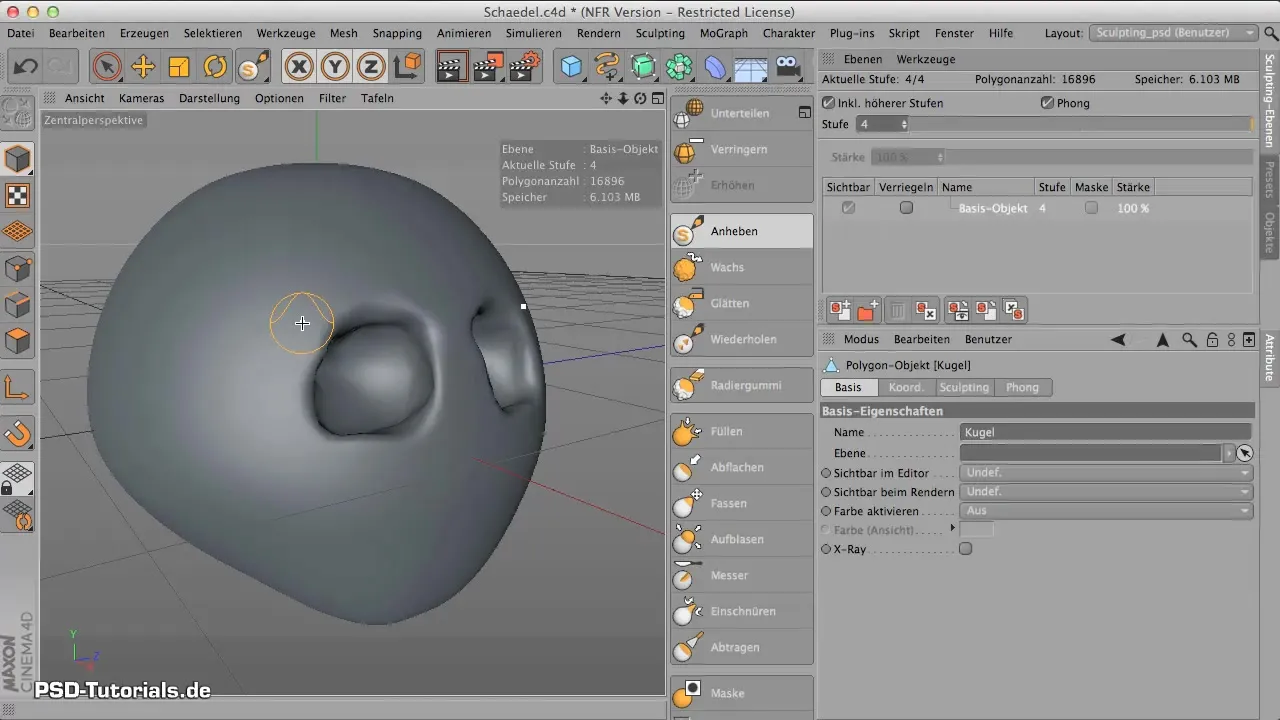
The hardness of the tool should be kept low so you can work gently. First, check if you have reset the inversion of the tool to avoid accidentally modeling in the wrong direction.
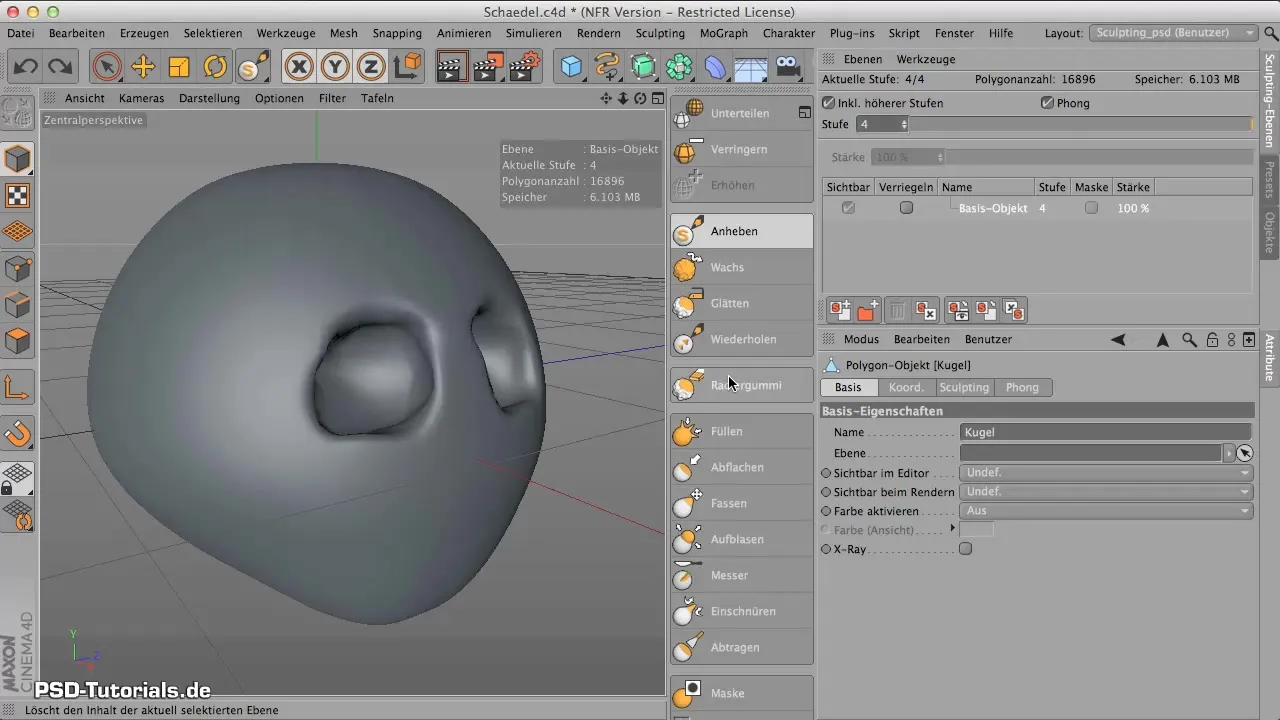
Now, start shaping the eye ridges by applying the tool where they transition into the zygomatic bone. A patient approach is required here.
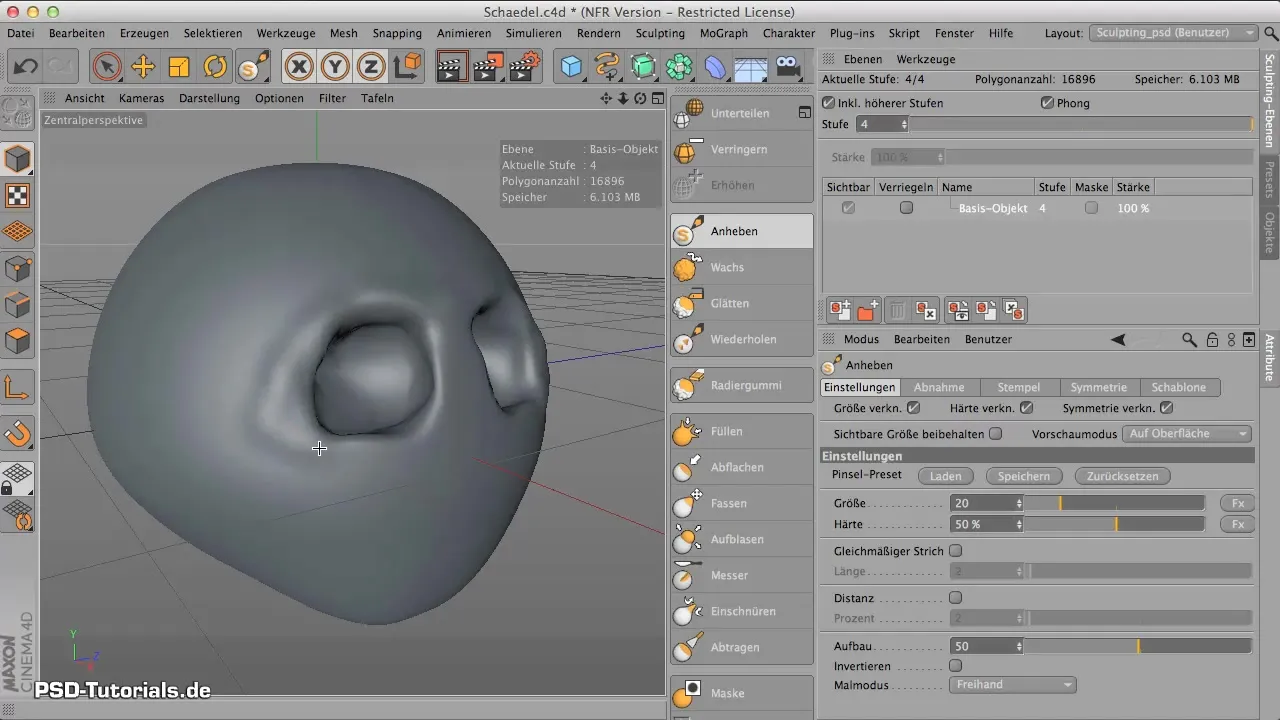
It is helpful to rotate the model regularly to view all perspectives. Watch for structural weaknesses and adjust your model as necessary.
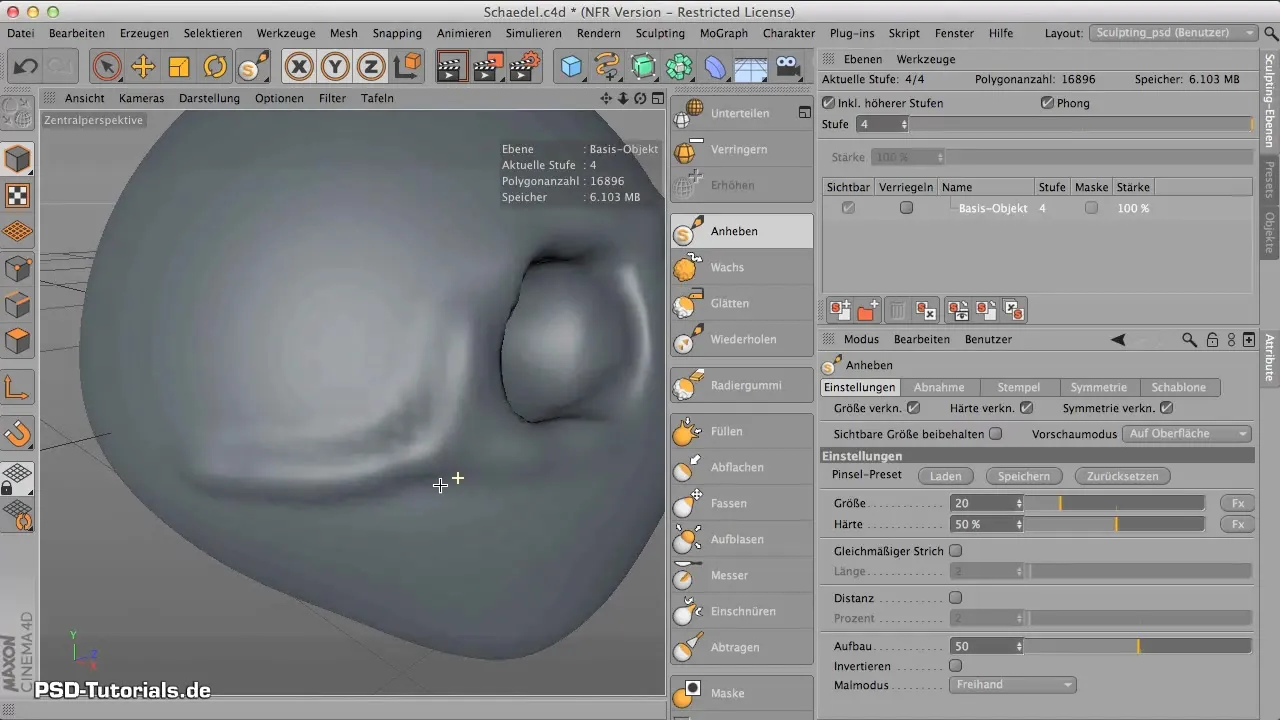
It is particularly important that you smooth out the transitions between the different bone areas. Move on to the nasal area by flattening and reshaping the model at the corresponding spots.
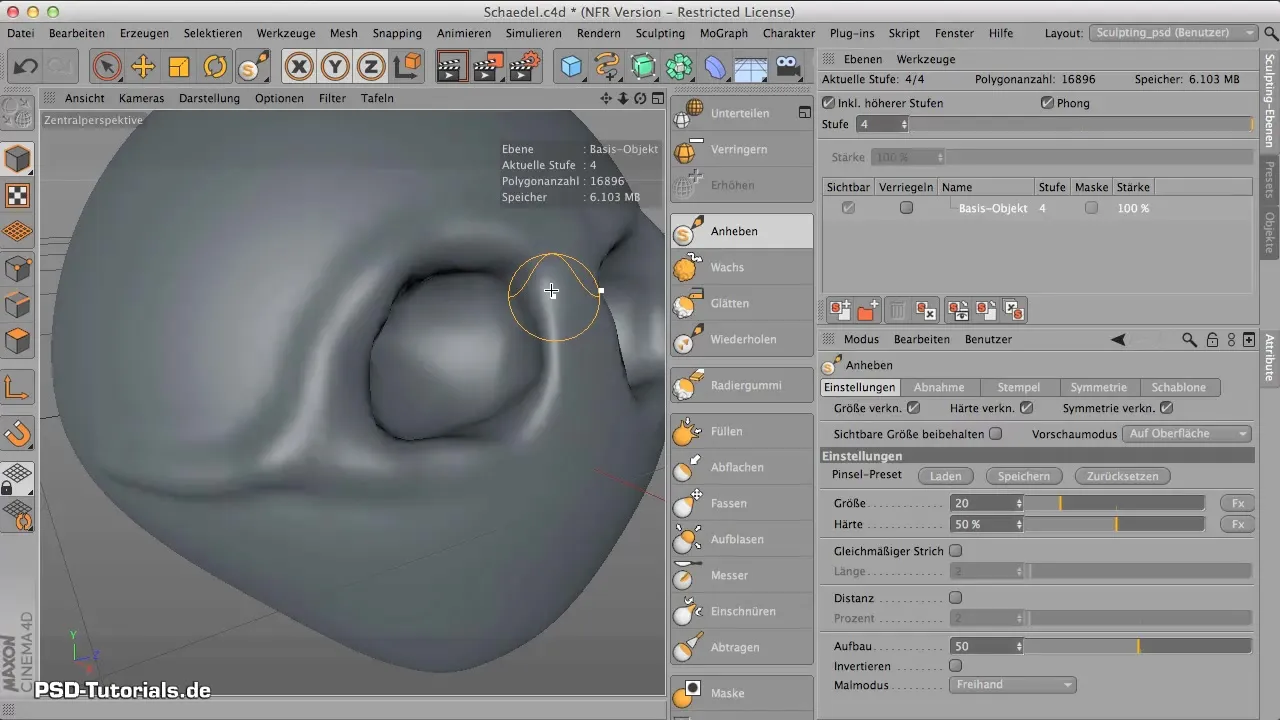
Use the Command key to make smaller adjustments and refine the shape of the eye sockets. Be careful with the Lift tool to ensure that the shapes remain harmonious.
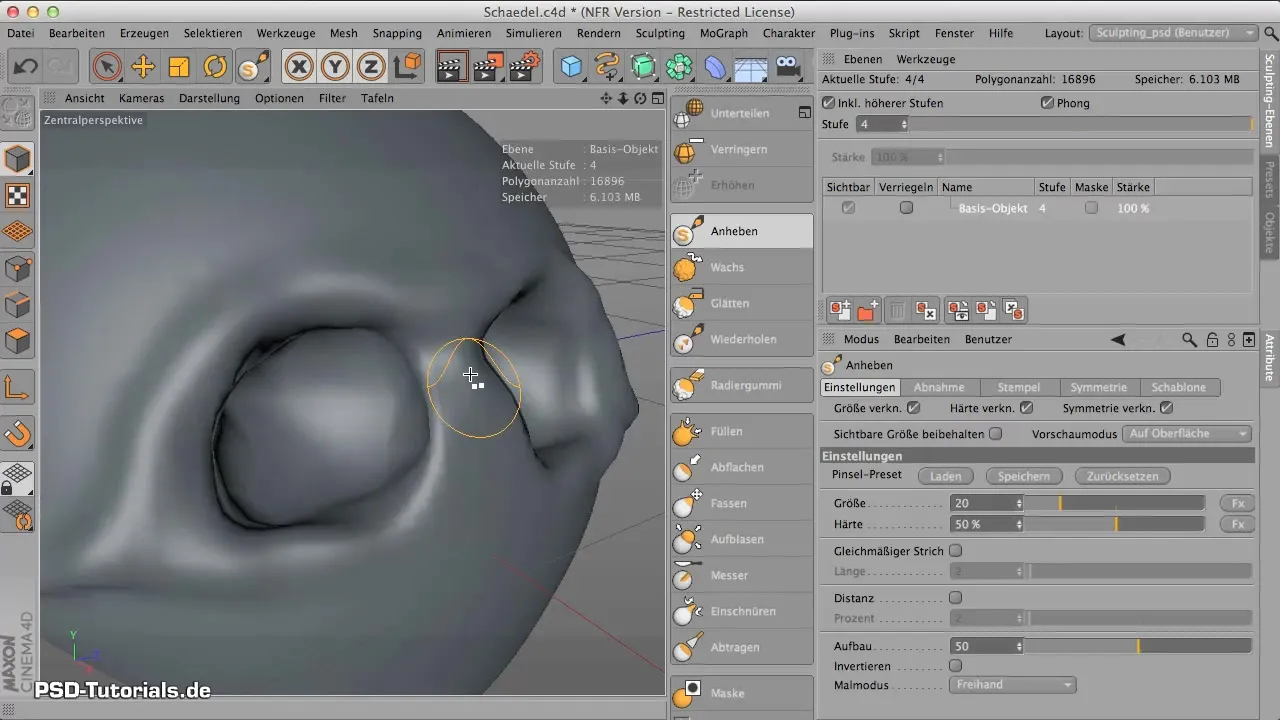
A well-proportioned zygomatic bone is essential for the overall appearance. Check the symmetry and dimensions of your model. You may want to make the model a bit smaller until you are satisfied with the shape.
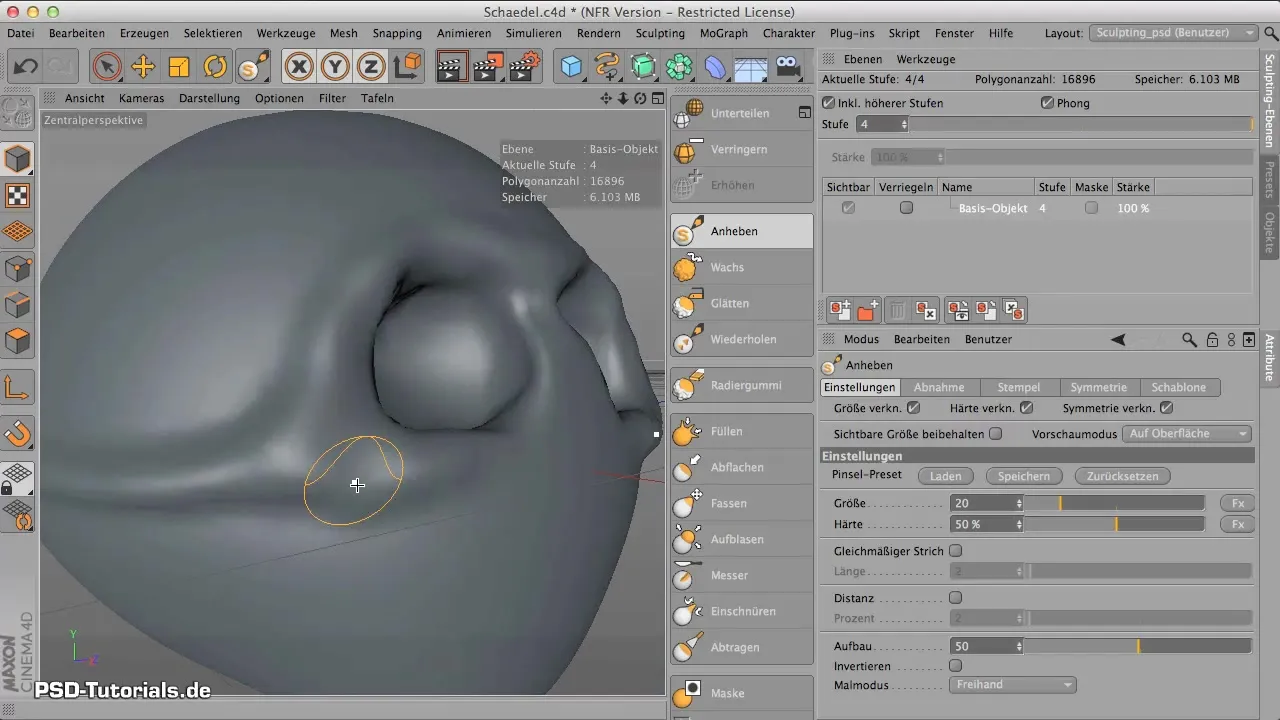
Once the base model is set, you can work out the details. Pay attention to the contours and use a smaller brush tip to make more precise adjustments.
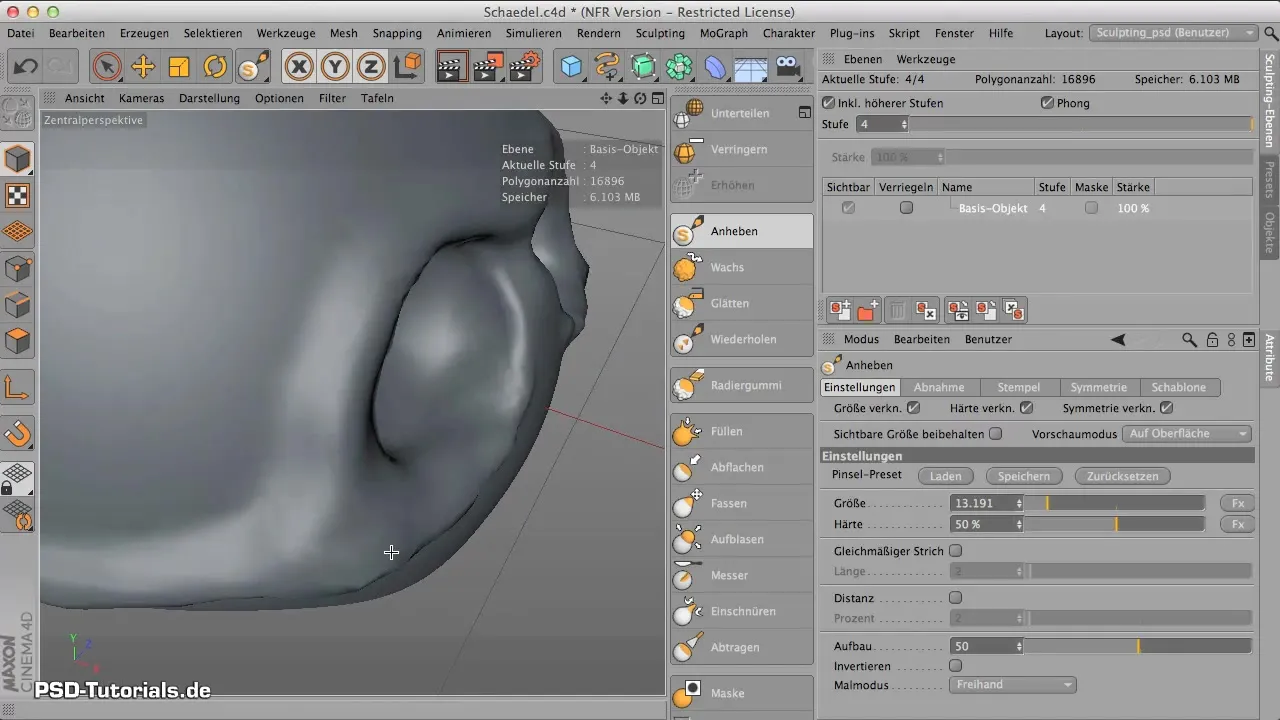
If you notice dents or unevenness while modeling, use the Smoothing tool. Hold down the Shift key and apply it at the relevant spots to improve the surface structure.
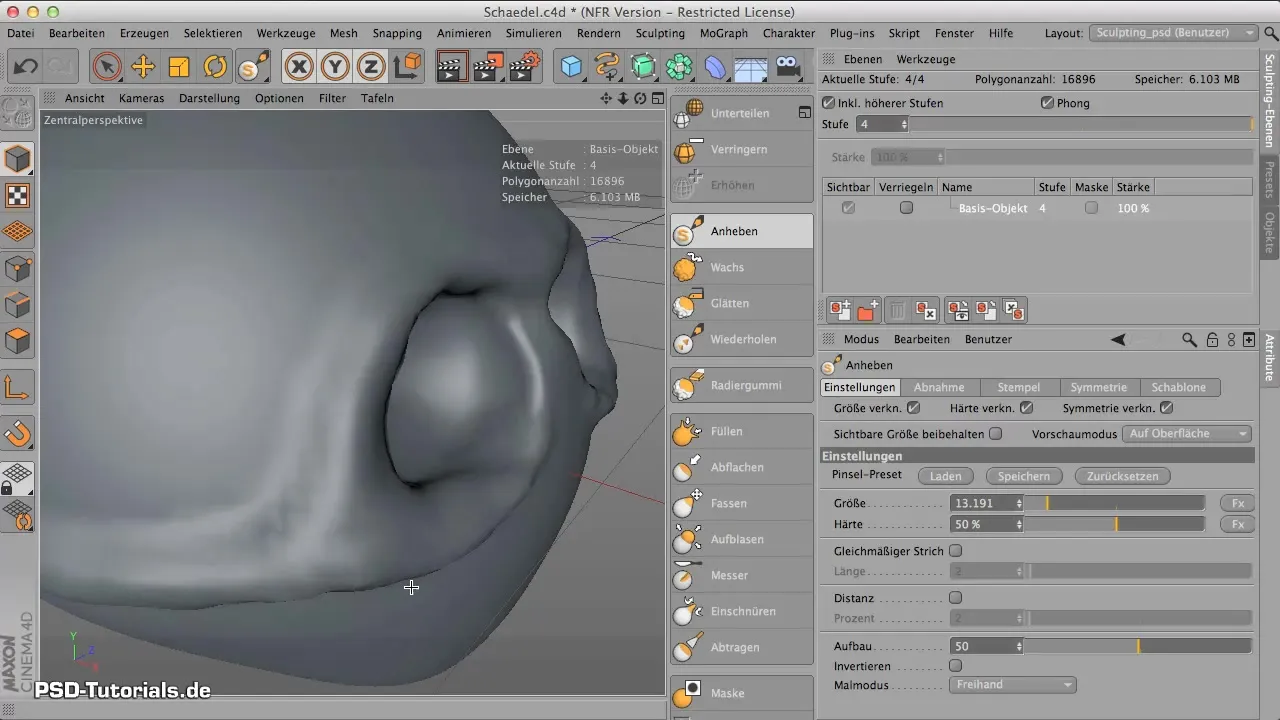
Summary – Sculpting in CINEMA 4D: Modeling the Zygomatic Bone
Through the targeted use of the Lift tool, you were able to create an effective framework of the zygomatic bone and eye ridges. With patience and attention to detail, you managed to bring the facial bones to life and shape an appealing 3D model.
Frequently Asked Questions
How can I ensure my zygomatic bone is symmetrical?Use the view from different angles and rotate the model frequently to ensure both sides look even.
What to do if the model looks too rough?Use the Lift tool at a lower hardness setting to create smoother transitions.
How can I fix dents in the model?Use the Smoothing tool while holding down the Shift key to equalize any irregularities.
