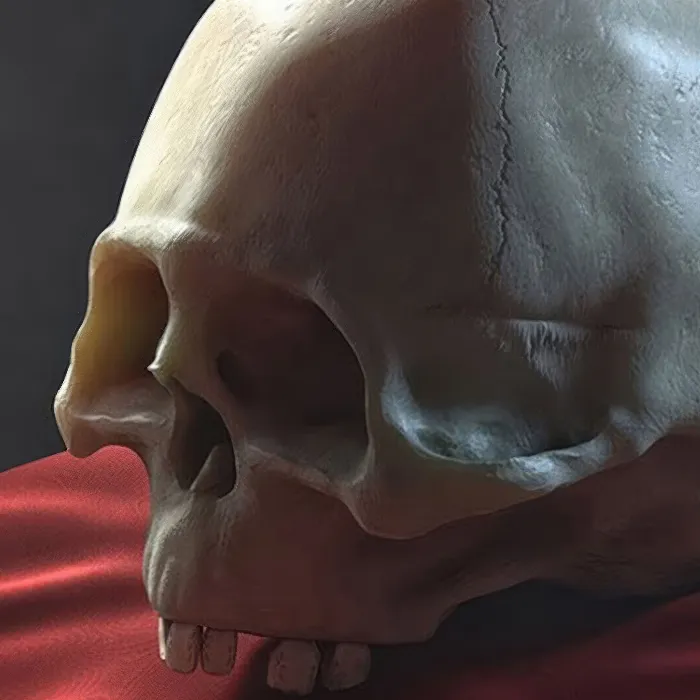
Working with CINEMA 4D is a creative process that often requires the intuitive use of tools. Especially when sculpting, it can occasionally be challenging to create smooth lines, particularly when holding the drawing tool in hand. In this tutorial, you will learn how to effectively use the "Smooth Stroke" function to avoid unnecessary irregularities while drawing.
Main Insights
The "Smooth Stroke" function helps to smooth out irregular lines and ensures that your drawings look minimalistic and professional despite slight shaking. By adjusting the distance and settings, you can utilize the tools effectively and achieve exceptional results.
Step-by-Step Guide
Step 1: Introducing the Tool
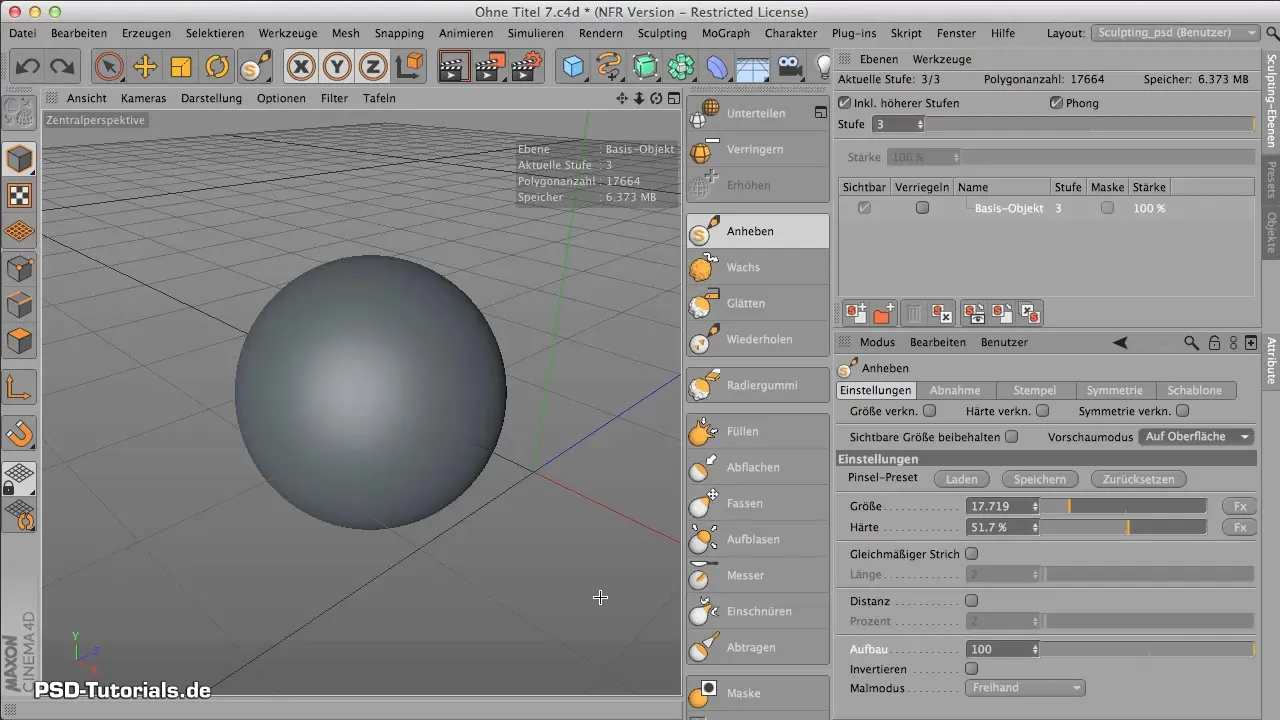
Before diving into the details of the features, familiarize yourself with the basic tool. Using a graphics tablet makes sculpting easier as you have more precise control over your movements. You will find that working with a pen is more effective for drawing lines than working with a mouse.
Step 2: Creating the First Line
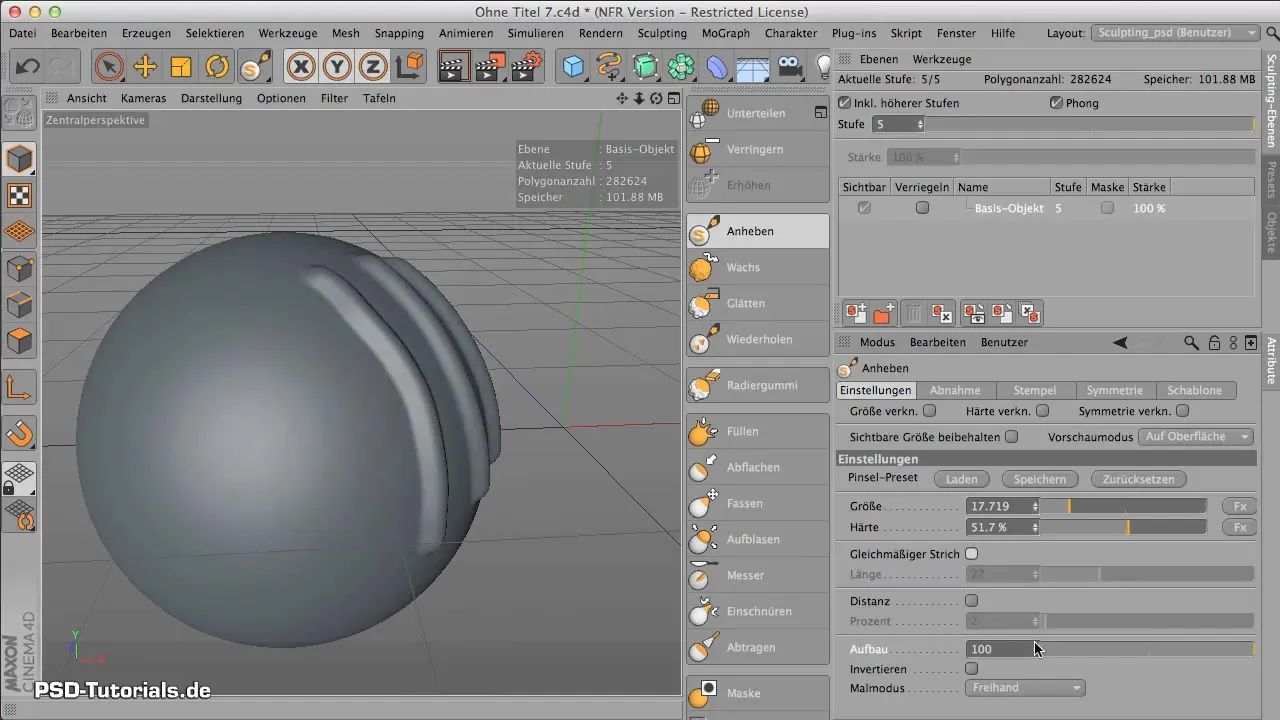
Select the lift tool and start drawing a line. Keep the tool straight and pay attention to the fine adjustments you can make. Sometimes, the line may not turn out as straight as you would like. This is normal at first and part of the learning process.
Step 3: Utilizing the "Smooth Stroke" Function
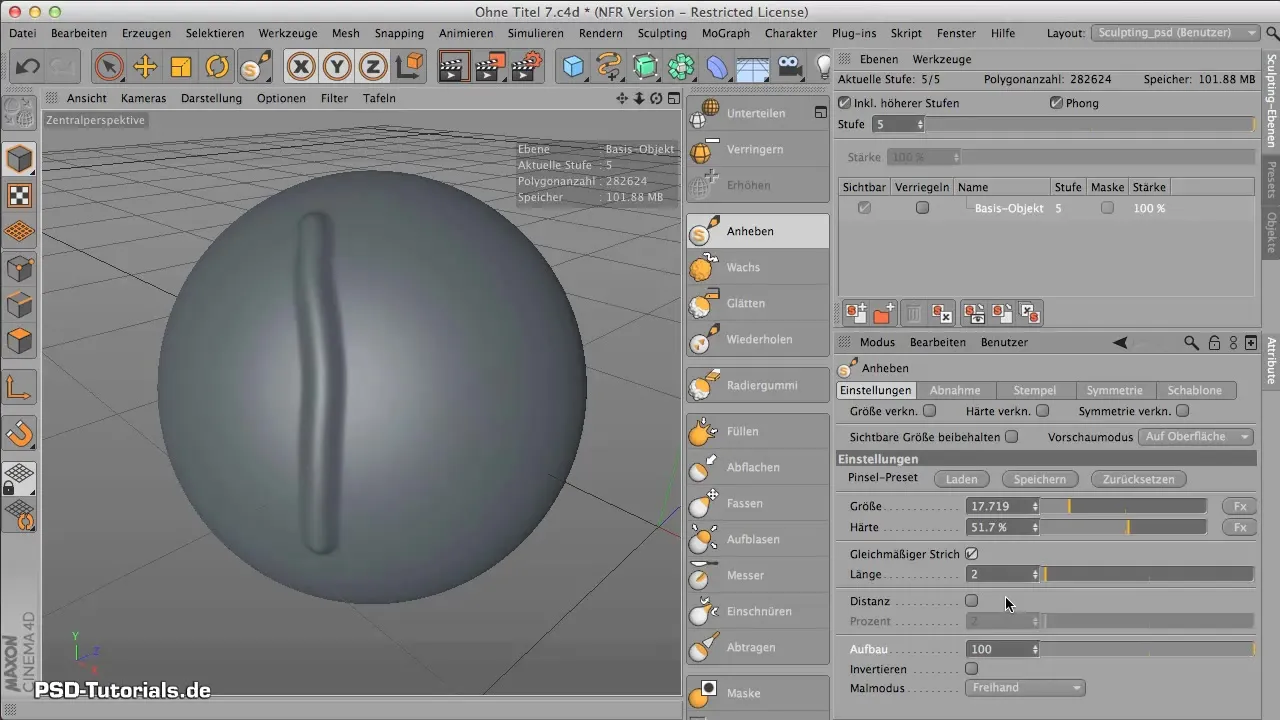
To activate the "Smooth Stroke" function, go to the tool options. Developing a sort of string behind your tool will help make the strokes more uniform. When you start drawing, the string pulls the stroke in the background, so you shake less while drawing.
Step 4: Adjusting the Stroke Length
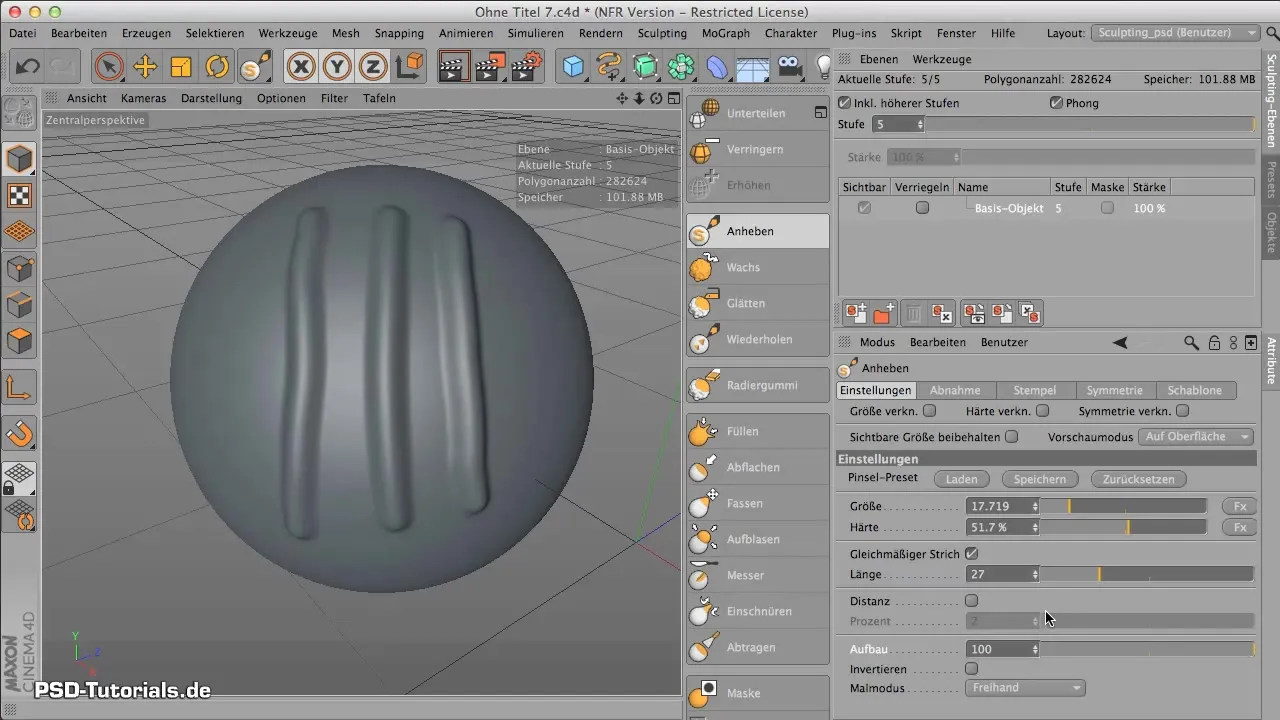
Adjusting the stroke length has a direct impact on the smoothing of the lines. The longer the line you draw, the more pronounced the effect of "Smooth Stroke" becomes. You can experiment with the length to see how it affects the results and makes drawing even easier.
Step 5: Using and Adjusting the Distance
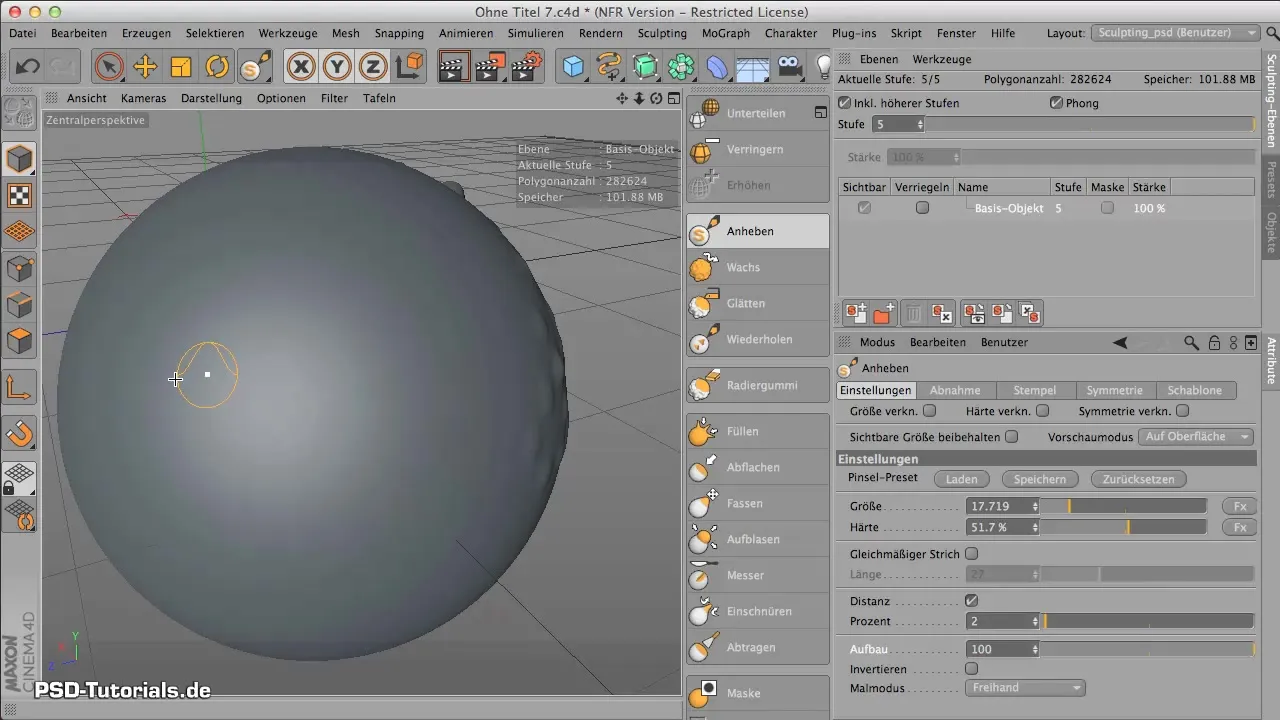
The distance is another important setting that you should adjust. By increasing or decreasing the distance, you can control how far apart the points are while you draw. A distance of 2% might not seem like much at first, but you can experiment with higher settings to achieve your desired result.
Step 6: The Preview Mode
It is extremely helpful to activate the preview mode to correctly adjust the brush and tool sizes to your surface. Here, you can click through the various settings to find the option that suits you best.
Step 7: Adjusting the Painting Modes
Another point to consider is the painting mode. The default mode is "Freehand," but other options, such as "Rectangle," are also available. By selecting a different mode, you can influence the way the line is created.
Step 8: The Visible Size
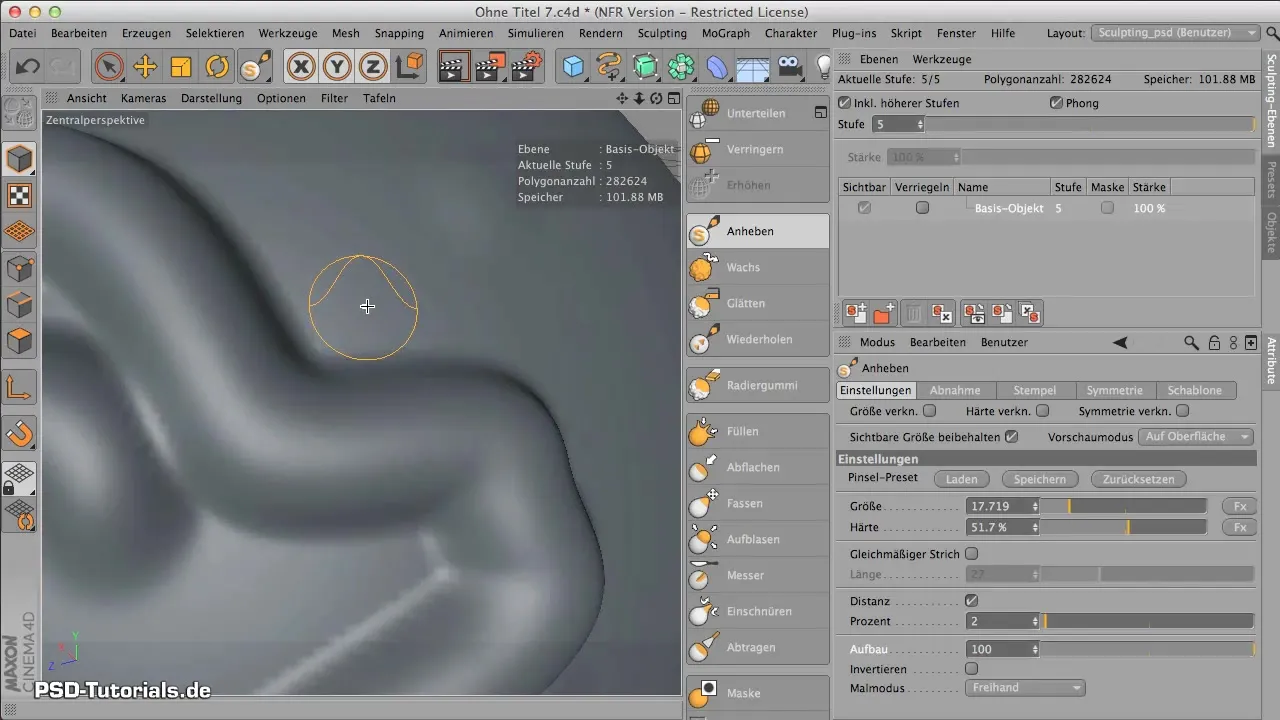
A useful aspect that should not be overlooked is the setting of the Visible Size. This means that the size of the tool remains constant when zooming in or out. Consistent visibility of your tools can help you work precisely.
Summary - Making Smooth Strokes in CINEMA 4D Easy
You have now gone through all the necessary steps to effectively use the "Smooth Stroke" function in CINEMA 4D. Understanding the tools and their settings allows you to enhance your sculpting skills and create smooth, clean lines.
Frequently Asked Questions
How can I activate the "Smooth Stroke" function?You activate the function via the tool options in CINEMA 4D.
What does adjusting the distance do?The distance determines how far apart the dots are when drawing and thus affects the smoothness of the stroke.
Could I also make smooth strokes with the mouse?It is possible, but the control is significantly more precise with a graphics tablet.
Why is the preview mode important?This mode helps you correctly adjust the brush and tool sizes to the surface.
What is the difference between freehand and rectangle in painting mode?Freehand allows you to draw free lines, while rectangle uses a predefined shape, giving you more control over size.
