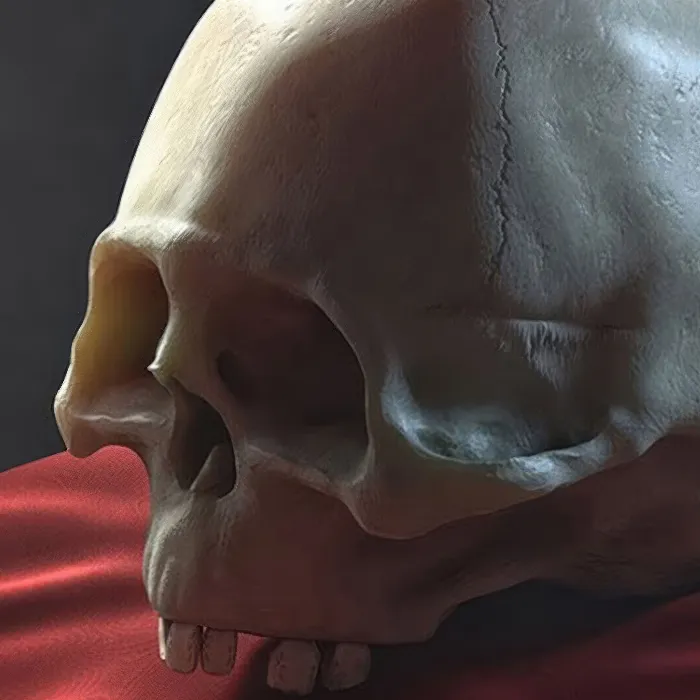
Before you start with the surface finishing of your skull in CINEMA 4D, it is important to know the right technique to realistically depict the structure and details. In this tutorial, you will learn how to creatively style the surface of your model using stencils and various tools. Get started and bring your virtual skull to life!
Key Insights
- Stencils are helpful for processing large areas and for detailed structures.
- A proper selection and adjustment of the brush tips is crucial for the fineness of the textures.
- The symmetry function makes it easier to work consistently on both sides of the skull.
- Applying seams (such as crown seam and arrow seam) gives the skull an authentic appearance.
Step-by-Step Guide
To optimize the surface finish of your skull, follow this precise step-by-step guide.
Selecting the Stencil
Start by selecting the stencil for processing larger areas. Choose a textured stencil that fits your model to create a bone-like structure.
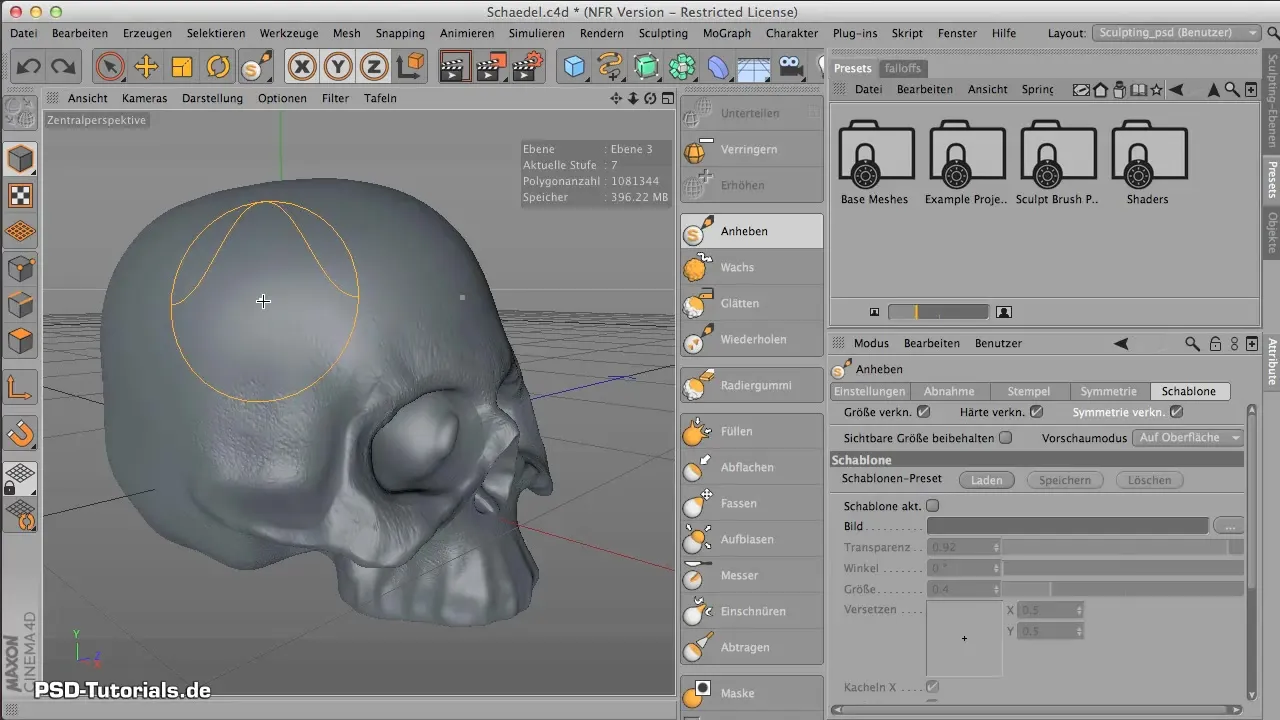
For this, click on the Sculpt Brushes and select the "Stone" texture or similar. Make sure to try out several options to find the right structure for your model.
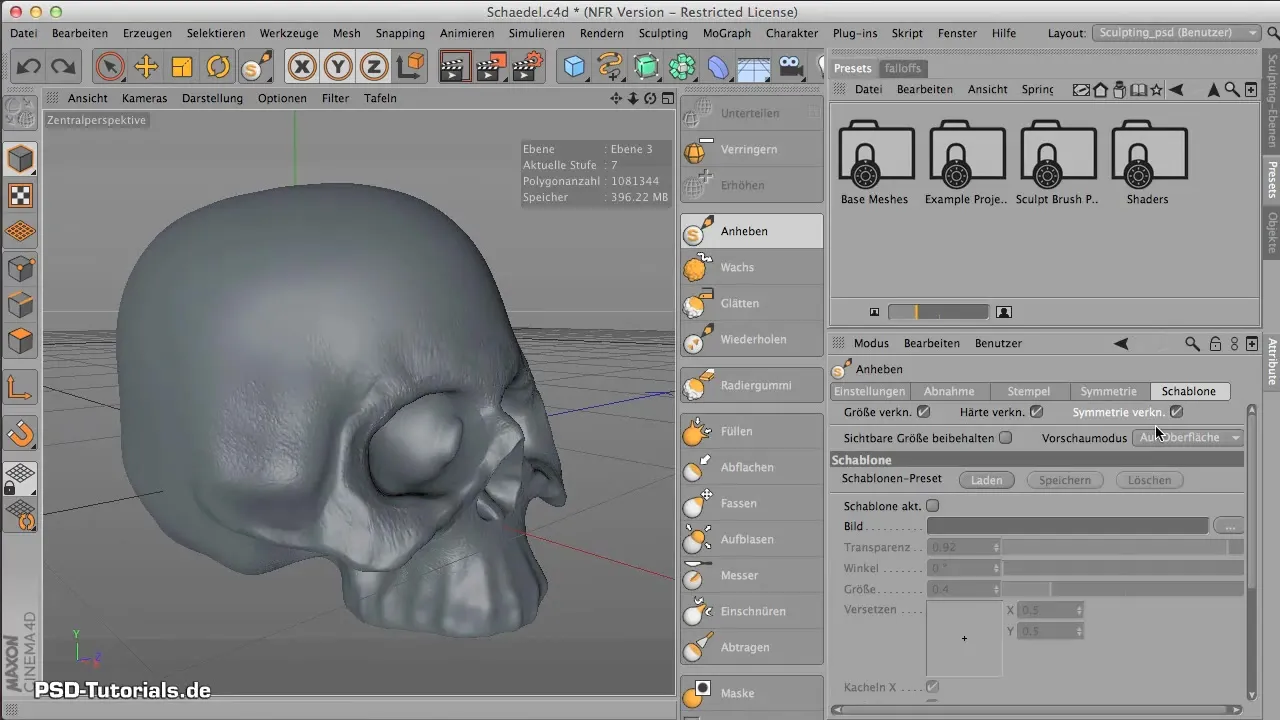
Adjusting Brush Tips
The size and hardness of the brush tips are crucial for how the texture is applied. Set the size of the brush tip to match your work area.
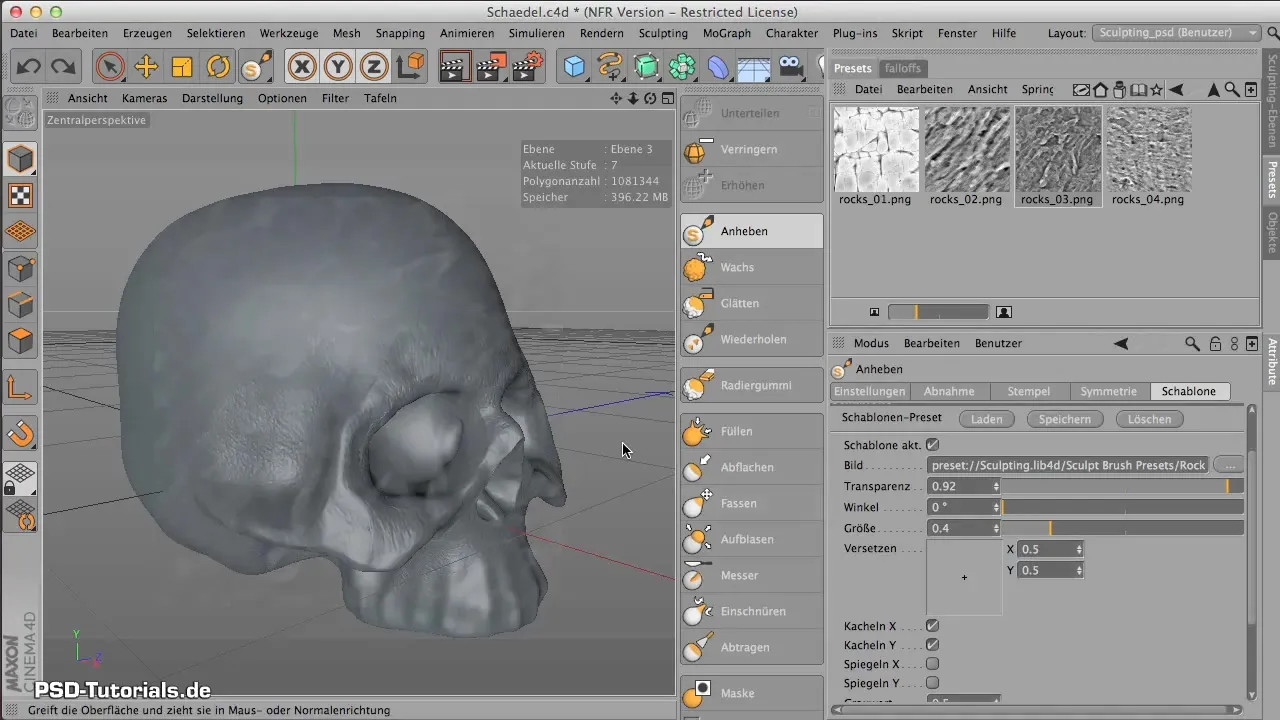
A hardness of 2% is a good starting point, but if you find it is not working optimally, a lower transparency can help you see the stencil better.
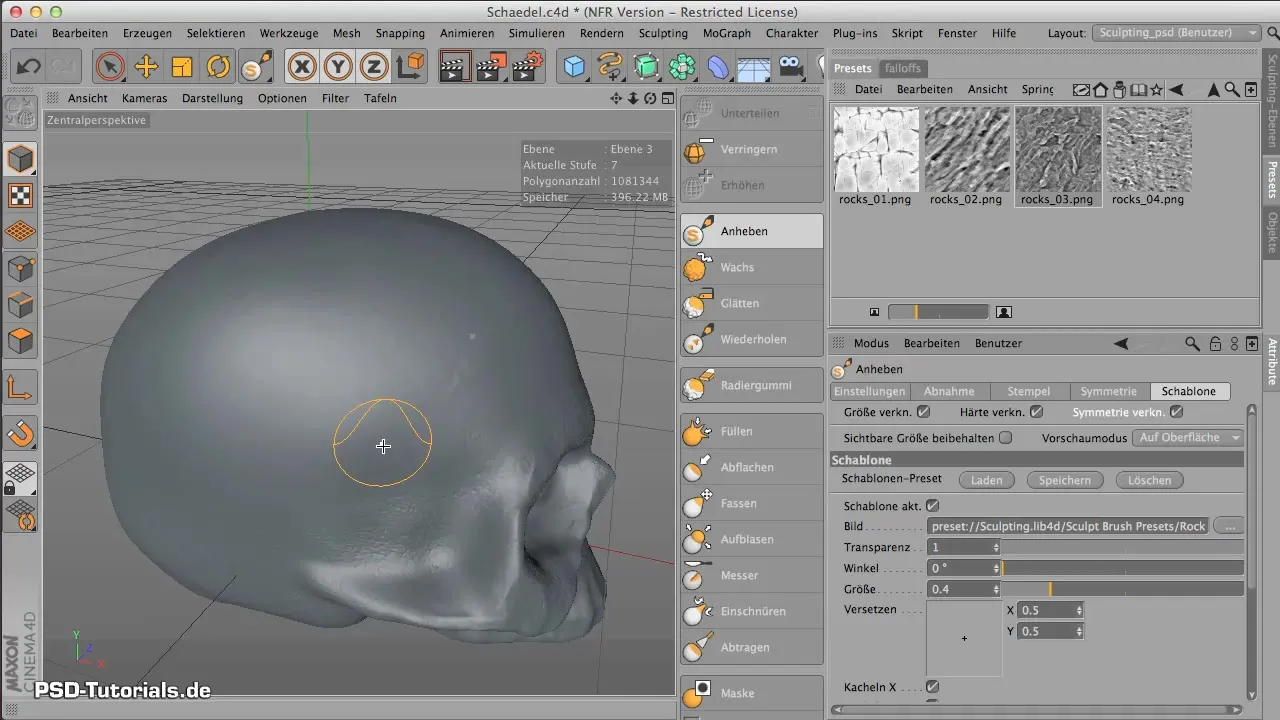
Applying Texture
Now it’s time to apply the texture to the skull. Make sure that the bone structure initially looks soft while applying the stencil.
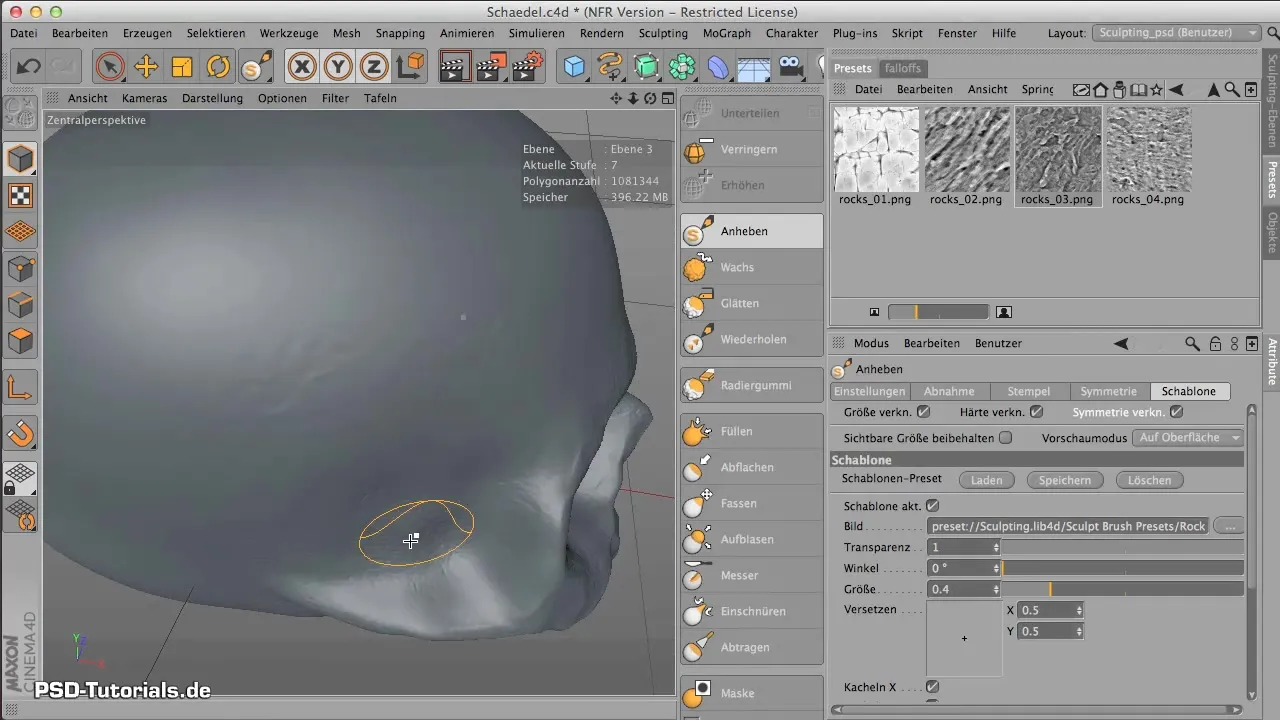
The process involves brushing over the stencil to achieve the desired effect of an organic bone structure. Focus on ensuring that the details are evenly distributed.
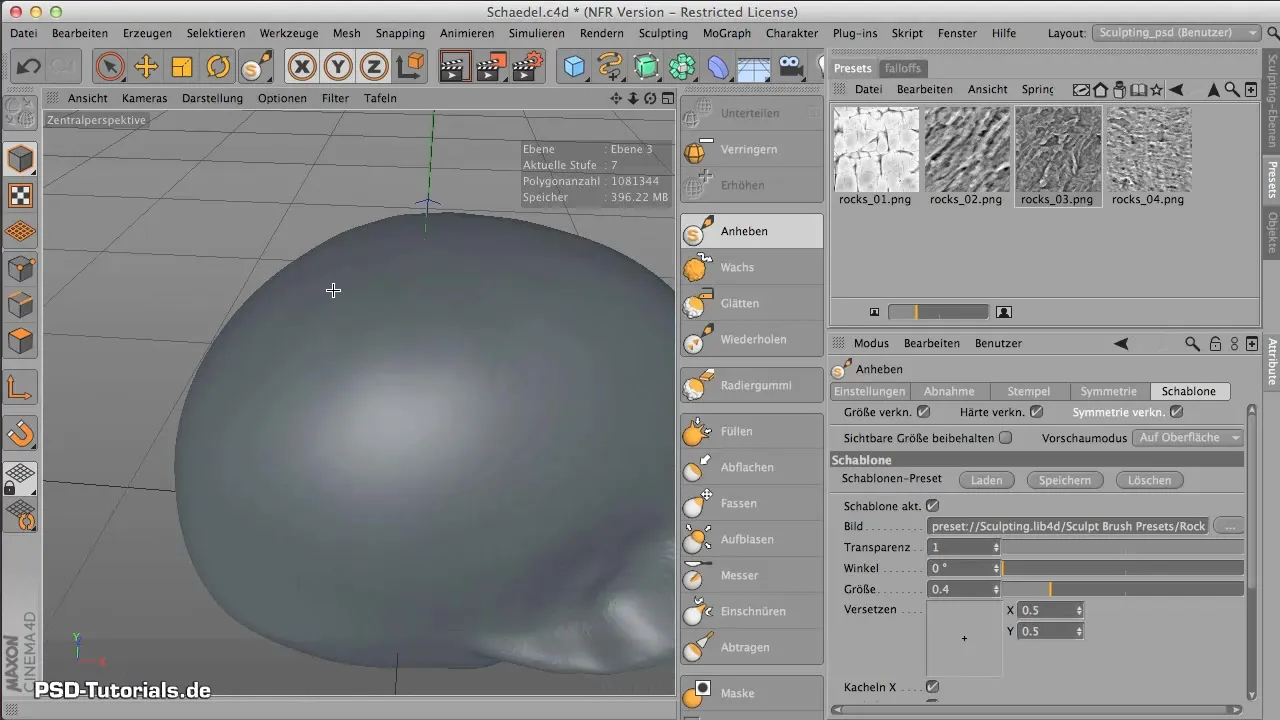
Post-Processing Details
After you finish applying the texture across the entire surface of the skull, you can carefully post-process the details. For this, use tools like the lift tool to model the skull seams.
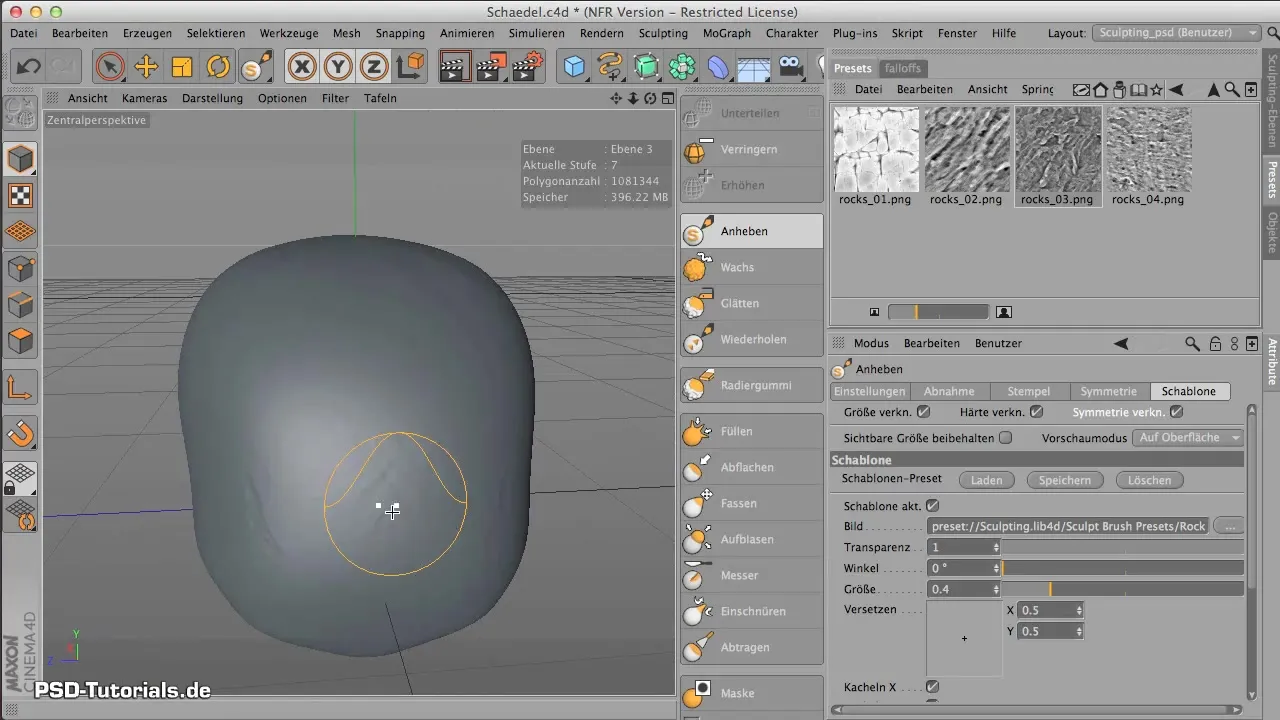
Make sure to activate the symmetry function while working on the seams to achieve an ideal match on both sides. This adds even more authenticity to your model.
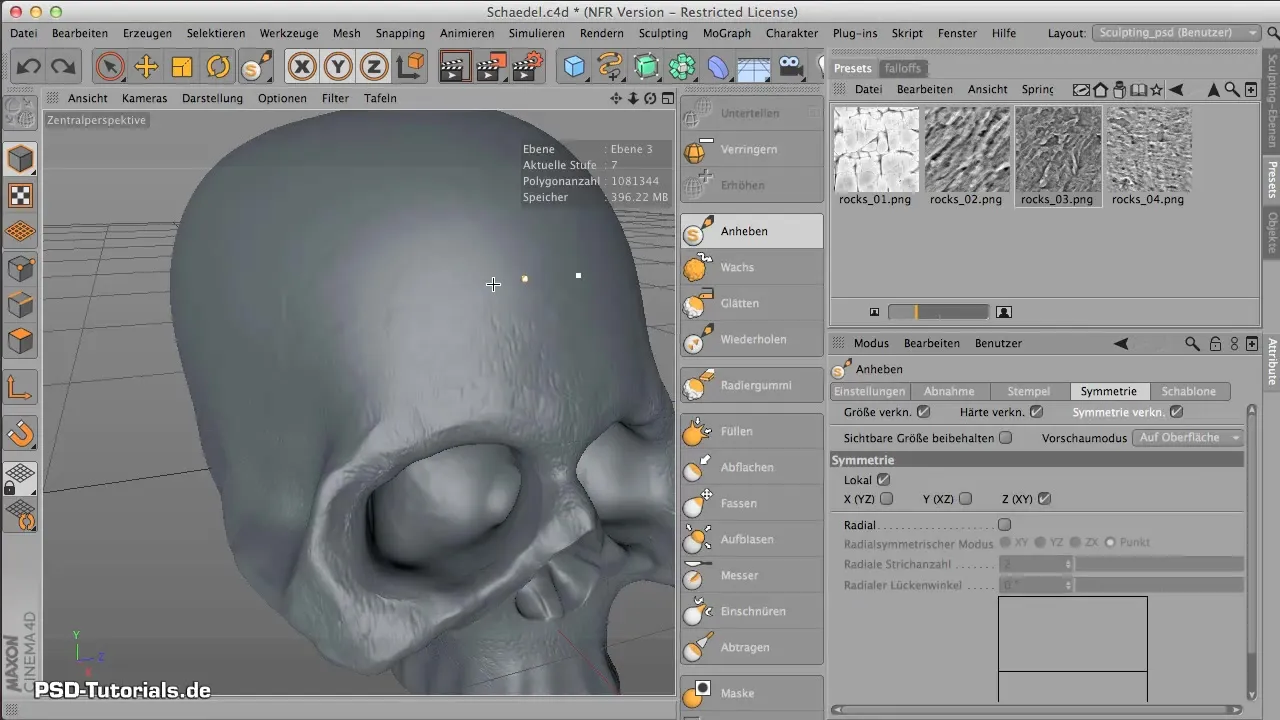
Creating the Skull Seams
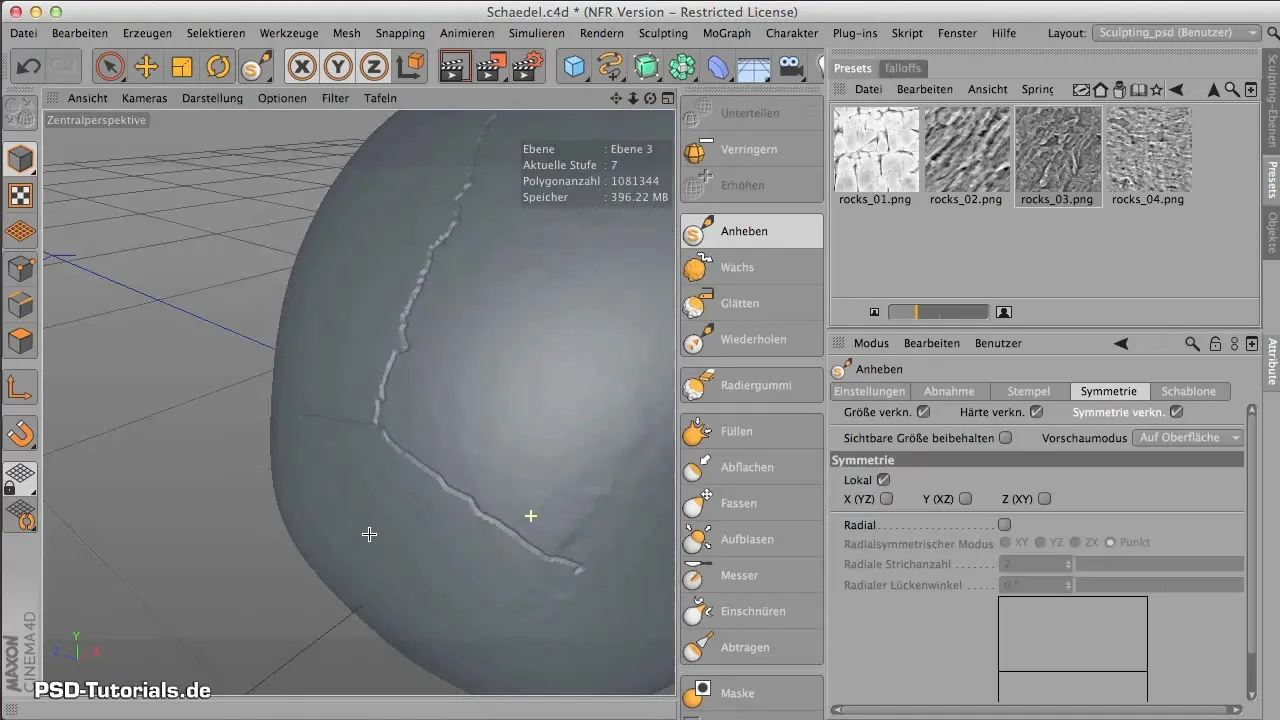
Now we will add the skull seams – crown seam, arrow seam, and lambda seam. Start with the crown seam by selecting the lift tool and adjusting the size to match the thickness of the seam.
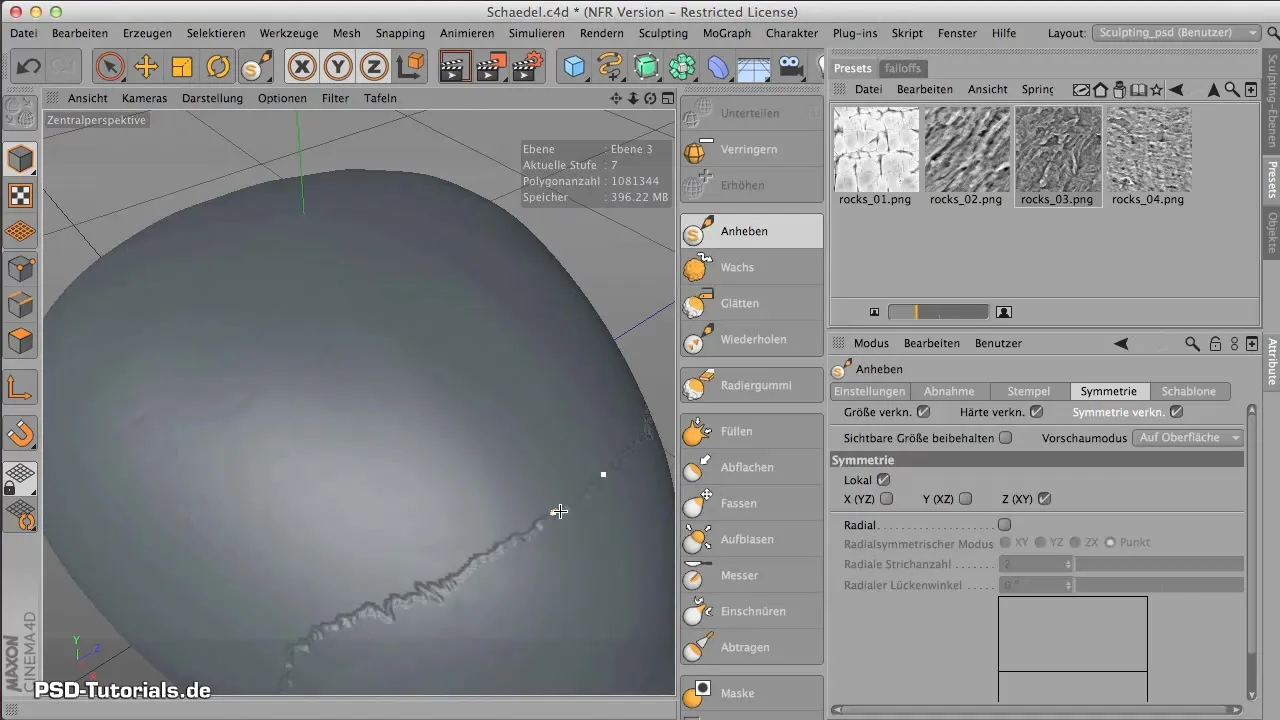
This seam should not be too straight; make it somewhat wavy and irregular to emphasize the organic look.
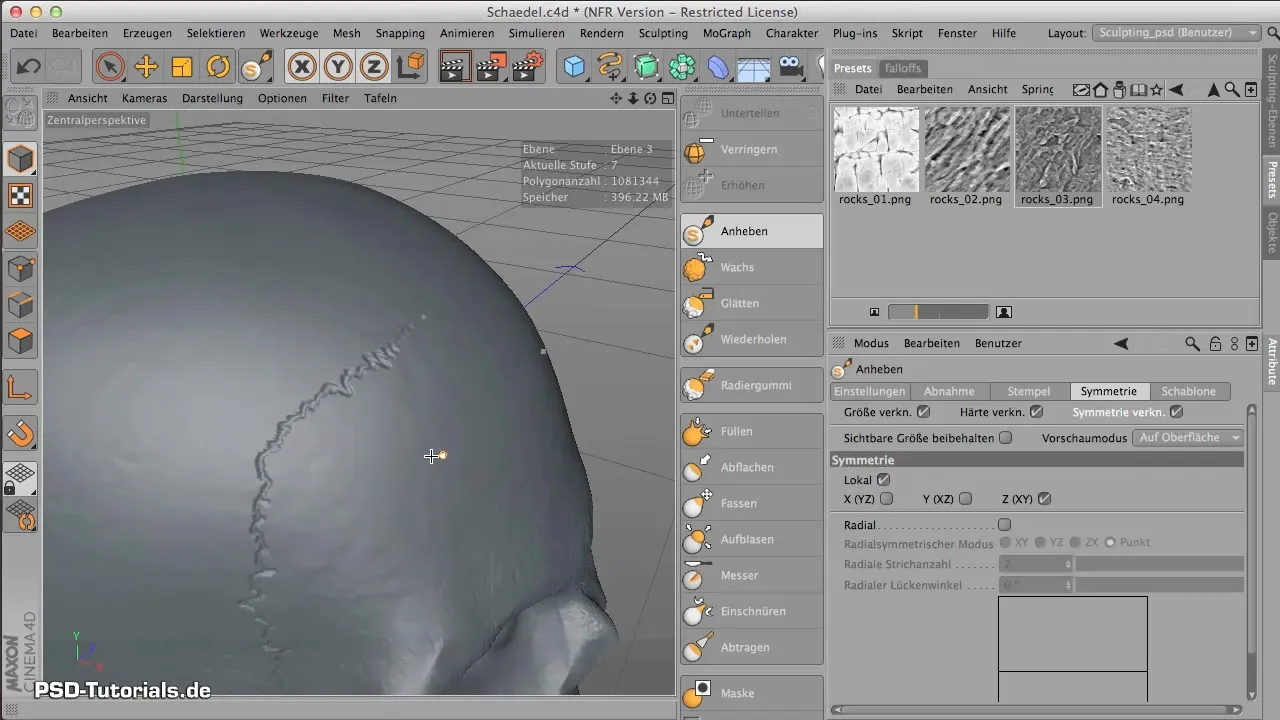
When adding the arrow seam, turn off symmetry. Work on one side, ensuring it fits well with the other side.
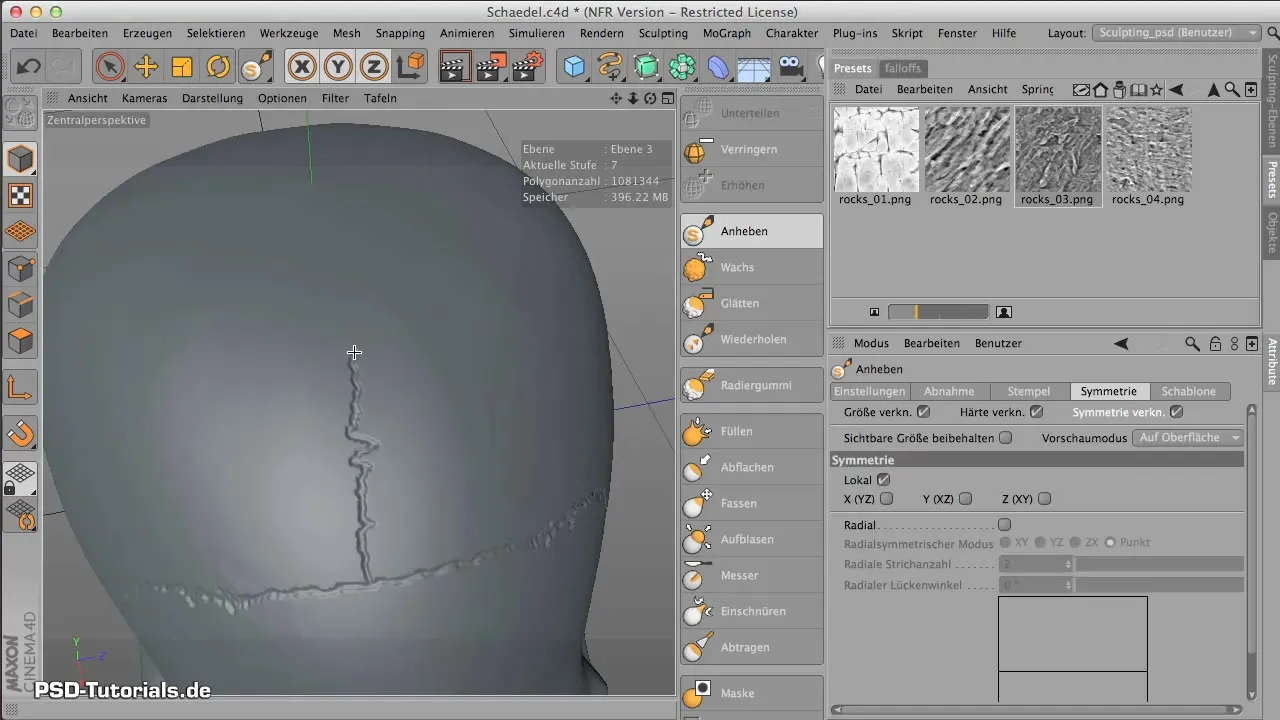
Final Adjustments
To give the skull a realistic appearance, it is important to position the seams according to anatomical conditions. Experiment with different hardness levels of brush tips until you achieve the perfect finish.
Final Touches and Modeling Teeth
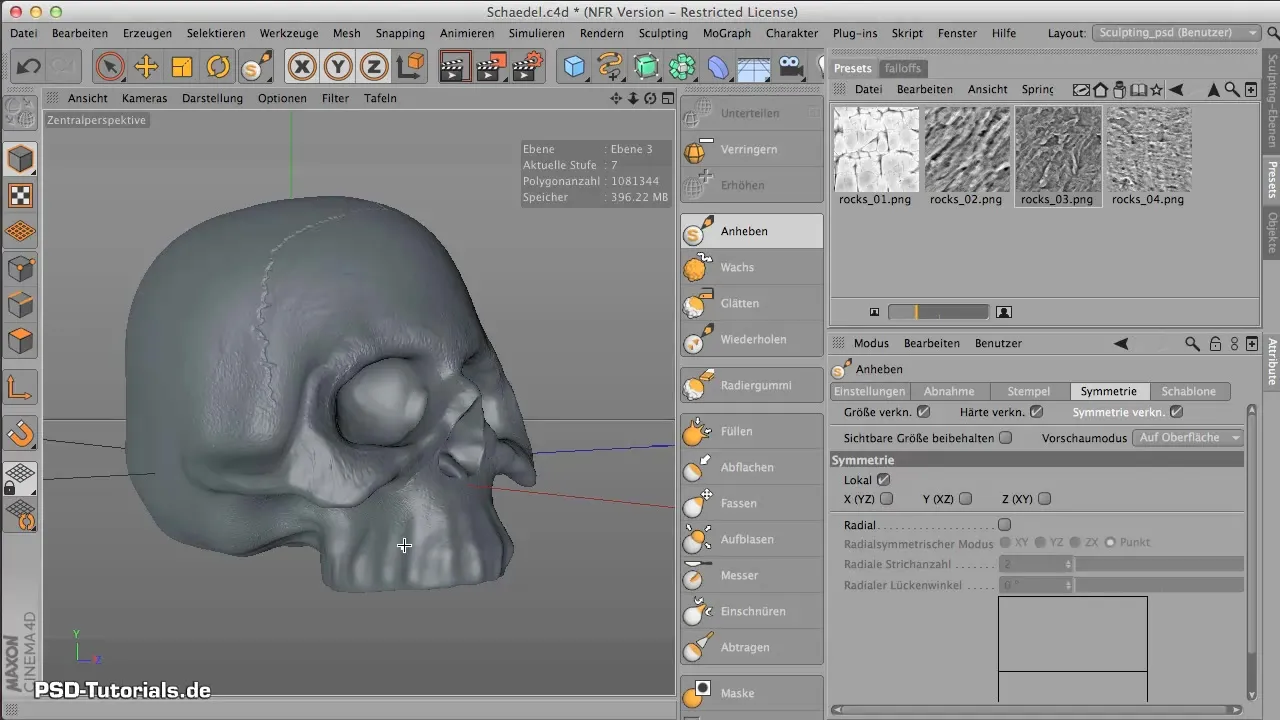
Once the skull seams are in place, you can add further details at the end, such as teeth. Choose a suitable tool and shape the teeth to harmonize with the skull.
Summary – Surface Finish for Your Skull in CINEMA 4D
You have learned how to effectively refine the surface of your skull in CINEMA 4D using stencils and appropriate tools. The precise application of textures and details through an understanding of tools will help you achieve unexpected and convincing results. Use these techniques to let your creative ideas flow freely.
Frequently Asked Questions
How do I choose the right stencil?Test various stencils from the Sculpt Brushes to find the best structure for your model.
What should I do if the texture doesn’t look good?Experiment with the brush tip and transparency to achieve the best effect.
How do I activate the symmetry function?Go to the settings and activate the symmetry option to "local" to ensure consistent work.
How do I properly apply the seams?Make sure to consider the anatomy of the skull and keep symmetry active when drawing the crown seam.
Can I adjust the hardness of the brush tips?Yes, you can individually adjust the hardness of each brush tip to achieve the desired effect.
