Creating 3D models in CINEMA 4D offers a variety of possibilities to design impressive and realistic surfaces. A template is a useful tool for efficiently transferring structures onto your polygon object. By using the “Lift” tool, you can transform the luminance differences of a texture into height differences, resulting in fascinating designs. In this guide, I will show you step by step how to optimally use the template to achieve impressive results.
Key insights
- The template allows you to create structured surfaces in a differentiated way.
- The transparency and size of the template are crucial for the final result.
- Through tiling, you can apply the template to larger areas without losing clarity.
Step-by-Step Guide
Step 1: Select Template
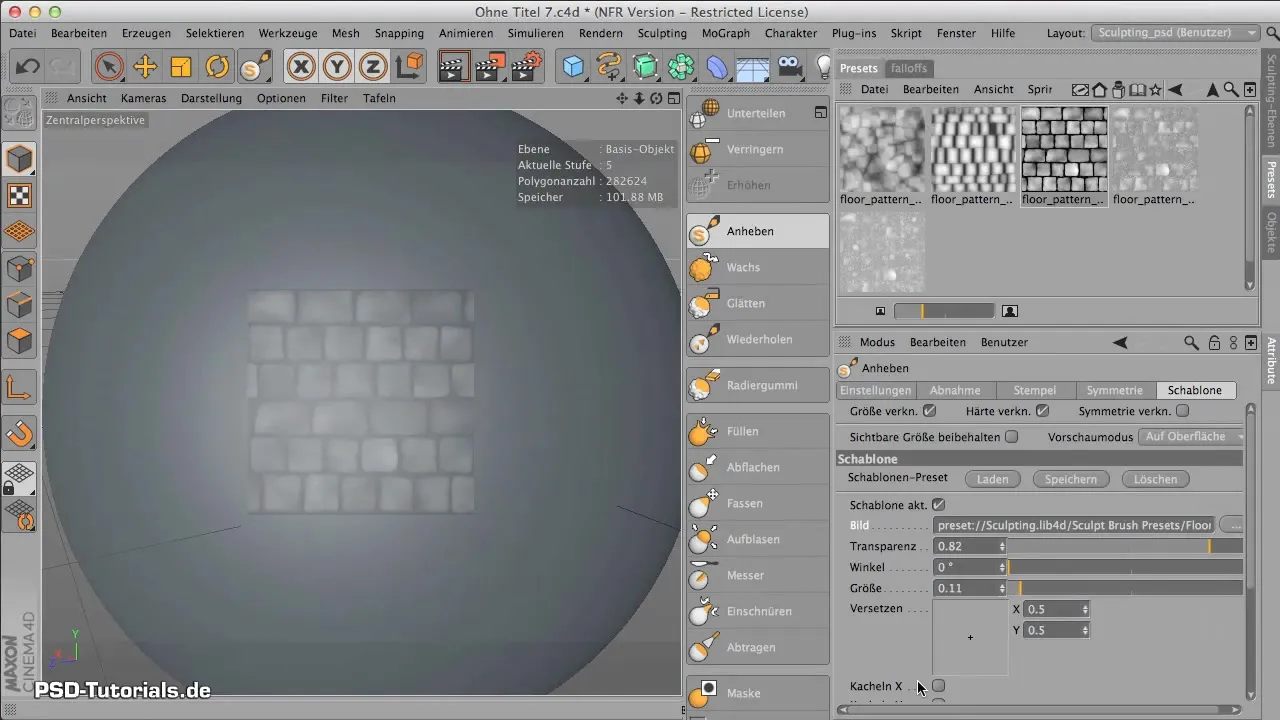
Start by selecting the template in your project. You will notice that at first, the template seems to do nothing since you will initially need an image to work with. I recommend choosing the “Floor Patterns” texture to achieve an interesting surface.
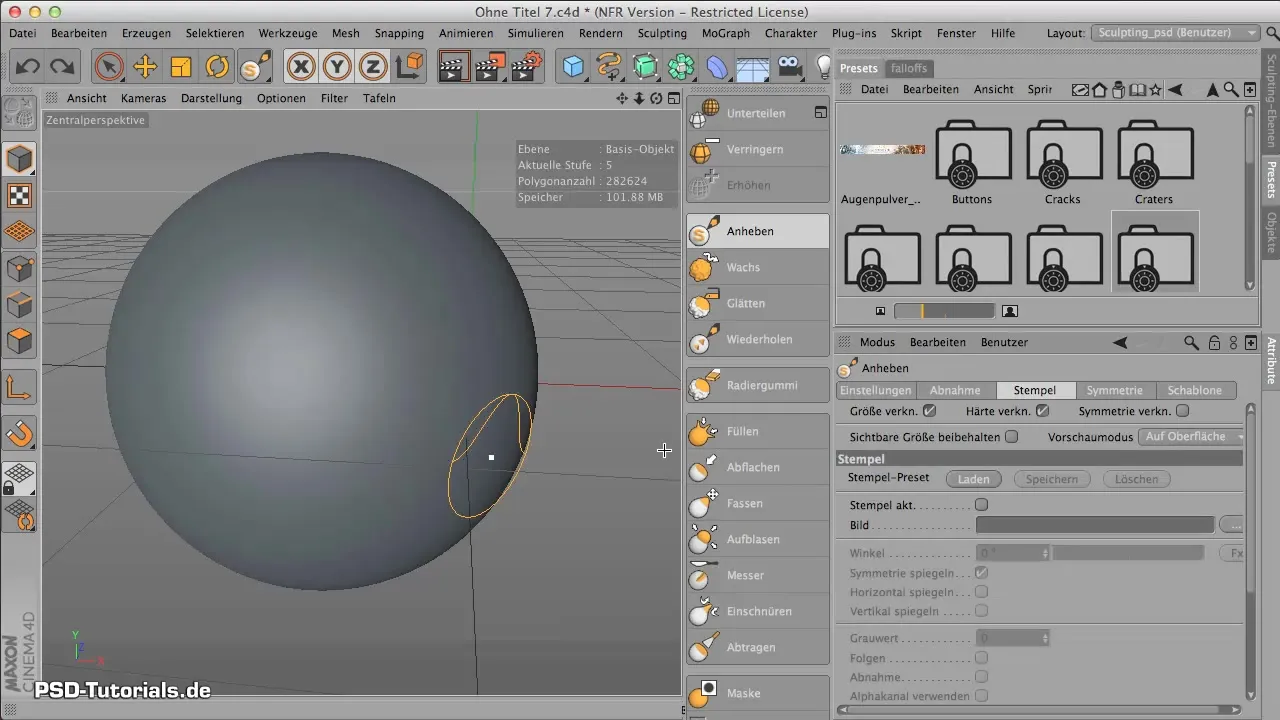
Step 2: Load Texture
Load the selected texture into your project. You can simply drag the image onto the workspace to place it in the right area. Make sure the texture works optimally on your object.
Step 3: Adjust Transparency
Check the transparency of the template. You can increase or decrease the value to determine how visible the template is. Adjust the transparency so that the contours remain recognizable but do not appear too dominant.
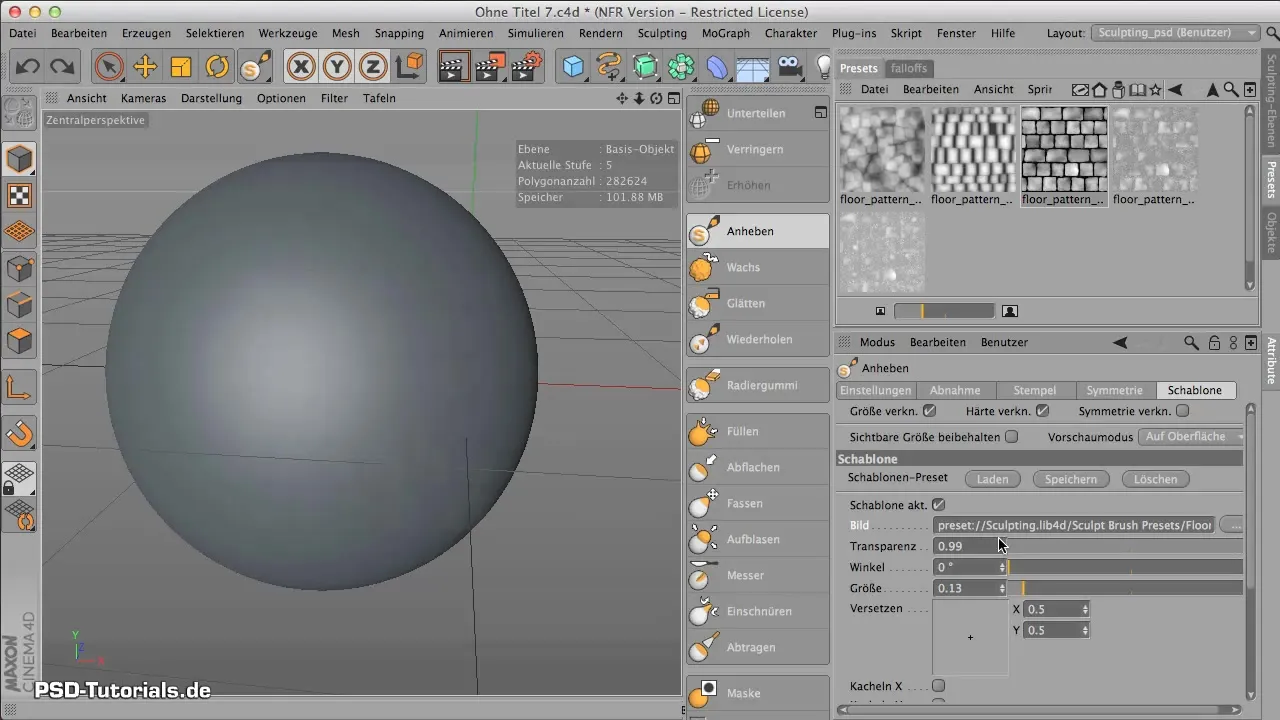
Step 4: Adjust Template Size
The size of the template is crucial for application on your polygon object. Adjust the size to achieve the desired effect. Stretch or shrink the corners of the template depending on the level of detail you want to achieve.
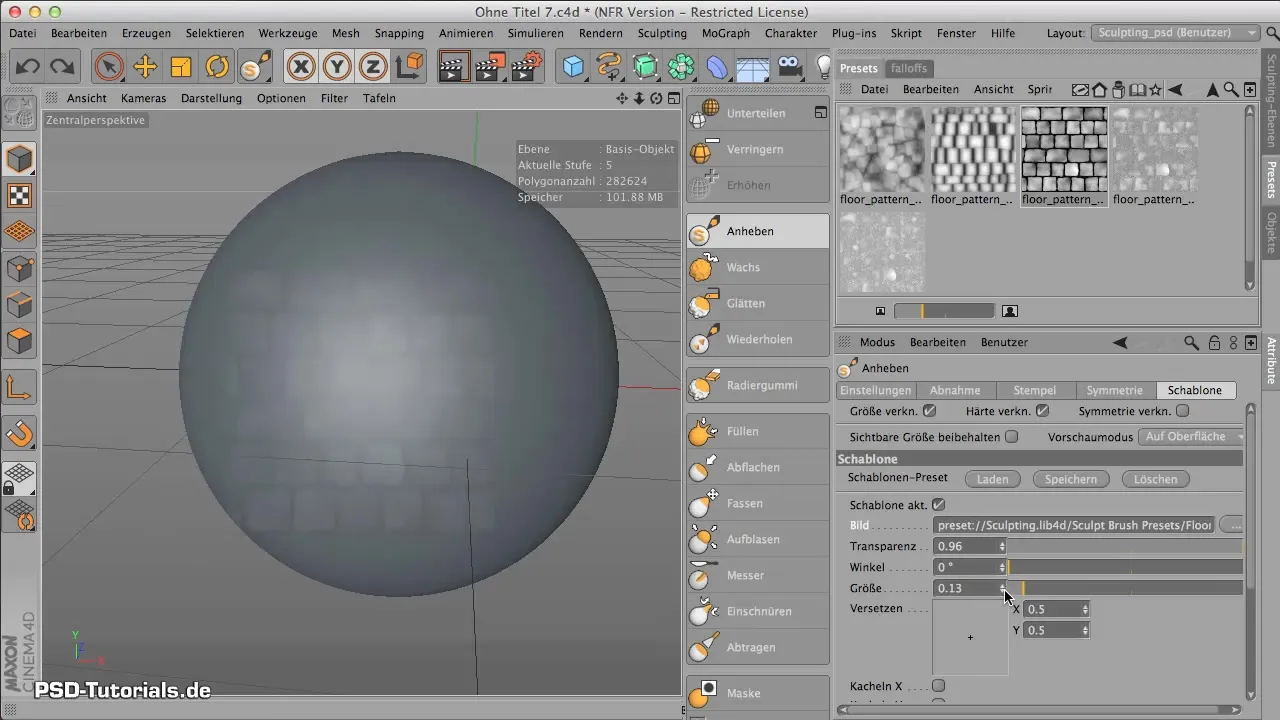
Step 5: Activate Lift Tool
Activate the “Lift” tool. With this tool, you can use the template to influence the underlying polygons. Make sure to adjust the hardness to create a natural look that benefits your object.
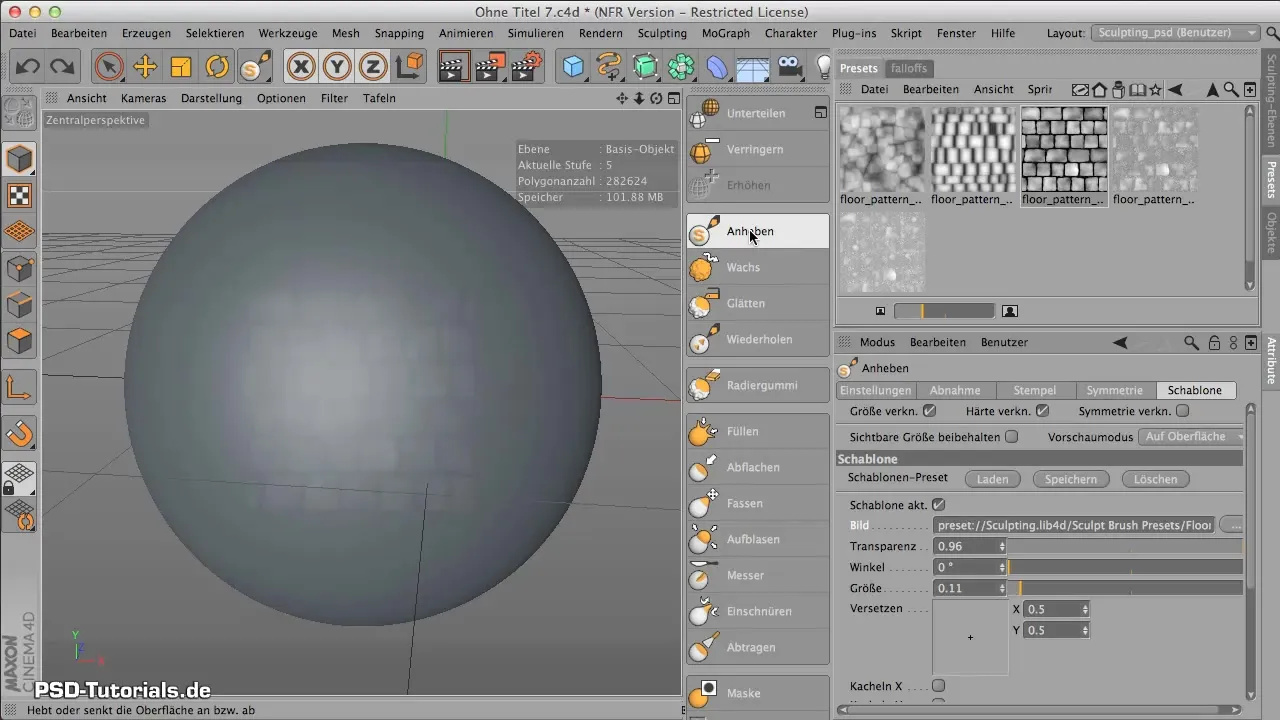
Step 6: Working with Tiling
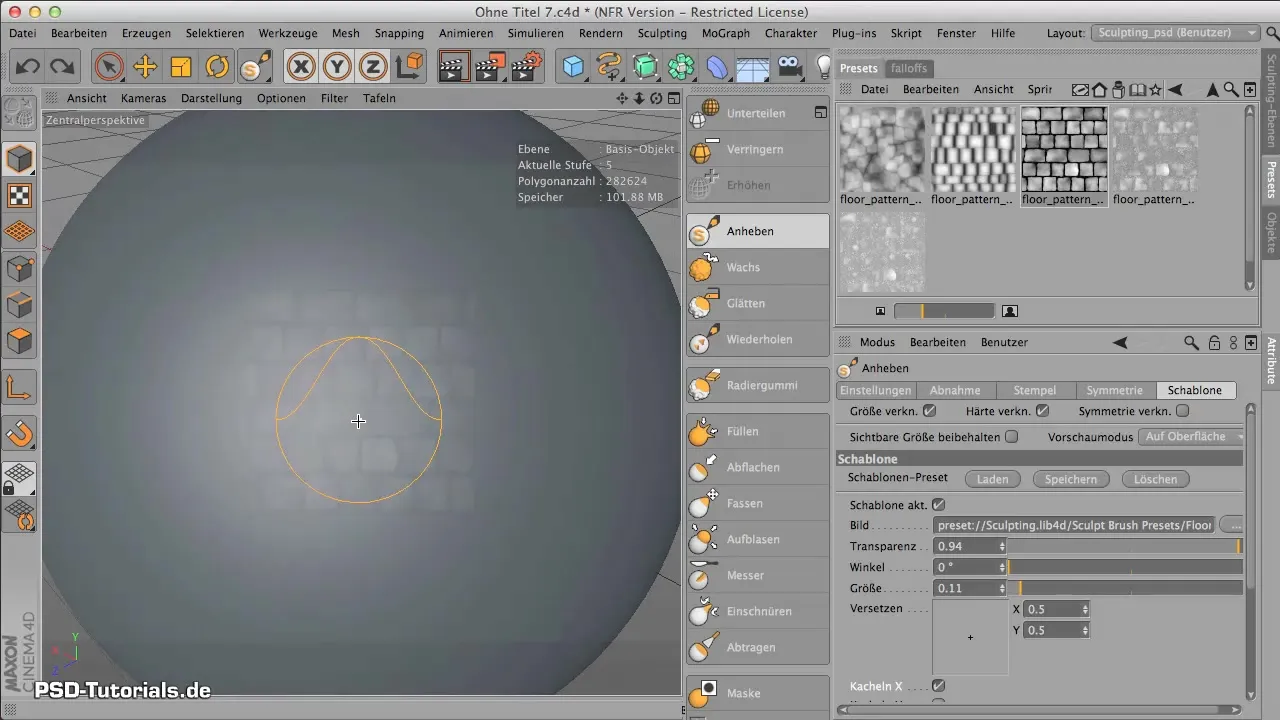
If you are working on a larger area, enable the tiling function. This allows you to repeat the template without an unsightly edge becoming visible. You can set the tiling to extend across the entire object to achieve a uniform design.
Step 7: Consider Edge Areas
It is important when working with tiling to keep the tool tip vertical, especially in the edge areas. If you go too close to the edge in these areas, the result may appear distorted. Be careful not to paint over the edge to ensure a better finish.
Step 8: Adjust Gray Value
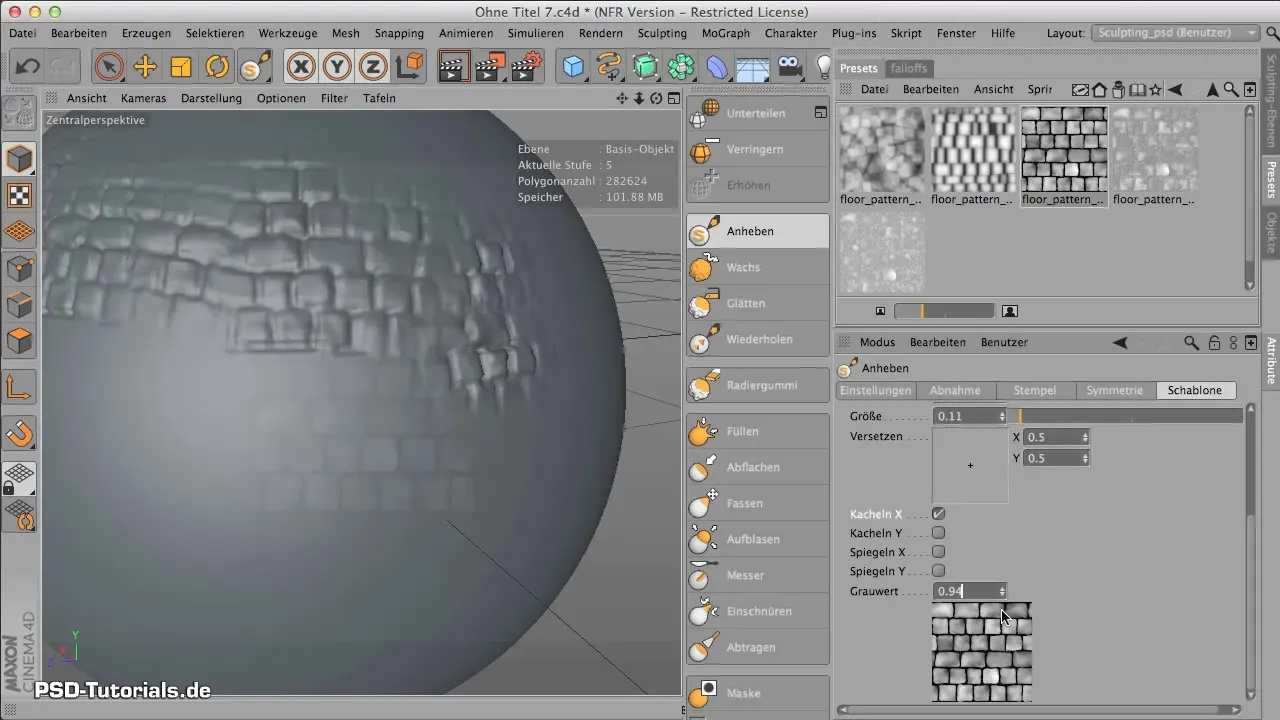
To enhance the 3D effect, you can adjust the gray value of your template. By increasing the gray value, your cobblestones will appear more pronounced, while reducing it can make them look deeper. Experiment a little here to achieve the desired effect.
Summary – Effectively Using Templates in CINEMA 4D
You have learned how to work with the template in CINEMA 4D and apply impressive surfaces to your 3D models. Pay particular attention to transparency, size, and tiling to achieve high-quality results.
Frequently Asked Questions
How do I load a texture in CINEMA 4D?You can simply drag the desired texture onto the workspace.
How do I adjust the size of the template?The size can be changed by dragging the corners of the template.
What does the “Lift” tool do?With the “Lift” tool, you can apply the template to your polygons and create height differences.
Why is the tiling function important?The tiling function allows you to apply templates over larger areas without seeing unsightly edges.
How does the gray value affect the result?The gray value determines how strongly the texture stands out from the object or is embossed into it.


