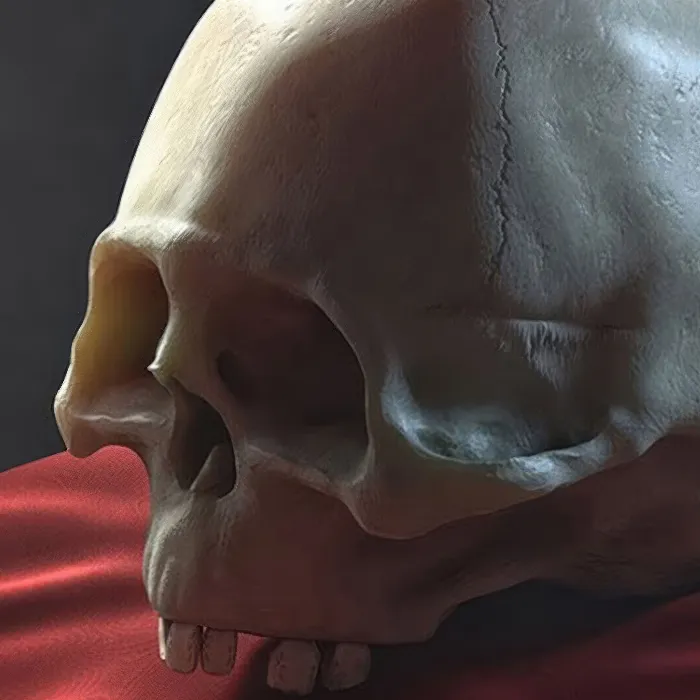
Teeth are an important part of any digital figure, whether for a character in a game or for an animation. In this tutorial, I will show you how to model teeth in CINEMA 4D. The focus is on creating a credible tooth model from simple cubes and using some techniques to make the teeth look natural and slightly irregular. Let’s get started!
Key Insights
- Teeth can be easily modeled from cube objects.
- Hyper-NURBS can be used to smooth and round the teeth.
- By selectively adjusting the Hyper-NURBS weighting, irregular surfaces can be created.
Step-by-Step Guide
First, you need to make sure you have CINEMA 4D open and are ready to start your project.
To create your tooth base, start with a new object.
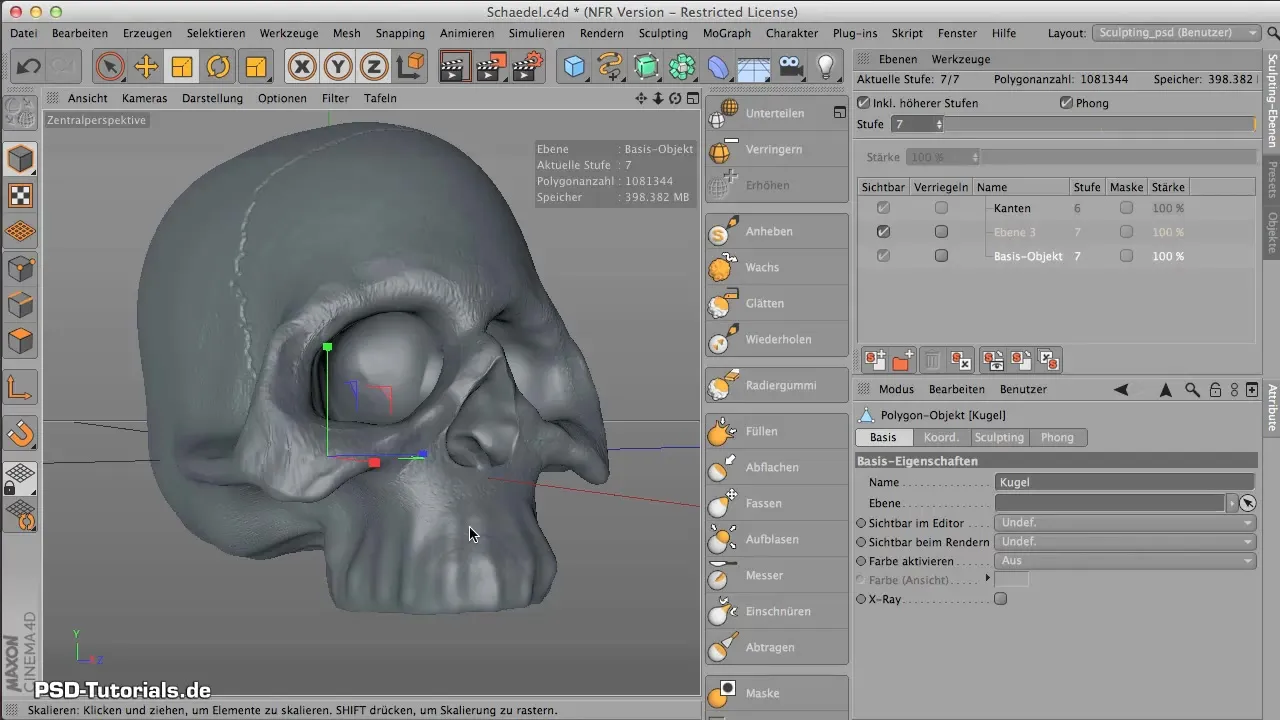
Create a cube that serves as the base shape for your tooth. The default size may be too large, so adjust the dimensions. Set the x-axis to 2 cm to determine the width of the tooth, and modify the height and depth to achieve more realistic tooth proportions.
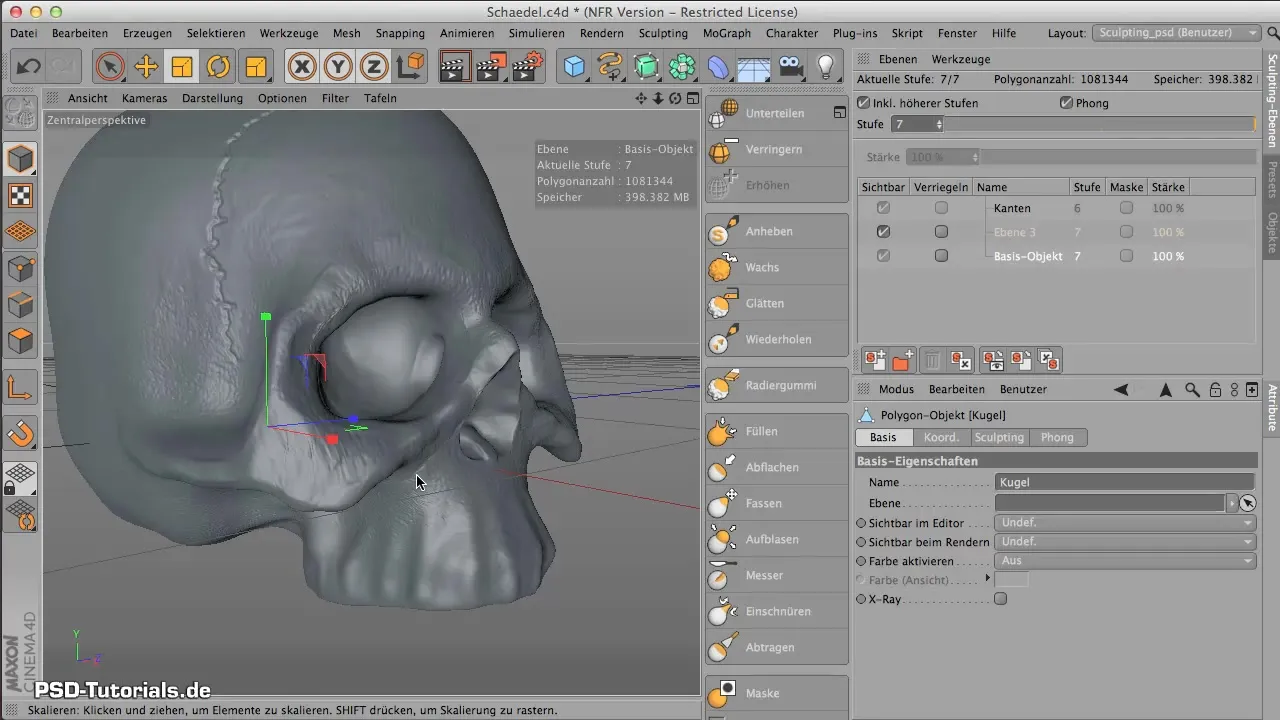
Once you are satisfied with the size, place the cube into a Hyper-NURBS object to round off the edges and achieve a softer shape. It is important that the cube is now packed into a Hyper-NURBS object so that the geometry is summarized.

Now you need to ensure that the subdivision of the Hyper-NURBS is correct. Adjust the subdivisions in height, width, and depth so that the tooth looks proportional. You want the teeth to have room for a root, so be sure to shape it accordingly.
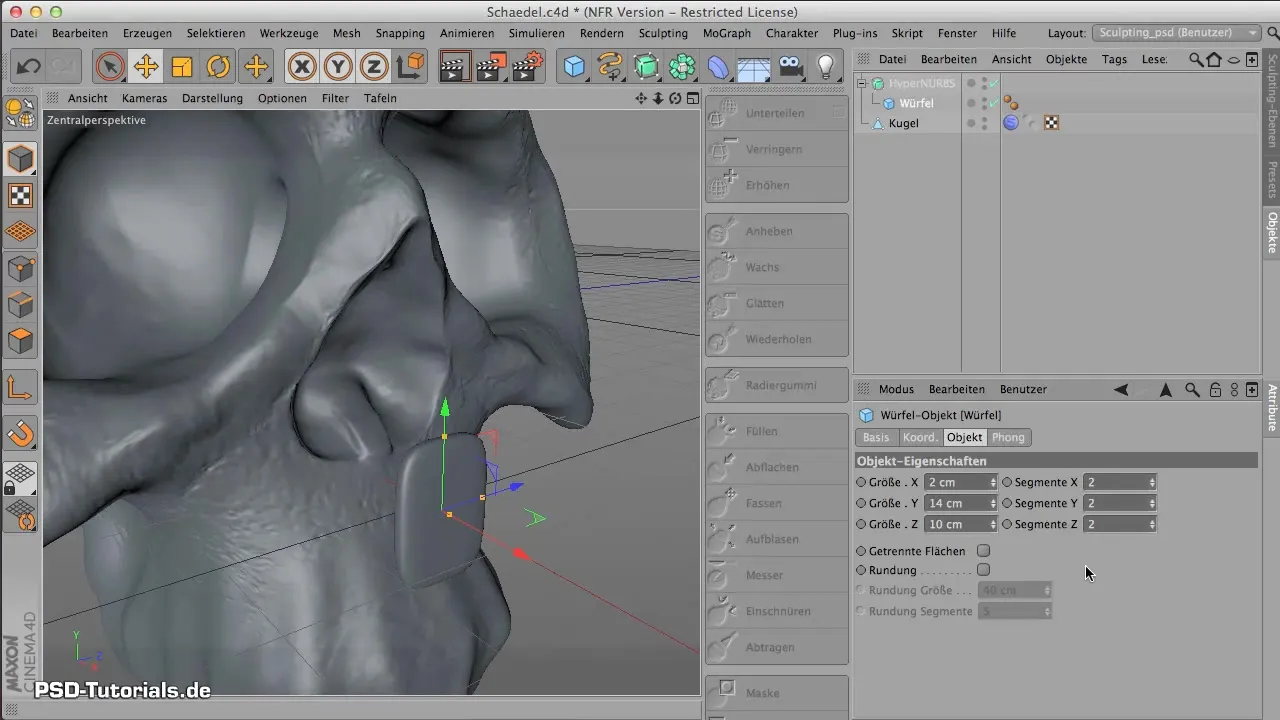
To make the tooth even more realistic, enter the editing mode of the cube to scale the top surface a bit narrower. You can select the top surface and edit the edges to give the tooth a slimmer shape.
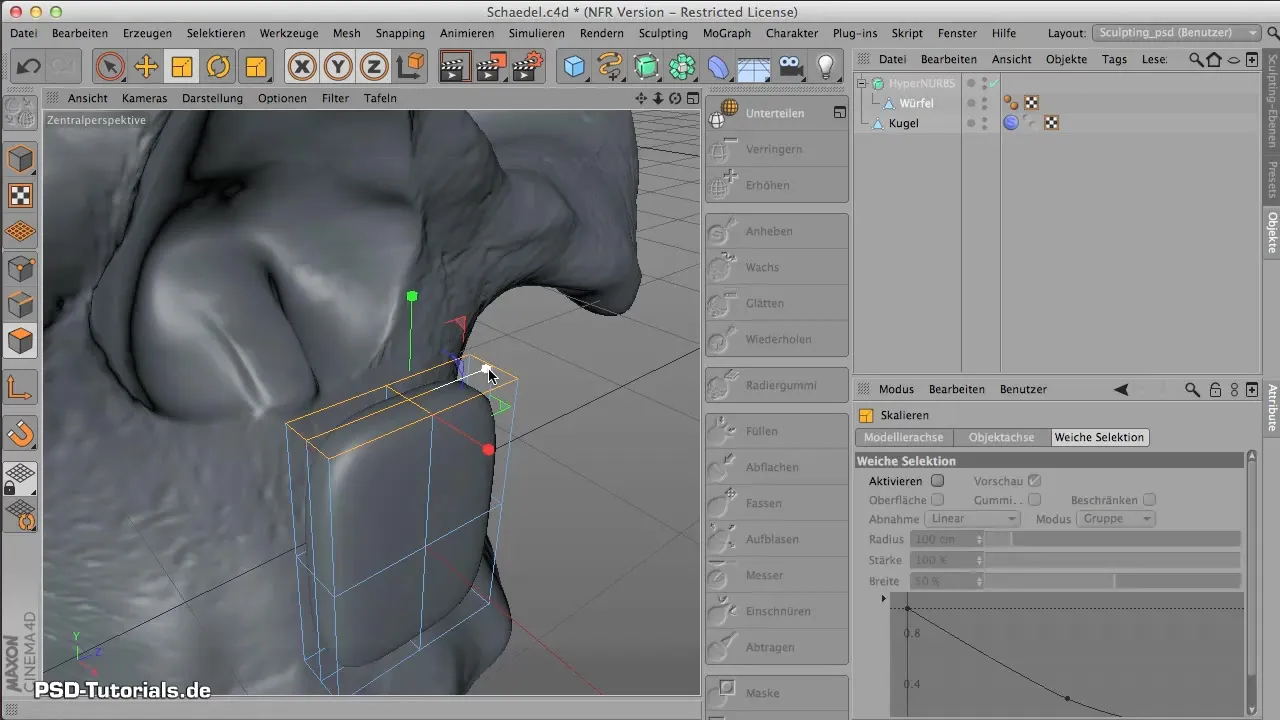
An important step is to curve the edges of the tooth. Use the edge editing tool to pull the edges forward and create a natural shape. The tooth should now have an arched, natural form.
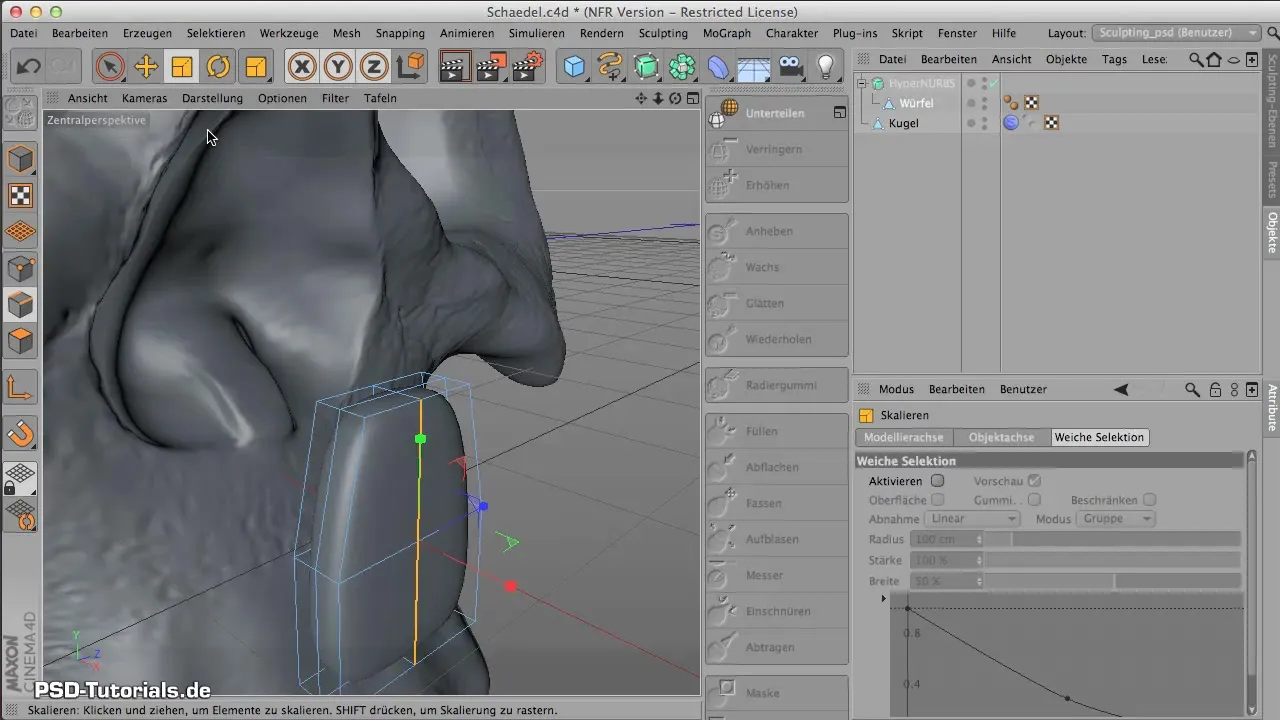
Now position the tooth correctly in your object. Make sure the position is correct in both height and depth so it fits with the other teeth.
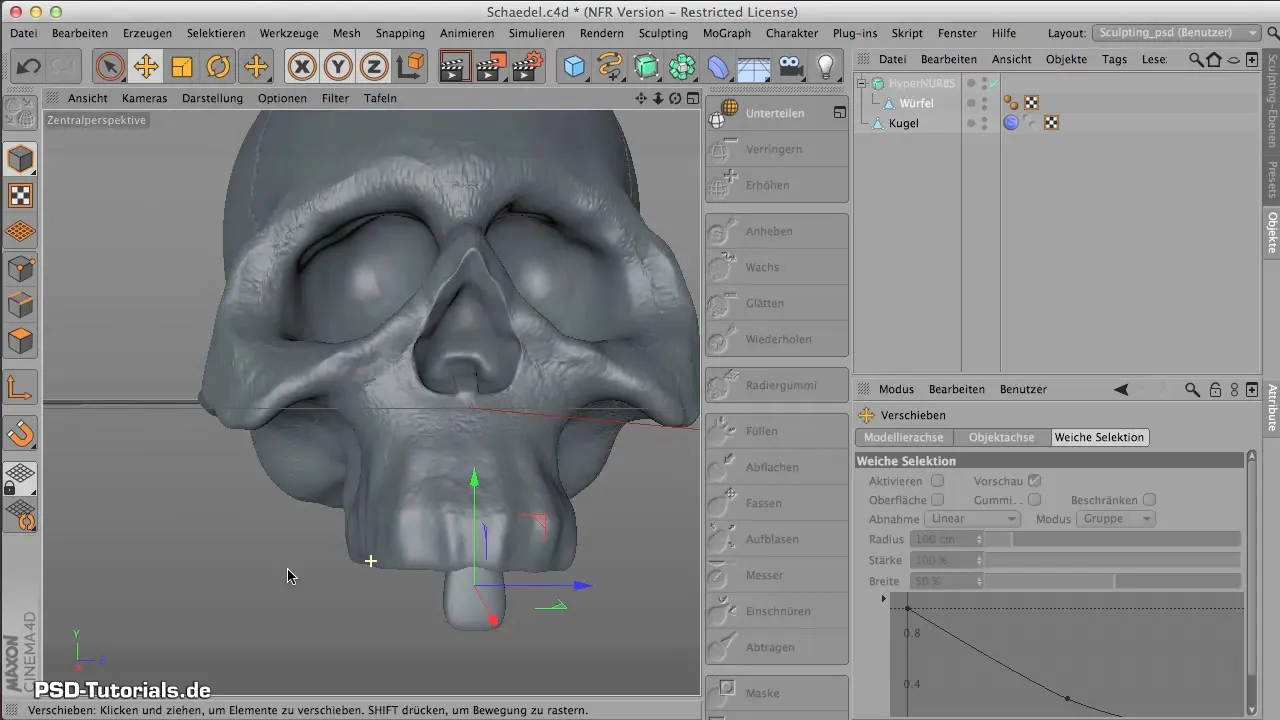
It is now time to create the remaining teeth. You can copy and mirror the model to create the other teeth. Ensure that the teeth do not look identical, especially for molars, which are thicker and more compact.
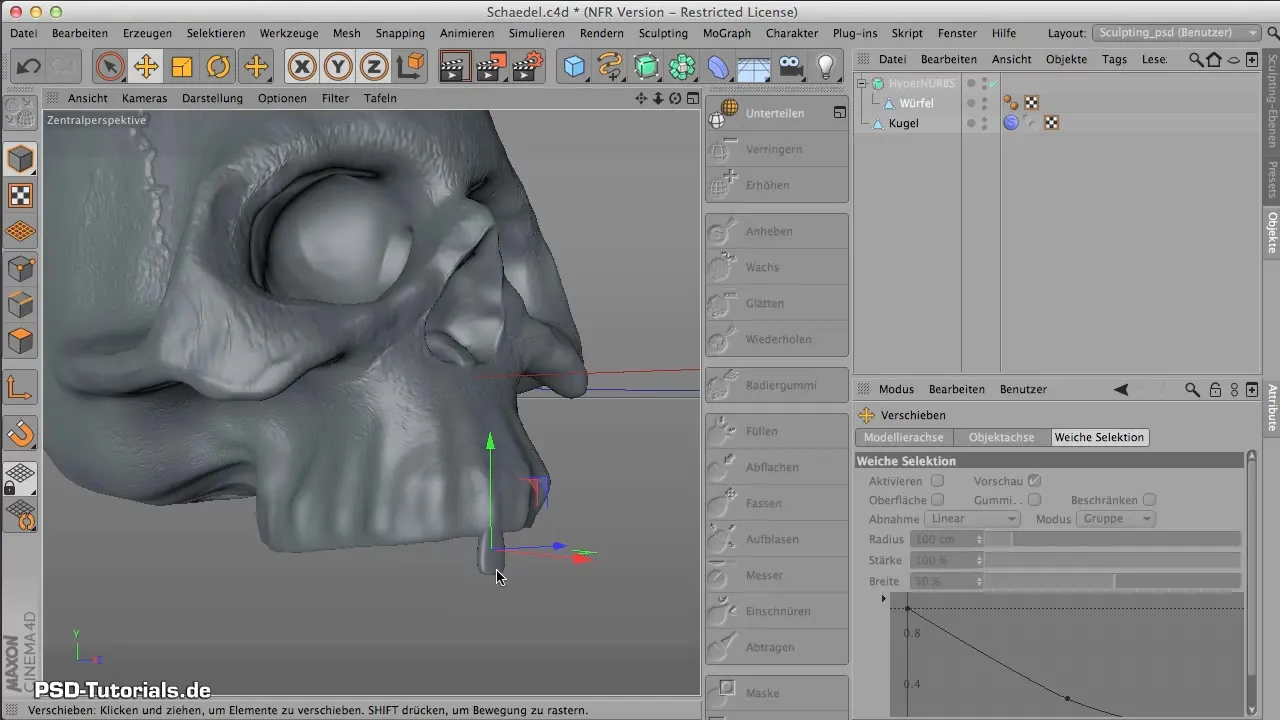
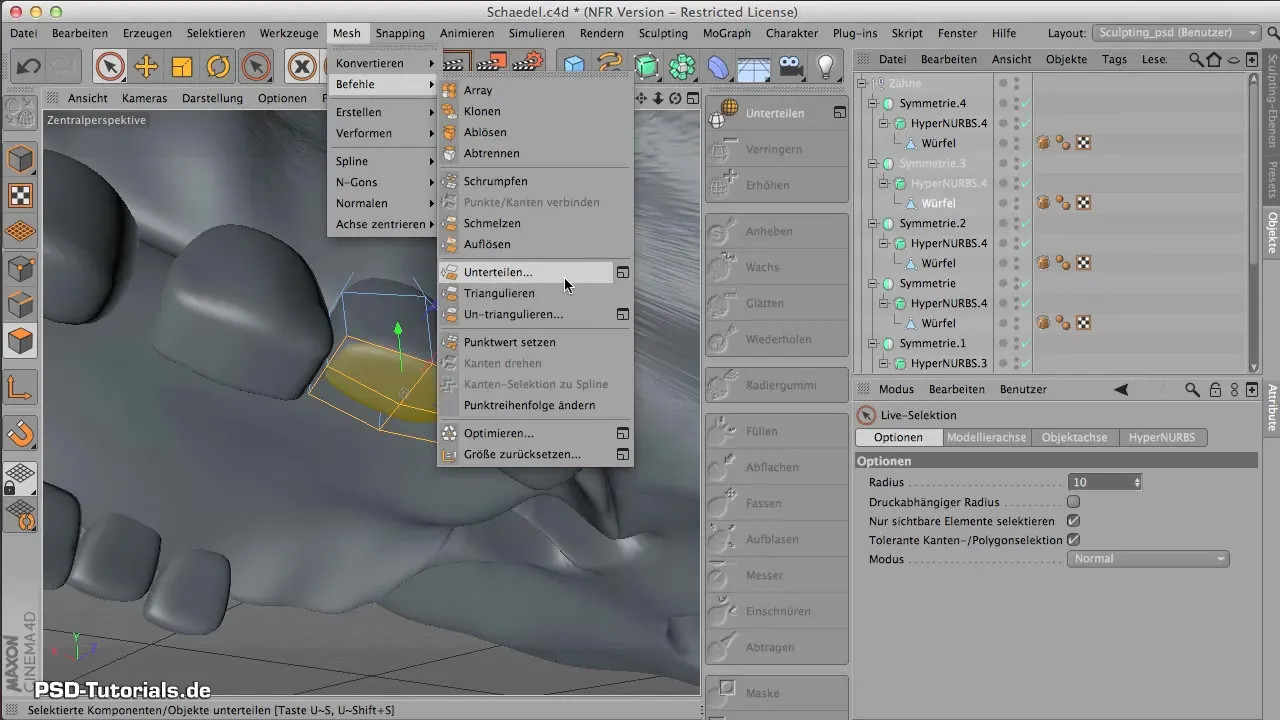
Before you bake the teeth, you should slightly vary the counters to create a natural irregularity. Select a few polygons and subdivide them to add extra edges. This will make the teeth more angular and realistic.
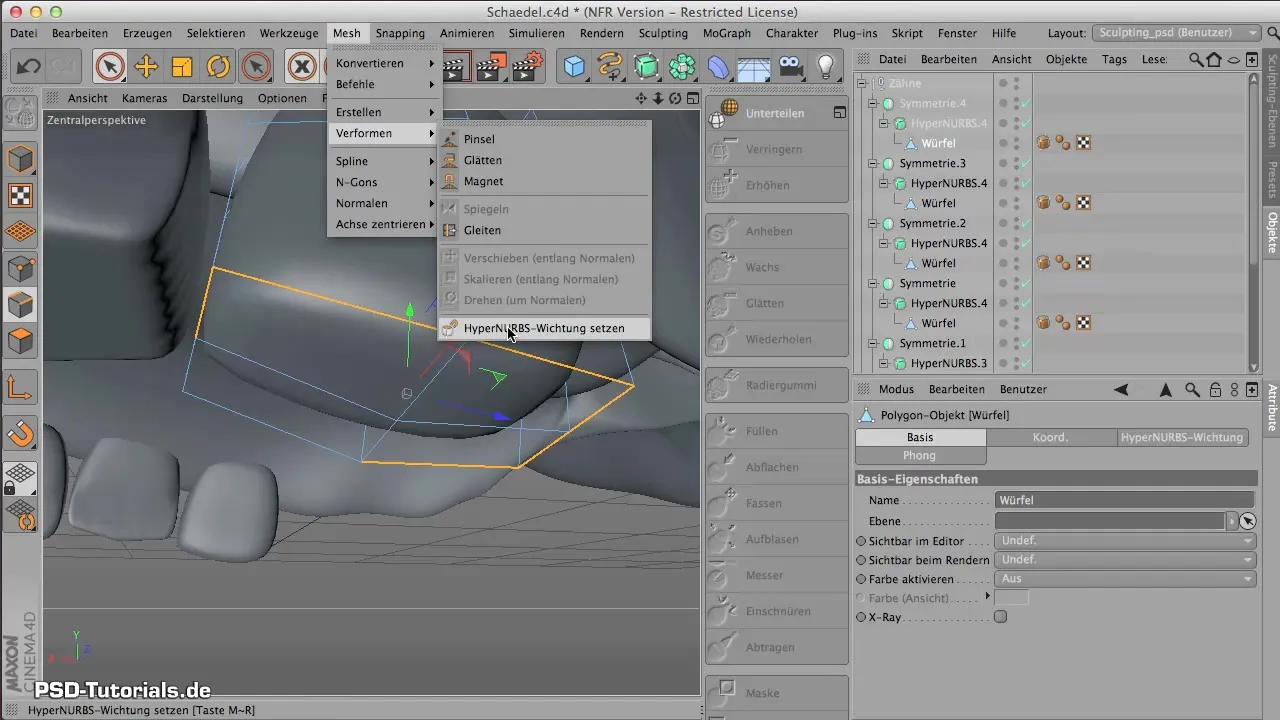
Additionally, you can change the Hyper-NURBS weighting to adjust the curves of your teeth. This helps give the teeth more character and makes them look less artificial.
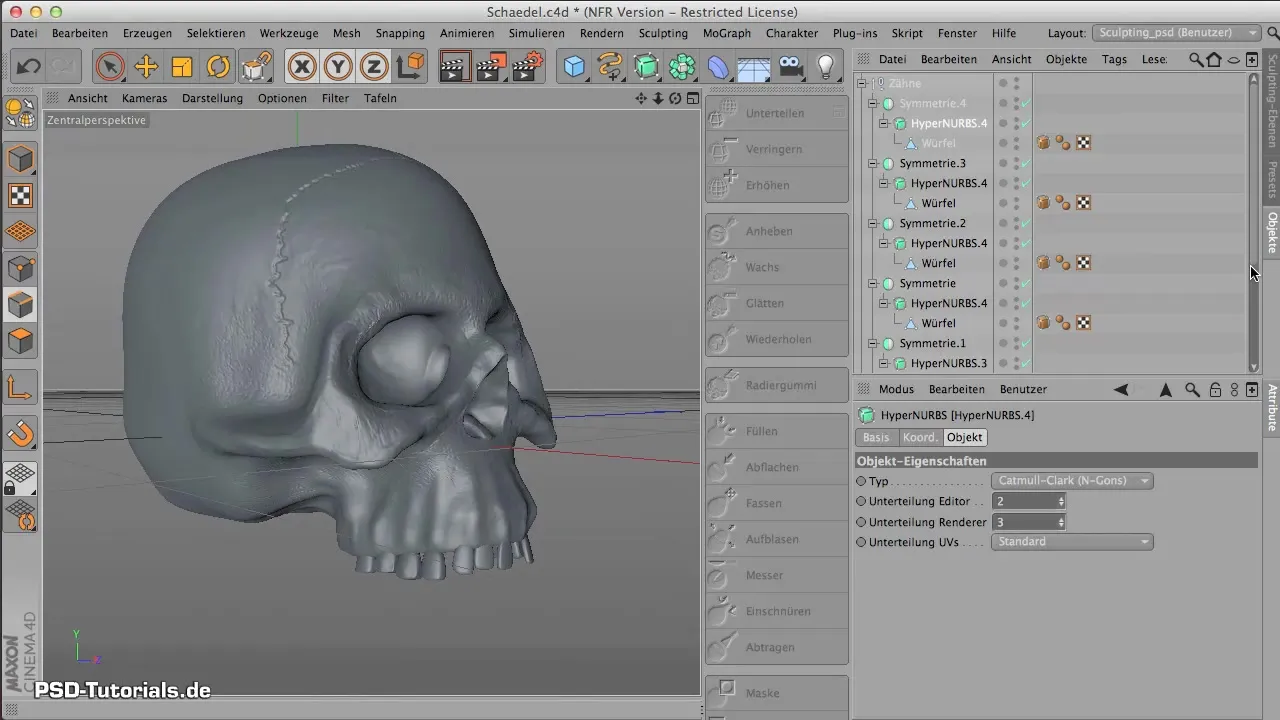
Once you are satisfied with the appearance of the teeth, it is time to bake everything. Rotate your model so that you have a clear view of the baking tool.
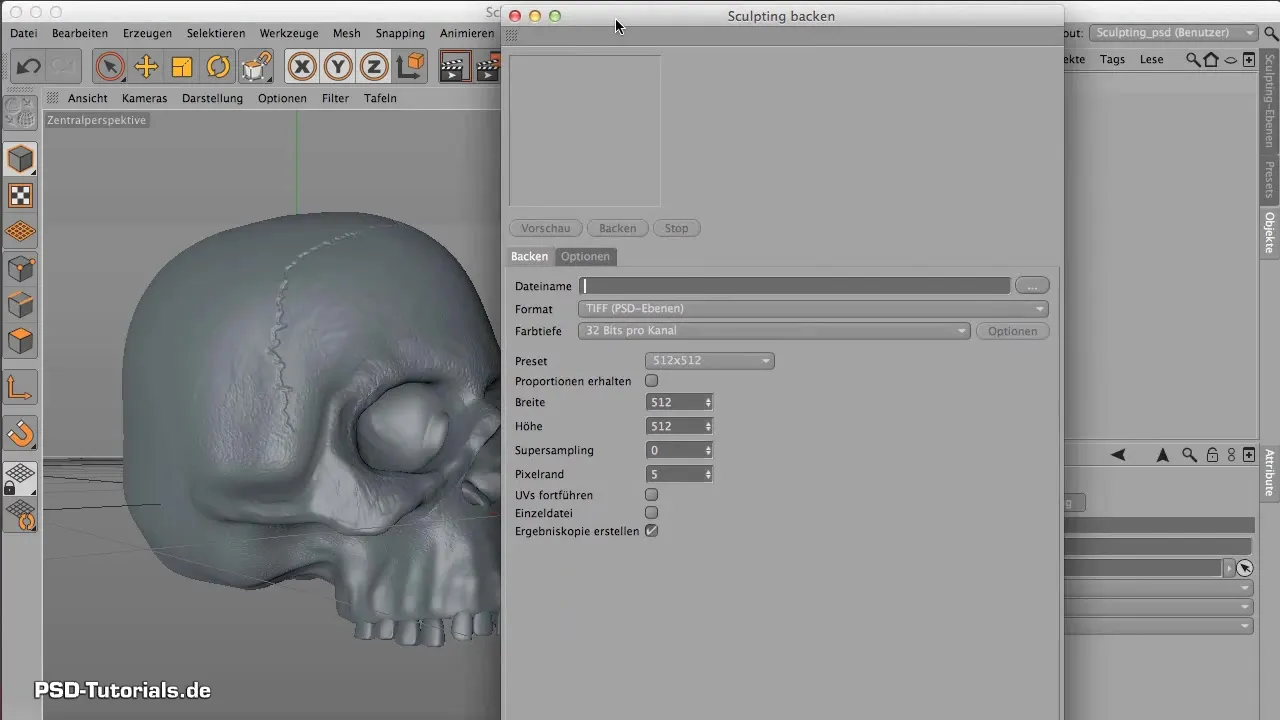
Now you can click on "Bake" to apply the texture to your teeth. This gives you the ability to create the material and project it onto your model.
In the next step, you can add more details to your model to make it look even livelier.
Summary - Modeling Teeth in CINEMA 4D: A Step-by-Step Guide
You have now learned how to model teeth in CINEMA 4D, starting with simple cubes, using Hyper-NURBS for a rounded shape, and how to achieve a realistic look through targeted adjustments. With a little practice, you will be able to create appealing digital teeth for your characters.
Frequently Asked Questions
How can I adjust the shape of the teeth?You can use the edge editing tools to modify the shape and proportions of the teeth.
What are Hyper-NURBS and how do they help in teeth design?Hyper-NURBS allow you to smooth the edges of objects and create rounded shapes.
How do I achieve irregularities in the tooth structure?Use the selection tool to choose polygons and subdivide them to add new edges, resulting in a less uniform appearance.
