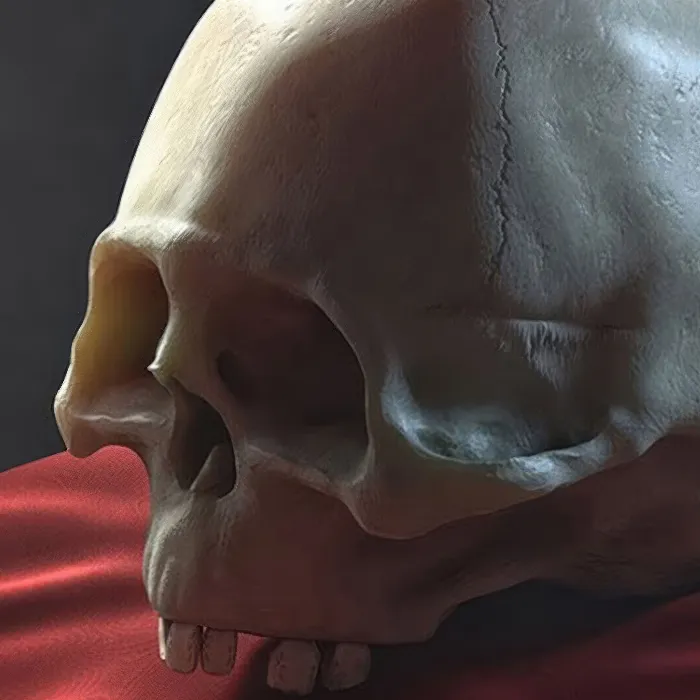
The modeling of organic surfaces in CINEMA 4D presents various challenges, especially when it comes to creating realistic textures and structures. In this tutorial, you will learn how to effectively apply scratches and imperfections to the skull using the "Rectangle" paint mode to achieve a more vibrant and organic surface.
Key findings
- The use of the lifting tool to create dynamic structures.
- The proper handling of brush presets, especially the "Scratch" preset.
- The importance of subdivision and its impact on detail accuracy.
Step-by-step guide to surface modeling
Step 1: Preparing the model
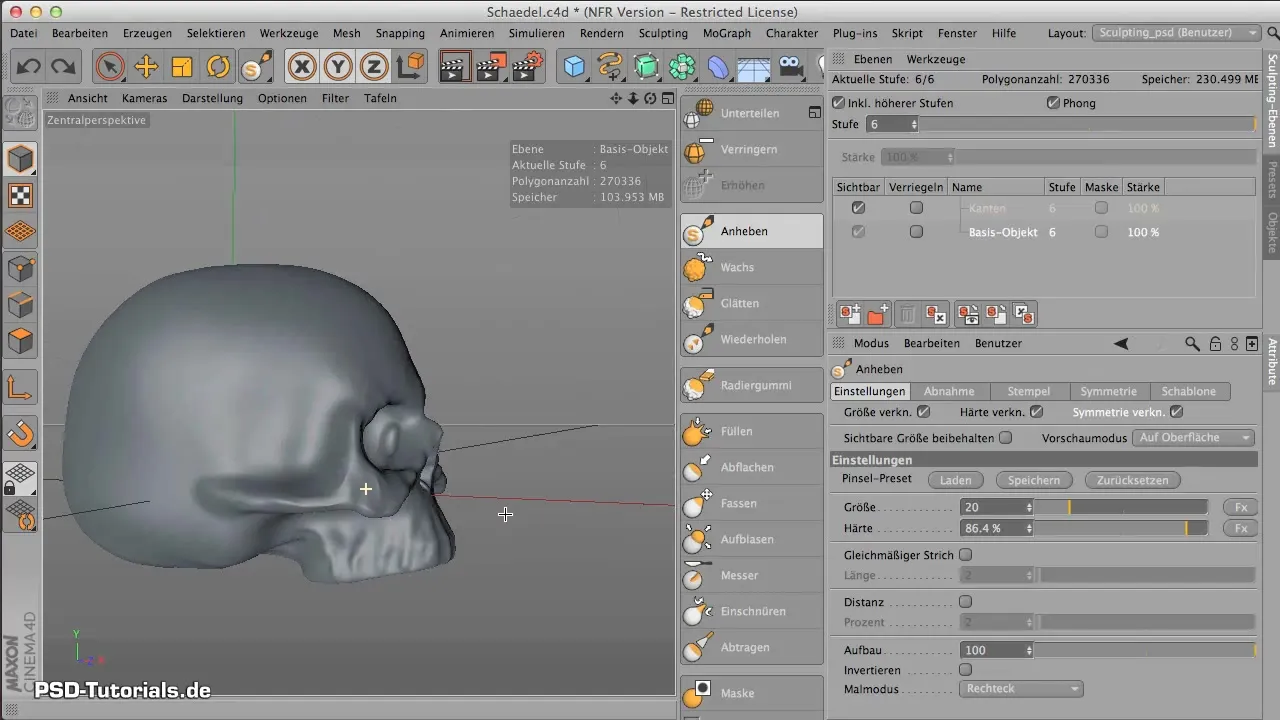
Start with the sculpted skull model. You can use the lifting tool to make adjustments. It is important that the proportions and shape of the skull feel consistent before you proceed with the details.
Step 2: Increasing subdivision
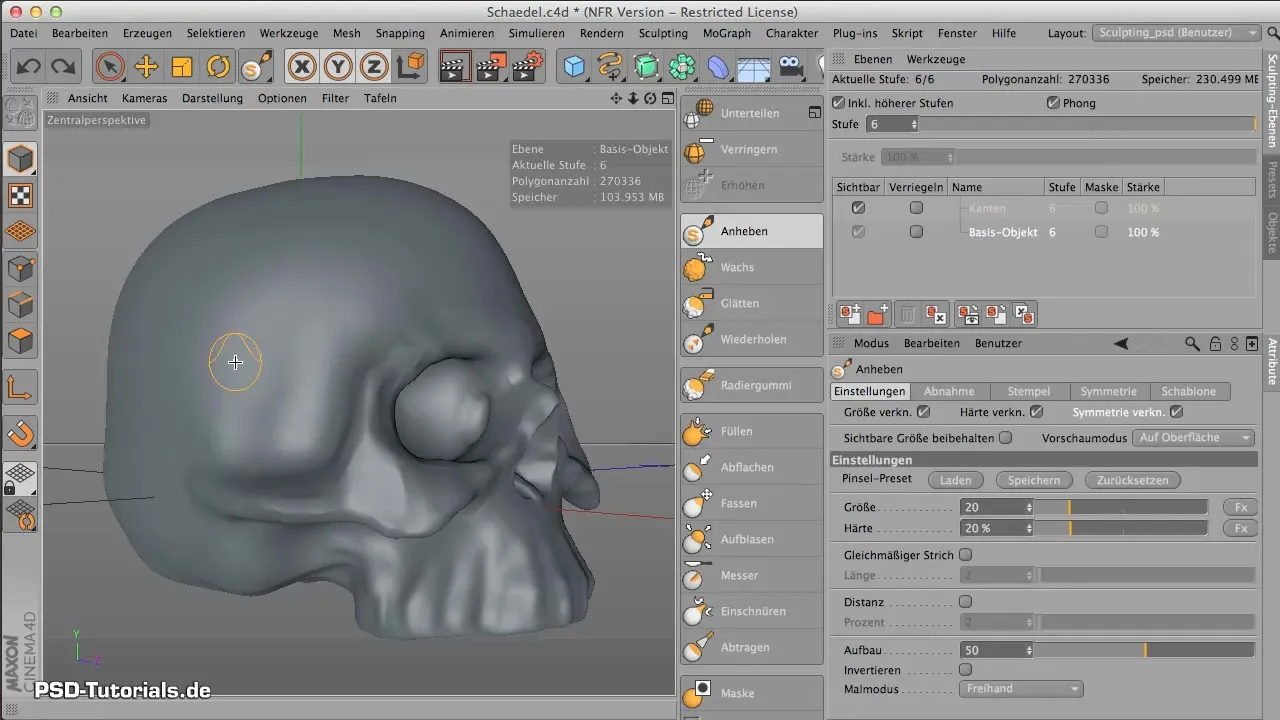
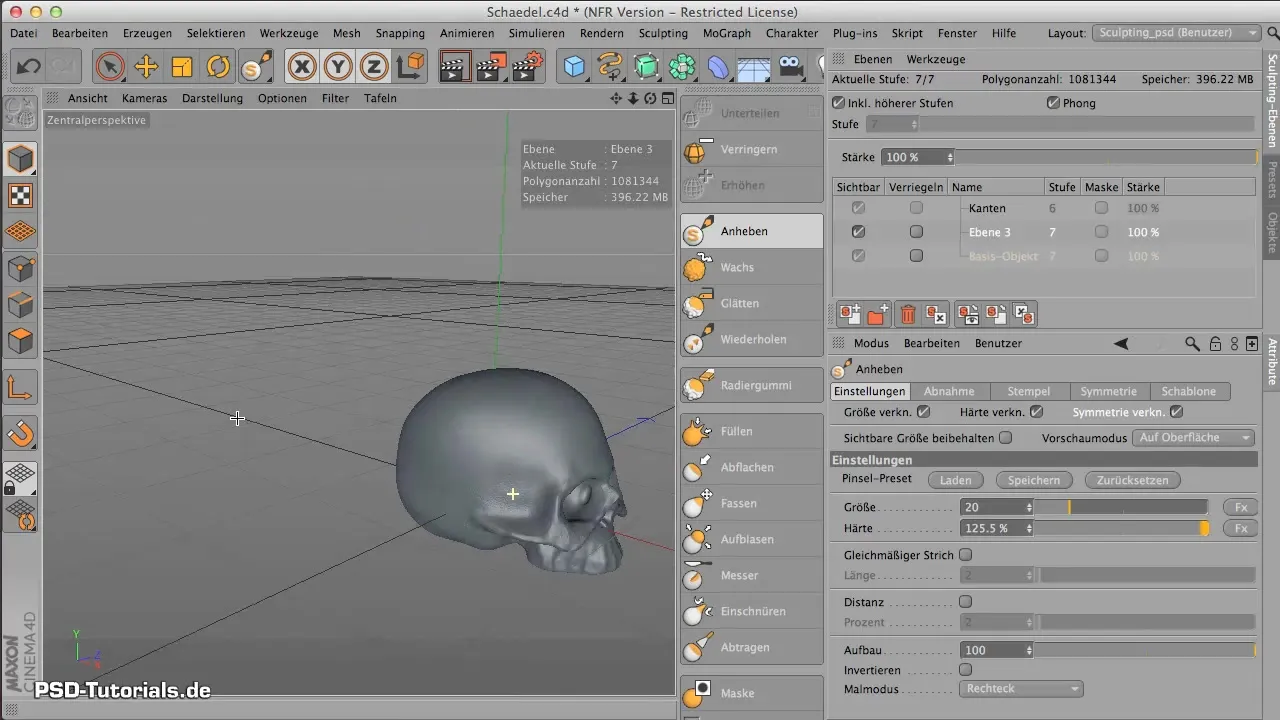
Increase the subdivision of your model to 7 to provide sufficient polygon structure for fine details. This is crucial for achieving the desired level of roughness and texture. Ensure that your model is now at least 400 MB in size to capture every imperfection accurately.
Step 3: Creating a new layer
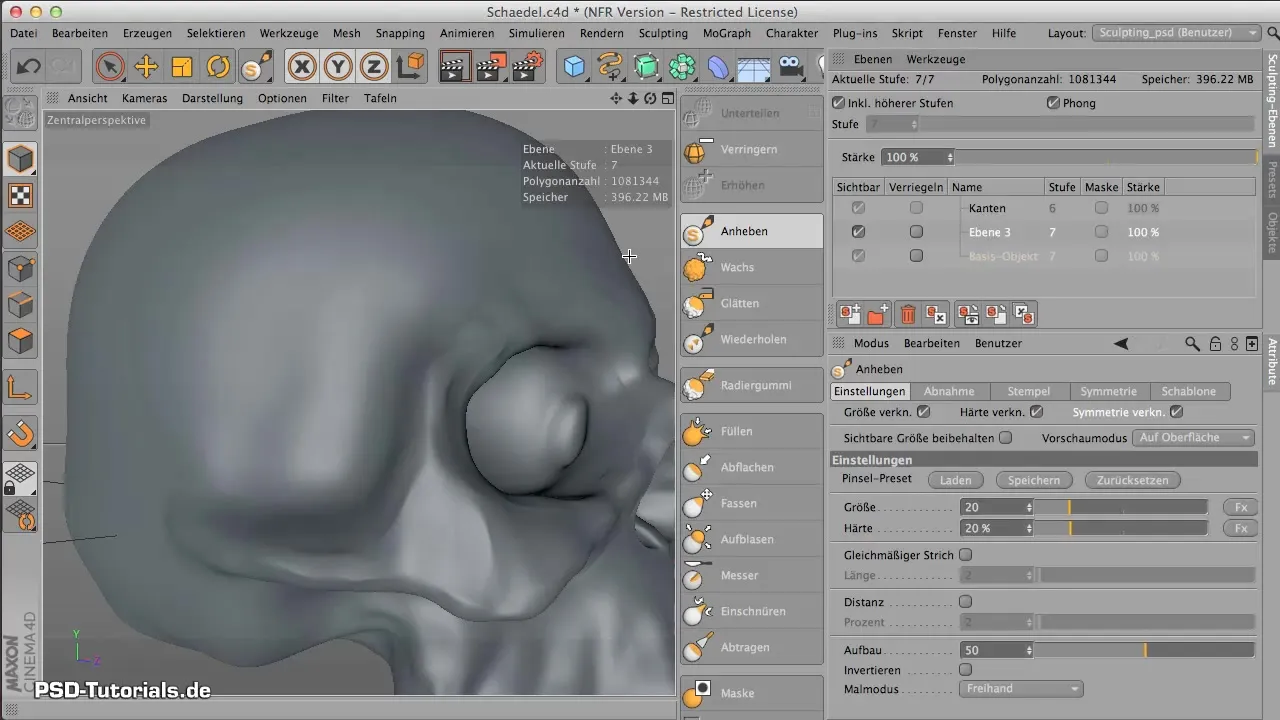
Create a new layer to ensure that the textural changes do not affect the original model. This gives you the flexibility to adjust or undo any changes as needed.
Step 4: Selecting brush preset
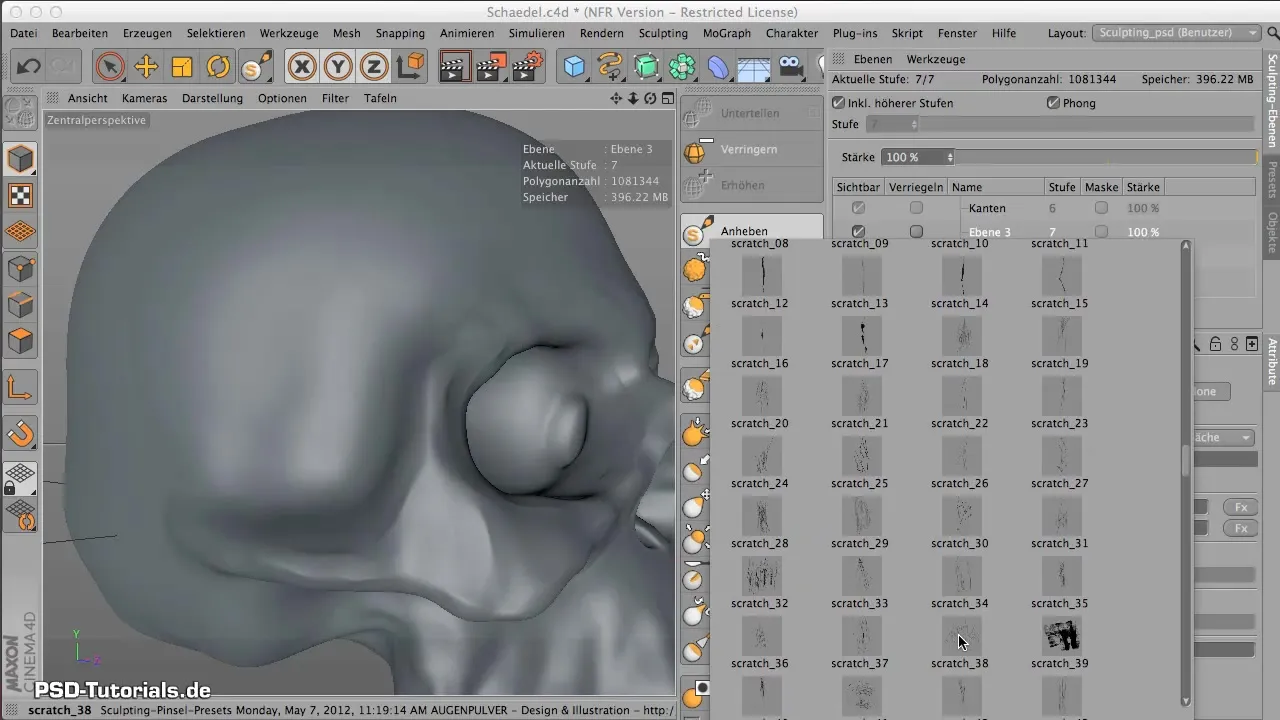
Load the brush preset for scratches. The specific brush preset you need is "Scratch Number 38." This brush preset is ideal for creating rough textures.
Step 5: Setting the paint mode
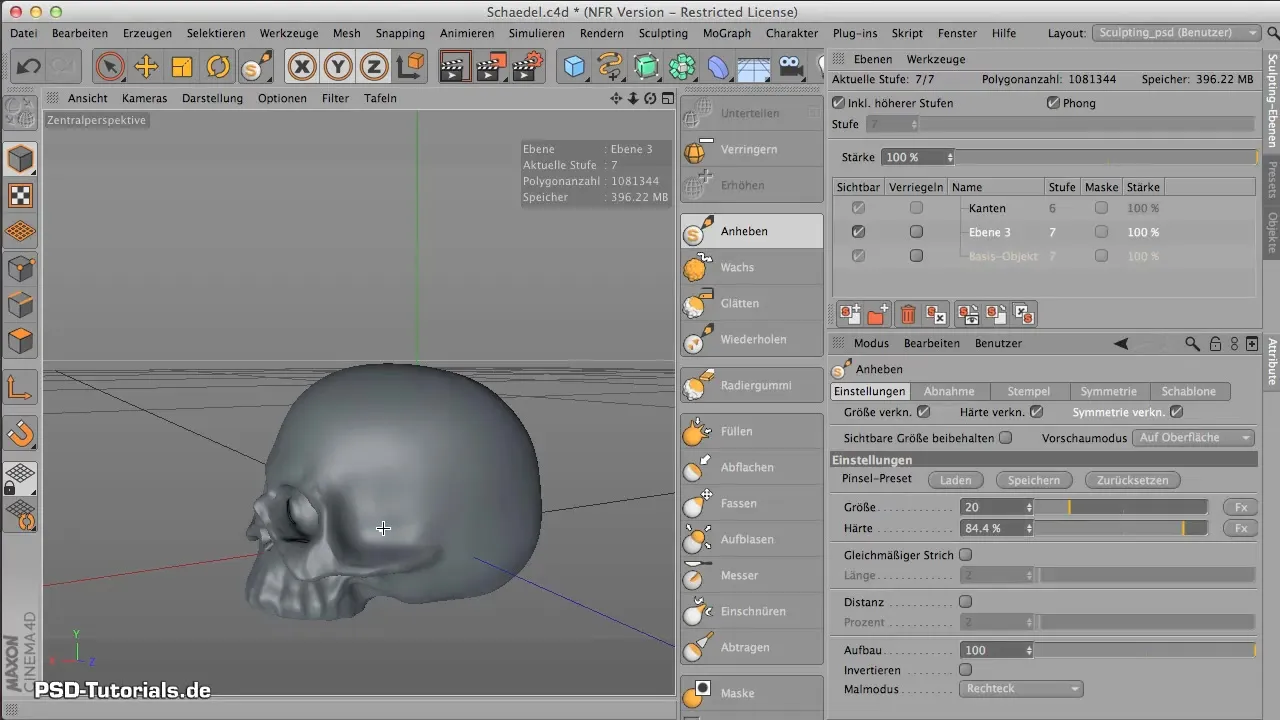
Set the paint mode to "Rectangle." This means you won't see how the brush tip appears, but the way the brush is applied to the model changes. The advantage is that you can create precise and controllable scratches.
Step 6: Applying roughness
Now start applying roughness to the skull. Paint up to the top line to mimic the natural shapes of the skull. It is important to work carefully here, as this will influence the overall look of the model.
Step 7: Disabling symmetry
If you want to work on the other side of the skull, disable the symmetry. This allows you to make specific changes without both sides of the skull being identical. This helps achieve a more realistic representation.
Step 8: Adjusting pressure
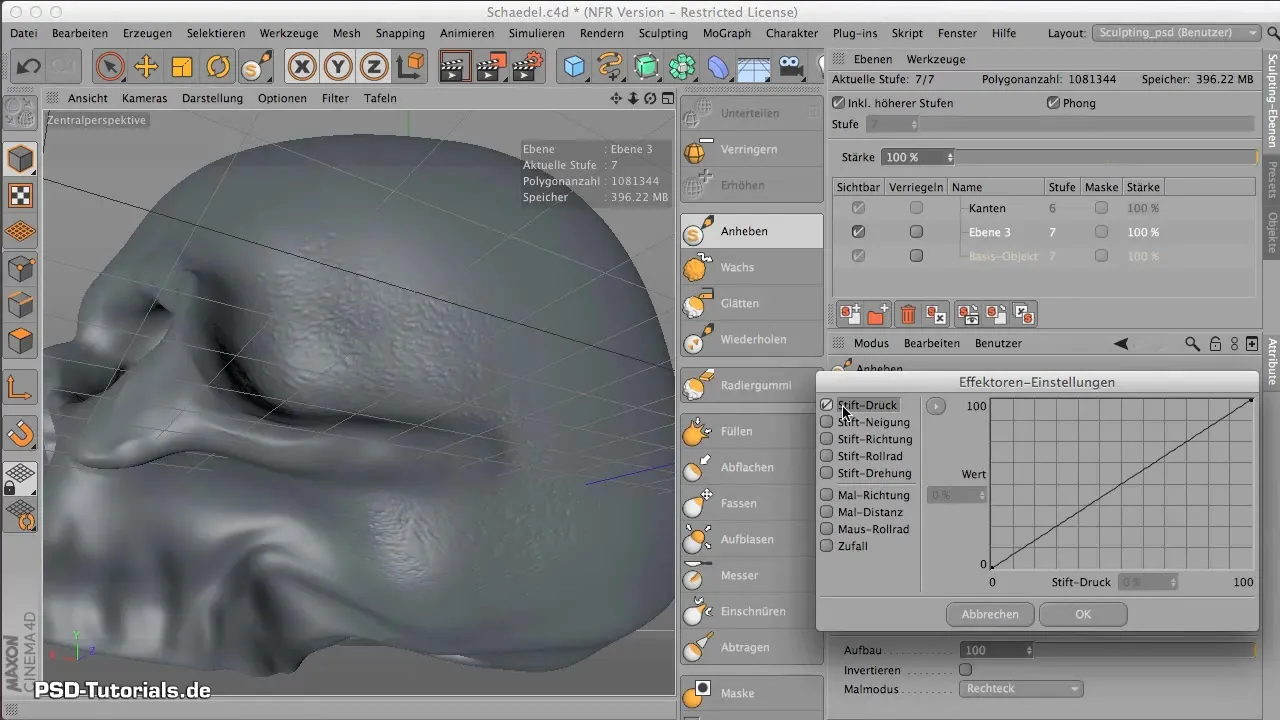
Adjust the pen pressure to create smooth transitions in the texture. A high pressure setting of 125 will help you create strong scratches, while light pressure provides subtler effects. Experiment with different pressure levels at various points of the skull.
Step 9: Texturing the temples
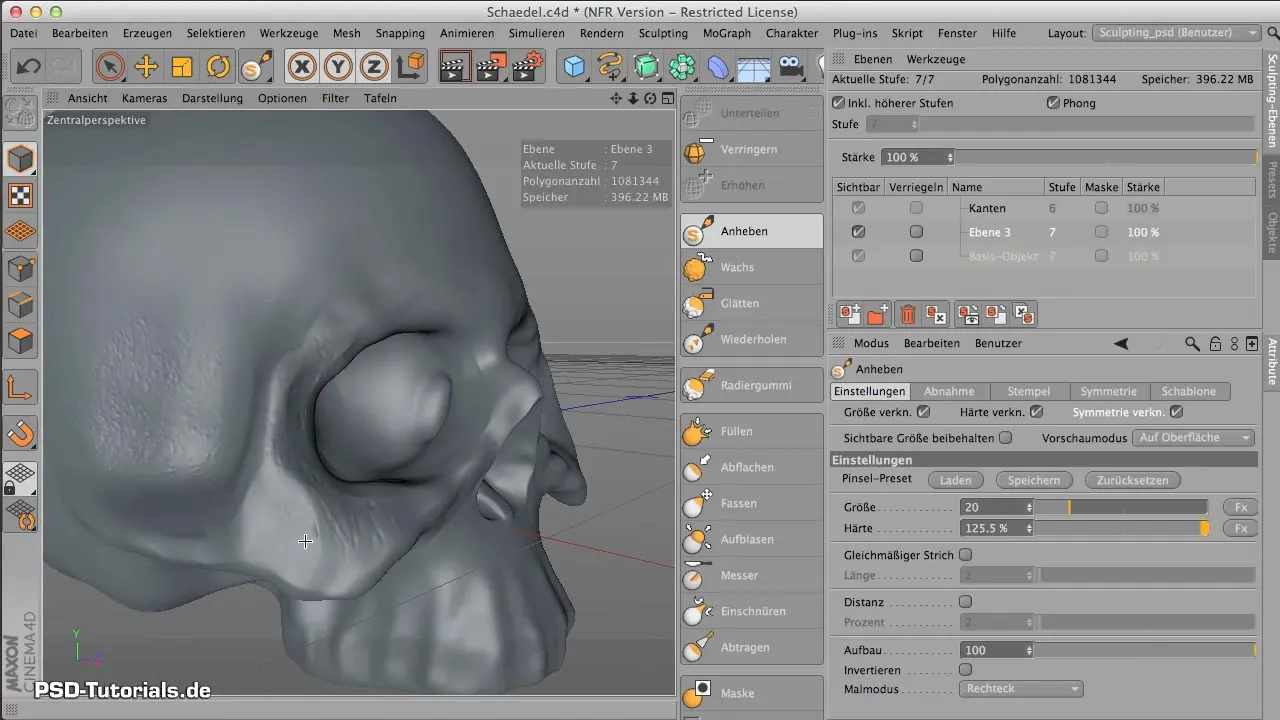
Apply the same technique to the temples to vary the structures in different areas. Be aware that the polygon distribution in these areas may differ, which can affect the texture.
Step 10: Final adjustments
Once you are done with the scratches and roughening, take a final look at the overall structure and make refinements. Let your creativity flow and don't hesitate to try different techniques to achieve the desired result.
Summary – Modeling scratches in CINEMA 4D
This guide has shown you how to create impressive scratches and imperfections in CINEMA 4D using simple tools and techniques. From adjusting the model to selecting the right brush presets, you can now enhance your graphic skills and create more organic shapes.
Frequently asked questions
How can I increase the subdivision of my model?You can increase the subdivision of your model in the "Display" tab. Set it to a value of 7 for better detail accuracy.
What is the advantage of the "Rectangle" brush mode?The "Rectangle" paint mode allows for targeted application of textures without visualizing the brush tip, resulting in more precise outcomes.
How can I adjust the pressure of the pen?The pressure can be adjusted in the pen settings. Experiment with different values to achieve the desired effect.
