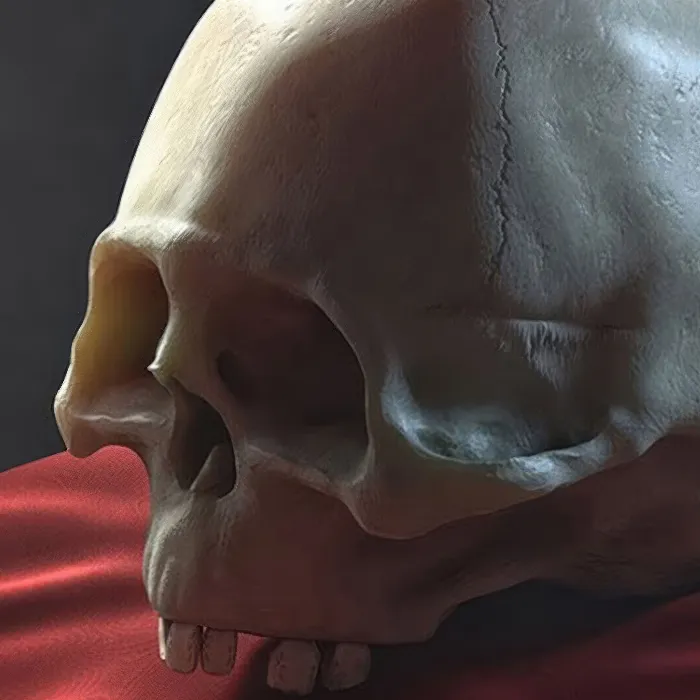
In this tutorial, I will show you step by step how to model a skull in CINEMA 4D. This process includes basic sculpting, focusing on using just one geometric element, a sphere. Additionally, you will learn how to deal with the teeth and other details, as well as addressing the possibilities of texturing and lighting. By the end of the tutorial, you will have created an engaging model that you can use in your projects.
Key Insights
- You only need a sphere for modeling.
- The detailing, such as teeth or specific bone structures, can be effectively done during the sculpting process.
- A good reference image helps improve the accuracy of the modeling.
- Using SSS shaders when texturing can increase the realism of the models.
Step-by-Step Guide
First, open CINEMA 4D and take a look at the panel for creating new objects. You would be surprised at how easy it can be to start with just a sphere.
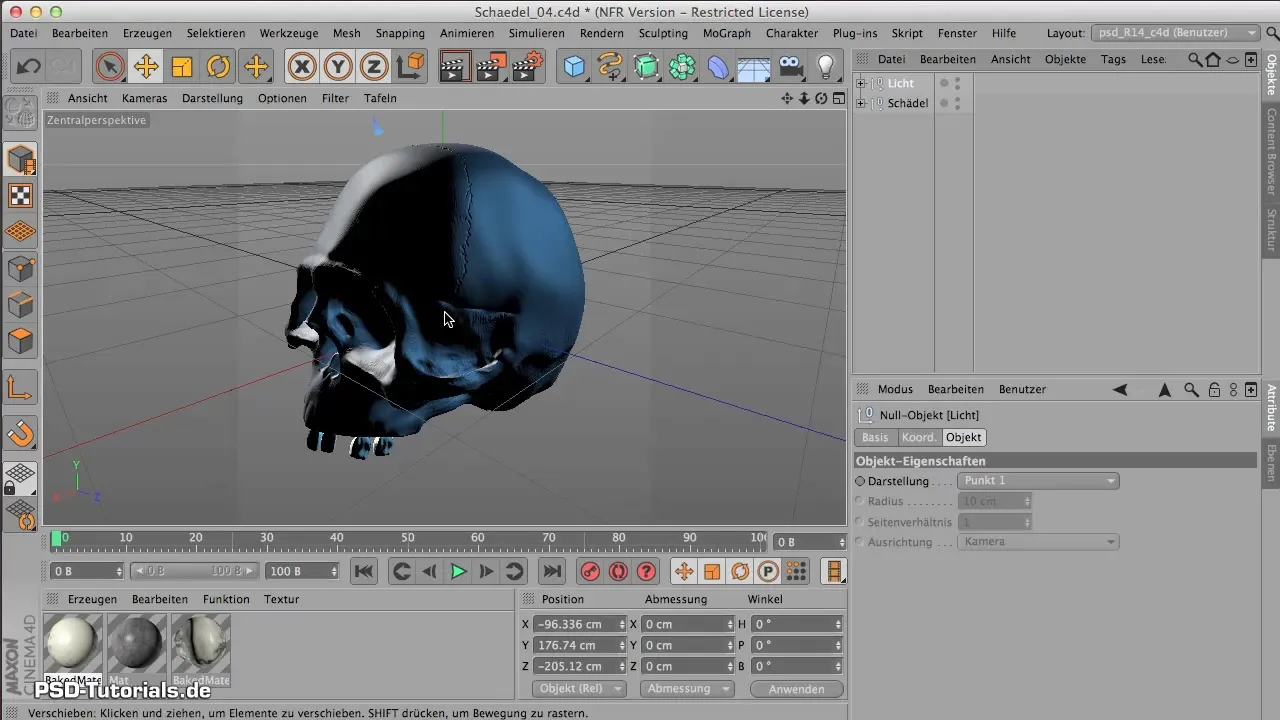
In the next step, create a sphere that serves as the base shape for your skull. Make sure that the segments are sufficient to add later details.
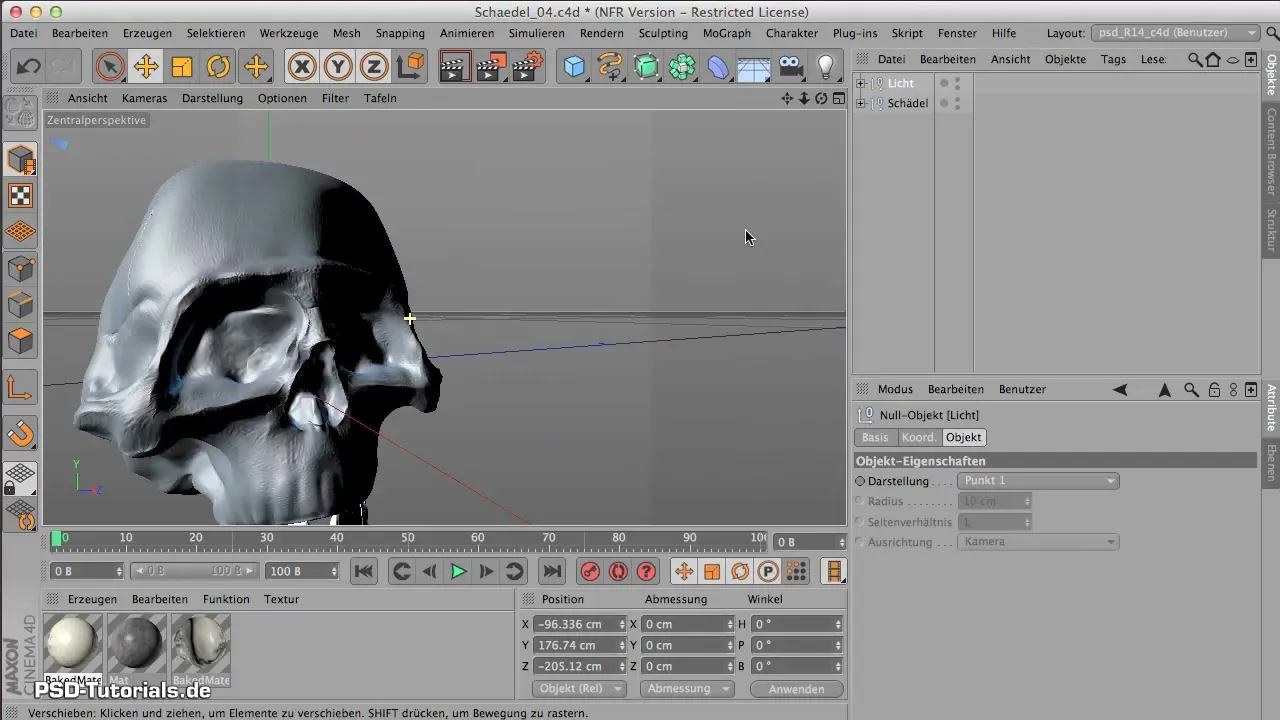
Now comes the exciting part: sculpting. With the sculpting tools in CINEMA 4D, you can transform the sphere into the shape of a skull. Use the various tools to shape the teeth and other details, so that your model appears alive.
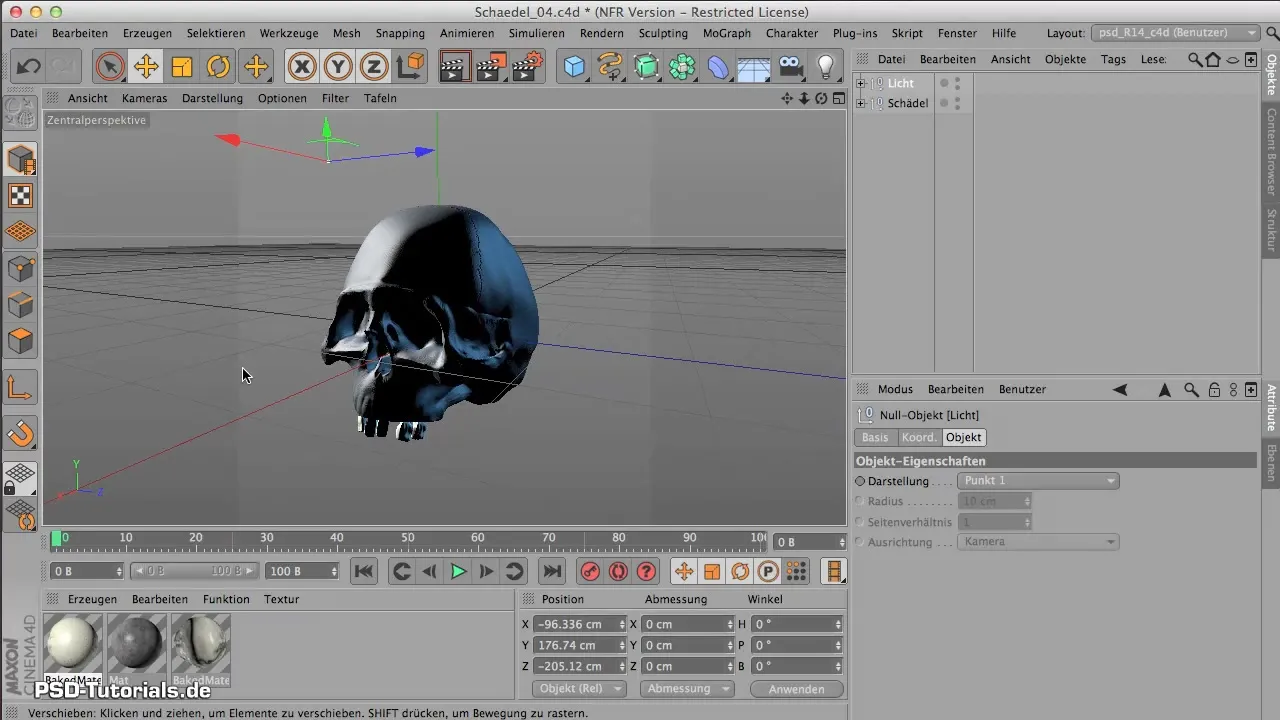
It is important to regularly check your progress and make adjustments as needed. Don't forget to save your model along the way to prevent data loss.
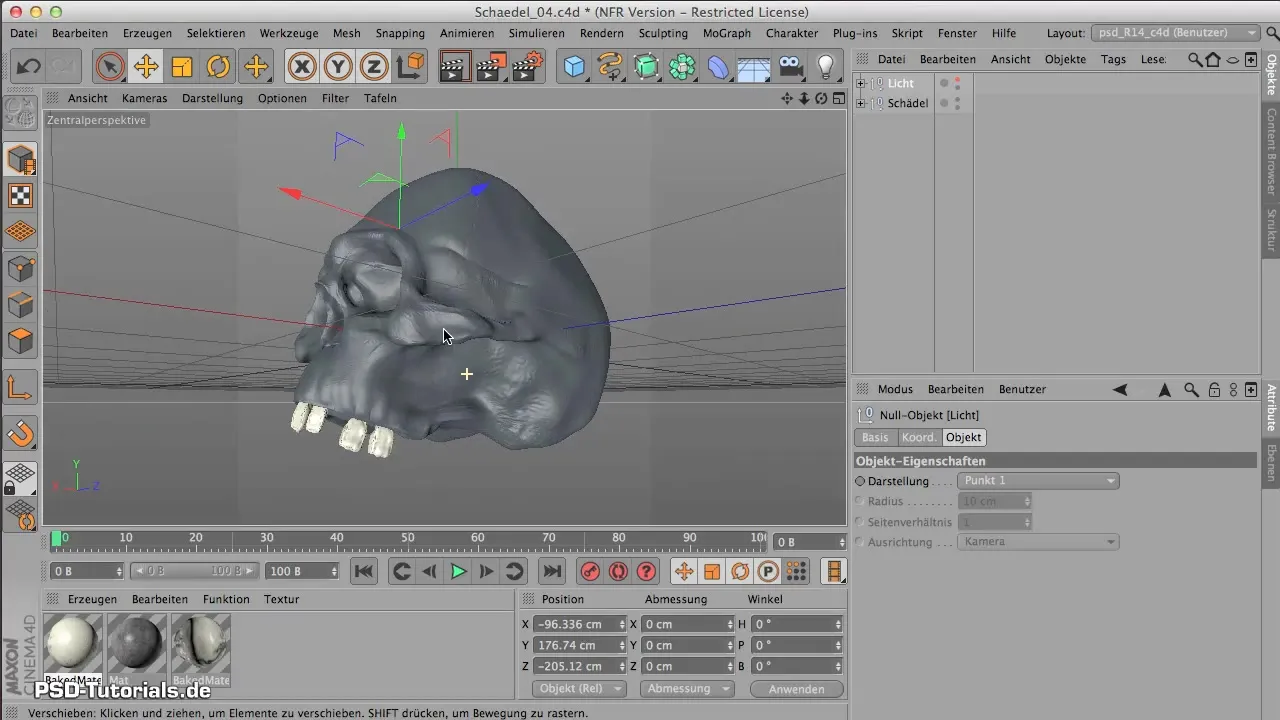
I also recommend paying attention to the lighting. Good lighting can help you view the model better and highlight the fine details. Turn off the lights and view your model from different perspectives.
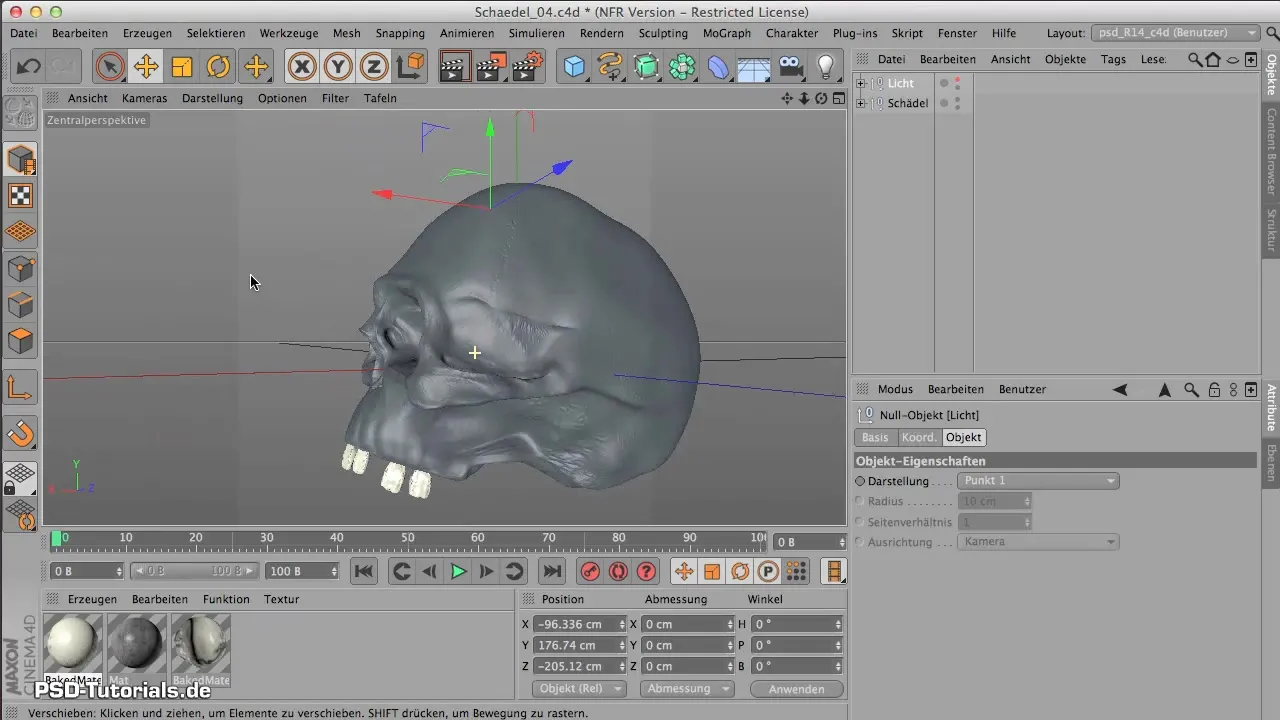
In the next step, you should use your reference image to clearly define the connection between the various structures. This can help you orient yourself better while sculpting and achieve more accurate results.
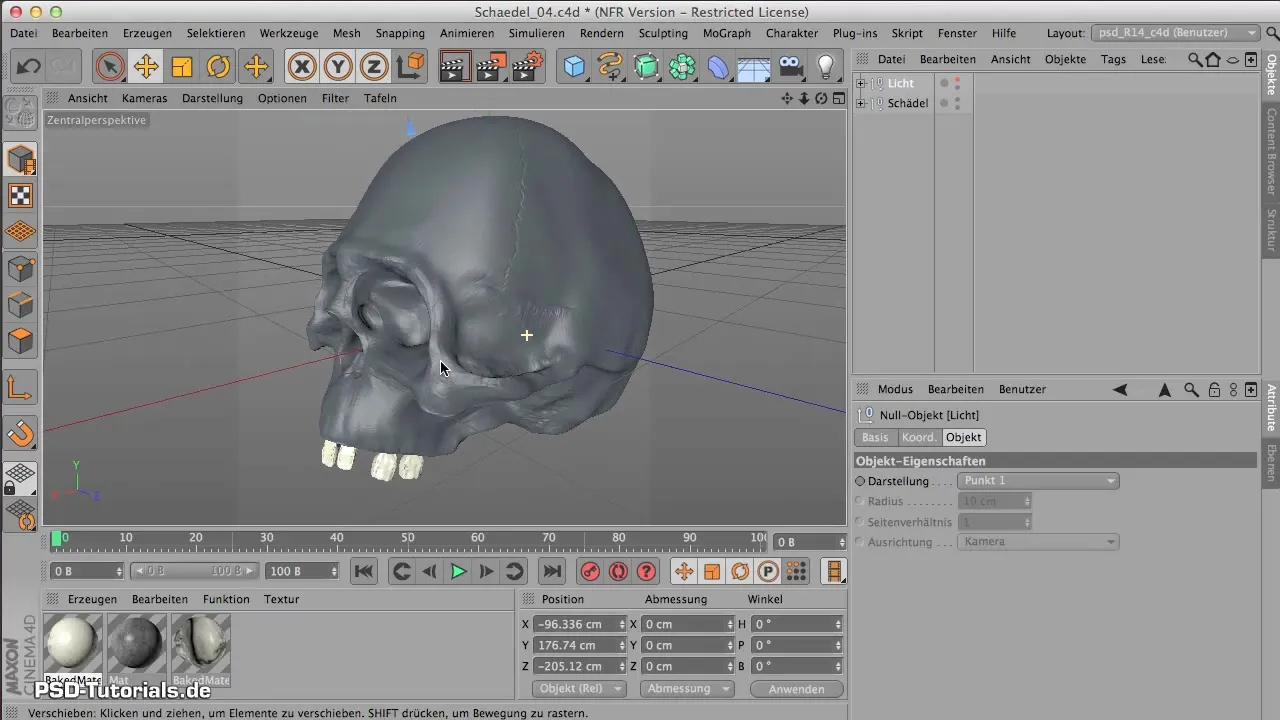
There are some anatomical peculiarities that you should consider. For example, the zygomatic bone is not porous, which you need to keep in mind to create a realistic model.
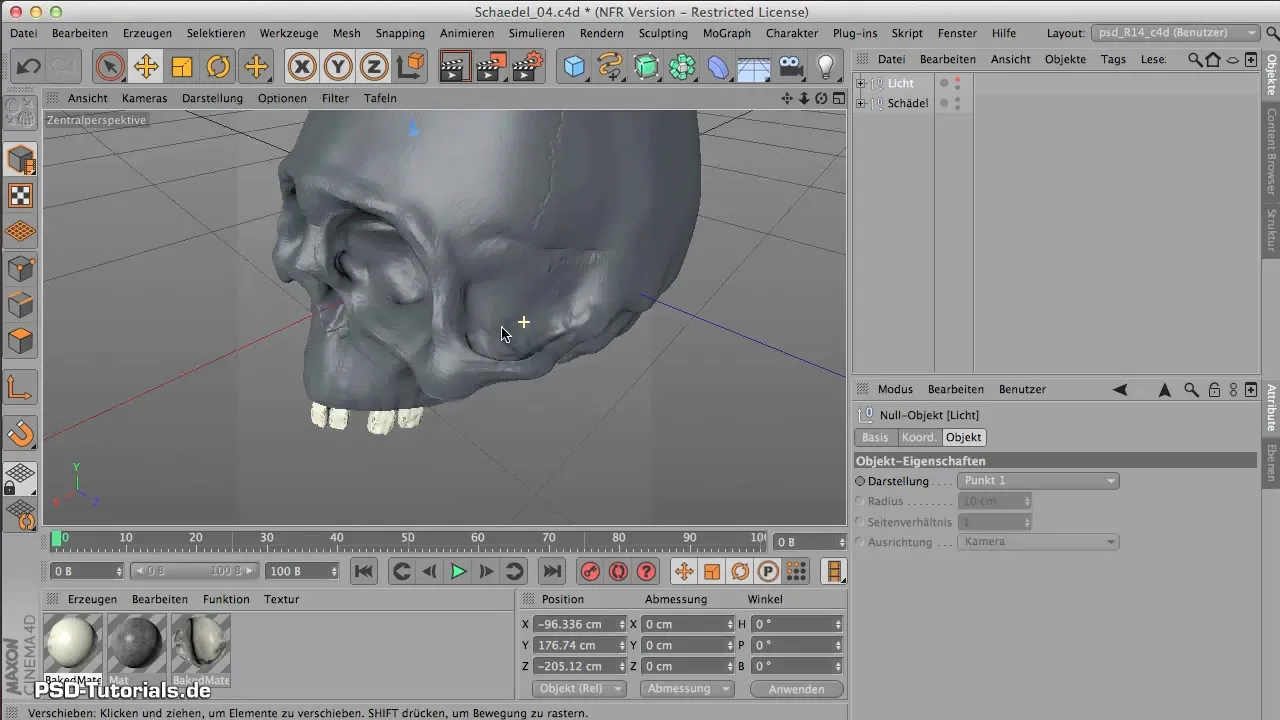
Once you are satisfied with the sculpting, you can move on to the texturing. The SSS shader is great for making the surface texture of your skull look realistic. Experiment with different settings to achieve the desired look.
After texturing, proceed to the final lighting of the scene. Here you have the opportunity to experiment with different light sources to create drama and depth. Make sure the light sources are well-placed to highlight the details of your model.
Finally, you should render your model from different perspectives and review the results. This way, you can ensure that you are satisfied with your work and have the opportunity to make final adjustments.
Summary - Skull Modeling in CINEMA 4D - A Comprehensive Tutorial
In this tutorial, you learned how to model a skull in CINEMA 4D while also acquiring important techniques for texturing and lighting. Using a single sphere as a starting point demonstrates how efficiently you can work with the right tools.
Frequently Asked Questions
How do I start modeling in CINEMA 4D?Create a new project and add a sphere as the base object.
Which tools do I use for sculpting?Use the sculpting tools to add details and shapes.
How important is a reference image?A reference image is very important for achieving anatomical accuracy when modeling.
What is an SSS shader?An SSS shader is a shader that scatters light through materials, leading to softer and more realistic materials.
How can I adjust the lighting in my scene?You can adjust different light sources and their positions to achieve the desired effects.
