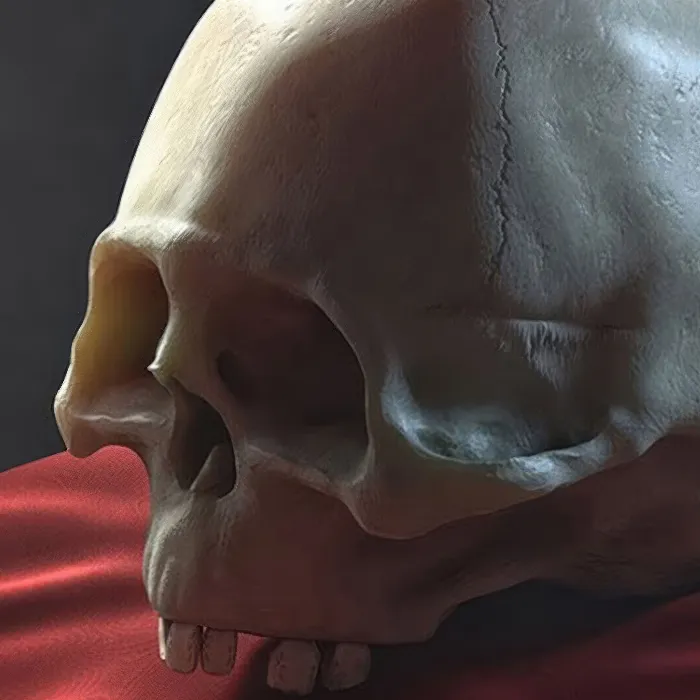
Before you start sculpting in CINEMA 4D, there are some tools that offer you many creative possibilities. One of the most powerful tools is the mask, which allows you to protect specific areas of an object from deformation. Another important concept is layers, which help you to make different editing stages more robust. In this tutorial, you will learn how to work effectively with masks and layers to optimize your sculptural designs.
Main Insights
- Mask: Protects specific areas from deformation.
- Layers: Facilitate the separate editing of different objects or textures.
- Flexibility: You can easily adjust the strengths and properties of the masks and layers.
Step-by-Step Guide
Create and Apply a Mask
To start creating your mask, simply click on the mask tool. Once the tool is active, your other tools will be deactivated. You will now see the settings for hardness and size that you can adjust to create different masks. Set the value to 20% at first to harmonize the results.
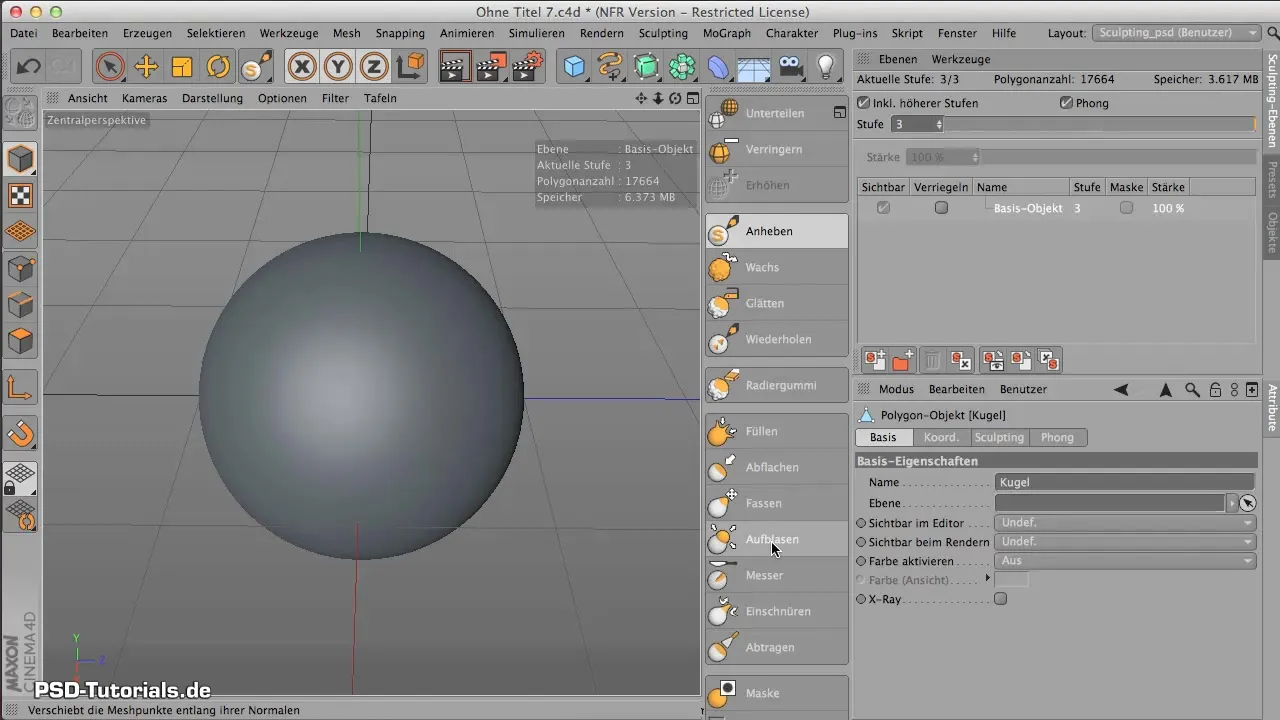
Now start by simply moving the mouse over the object and painting the mask. If you pay attention, you can already perceive the jaggedness of the edges and the quality of the mask. Make sure that the resolution of your object is high enough to create sharp masks. If you notice irregularities, you can increase the resolution of your object.
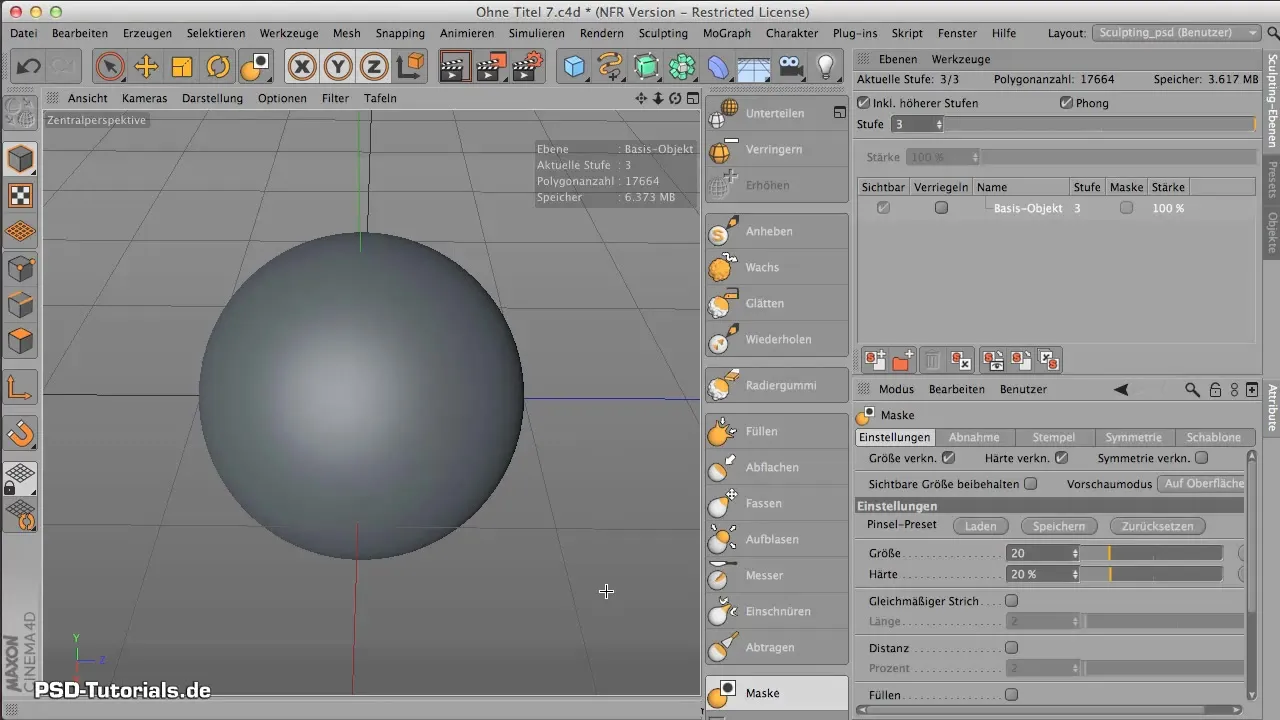
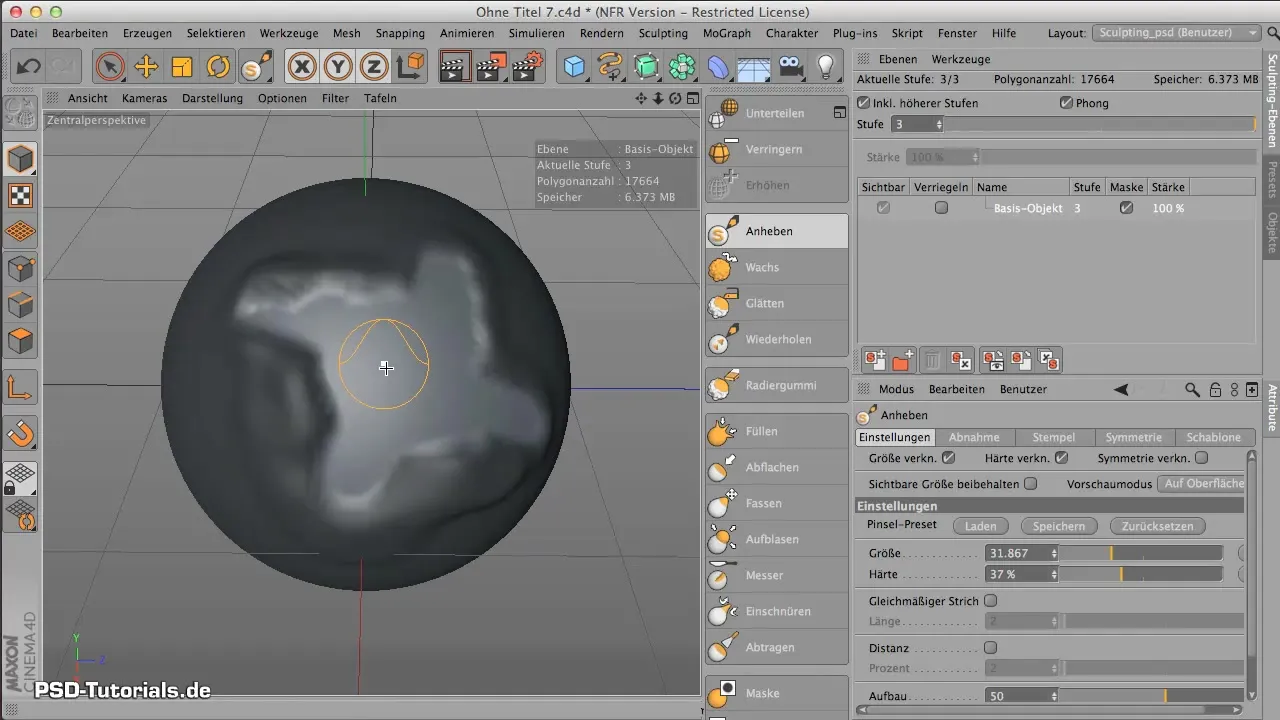
Once you have painted the mask, switch back to the lift tool and test the effects of your sculpting. You should notice that the lifting only occurs where the mask is not placed. This way, you can safely add bulging shapes or finer details without changing the entire object.
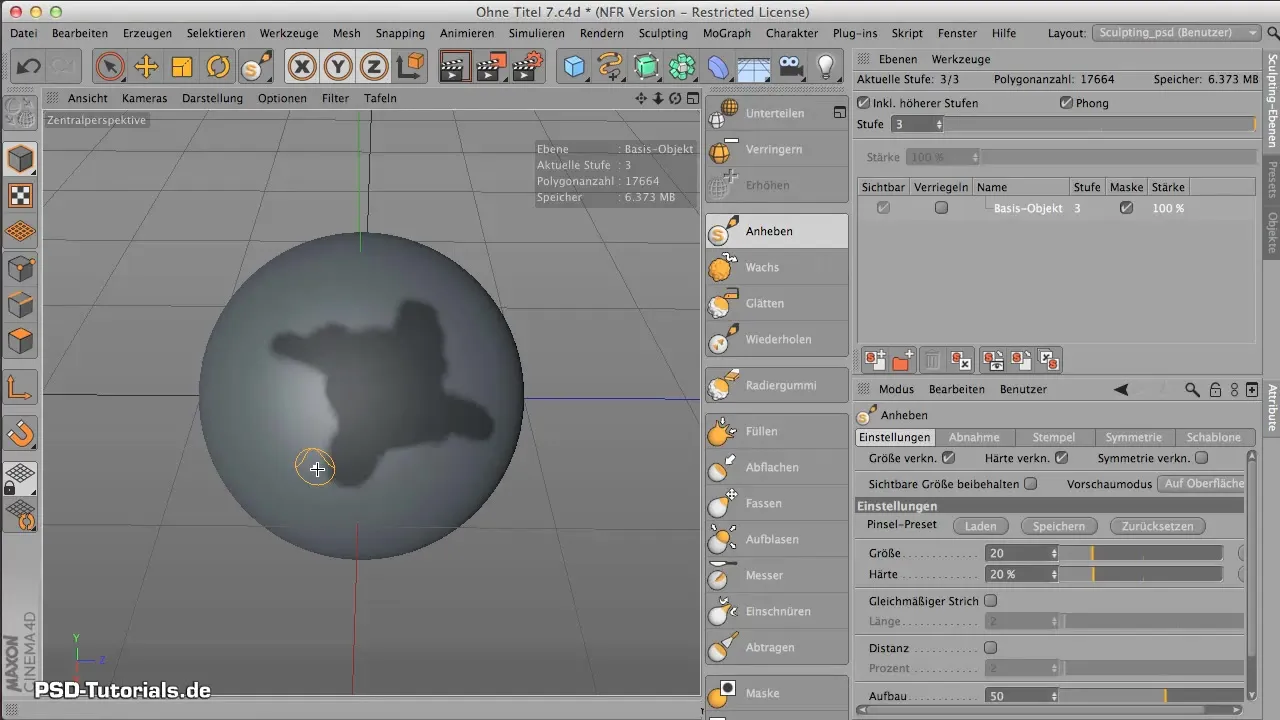
Invert and Delete Masks
To expand the functionalities of your mask, you have the option to invert the mask. This means that the area that was previously protected can now be edited, while the masked area remains untouched. If you no longer need the mask, you can easily delete or hide it.
Add Textures and Materials
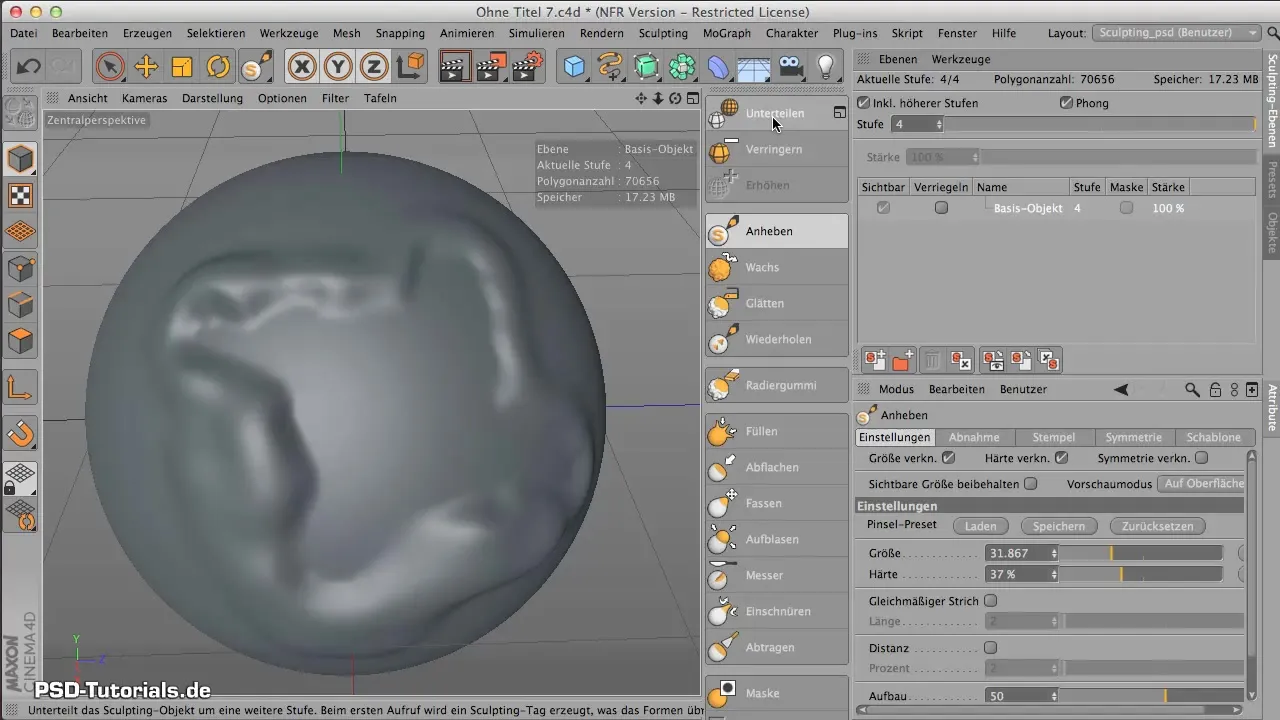
After you have successfully applied the mask, you can apply an additional texture to your object. The goal is to apply these textures not directly on the mask layer, but on a separate layer. This way, you can ensure that each edit is independent and you can adjust or delete the texture if necessary. To do this, set another subdivision step to increase the number of polygons, so that the textures can later come into their own.
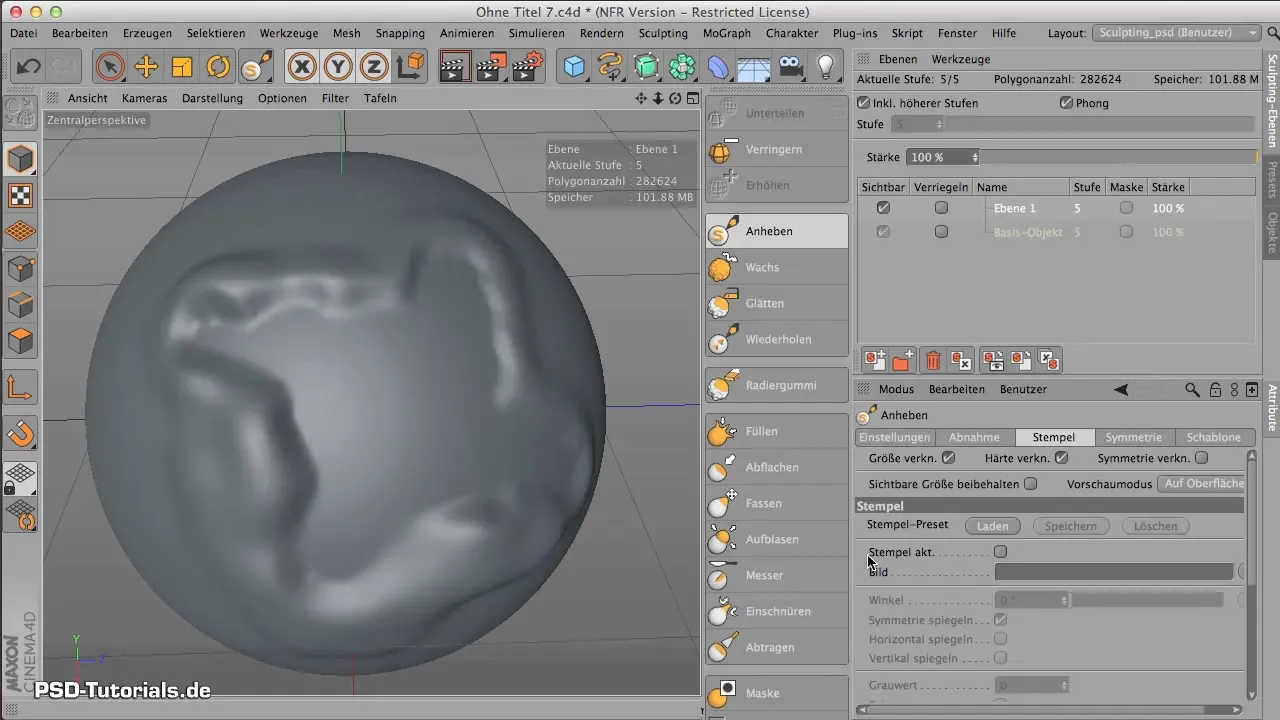
Now create a new layer for your texture. Remember that you can hide or delete this layer later without jeopardizing your overall design. Unlike the previous steps, working with a new layer is comparable to using Photoshop, where you create layers to easily edit specific parts of the design.
Apply Textures
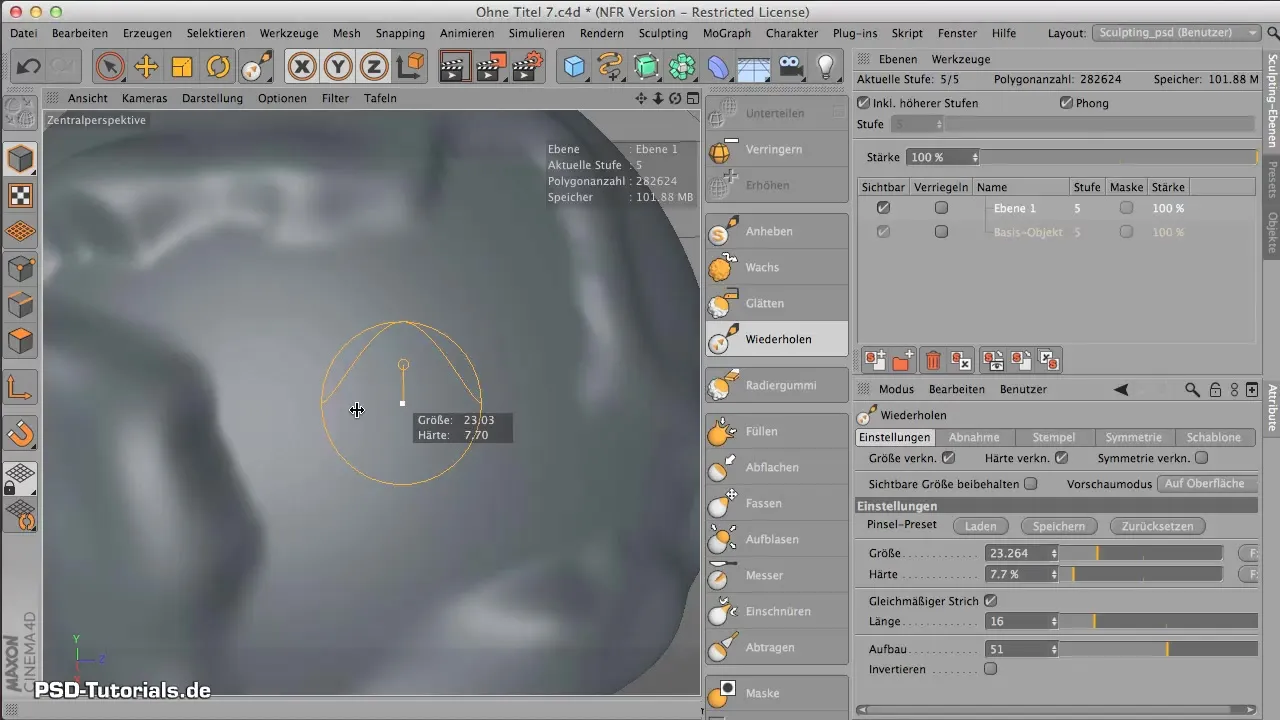
Use your tool to apply the desired texture to the new layer. Ensure that the relevant settings are set correctly. For example, if you are working with the brush, load the desired brush preset and start applying the texture to your geometry.
If the texture does not look even, make adjustments in size or editing type to achieve the desired result. Magnetize the texture and make sure that the application is evenly applied. It is important to work close to the object to achieve more accurate results.
Views and Final Adjustments
You can toggle the visibility of the different layers on and off at any time and adjust them accordingly. This gives you high flexibility during your work, especially when working with complex designs and multiple textures at the same time.
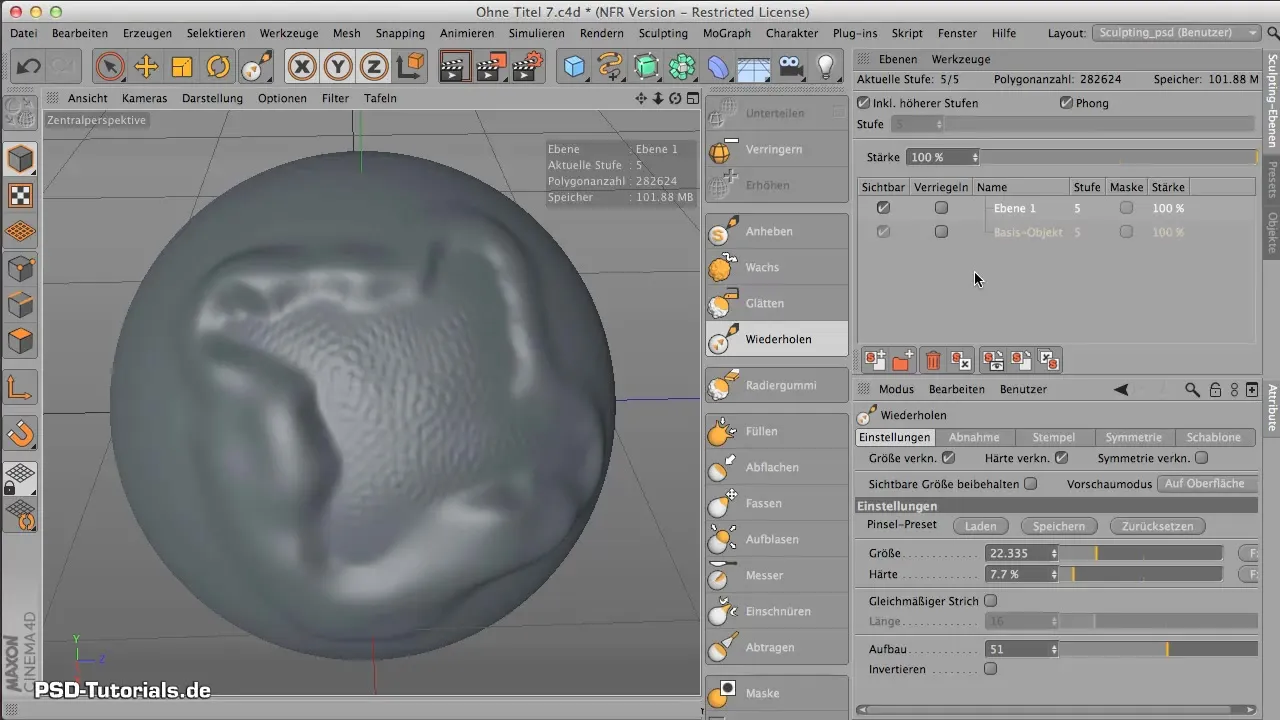
In summary, you now have the opportunity to achieve precise control while sculpting in CINEMA 4D by working with masks and separate layers. You can apply specific details and textures without risking the entire object.
Summary - Mask and Layers in CINEMA 4D - Effective Techniques for Sculpting
In this guide, you have learned how to create masks to protect specific areas of an object and how to create separate layers for texturing. With these techniques, you can significantly enhance your sculpting in CINEMA 4D and bring more creativity to your work.
Frequently Asked Questions
How do I create a mask in CINEMA 4D?Click on the mask tool and paint the mask directly onto your object.
What to do if the mask has jagged edges?Increase the resolution of your object for clearer edges and a finer mask.
How can I apply a texture to the mask?Create a new layer and paint the texture on that separate layer.
Can I delete layers in CINEMA 4D?Yes, you can toggle each layer on or off and delete them if necessary.
How many masks can I use in a project?You can use as many masks as needed, depending on the requirements of your project.
