Working with CINEMA 4D opens up countless possibilities for sculpting. The various tools available to you each have specific functions, and it is crucial to understand their differences to use them effectively. In this guide, I focus on the tools “Fill”, “Flatten” and “Subtract”. I will demonstrate how you can implement them effectively in your projects.
Main Insights
- The “Fill” tool requires a base to apply material and adds material without exceeding the original level.
- “Flatten” changes the shape, regardless of whether you are working inside or outside the original surface.
- “Subtract” can only remove material where there is already a protrusion.
Step-by-step Guide
First, let’s take a look at the "Fill" tool. To work with it, you first need to create an element that can be filled. Follow these steps:
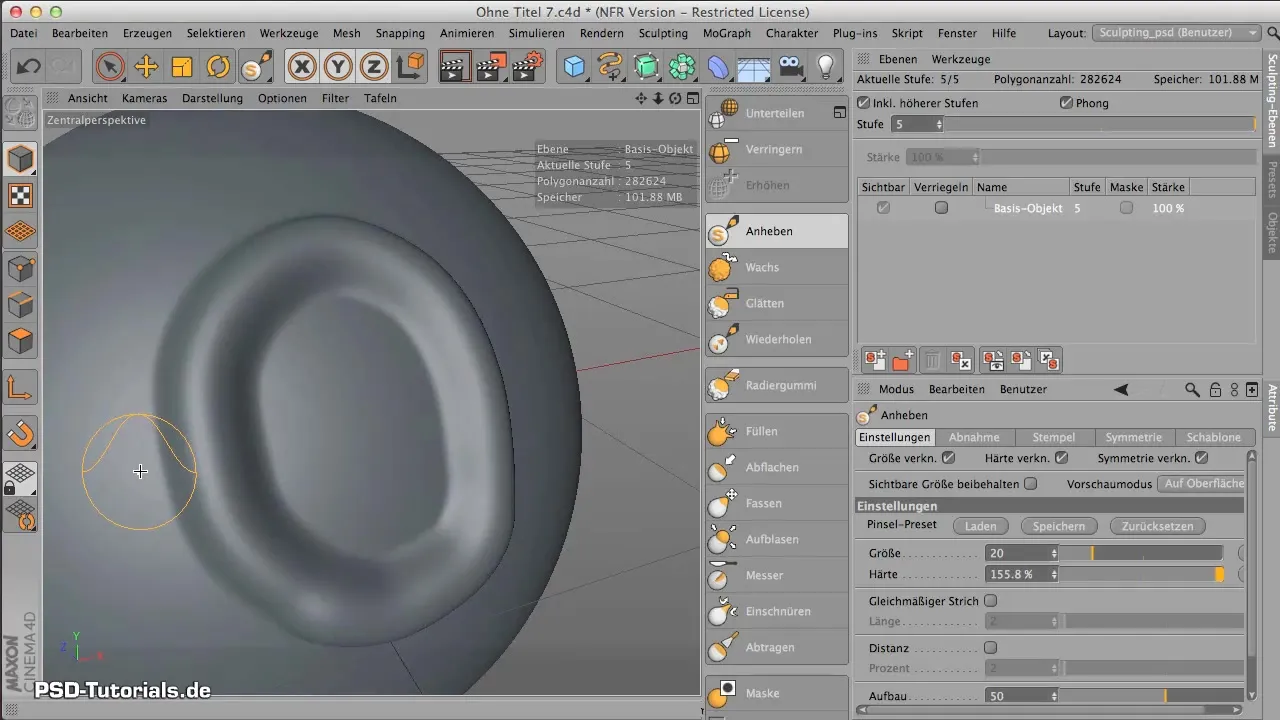
To use the “Fill” tool, select the Raise tool first to create a shape. Go to the Raise tool, click on it, and drag the desired shape in your workspace. Once you’ve done that, you generate a polygonal structure that is ready for the next phase.
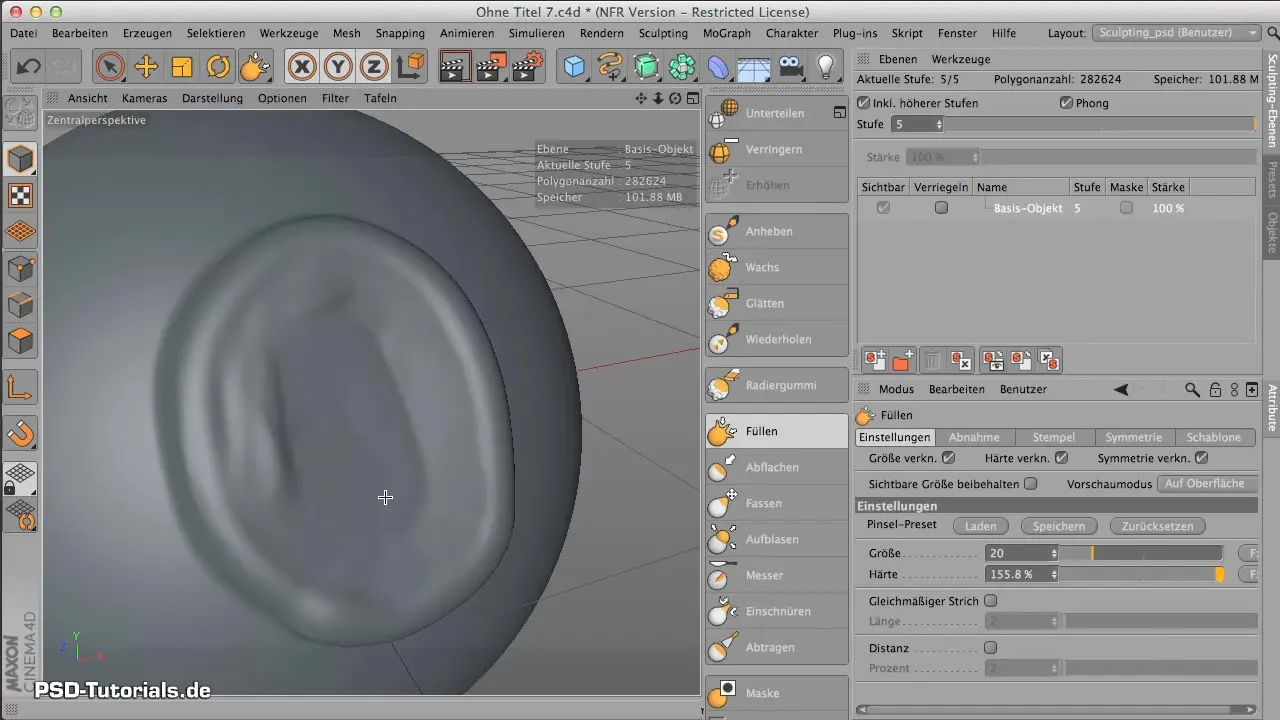
Now you have a suitable basis to use the “Fill” tool. Select the Fill tool and make sure to set it up correctly. By clicking on the created surface, you can see if filling occurs. Note that the tool only works when there is space to fill.
If you want to understand the fill function better, perform several attempts by filling the shape from different sides. Make sure that the material always stays at the original level and does not go beyond it, as if it were water that cannot overflow.
Now that you understand the possibilities of filling, let’s look at the “Flatten” tool. First, select a new or existing shape that you want to flatten. Set the hardness of the tool to a desired level to achieve the desired surface efficiency.
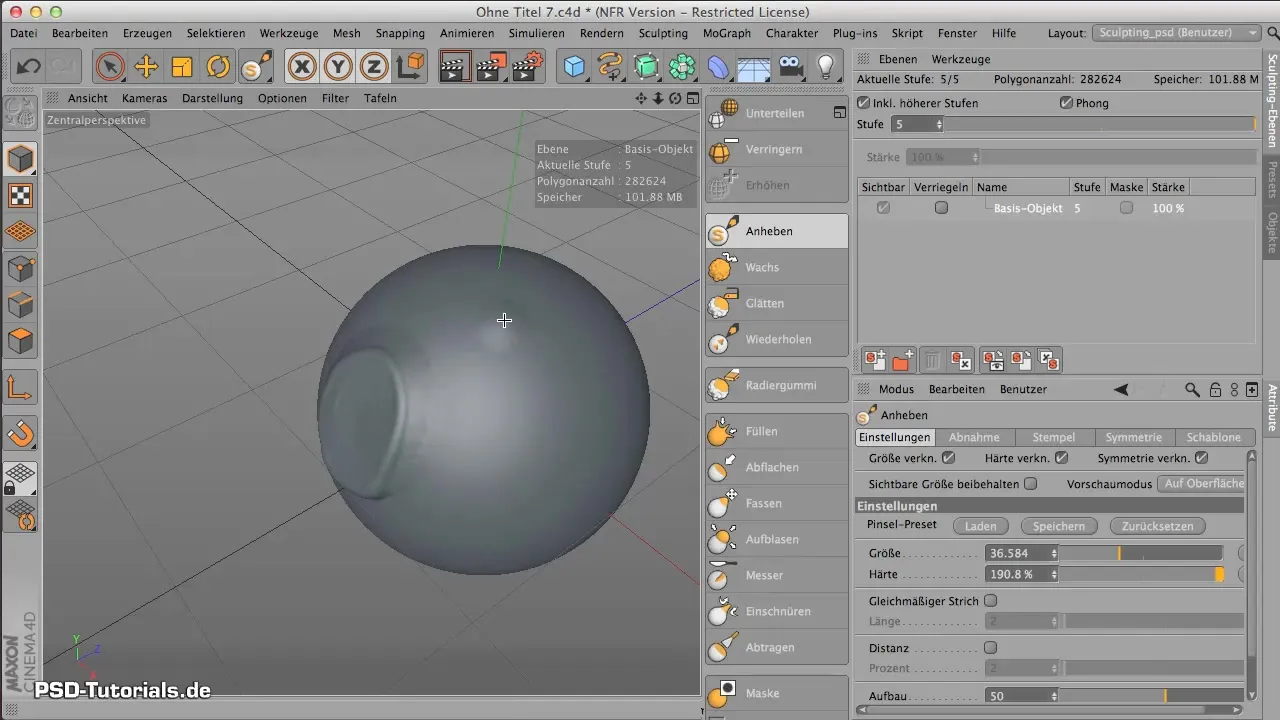
With the Flatten tool, you can then start editing the shape. Click on the surface and drag the tool over the shape. You will notice that you can also work beyond the boundaries of the original structure.
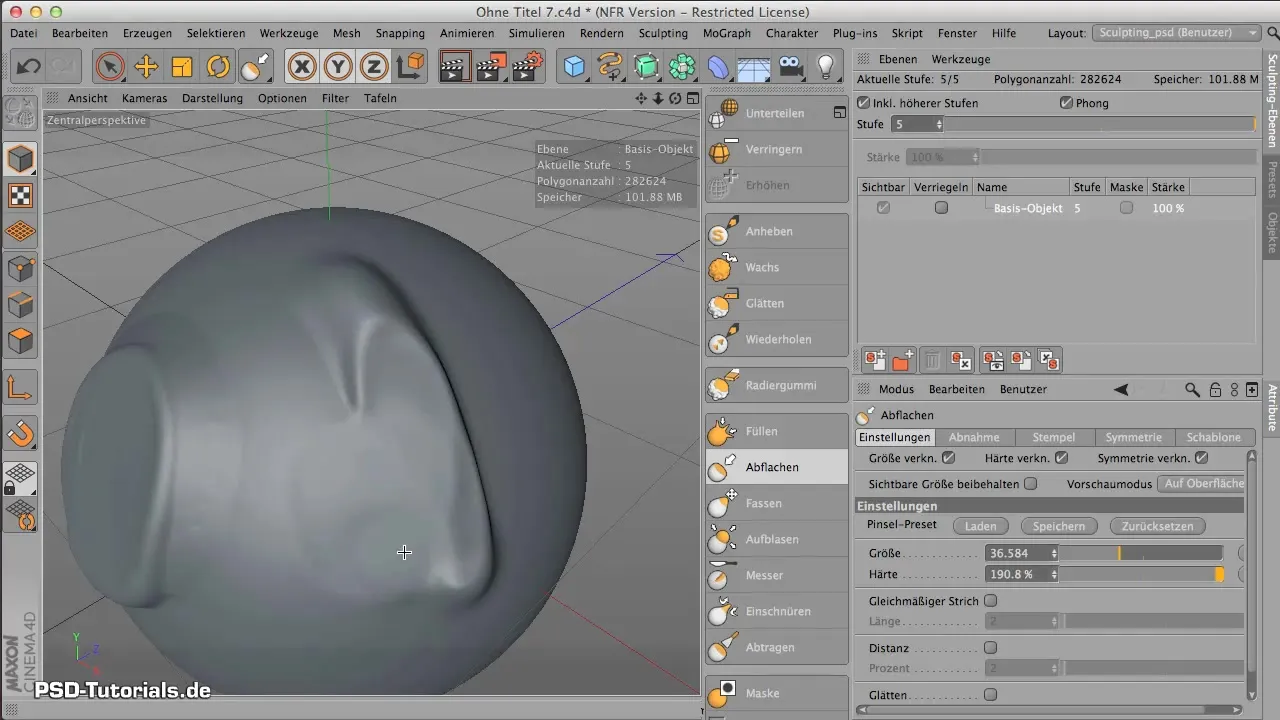
If you achieve the desired flatness, you can also try to edit the entire sphere or other contours by going beyond the edges. This is useful for flattening certain areas that previously had height differences.
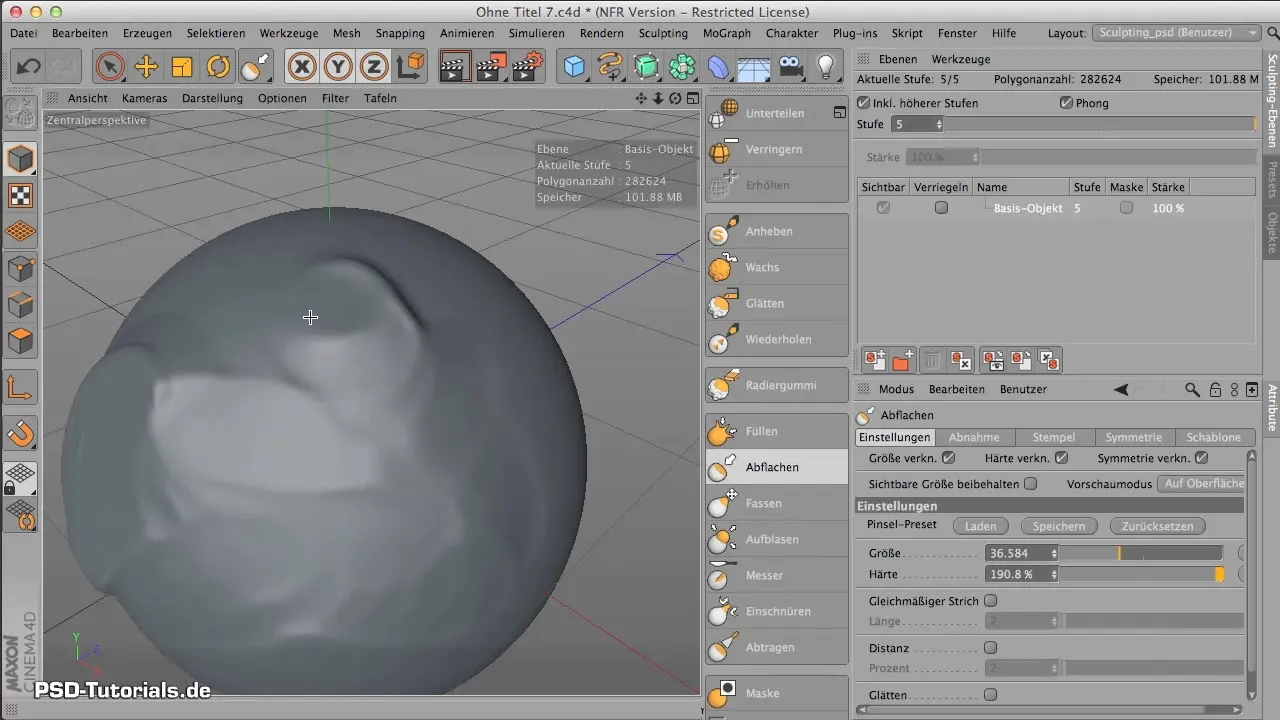
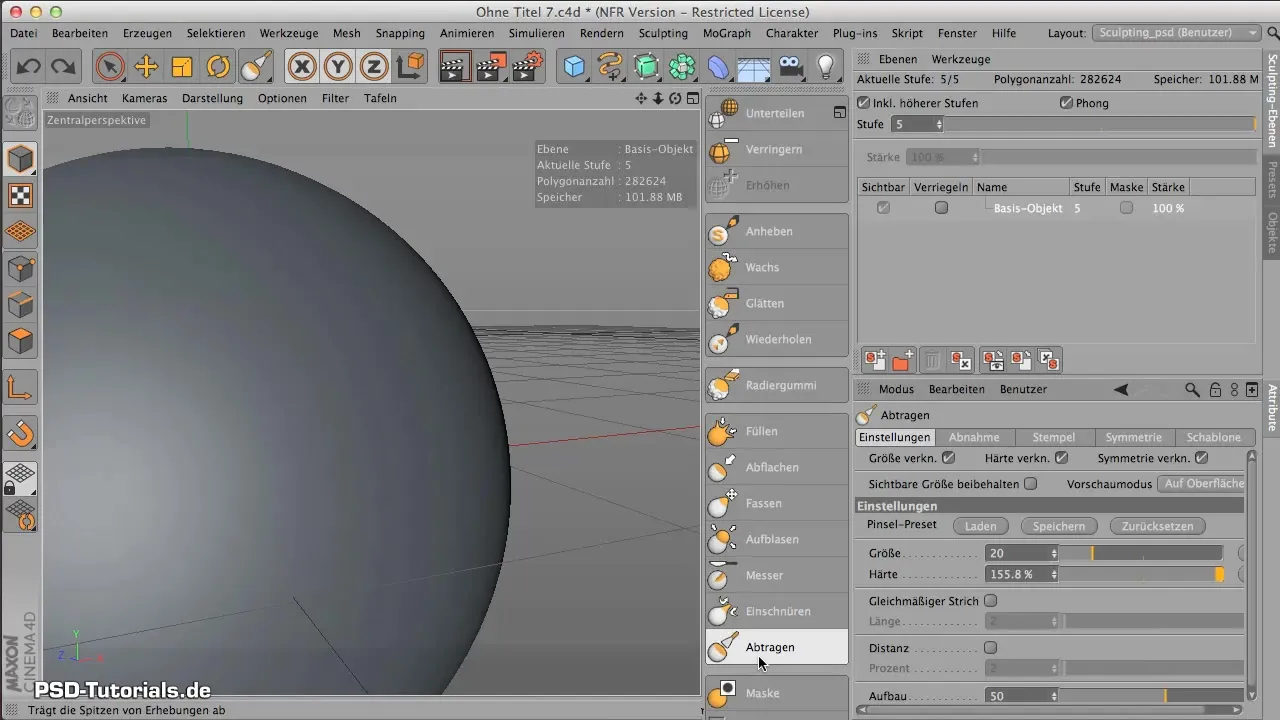
The next tool you will get to know is the Subtract tool. As with the previous tools, start by selecting the Subtract tool. Here too, you can adjust the hardness and focus on the desired surface.
When you activate the Subtract tool, you will notice that it initially works similarly to the Flatten tool. However, you can only subtract where there was already a protrusion. Working beyond the shape without having a height difference beforehand will not achieve the same effect.
By understanding this difference, you can effectively decide when to use which tool and how to implement the appropriate tool based on the requirements of your project. Experiment a bit with these tools to achieve the ideal results.
Summary - Differences between the “Fill”, “Flatten” and “Subtract” tools in CINEMA 4D
In this guide, you have learned about the “Fill”, “Flatten” and “Subtract” tools in detail. Each of these tools has its specific functions and applications. Understanding these differences is crucial for your sculpting in CINEMA 4D.
Frequently Asked Questions
What is the main difference between “Fill” and “Flatten”?“Fill” applies material, while “Flatten” shapes the structure and removes edges.
How does the Subtract tool work?The Subtract tool only works on protrusions and has no effect on flat areas.
Can I use all tools at the same time?Yes, you can combine all tools to achieve different effects.
How can I change the level when filling?The level when filling cannot be exceeded; it remains at the original height.
Do I need to experiment with the hardness of the tools?Yes, the hardness settings are crucial for the tools’ efficiency and can be optimized.
