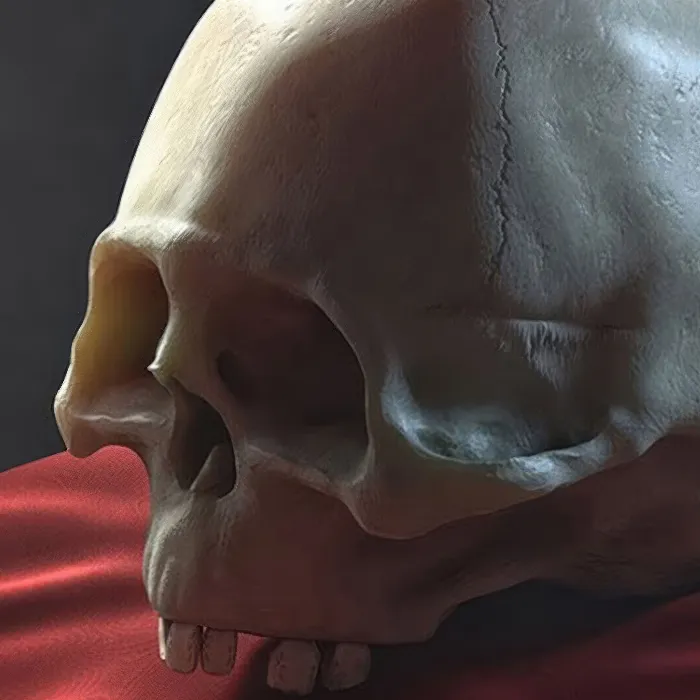
The process of sculpting in CINEMA 4D can be challenging at first, but it offers fascinating opportunities to create detailed 3D models. In this tutorial, you will focus on designing the skull base. You will learn how to model the basic shape of the skull using effective tools like the wrapping tool and adjusting the proportions. Let's dive into the world of 3D sculpting and begin.
Main insights
- The use of the wrapping tool allows for precise subdivision of the model.
- Tool sizes are crucial for editing proportions.
- Symmetry helps achieve consistent results.
Steps to shape the skull base
Creating a realistic skull base requires both technical understanding and creative imagination. Here are the steps you should follow to optimize your modeling in CINEMA 4D.
Step 1: Analyze the base model
First, take a look at the existing model. It may appear somewhat bulky and disproportionate, which does not match the expectations of a real skull. You need to clearly define the proportions before you start removing material.
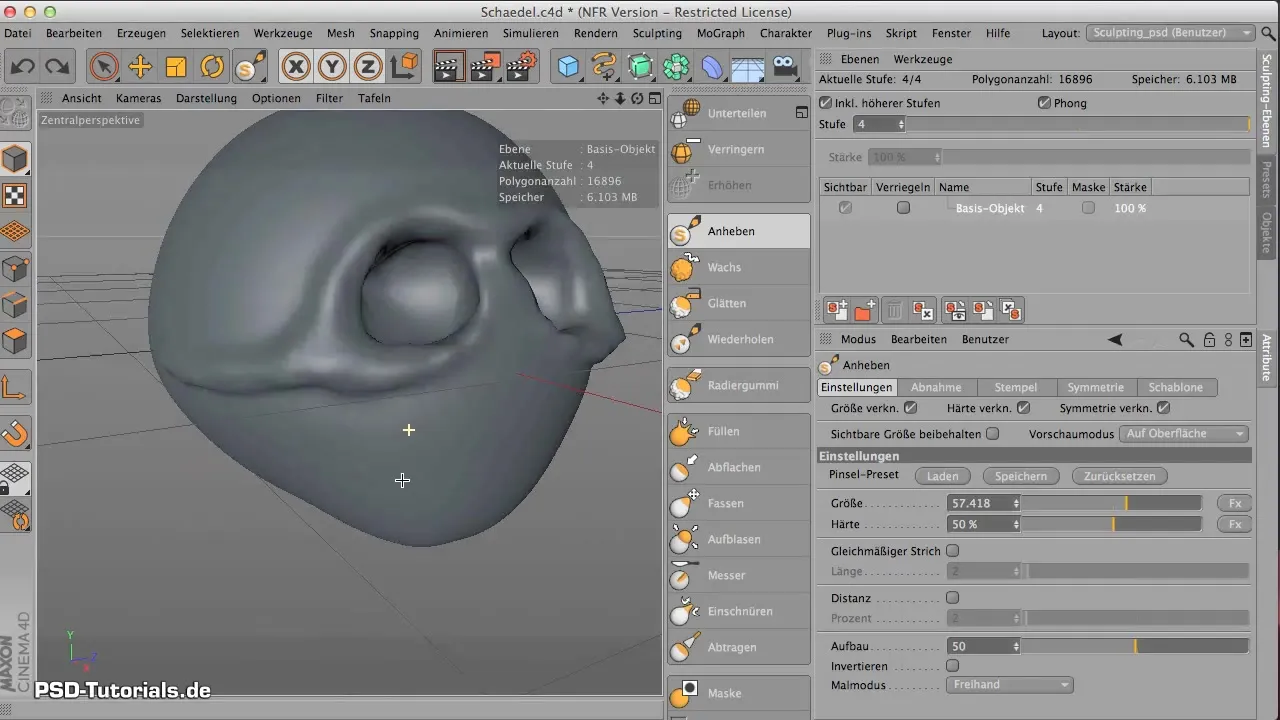
Step 2: Material removal with the wrapping tool
Once you have clarified the proportions, the next step is to remove excess material, especially at the bottom of the skull base and the temple. The wrapping tool is your best friend here. Use a larger tool tip to efficiently remove material and maintain formal structures.
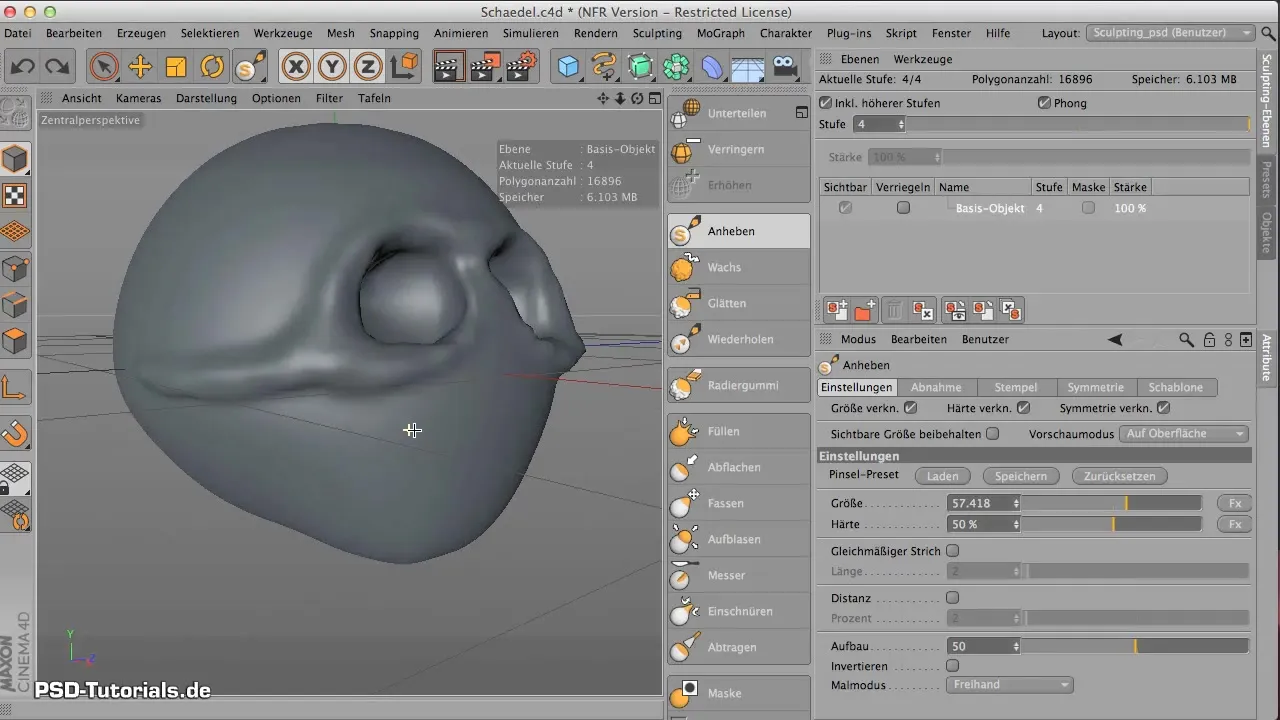
Step 3: Activate symmetry
Activate symmetry so you don’t have to worry about one side of the skull looking different from the other. As long as symmetry is activated, you can ensure all modifications are uniform on both sides.
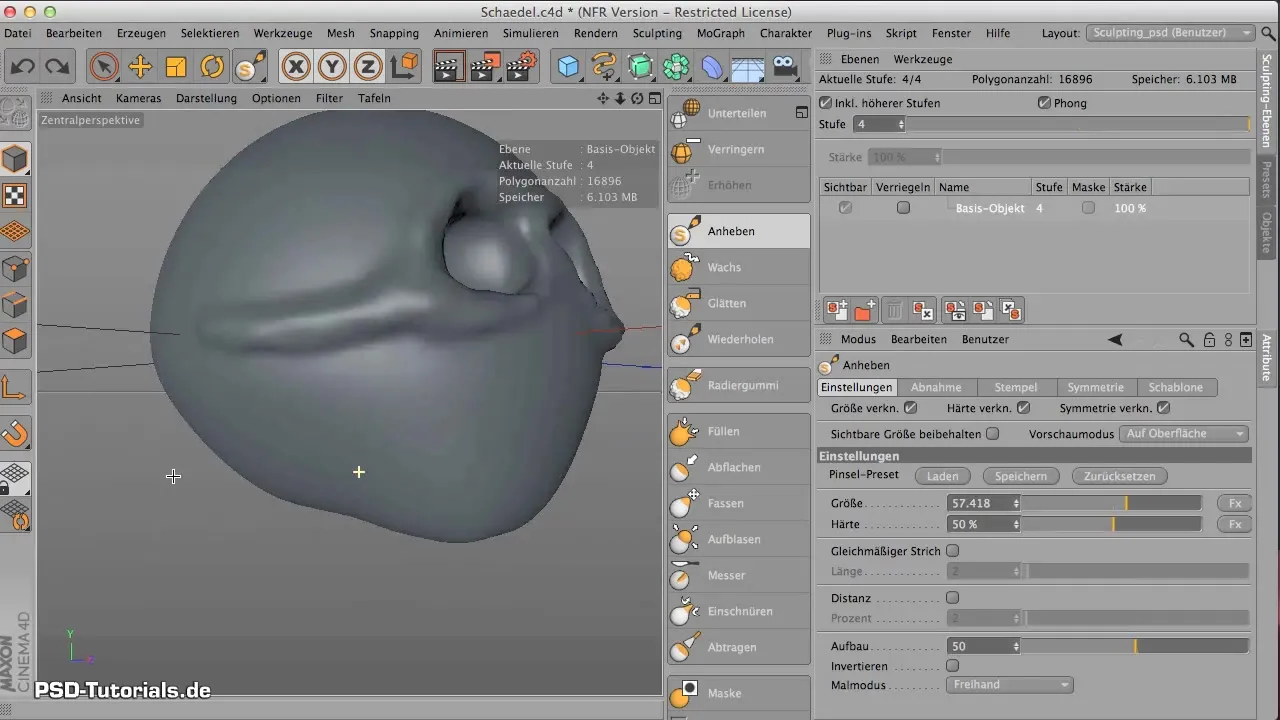
Step 4: Edit surrounding material
Now that the wrapping tool is set up, you will push the material inward deliberately. Make sure to adjust your tool size to enable more precise editing. This method of material editing allows you to shape the characteristic form of a skull.
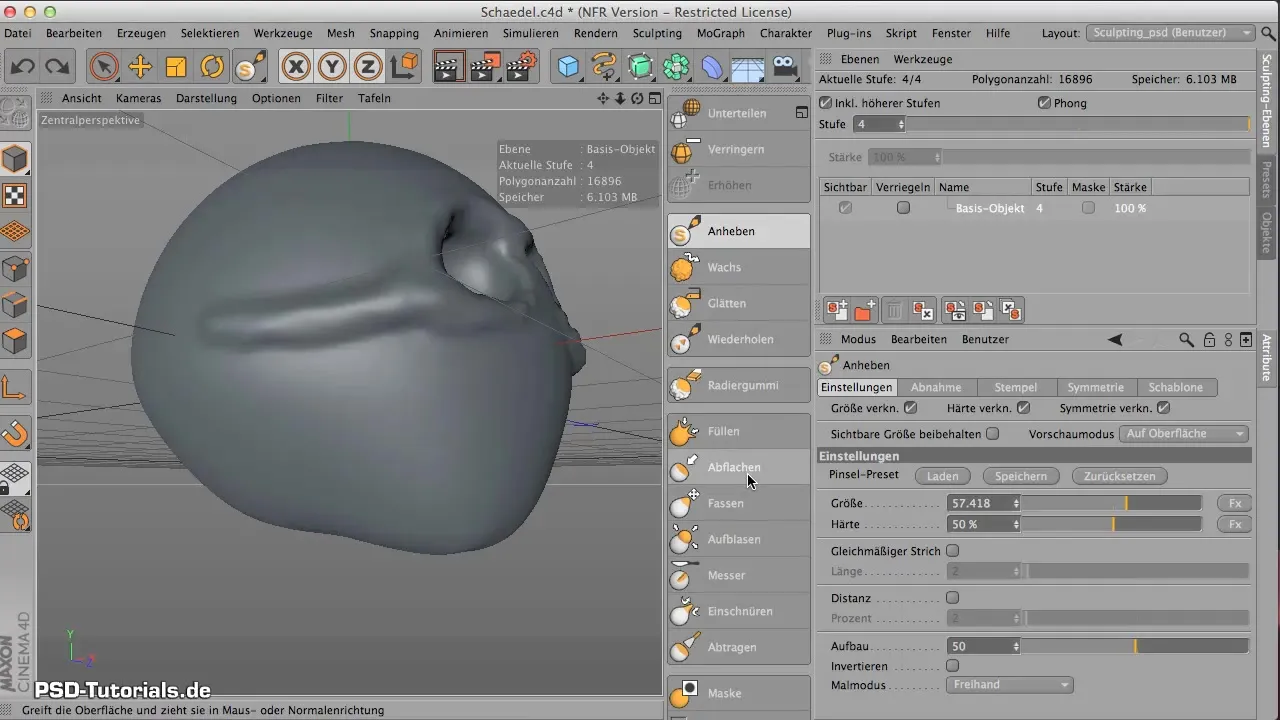
Step 5: Detail work on the proportions
It’s time to carve out details and make proportional adjustments. Ensure that the upper jaw is proportionally smaller and that the overall shape becomes narrower. Make sure that the facial proportions are balanced to achieve a realistic appearance.
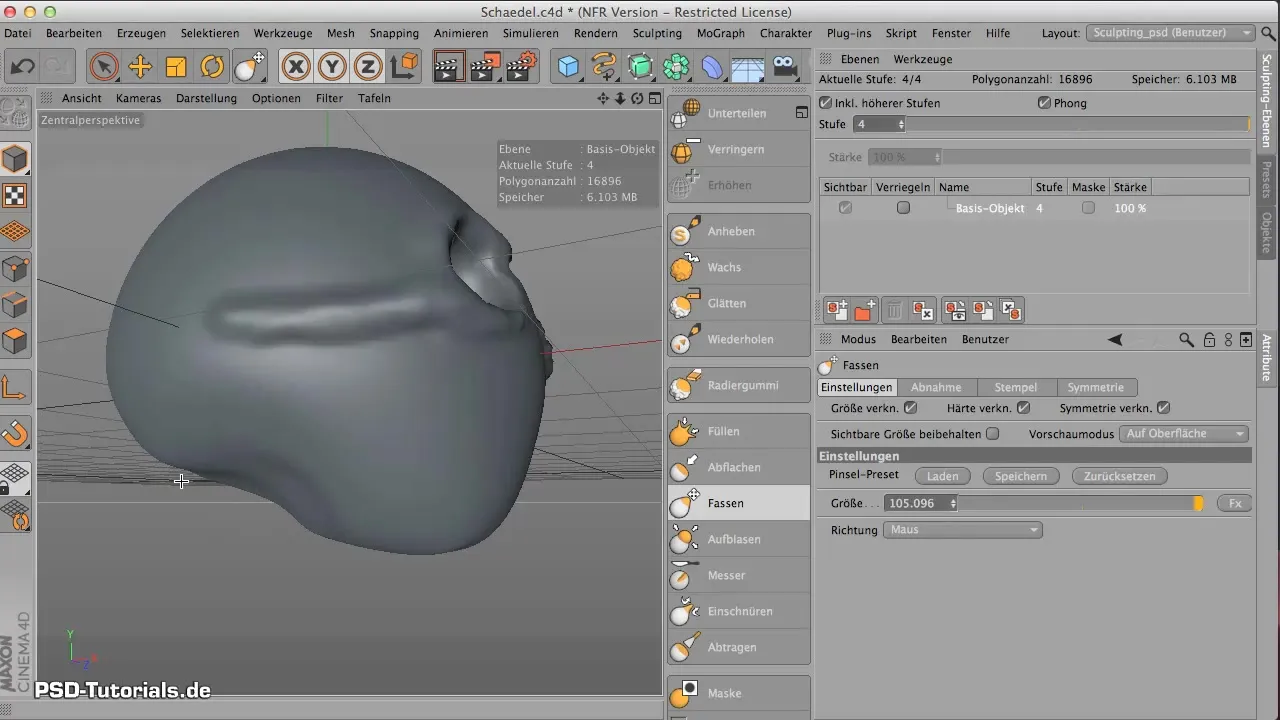
Step 6: Shape the cheeks and temples
Adjust the cheekbones to create a sunken cheek effect. At the temple, you can apply pressure carefully to further define the shape. It is crucial to work precisely here to achieve the desired look.
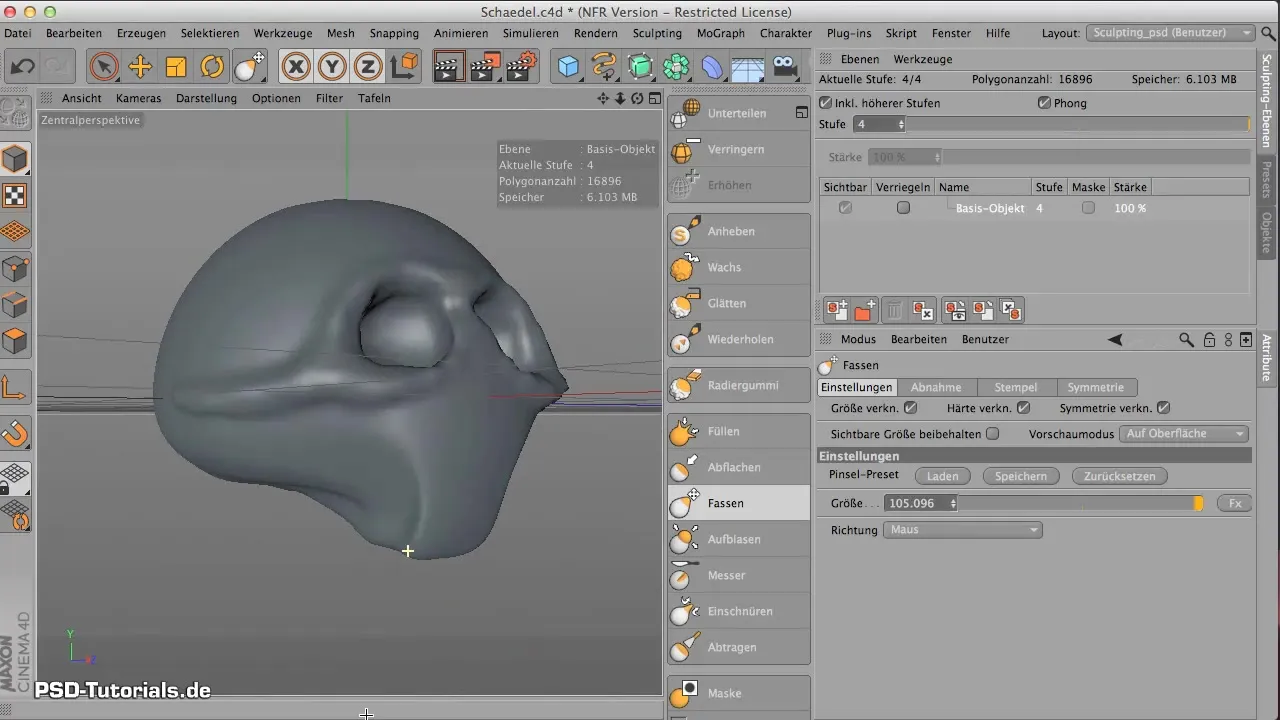
Step 7: Deepening the temples
Now turn to the sensitive areas of the temples that you can push inward carefully. An inverted lifting tool in a smaller size is effective here for this subtle editing.
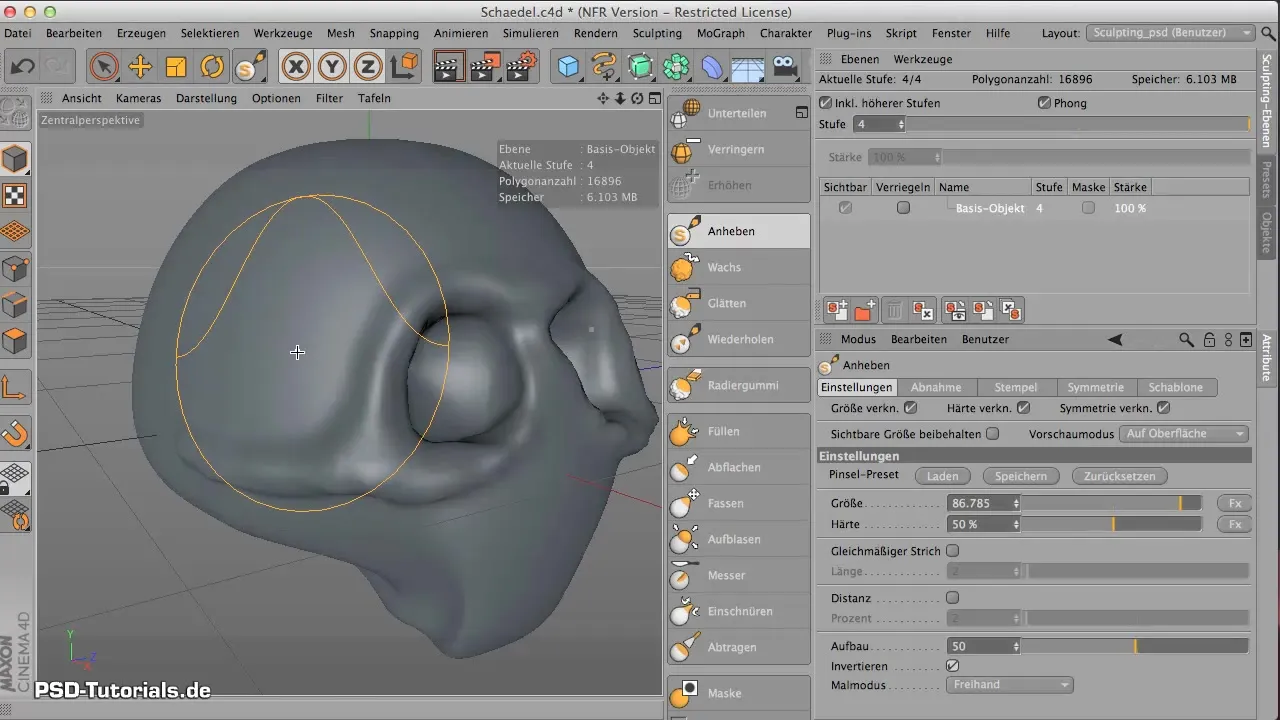
Step 8: Finalizing the base shape
You should now be able to visualize the basic shape of the skull. Focus on the eye and upper jaw area to form an overall picture of the skull. Note that the temples and eye sockets already have a good foundation.
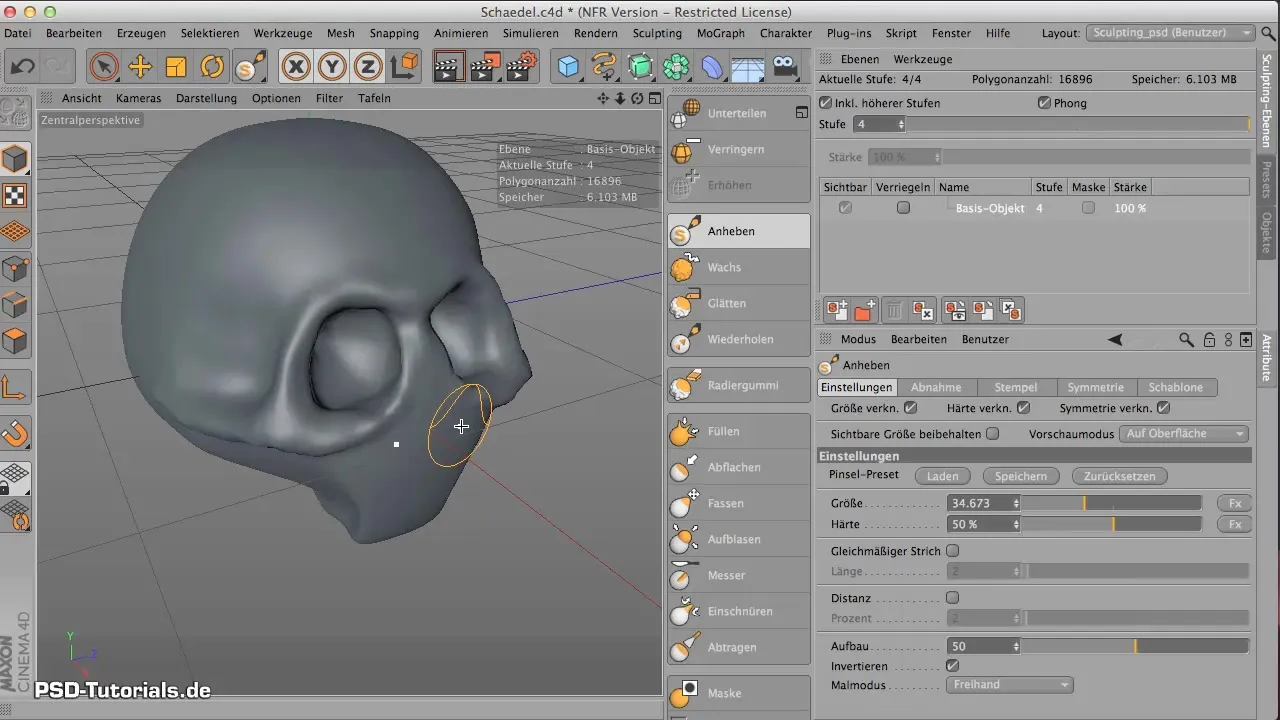
Summary - Shaping the skull base in CINEMA 4D: A comprehensive guide
By following the steps outlined above, you will achieve a well-defined skull base in CINEMA 4D. The right choice of tools as well as understanding proportions and symmetry are crucial for your progress in sculpting.
Frequently Asked Questions
How can I adjust the proportions of the skull?Use the wrapping tool to precisely remove material and refine the shape.
Do I need to activate symmetry while modeling?Yes, this enables uniform editing on both sides of the skull.
How can I add fine details to the temples?Use the inverted lifting tool to carefully push material inward.
