Every new software can seem overwhelming at first glance, especially when it comes to powerful programs like Affinity Photo. This makes it all the more important to familiarize yourself with the workspace. In this guide, you will learn how to explore the program interface of Affinity Photo and tailor it to your personal needs, so your image editing becomes not only more effective but also more enjoyable.
Key Insights
- The menu bar contains all the basic functions you need.
- The toolbar and context bar provide quick access to frequently used tools and their specific settings.
- Customizable panels allow for individual organization of your workspace.
Step-by-Step Guide
Getting to Know the Menu Bar
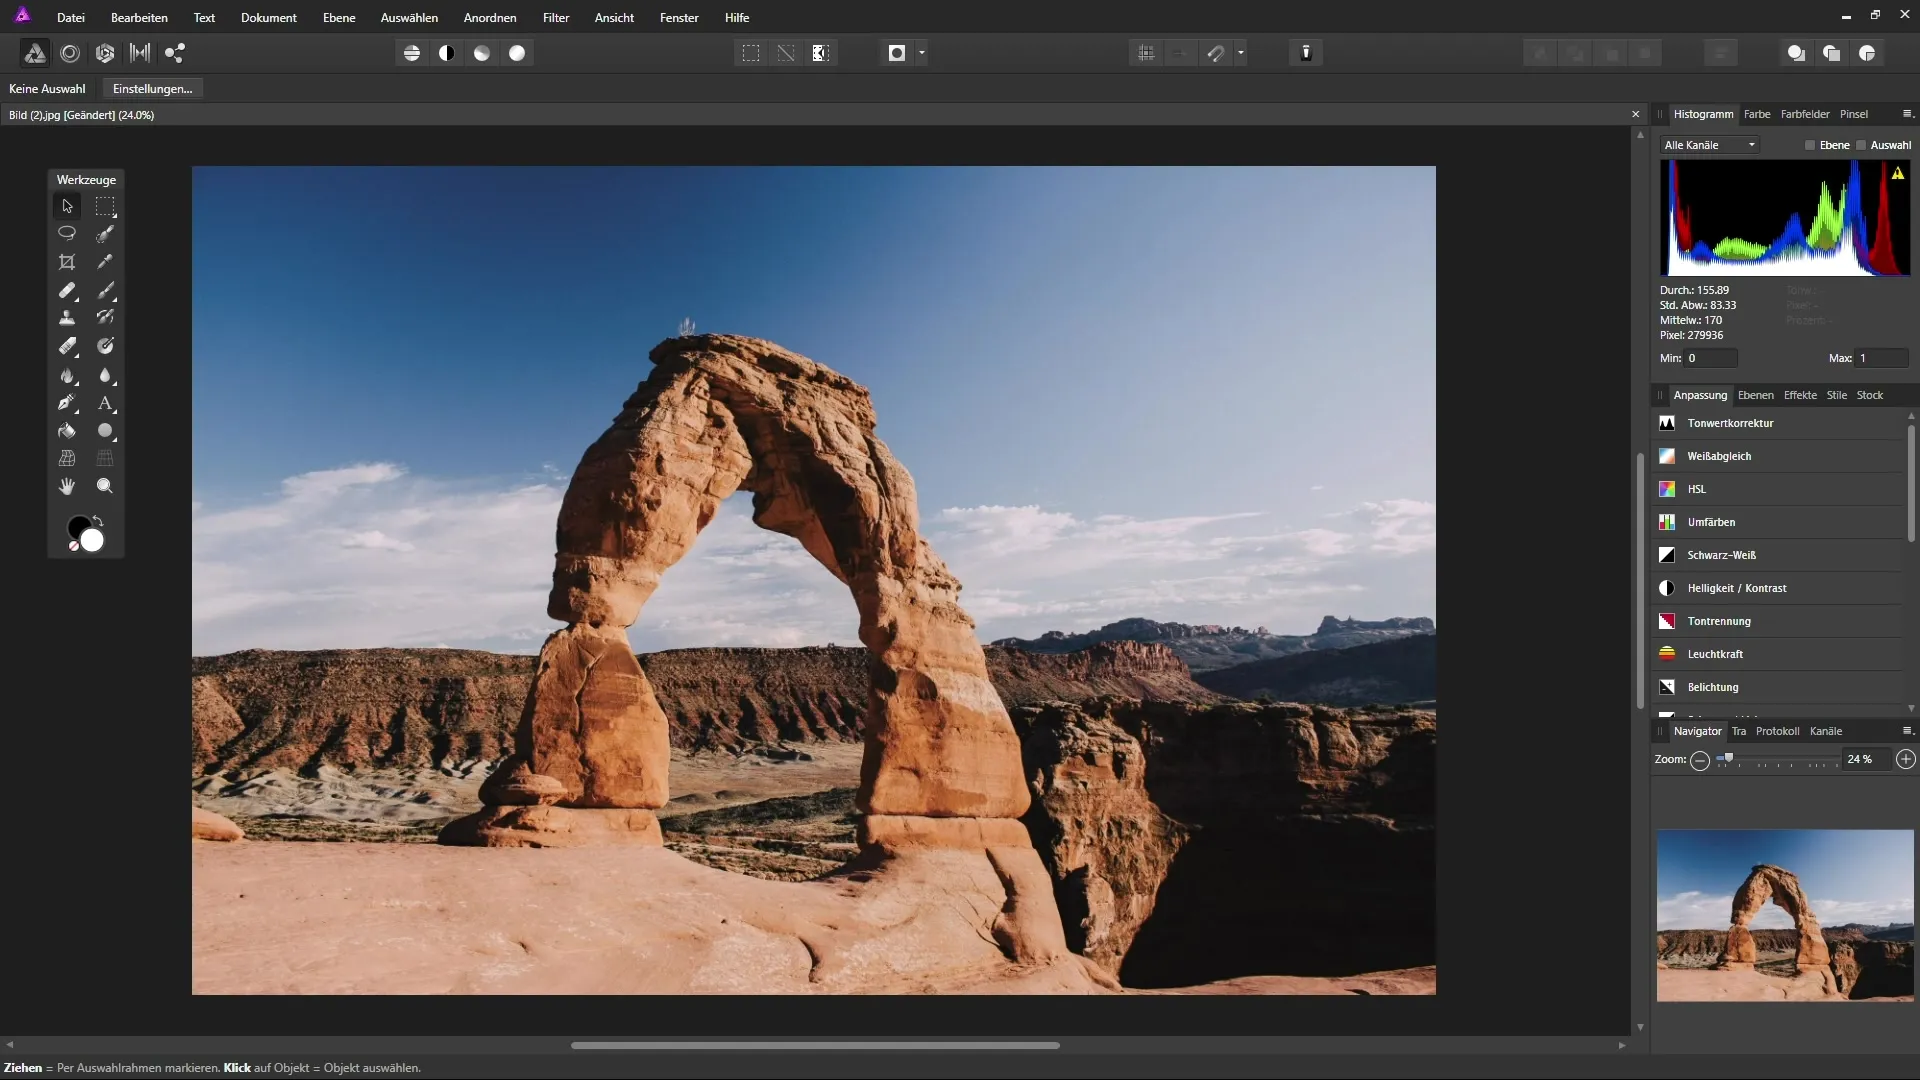
The menu bar is the heart of the Affinity Photo user interface. It is located at the top of the window. Here you can access all the basic functions of the program. For example, when you click on "File," a dropdown menu opens, offering you options like "New," "Open," or "Save." Use the various menus to quickly navigate to the functions you need.

Accessing the Toolbar
Directly under the menu bar is the toolbar, which provides you with visual icons for various functions. With these icons, you can switch between different workspaces, also called personas. Keep an eye out for specific videos for each tool to understand their full functionality.
Context Bar and Its Adjustments
The context bar changes depending on the tool active in the toolbar. When the Move Tool is selected, it is relatively empty, as only basic settings are available. However, when you switch to the Paint Brush, numerous options appear for you to customize, such as brush size and opacity. This allows for more precise control over your work.
Using Panels for Better Organization
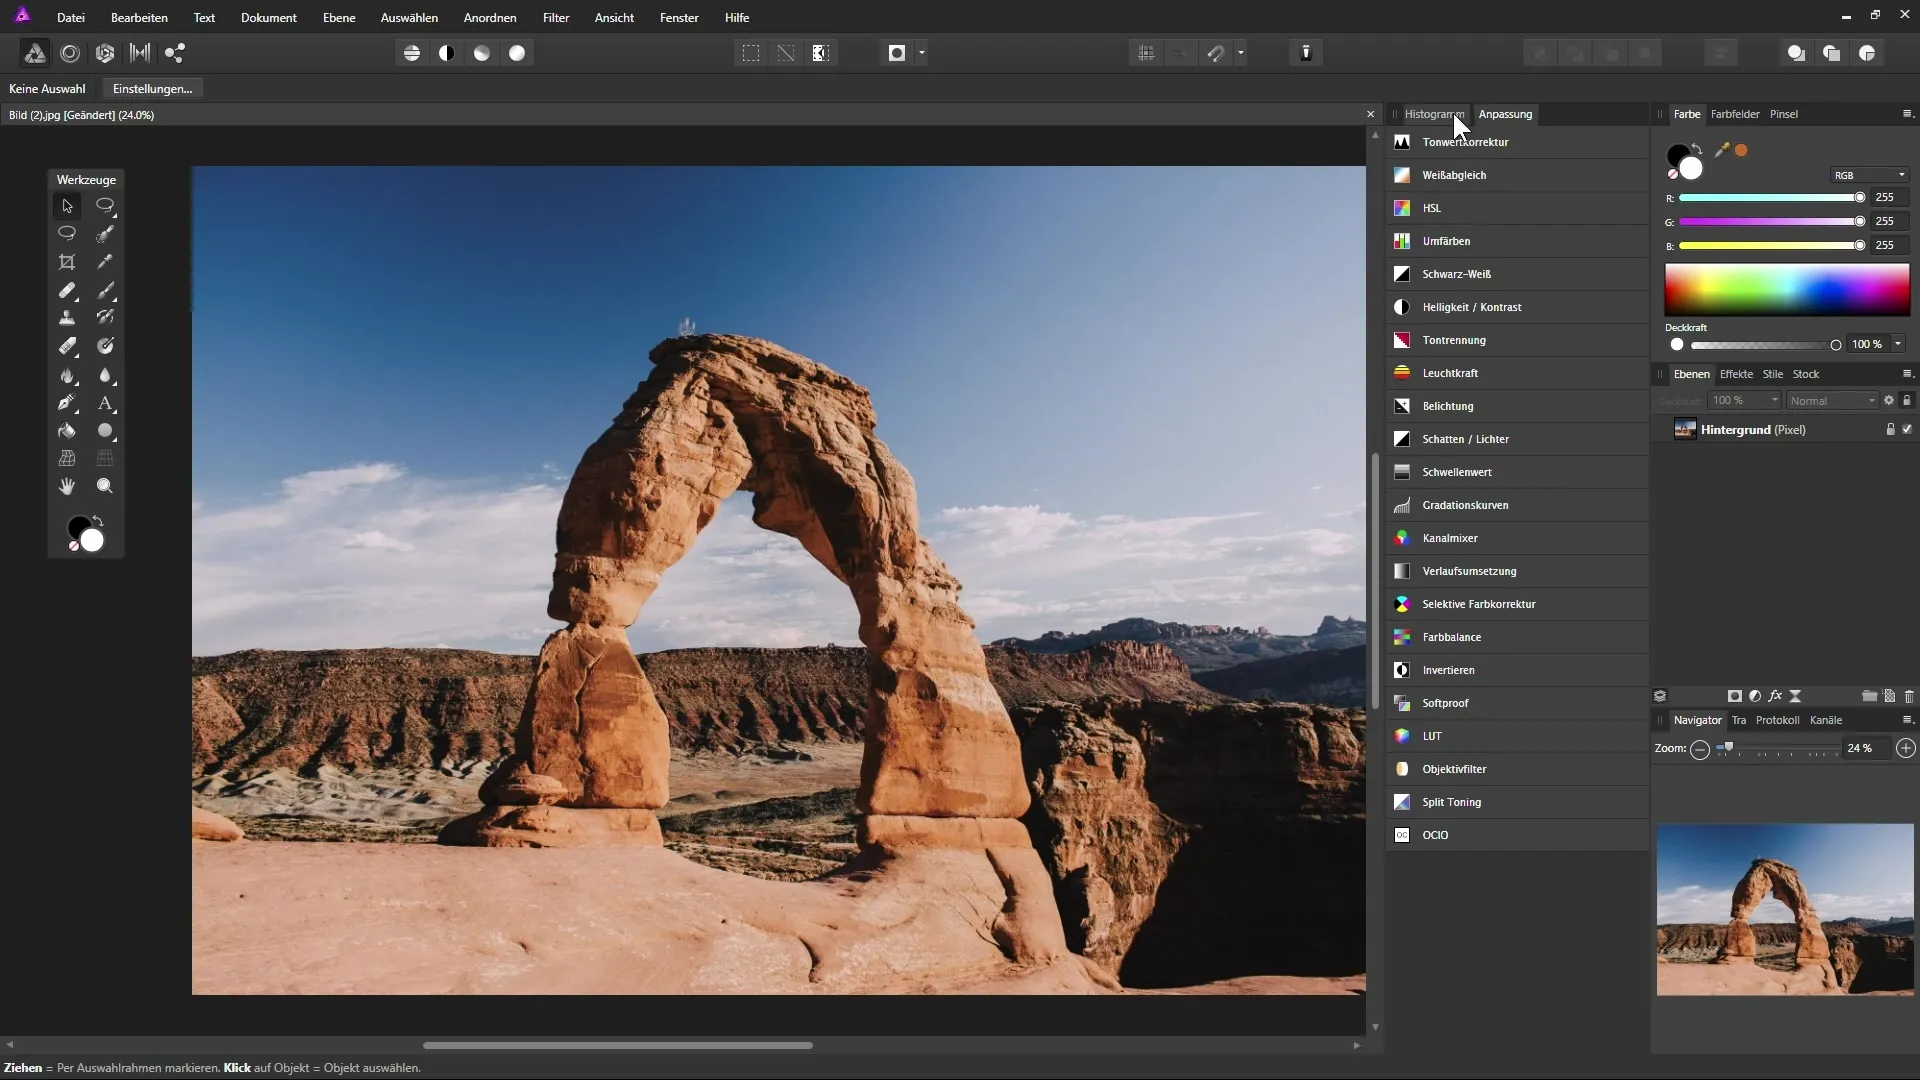
Affinity Photo often refers to control panels as "Panels." These panels are customizable and can help you better organize your tools and functions. On the right side, you will find several panels that may currently seem cluttered. Don’t panic! You can customize the panels by grouping them or freely arranging them in the workspace.
Customizing and Organizing Panels
To move a panel, drag it to the desired location. If you want to dock it to a specific area, simply drag it to the spot until you see a blue indicator marking that you can place it there. This allows you to efficiently personalize your workspace.
Creating Panels and Groups
It is also possible to create groups of panels to further enhance clarity. You can do this by dragging multiple panels into a group, organizing them into tabs. This is especially useful when frequently switching between various settings and tools.

Customizing the Toolbar
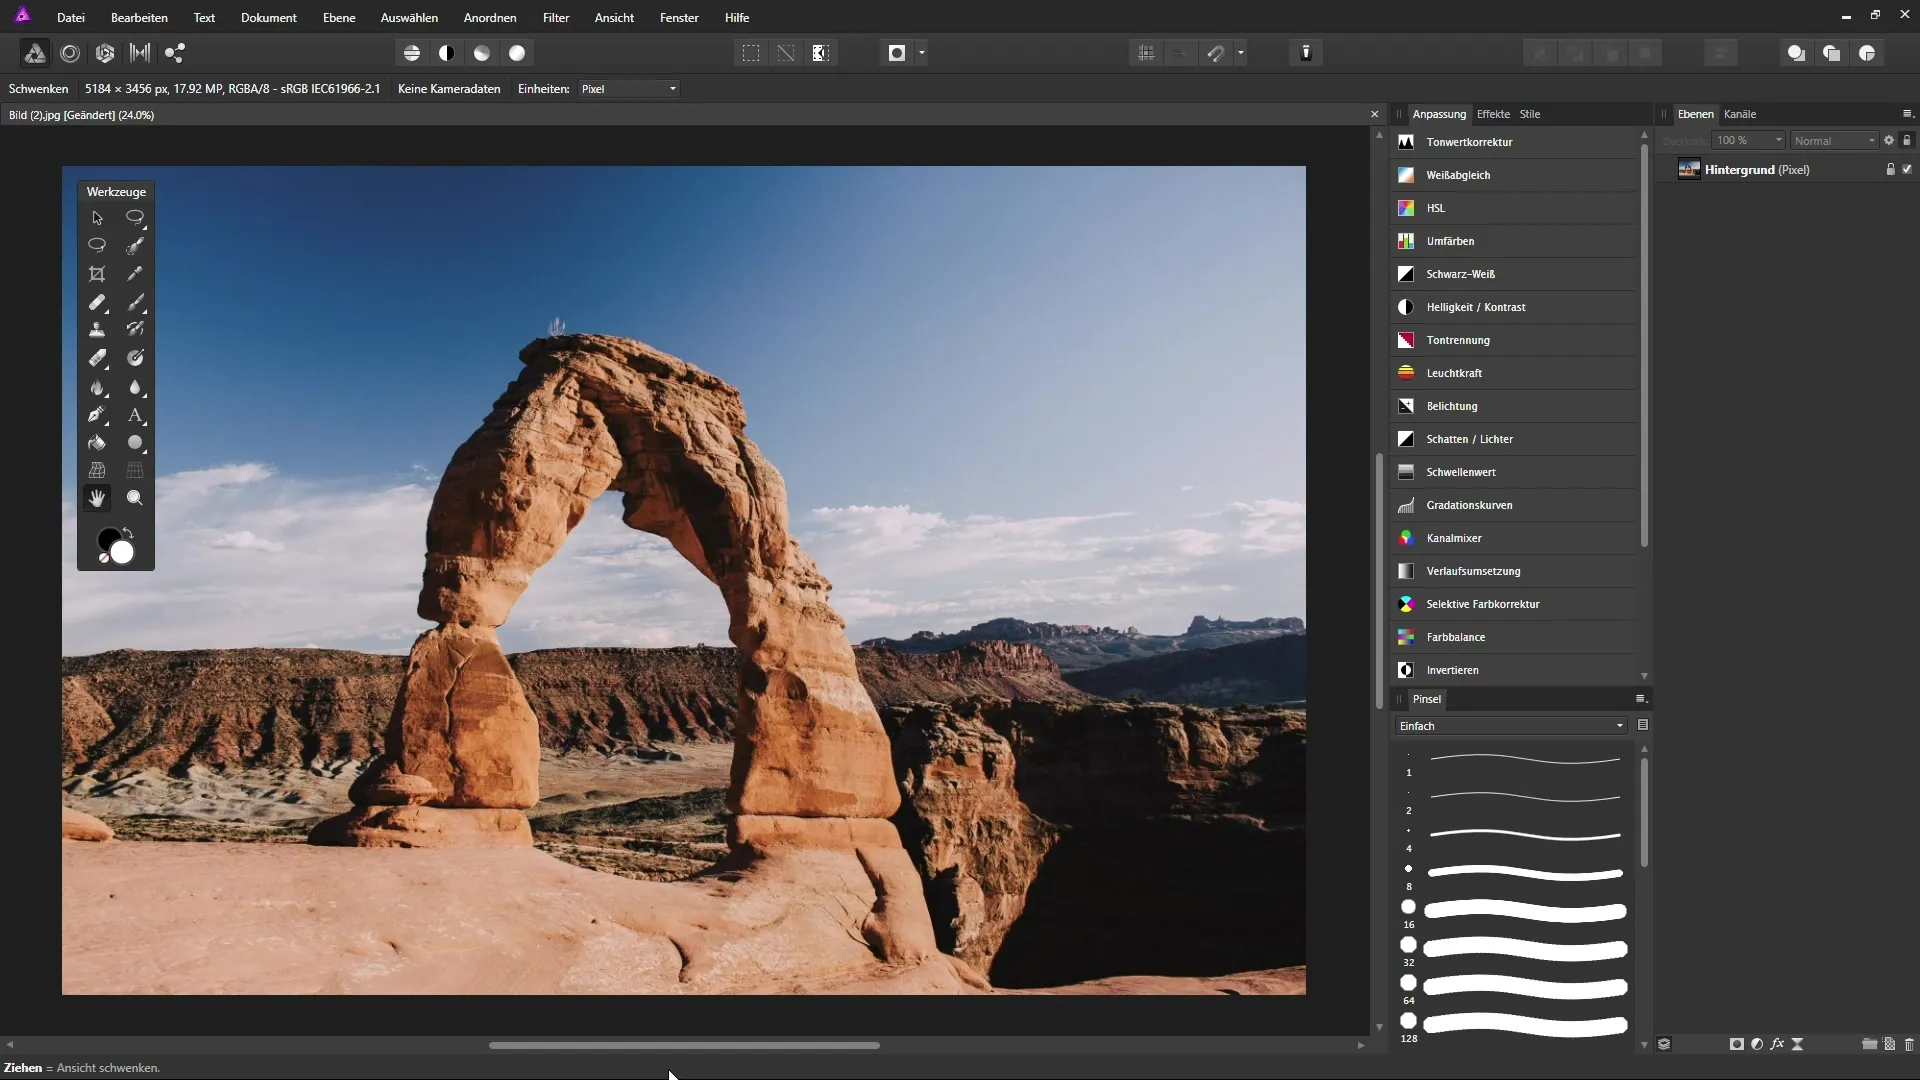
You can also customize the toolbar by placing it in a fixed position or arranging it freely in the workspace. To dock it permanently, double-click on the toolbar itself. Parents who want to focus solely on a specific image can use the "Tab" key to hide the menu and toolbar to create more space on the screen.

Tips for Effective Tool Use
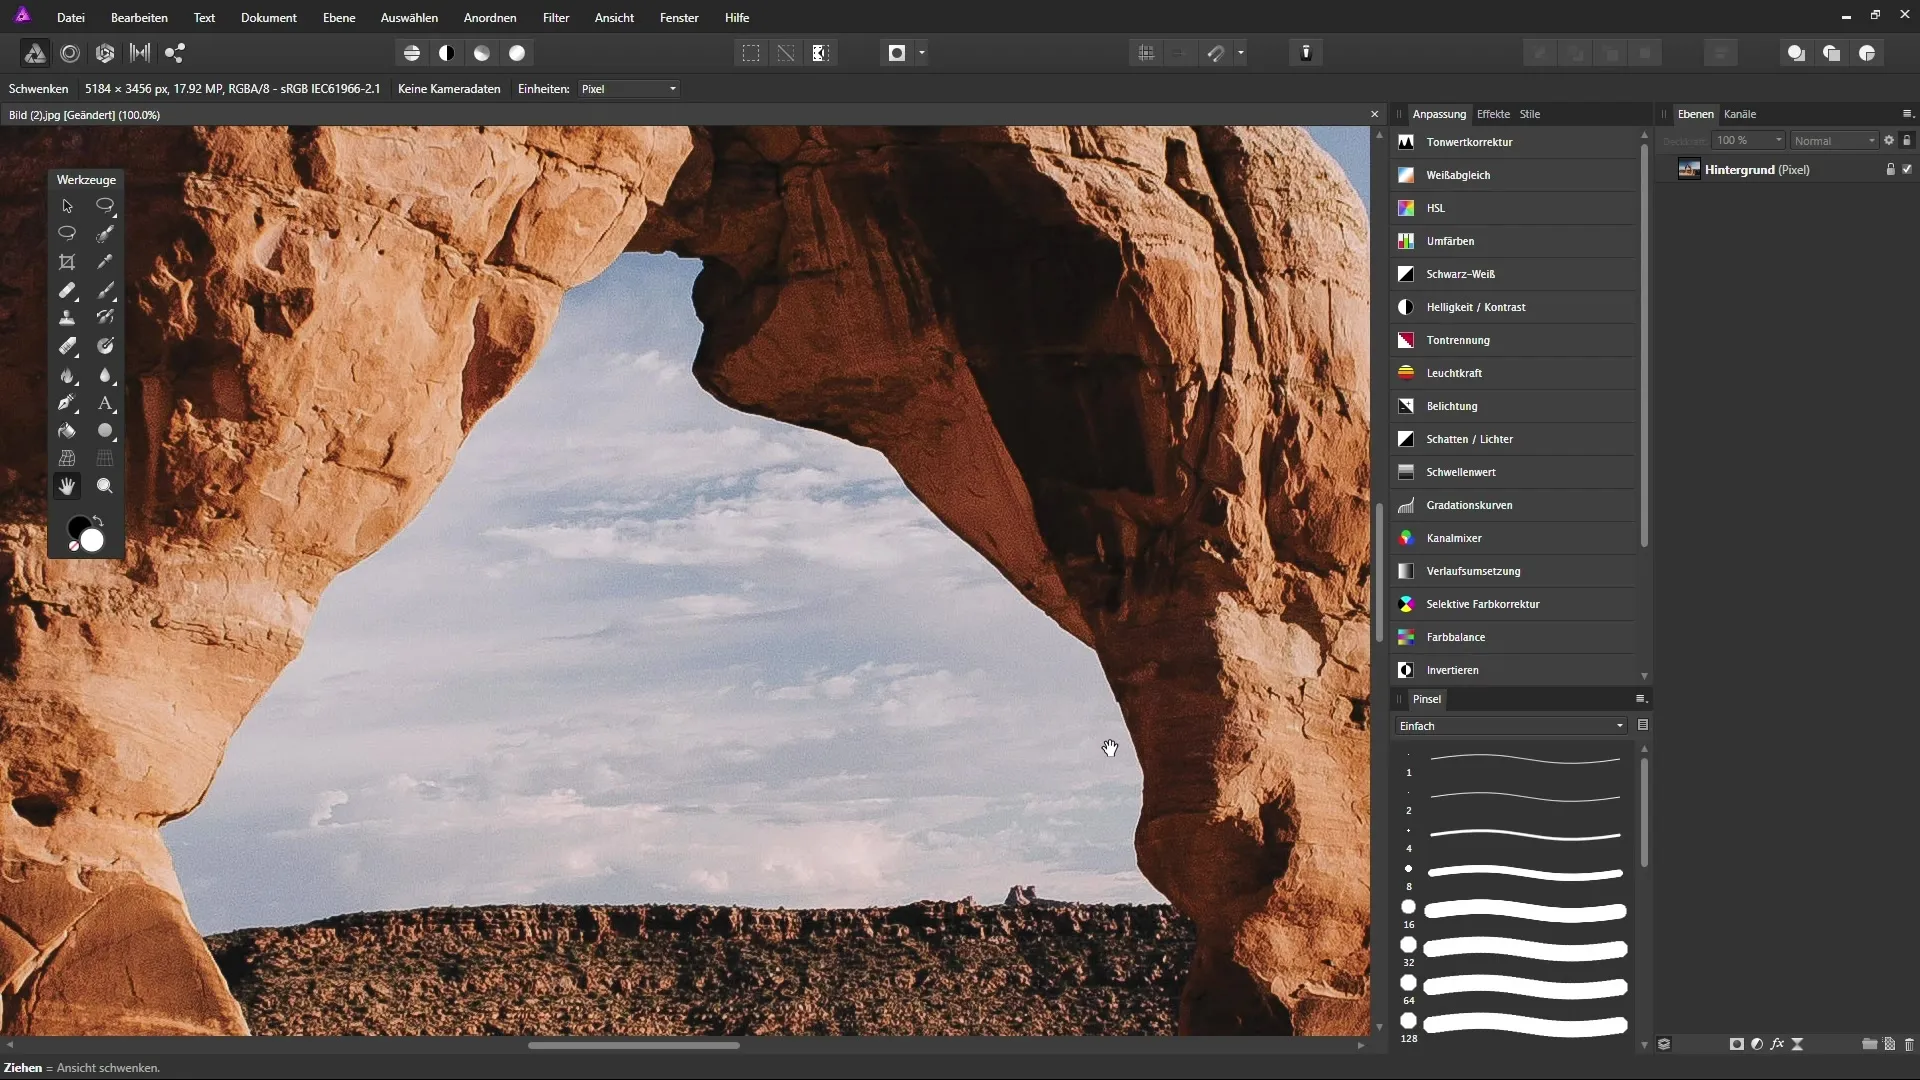
Each tool in Affinity Photo has specific properties. You can see the properties of a selected tool in the bottom bar of the workspace. For example, when working with the Hand Tool, a tip will show you how to adjust the view in your image by dragging the tool. These tips are particularly helpful for timely learning on how to use the tools effectively.

Summary - Understanding and Customizing the Affinity Photo Workspace in Detail
The workspace of Affinity Photo offers you numerous ways to customize your image editing. You have learned how to use the menu bar, understand the tool and context bars, and how to effectively customize panels. With the tips mentioned, you are well-equipped to execute your creative projects even better.
Frequently Asked Questions
How can I customize the menu bar?The menu bar itself cannot be customized, but you have full access to all functions within the menu.
How can I access a specific function faster?Use the toolbar and utilize keyboard shortcuts to activate functions more quickly.
Can I permanently hide panels?Yes, by clicking the "X" at the top of the panel, you can hide it. You can later reveal it via View > Studio.
How can I ensure that my adjustments are saved?Affinity Photo does not offer a specific "Save" option for the user interface, but your adjustments will be retained upon closing the program.
How can I reset the toolbar to its default position?You can simply drag the tools back or restart Affinity Photo, restoring the default settings.


