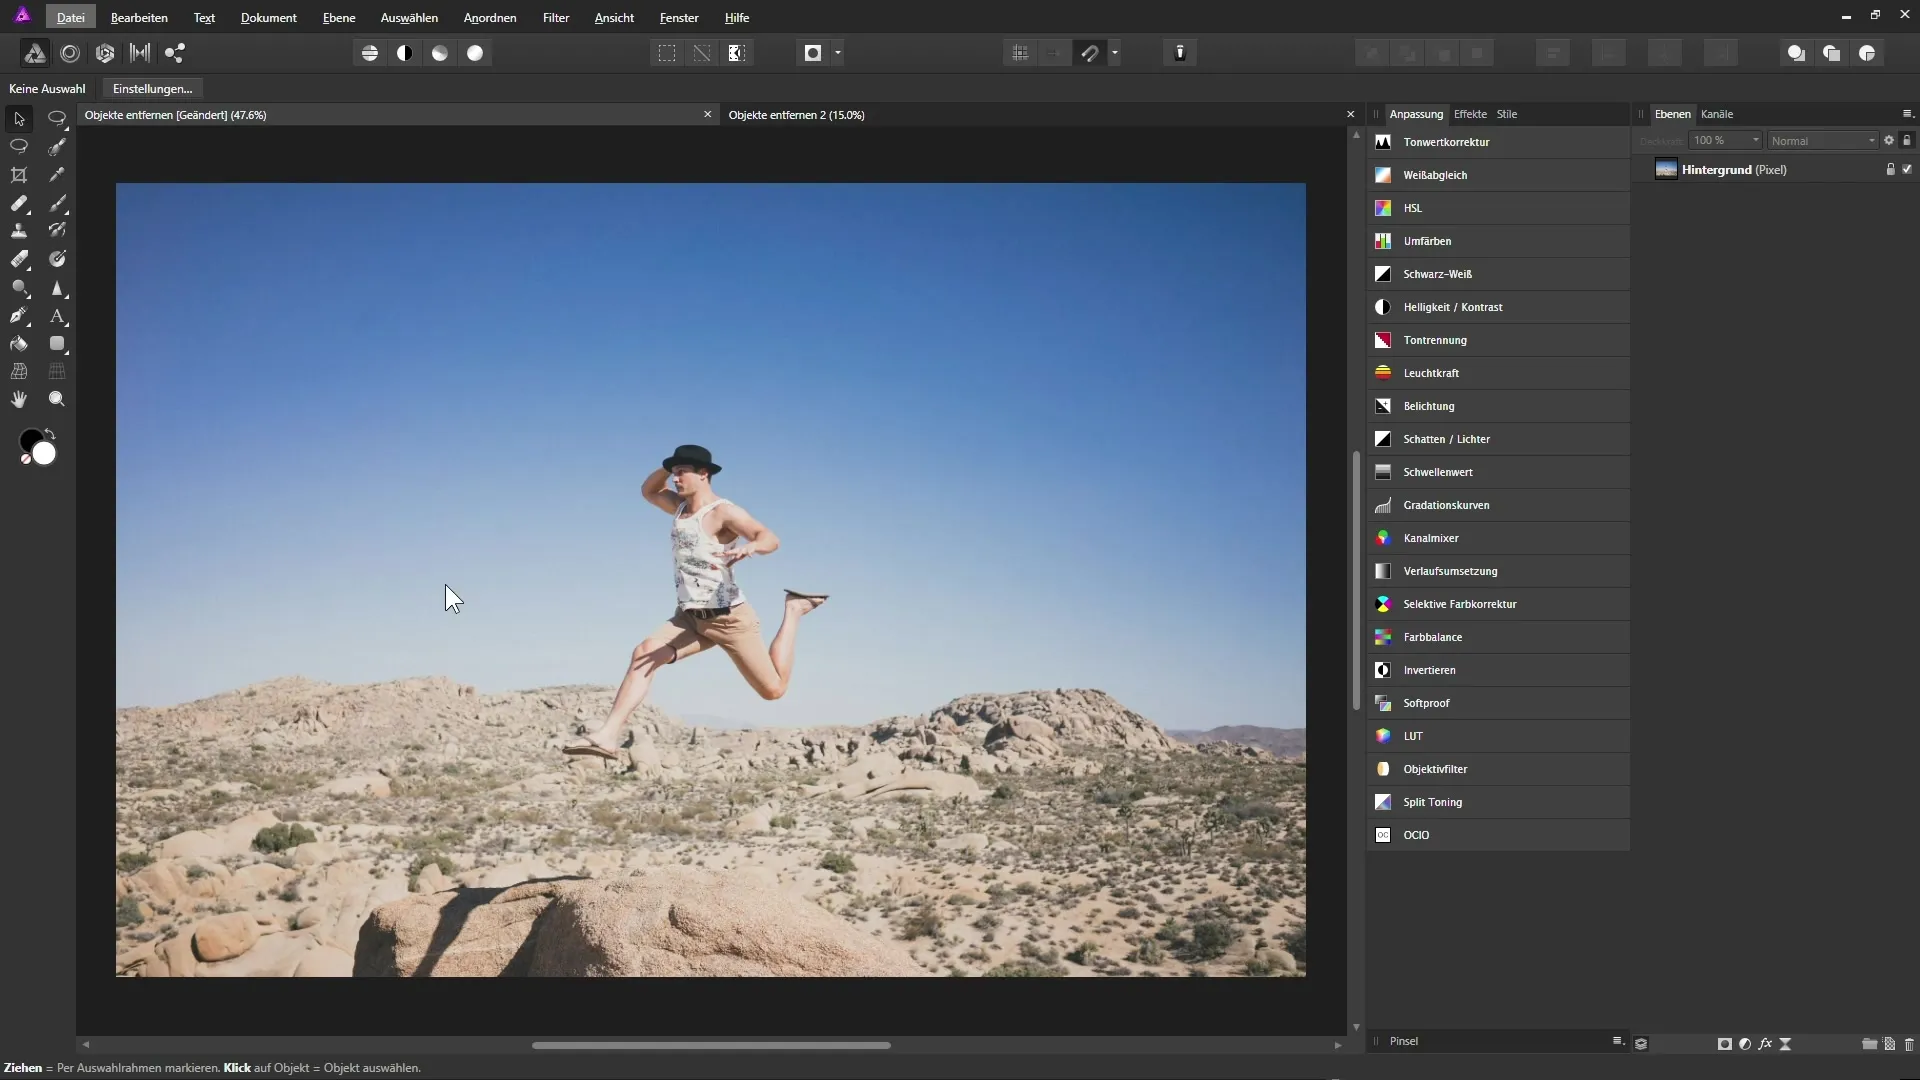
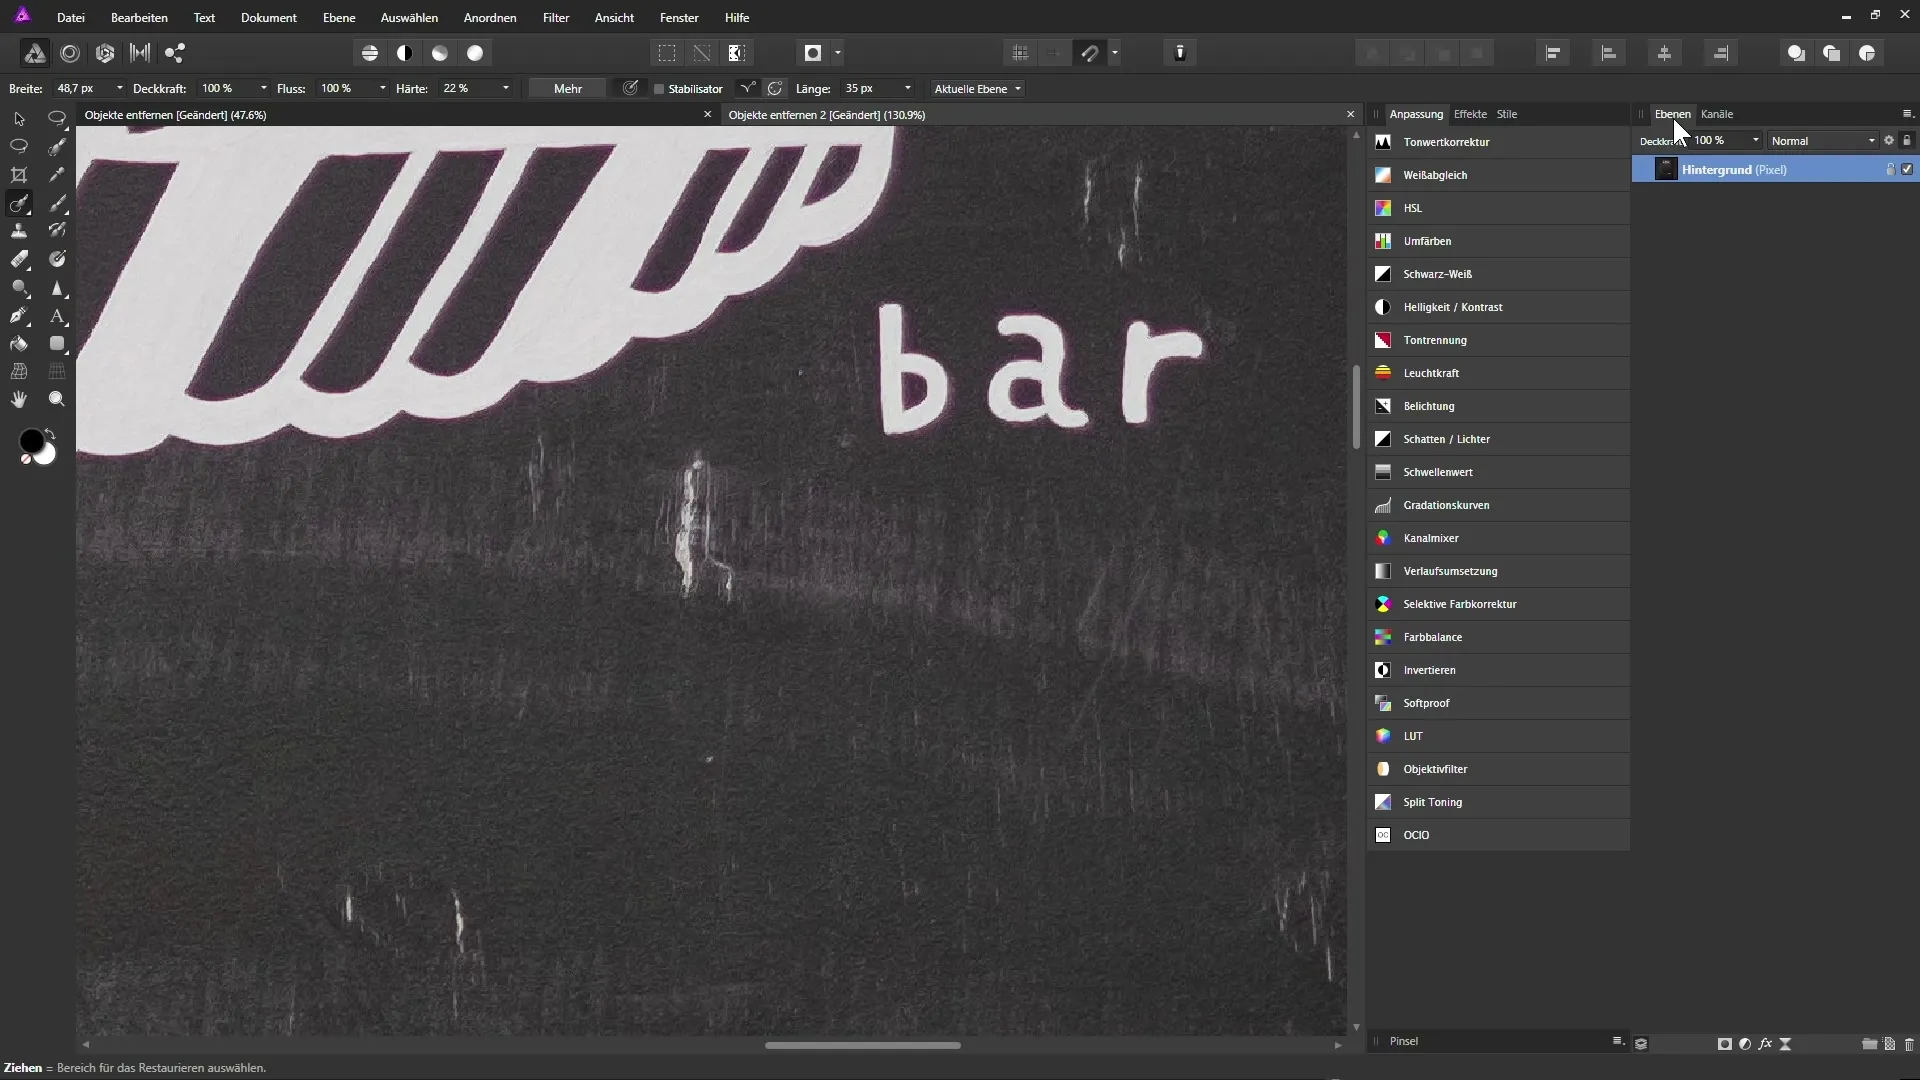
Every photo can contain unwanted elements – whether they are distracting objects, such as people, distracting items, or small scratches on surfaces. These distractions can significantly reduce the overall impression of an image. With Affinity Photo, you have a powerful tool at hand that helps you quickly and efficiently remove these distractions. Let's walk through the steps you need to optimize your image and get rid of these unwanted elements.
Key Insights
- Affinity Photo offers various tools to remove distracting image objects and scratches.
- Efficient working is possible by applying basic techniques, such as selecting, restoring, and repairing.
- The quality of the editing heavily depends on the selection technique and the skillful use of the tools.
Step-by-Step Guide
1. Selecting the distracting object
To begin, you should open the image from which you want to remove a distracting object in Affinity Photo. Go to the layers palette and select the background layer. To ensure you are working non-destructively, create a copy of this layer. You do this by pressing the "Ctrl" and "J" keys and naming the new layer, for example, "Landscape." Now you have a safe workspace for your edits.

2. Using the Lasso Tool
Activate the lasso tool or the freehand selection tool and draw a selection around the distracting object. Make sure to select a little more area than the object itself. This is important to ensure that the subsequent editing steps yield optimal results. Choose a point from where you want to start the selection and hold down the left mouse button while you drag around the selection.
3. Restoring the selected area
With the active selection, you can now use the restoring tool in Affinity Photo. Go to "Edit" and select the "Restore" option. Alternatively, you can also use the shortcut "Alt + Backspace." This way, the selected area will be filled with information from the surroundings, seamlessly removing the object from the image.
4. Checking the results
After you have applied the restoration, it is important to check the results. Deselect the selection with "Ctrl + D" and take a look at the image. Make sure the edited areas look natural. If you notice imperfections, you might consider adjusting the selection or applying the restoration again.
5. Applying the Spot Removal Tool
If restoring did not eliminate all scratches or unwanted spots, you can resort to the Spot Removal Tool. Select this tool from the tool group in the sidebar. Similar to before, draw a selection around the spot or scratch you want to remove. Then click on an area of the image that is close by to create the selection.
6. Editing the spots
Before you proceed with the editing, test the size of the selection and adjust it with the blue handles. Once you are satisfied with the selection, double-click outside the selection to apply it. Pay attention during the patching to ensure that areas do not repeat too obviously. Select different areas to achieve a more natural appearance.
7. Fine-tuning with the Restore Tool
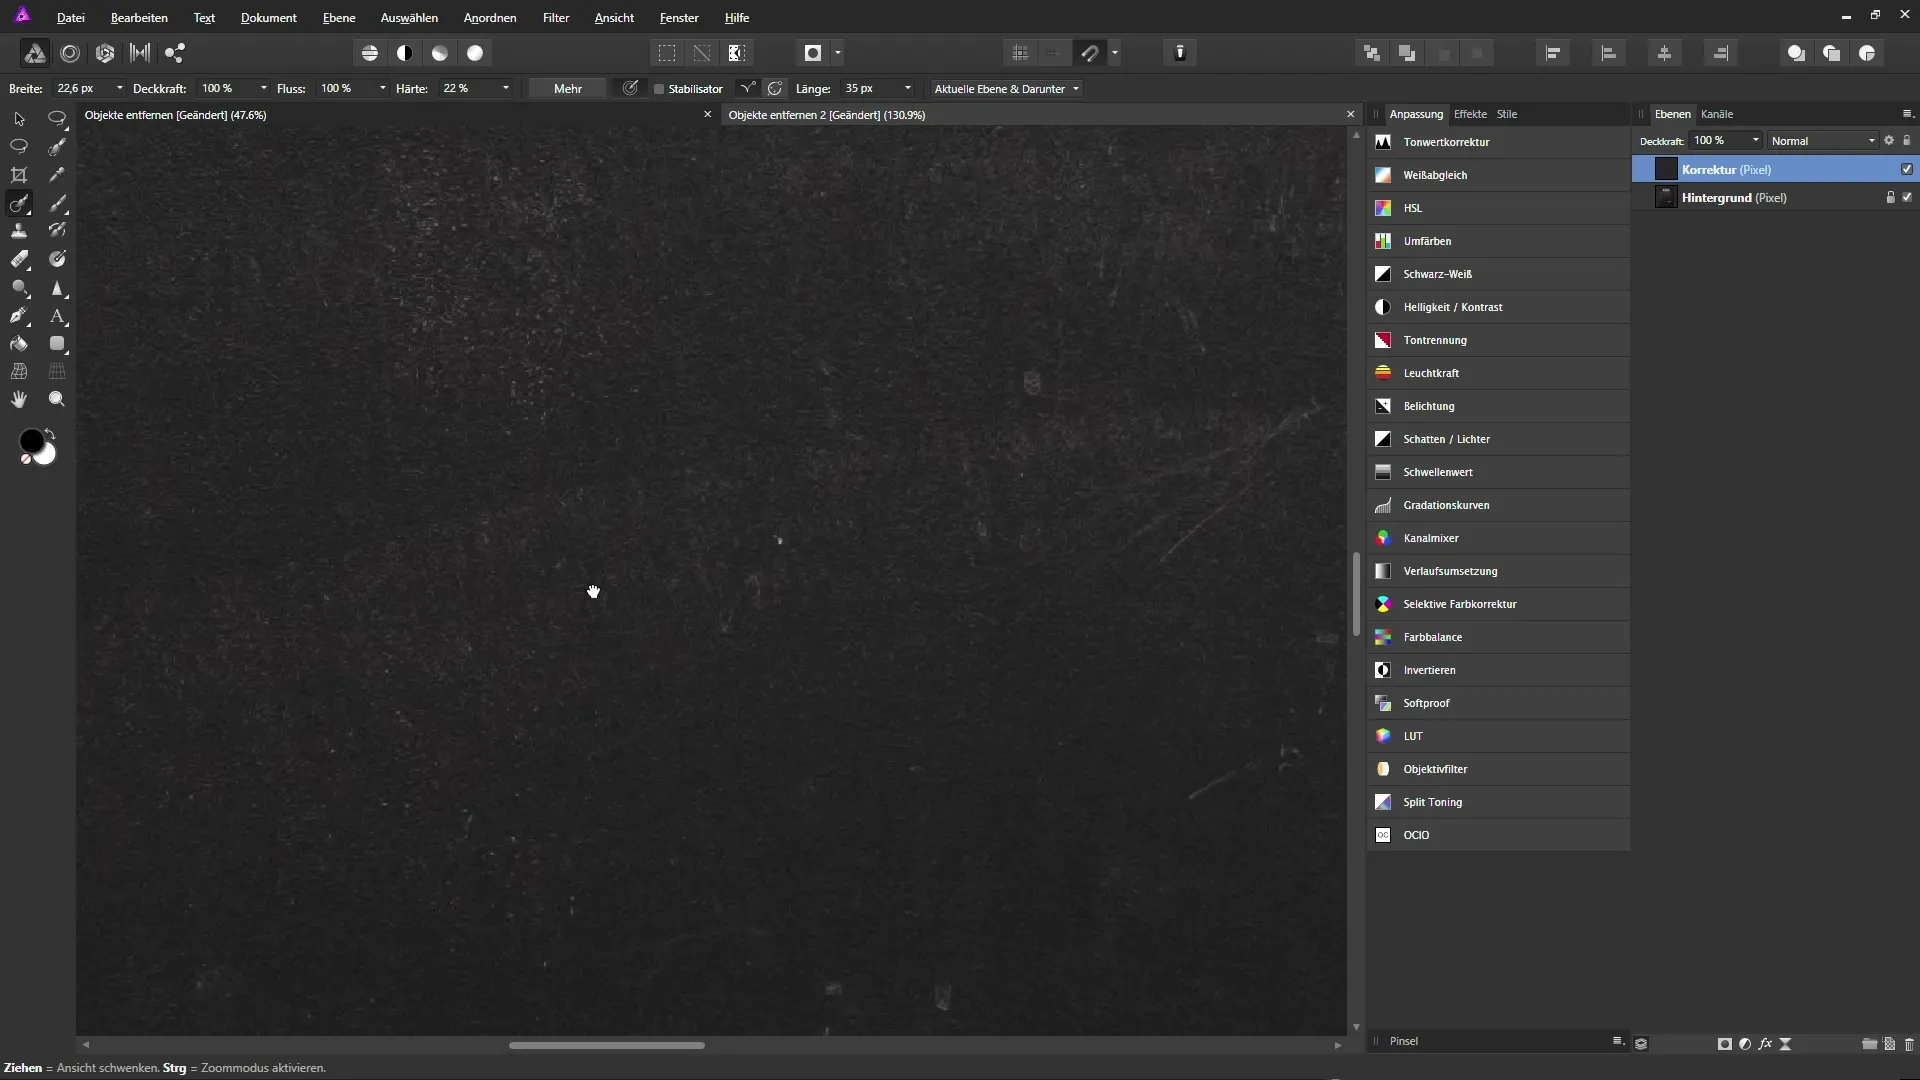
Now go to your image and zoom back in to see exactly which areas you still want to refine. Activate the restore tool again and work on a new empty layer that you add. This allows you to work non-destructively. Set the option to "Current Layer to Current Layer" and begin painting over the unwanted areas.

8. Corrections and adjustments
When working with the restore tool, it is advantageous to paint beyond the area. This gives the tool more room to work with the surrounding information. Access the view tool by pressing the spacebar. Move the image to find the spots that require editing.
9. Final check
Look at the edited image as a whole. Check the edges and corners of the edited areas again if necessary. There may be spots that stand out when zoomed in or observed closely. Use the tools deliberately to make final corrections and perfect the image.

Summary - Efficiently removing image objects and scratches
With the right tools and techniques in Affinity Photo, you can effectively and quickly remove unwanted image objects and scratches. Always ensure to work on a new layer to achieve an optimal result. The key to success lies in precise selection and skillful use of the restoration tools.
Frequently Asked Questions
How do I remove distracting objects in Affinity Photo?Use the lasso tool to select the object and apply the restore tool.
What is the best method to remove scratches?Use the restore tool or the spot removal tool for effective editing.
Could removing objects affect image quality?If you work carefully and use the tools properly, the image quality should remain intact.
What should I pay attention to when selecting?Always select a bit more than the actual object and ensure the edges look natural.
How can I ensure that I'm working non-destructively?Always work on a copy of the background layer or in a new layer.


