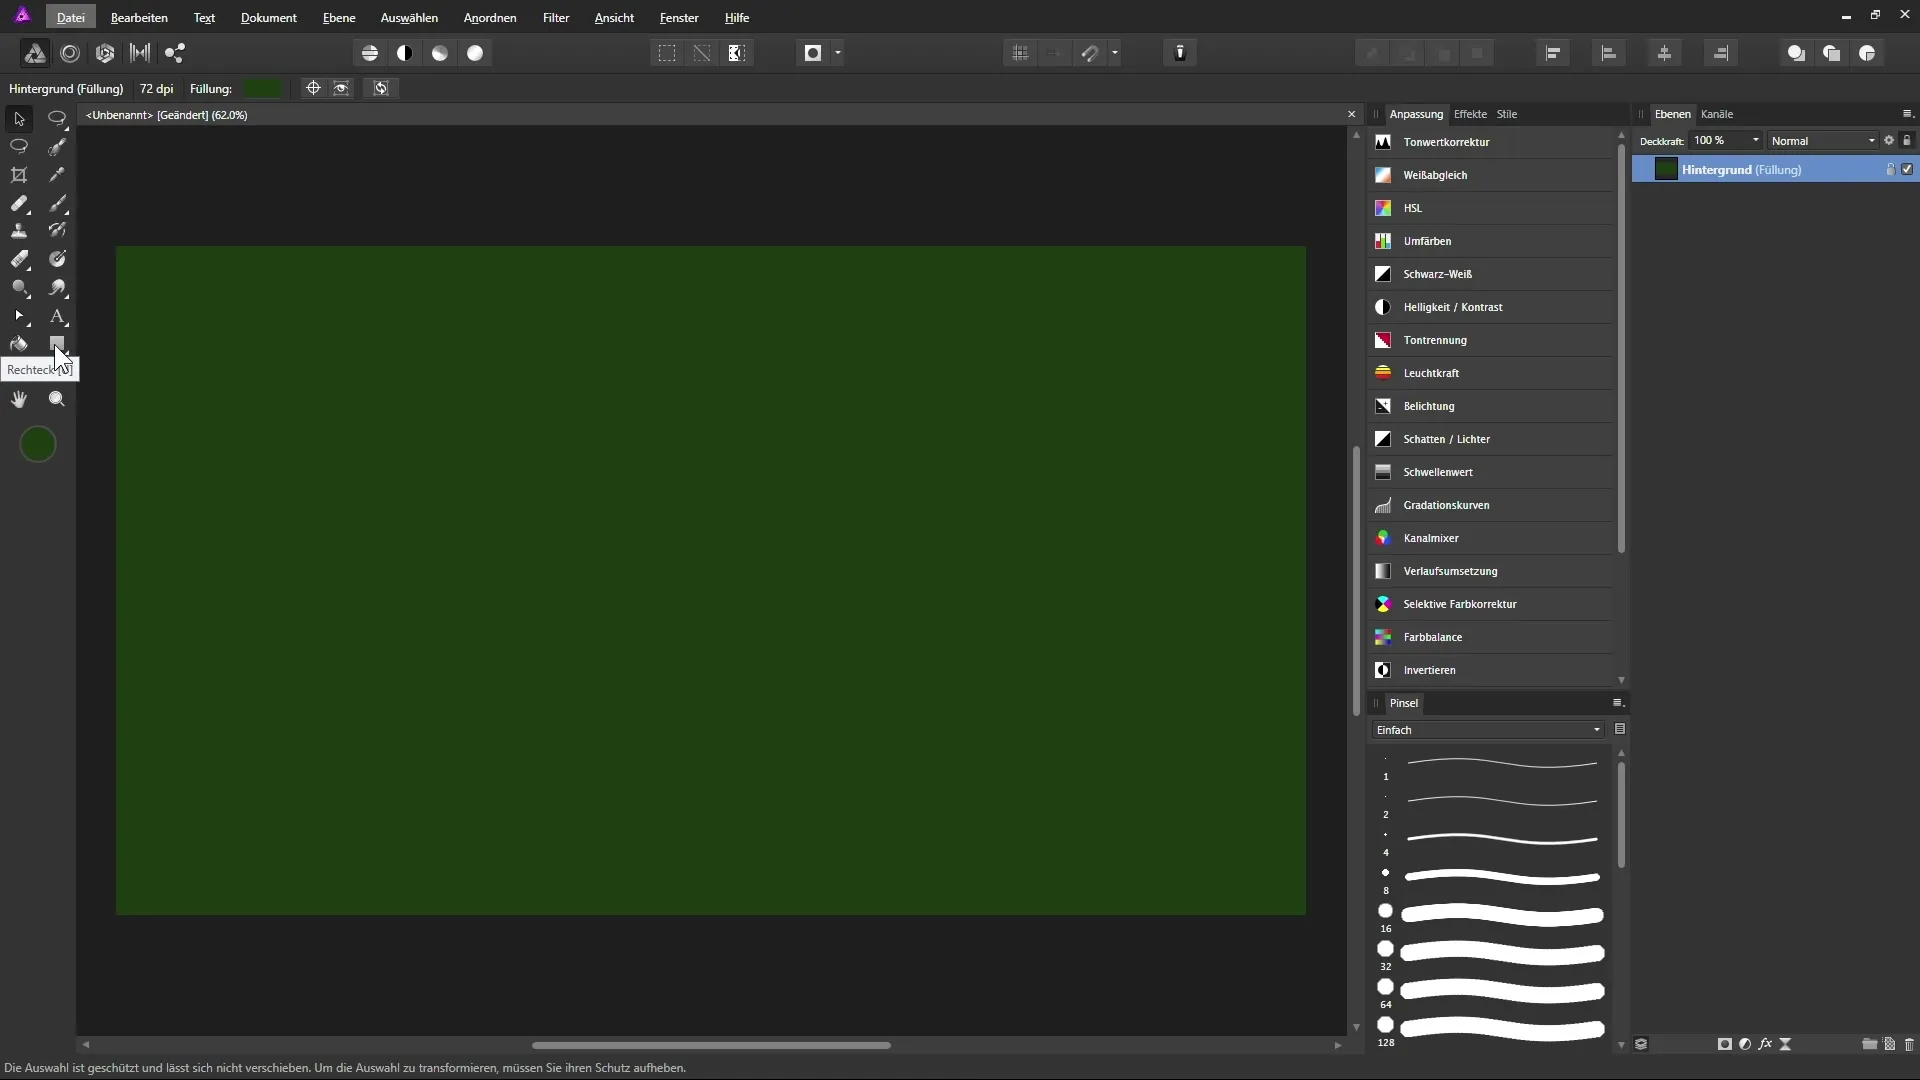
With the Shape-Tools in Affinity Photo, you have the ability to create creative designs using pre-made shapes and adjust them interactively. These tools offer you a wide range of customization options to design vector objects according to your ideas. In this guide, you will learn how to use the various shape tools effectively and what functions they provide.
Key Insights
- The shape tools in Affinity Photo allow you to create and customize vector objects.
- You can interactively change shapes, for example, by adjusting corners and rounding.
- Each tool has specific settings in the context toolbar that provide you with additional customization options.
Step-by-Step Guide
1. Open the Toolbar
To use the shape tools, open the toolbar in Affinity Photo. Here you will find the rectangle tool, which is the starting point for many shapes. The tool is part of a group indicated by a small arrow symbol.

2. Use the Rectangle Tool
Select the rectangle tool and drag while holding the mouse button down to create a rectangle. If you hold down the Shift key, you can create a square. After releasing the mouse button, you should see a new rectangle shape layer in the Layers palette.
3. Adjust the Shape
Once the shape is created, you can adjust it using the transformation frame. Click and drag on the corners to resize the rectangle. You can even rotate the shape using the white handle.
4. Shape Corners
In the context toolbar, you can influence the corners of your rectangle. Click on the corner adjustment point and select an option like "rounded". You can adjust the rounding interactively with a slider.
5. Make Individual Adjustments
If you disable the rounding function for the entire rectangle, you have the option to edit each corner independently. Select a corner and adjust it as desired.
6. Convert Shape to Curves
To further edit the shape with the pen tool, click on the "Convert to Curves" point in the context toolbar. Note that in this mode, you lose the interactive functions.
7. Create an Ellipse
Select the ellipse tool to create an ellipse or a circle. Hold down the Shift key to draw a perfect circle. In the context toolbar, you can convert the ellipse into a ring or a wedge.
8. Ring and Wedge Options
When converting the ellipse into a ring, you can adjust the inner radius to determine the size of the hole. With the starting angle, you can modify the ring accordingly. This function is useful for charts or graphical representations.
9. Create a Star
The star tool allows you to create stars with various customization options. Create a star and use the handles to shape it according to your preferences.
10. Create a Gear
With the gear tool, you can design gears. In the context toolbar, you have options to customize the tooth arrangement, inner radius, and hole radius. Here you can experiment a lot and be creative.
11. Use a Speech Bubble
The speech bubble comes in rectangular and elliptical forms. Draw out a rectangular speech bubble and adjust the corners as usual. You can also individually customize the arrow of the speech bubble to achieve the desired effect.
12. Get Creative with More Shapes
You have the option to create hearts, cereal bowls, and various other shapes. Experiment with the different shapes and adjust them at any time using the pen tool or node tool.

Summary – Guide to the Shape Tools in Affinity Photo
The shape tools in Affinity Photo offer you countless possibilities for designing and personalizing your designs. By combining and adjusting different shapes, you can work creatively and bring your artistic ideas to life.
Frequently Asked Questions
How do I create a square instead of a rectangle?Hold down the Shift key while using the rectangle tool.
Can I customize the corners of my shapes individually?Yes, you can independently influence each corner by disabling the rounding function.
How can I work on a shape with the pen tool?Click on the "Convert to Curves" point in the context toolbar to edit the shape.
Are there ways to change the appearance of the ellipse?Yes, you can convert an ellipse into a ring or a wedge and adjust the inner radius.
How can I change the number of teeth on a gear?You can change the number of teeth either numerically in the context toolbar or using a slider.


