Affinity Photo offers you a powerful toolset for image editing, but the program can seem overwhelming at first. To make your work both more efficient and easier, you can activate and customize Affinity Photo's wizard. This guide will take you step-by-step through the various functions of the wizard and show you how to customize it to your specific needs.
Key findings
- The assistant can help you make quick decisions in complex situations.
- By activating hints, you receive feedback on the actions that the assistant performs for you.
- You can set customized options for painting, erasing and working with layers.
Step-by-step instructions
Step 1: Activate or deactivate the assistant
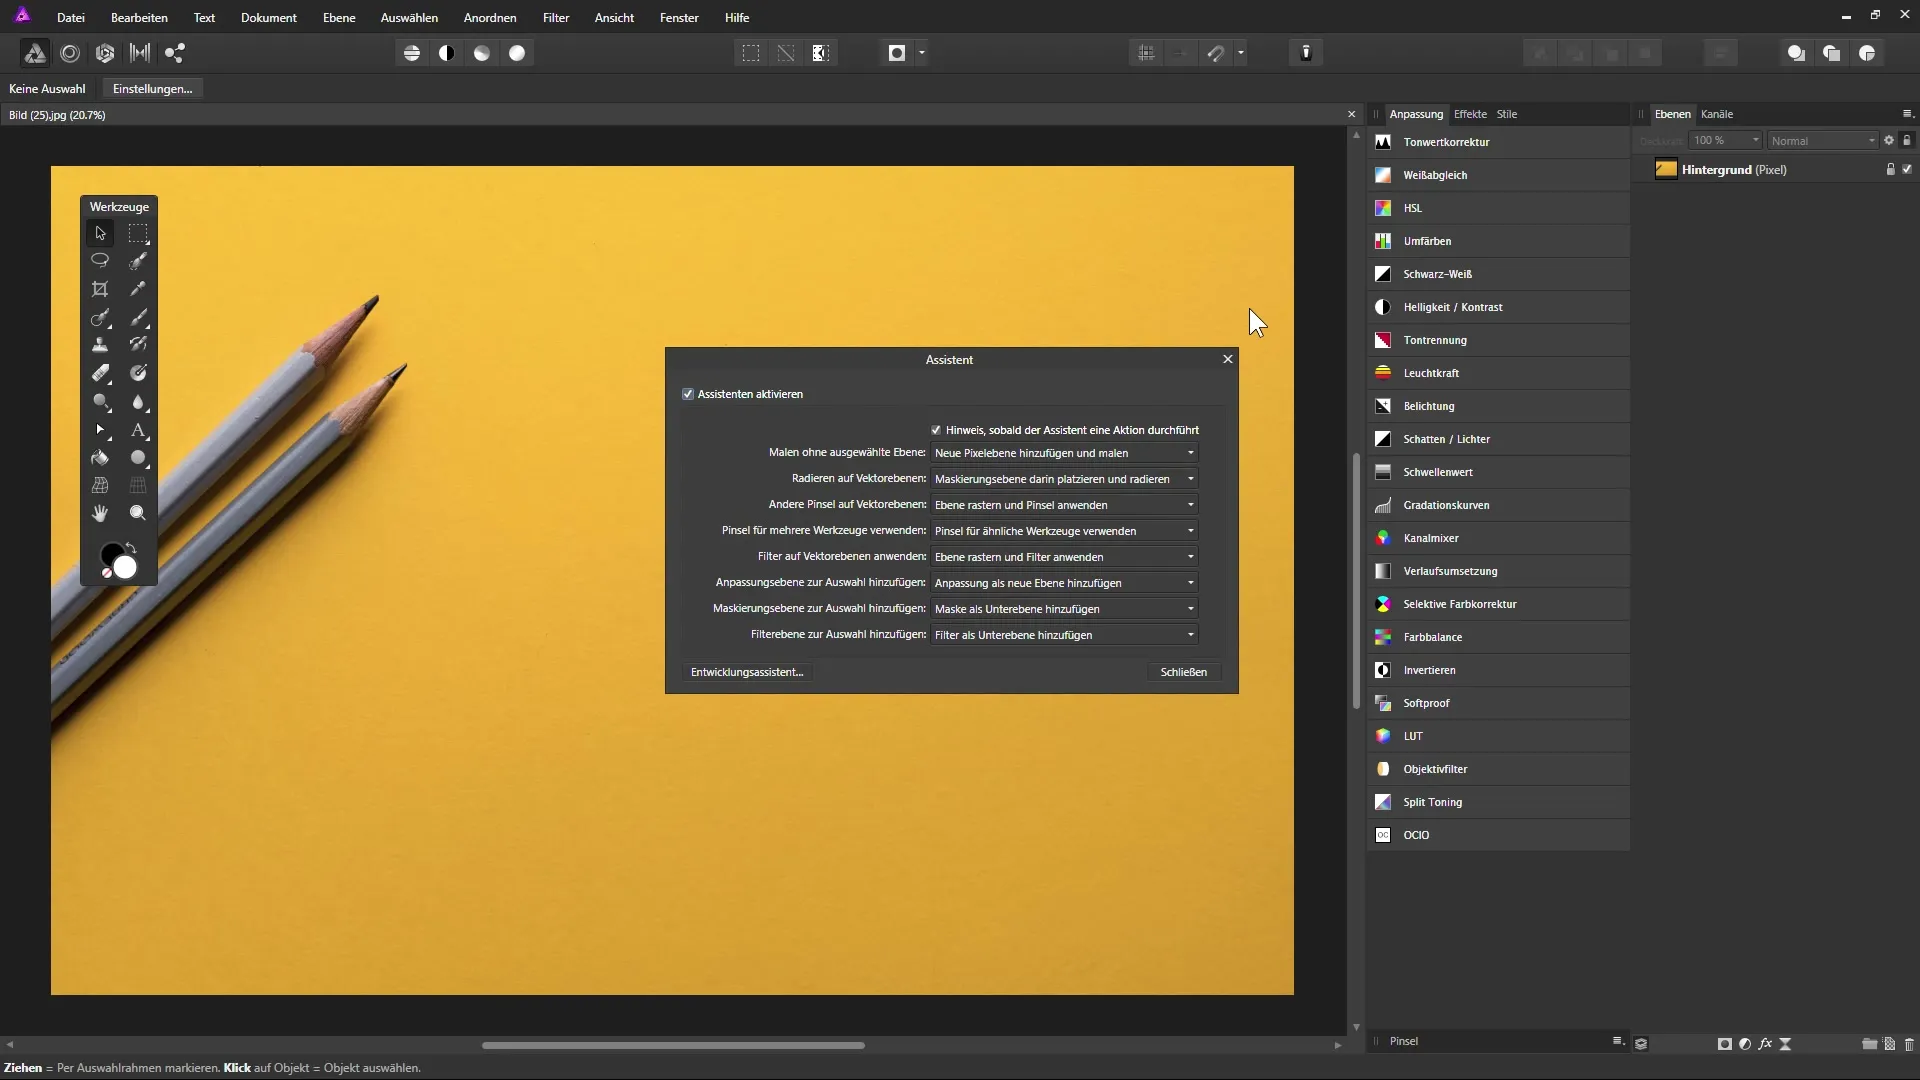
To activate the assistant, click on the corresponding icon in the toolbar or go to "Assistant settings" via the "View" menu and activate the checkbox. The video shows you exactly how to do this.

Step 2: Activate hints
It is advisable to activate the "Notification" option. You will receive a notification as soon as the assistant has performed an action for you. This helps you to keep an overview and better control your work behavior.
Step 3: Set scenarios for painting without a selected layer
If you want to draw with the brush tool without having selected a layer, you can set the wizard to automatically add a new pixel layer. This prevents unnecessary frustration if you try to paint without a stable base.
Step 4: Adjust erasing on vector layers
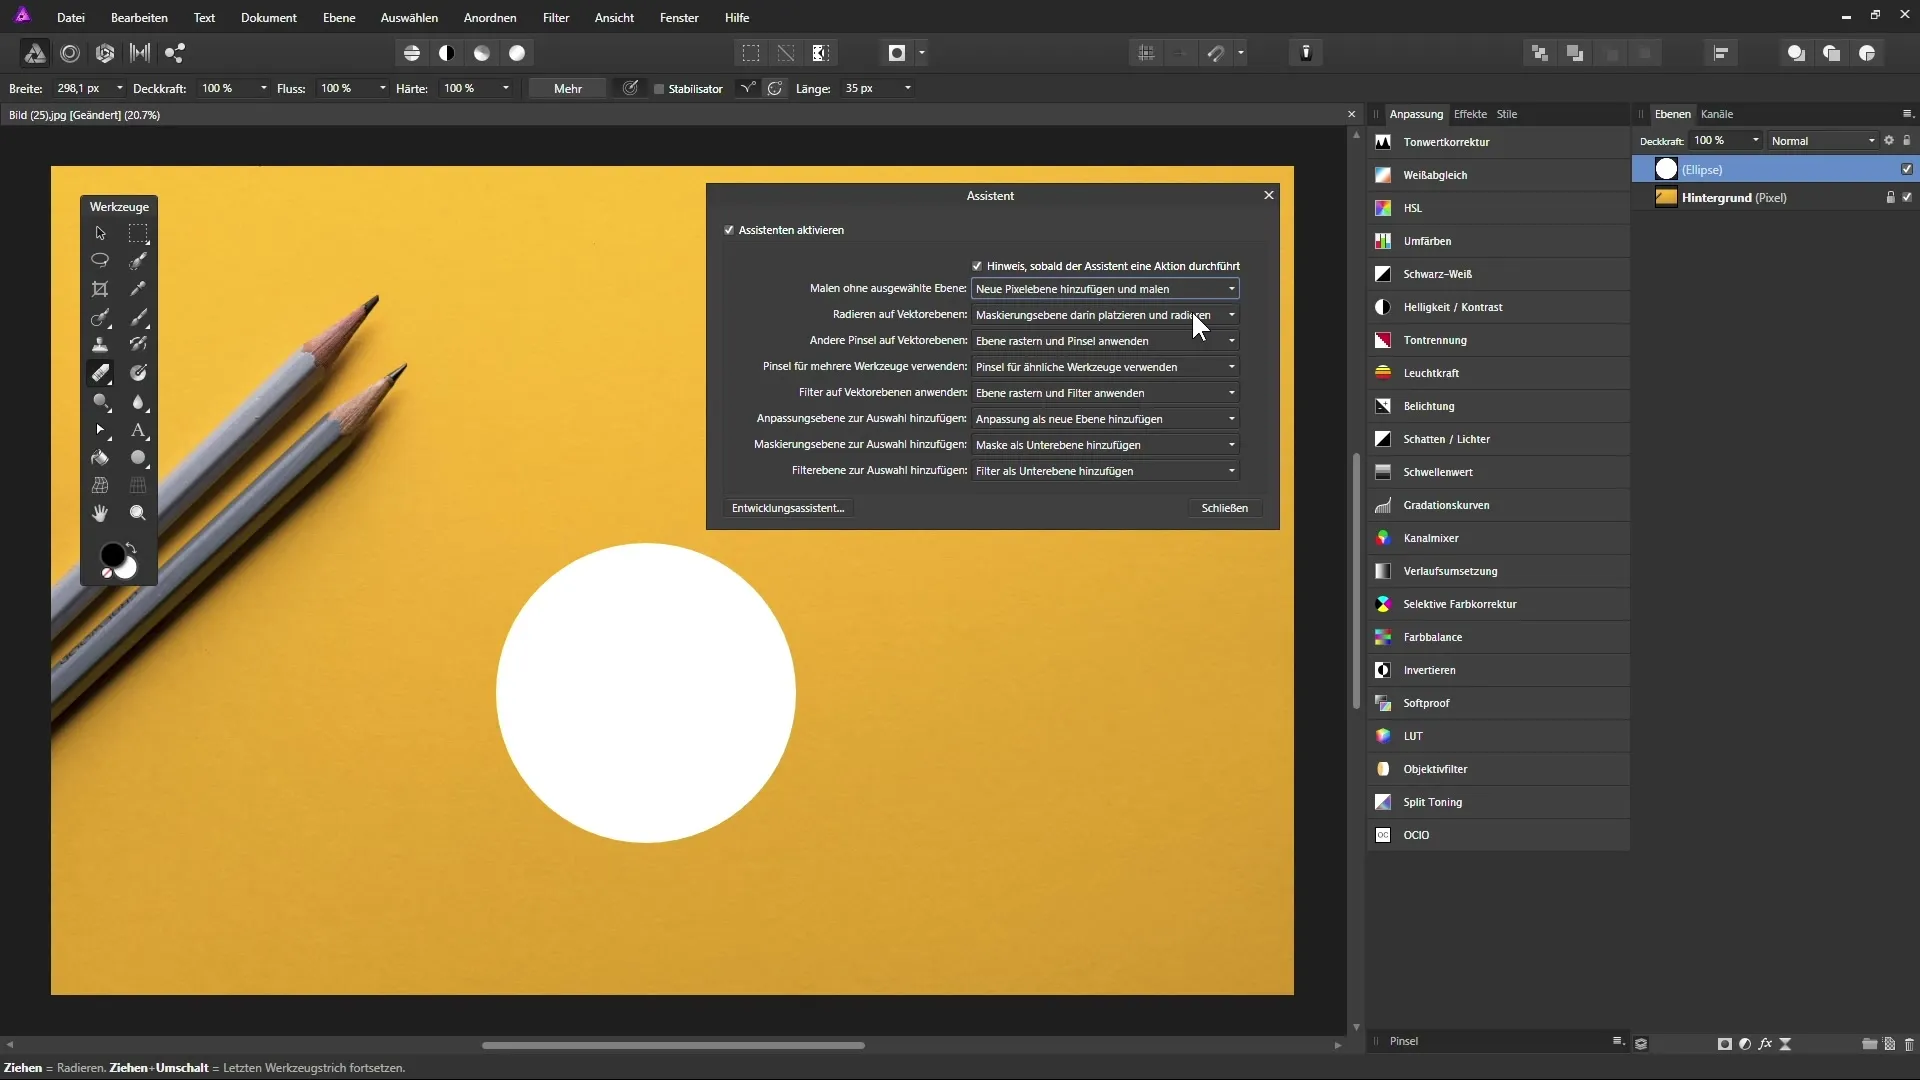
When using the Eraser tool on a vector layer, you can choose to create a masking layer instead. This allows for non-destructive editing of your shape layers, as you can easily bring back the masked areas at any time.

Step 5: Working with other brushes on vector layers
If you are working with a paint brush on a vector layer, the wizard will ensure that your brushstroke remains in a sub-layer. However, if you are using a different brush, indicate to the wizard that this action should not be destructive. Otherwise, you could inadvertently convert a vector layer to a pixel layer.
Step 6: Use brushes for multiple tools
The "Use brushes for multiple tools" option is helpful as it ensures that the brush settings (such as hardness and width) remain the same for similar tools. Avoid confusion by leaving this selection active to promote a consistent work process.
Step 7: Apply filters to vector layers
Pay attention to how filters are applied. The "Apply filter to vector layers" option ensures that your filter is not destructive when using live filters. Use this function to improve your graphic without changing it irrevocably.
Step 8: Add adjustment layers to the selection
When you add an adjustment layer, you can decide whether it is placed above or below the selected layer. This influences how the adjustment layers affect your working layers.
Step 9: Manage masking layers
When working with masking layers, you have the option of adding them as sub-layers or new layers. This influences whether the mask only affects the current layer or also other layers below it. This decision is important for non-destructive work.
Summary - How to set up assistants in Affinity Photo optimally
The correct configuration of the wizard in Affinity Photo can significantly improve the workflow. You should make sure that you customize all important options to your preferred way of working to achieve maximum efficiency.
Frequently asked questions
What is the Assistant in Affinity Photo?The Assistant is a tool that automatically helps you with certain actions in Affinity Photo.
How do I activate the assistant's hints? You can activate the hints in the assistant settings by selecting the corresponding checkbox.
What happens if I paint with the brush tool without a layer selected?The wizard can automatically add a new pixel layer so that you can paint without any problems.
How can I customize the eraser tool for vector layers?You should configure the eraser tool to mask instead of changing the vector layer directly.
Why should I use brushes for similar tools?This option ensures consistent brush settings and prevents confusion when editing.


