You have decided to learn more about the tools Dodging and Burning in Affinity Photo. These two tools are extremely useful for selectively editing contrasts in your images. They allow you to brighten bright areas or darken dark areas to create balanced and dimensional images. Let’s dive into the functions and applications of these tools.
Key Takeaways
- Dodging brightens specific areas of the image, while Burning darkens dark areas.
- Both tools can be found in the toolbar and can be accessed using the same shortcut key “O”.
- Settings such as brush size, opacity, and hardness can be adjustable to achieve smooth transitions.
- The tonal range allows for targeted application of effects to highlights, midtones, or shadows.
- Effective use of these tools requires practice to achieve realistic results.
Step-by-Step Guide
1. Finding and Selecting Tools
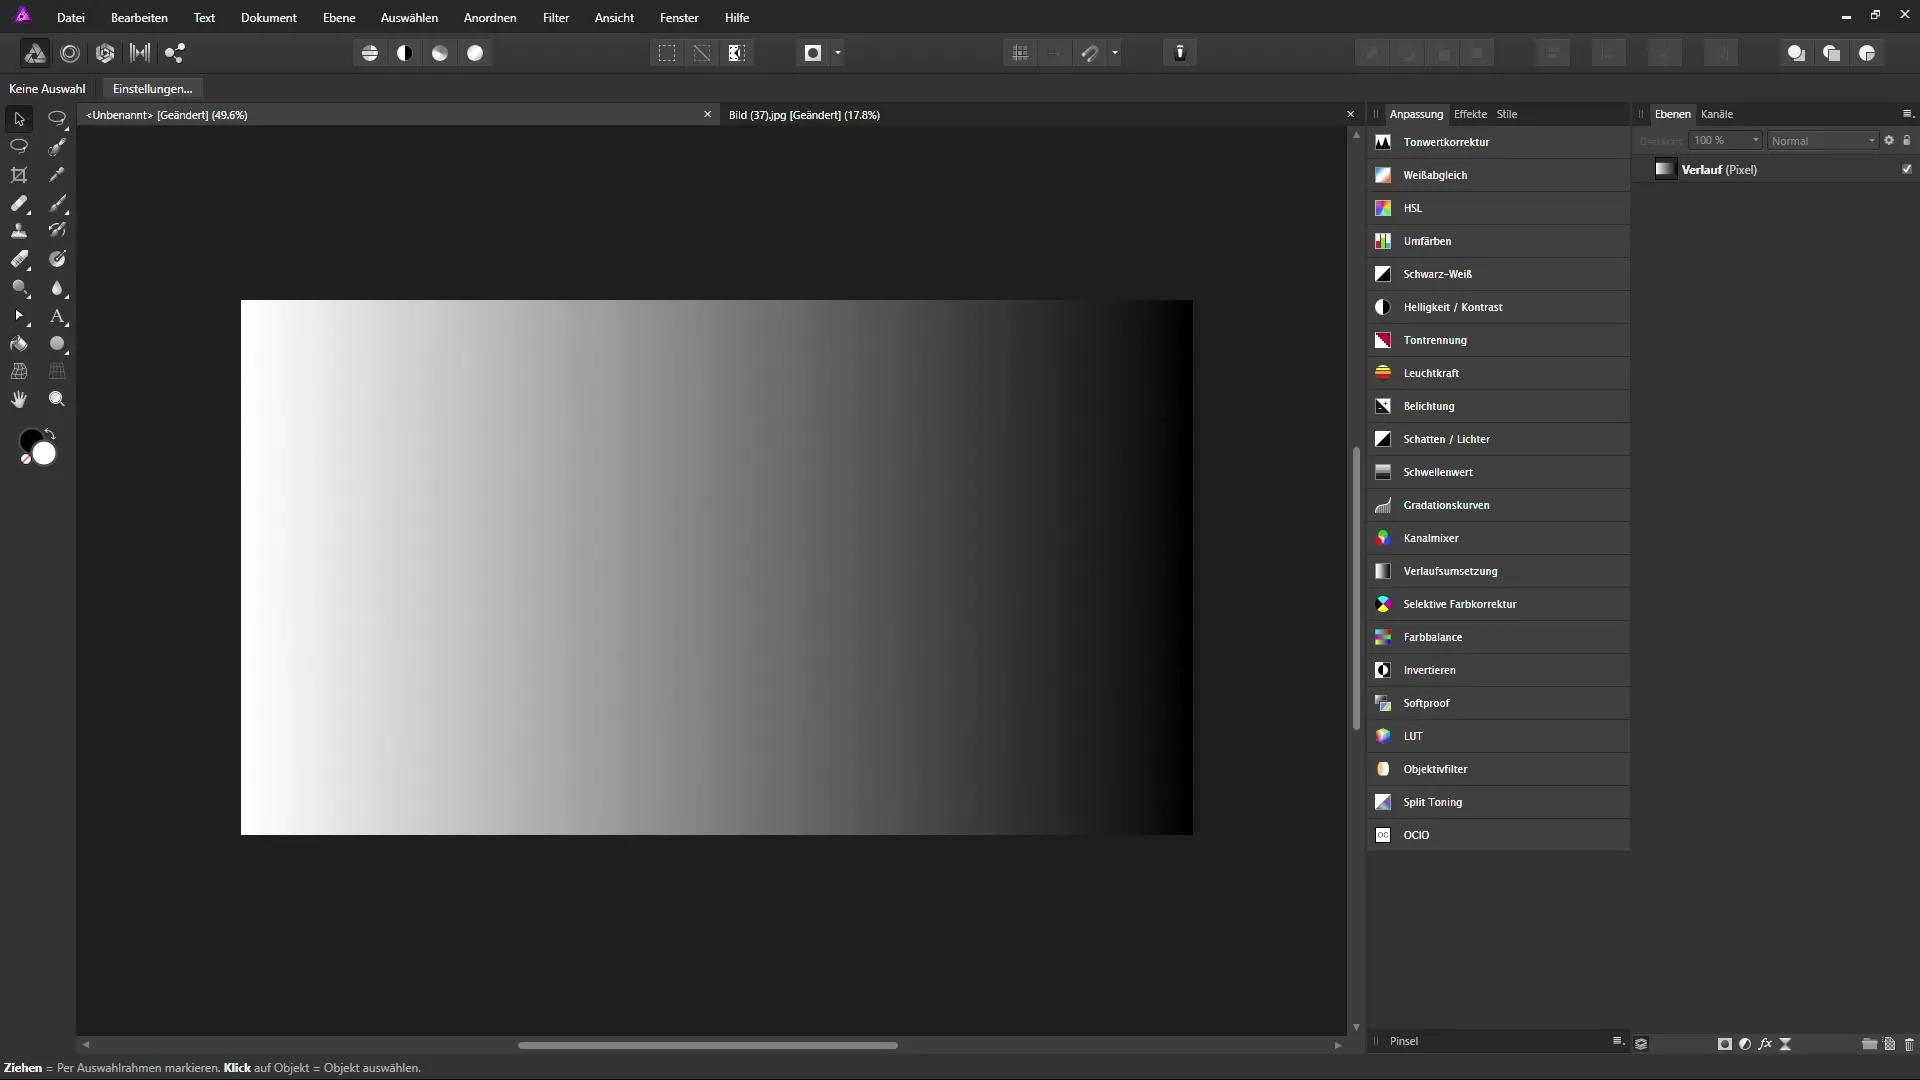
First, ensure that you find the Dodging tool in the toolbar. It is represented by a specific icon and can also be activated by pressing the “O” key. Hold the mouse button down on the icon to switch between Dodging and Burning.
2. Adjusting Settings
Once you have selected the Dodging tool, check the context bar to configure options such as brush width, opacity, and flow. It makes sense to set the brush hardness to 0% to achieve soft transitions. This allows for harmonious brightening or darkening without harsh edges.
3. Applying the Dodging Tool to Highlights
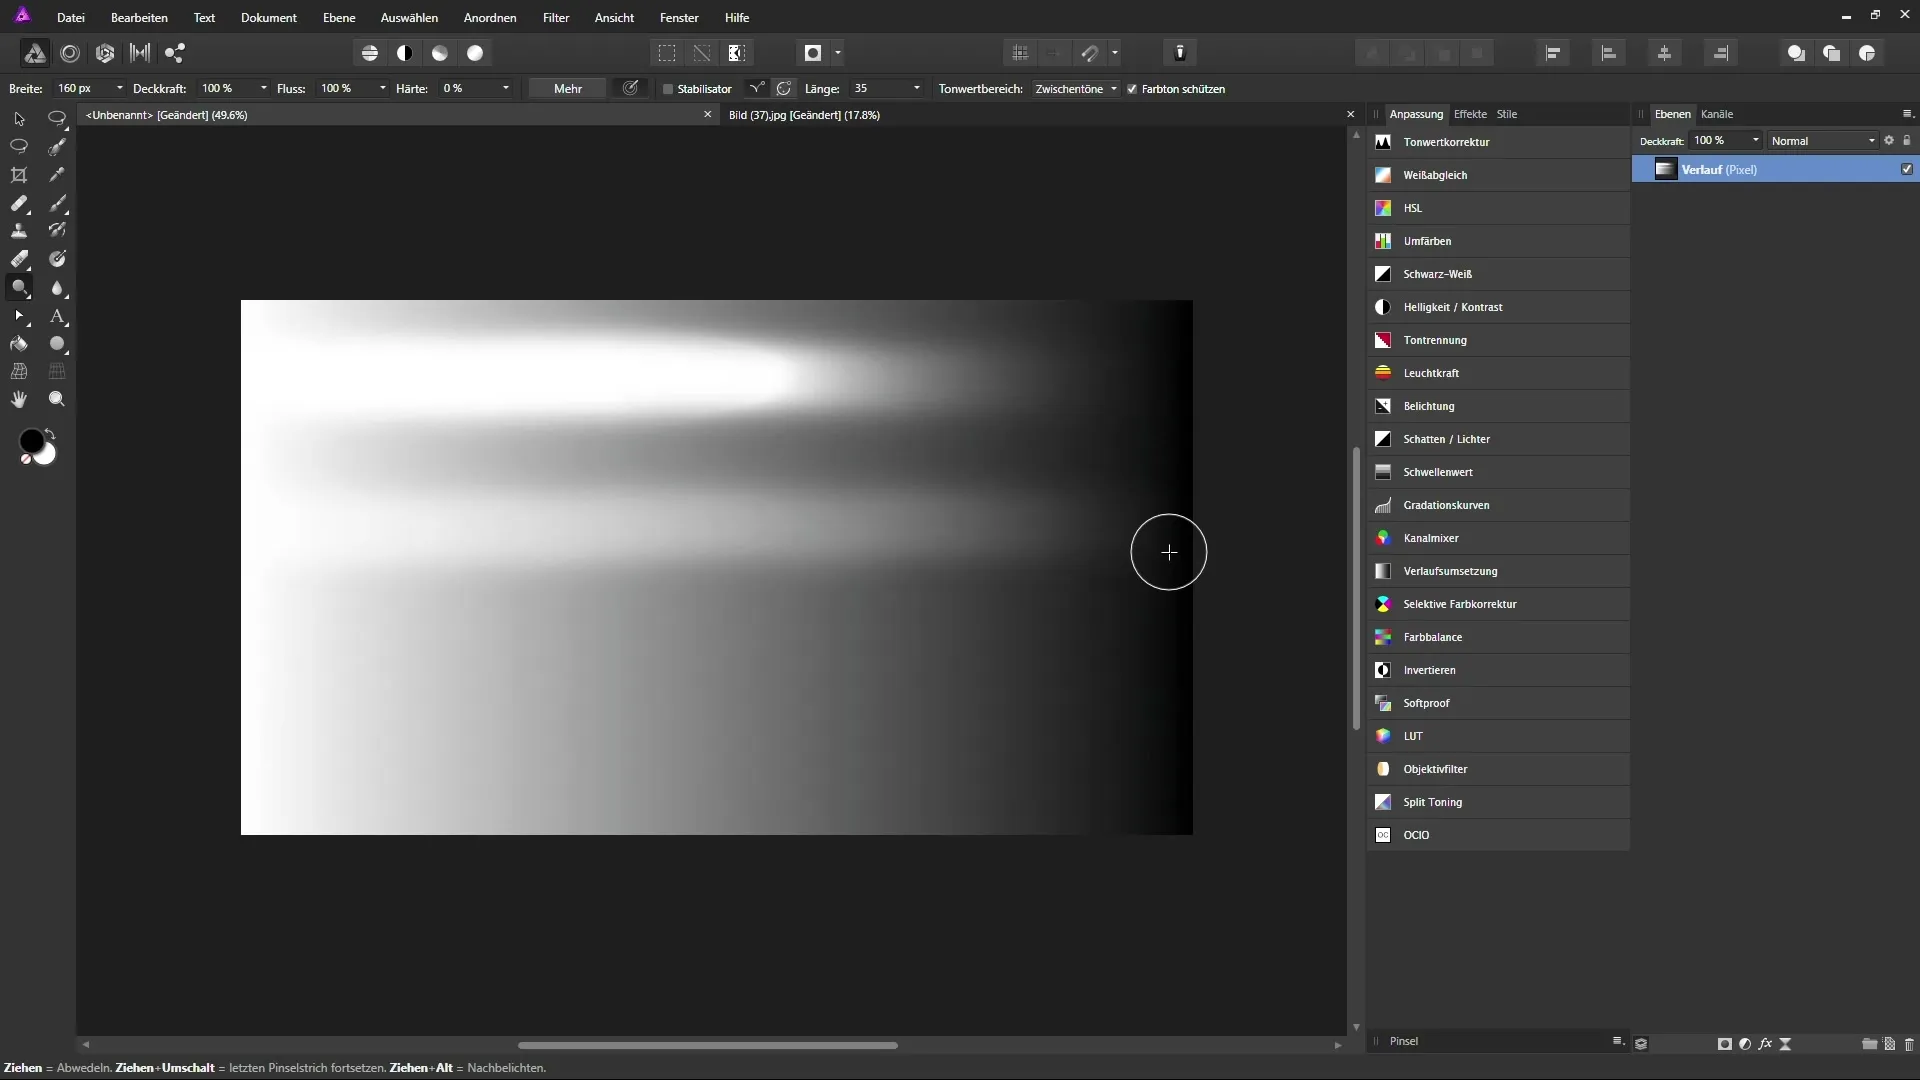
To brighten the highlights in your image, select the tonal range “Highlights”. Start with slow strokes from left to right to effectively brighten the highlights. It is important to minimize the effect on dark areas to achieve a balanced result.
4. Brightening Midtones and Shadows
Switch to the tonal range “Midtones” to work with moderate intensity on the mid-brightness areas. With this setting, you can make small adjustments to the midtones without significantly affecting the shadows and highlights.
5. Switching to the Burning Tool
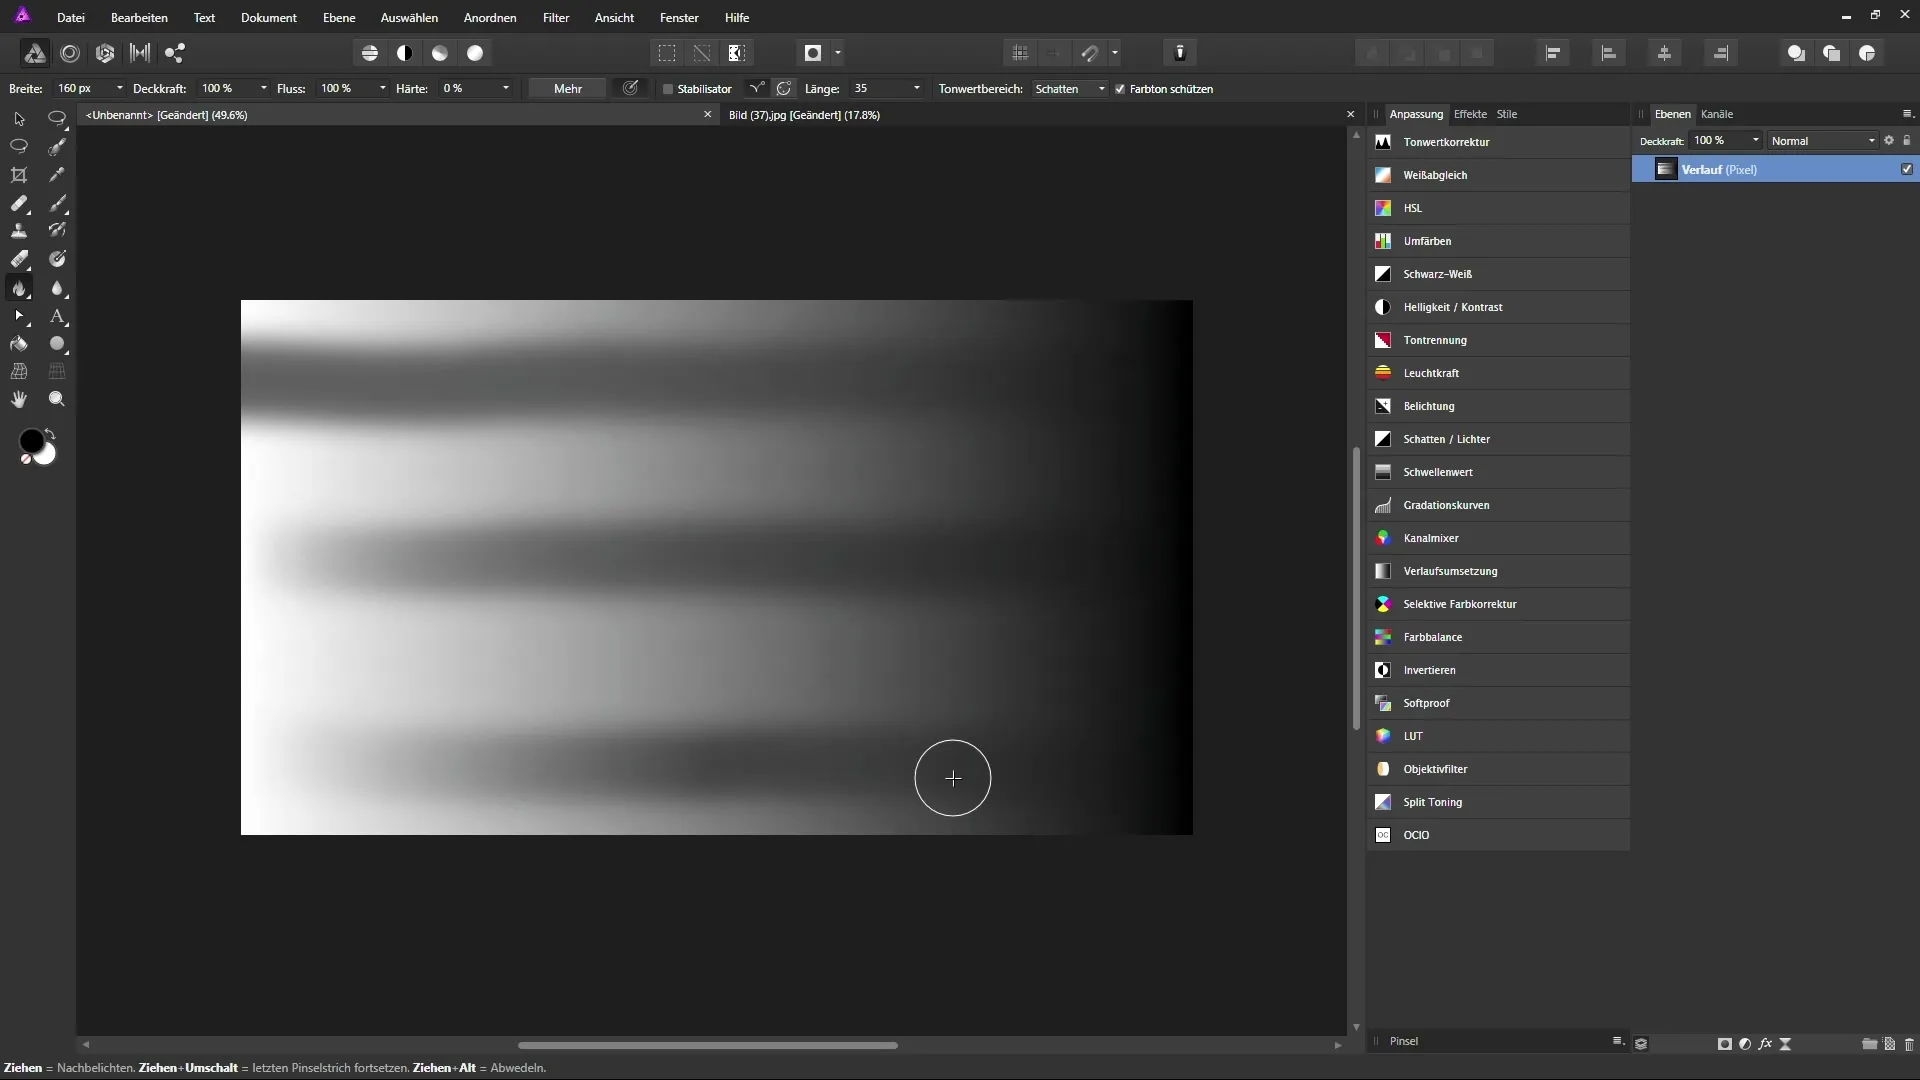
To use the Burning tool, you can either switch directly between the tools or hold down the Alt key while working with the Dodging tool. This allows for a preview and quick switching without manually changing the tool.
6. Applying the Burning Tool
Select the tonal range “Shadows” if you want to darken dark areas. Carefully paint over the desired areas to enhance the depth and dimensionality of your image. Make sure to set the brush opacity low so that you can apply the effects gently.
7. Fine-Tuning for Realistic Results
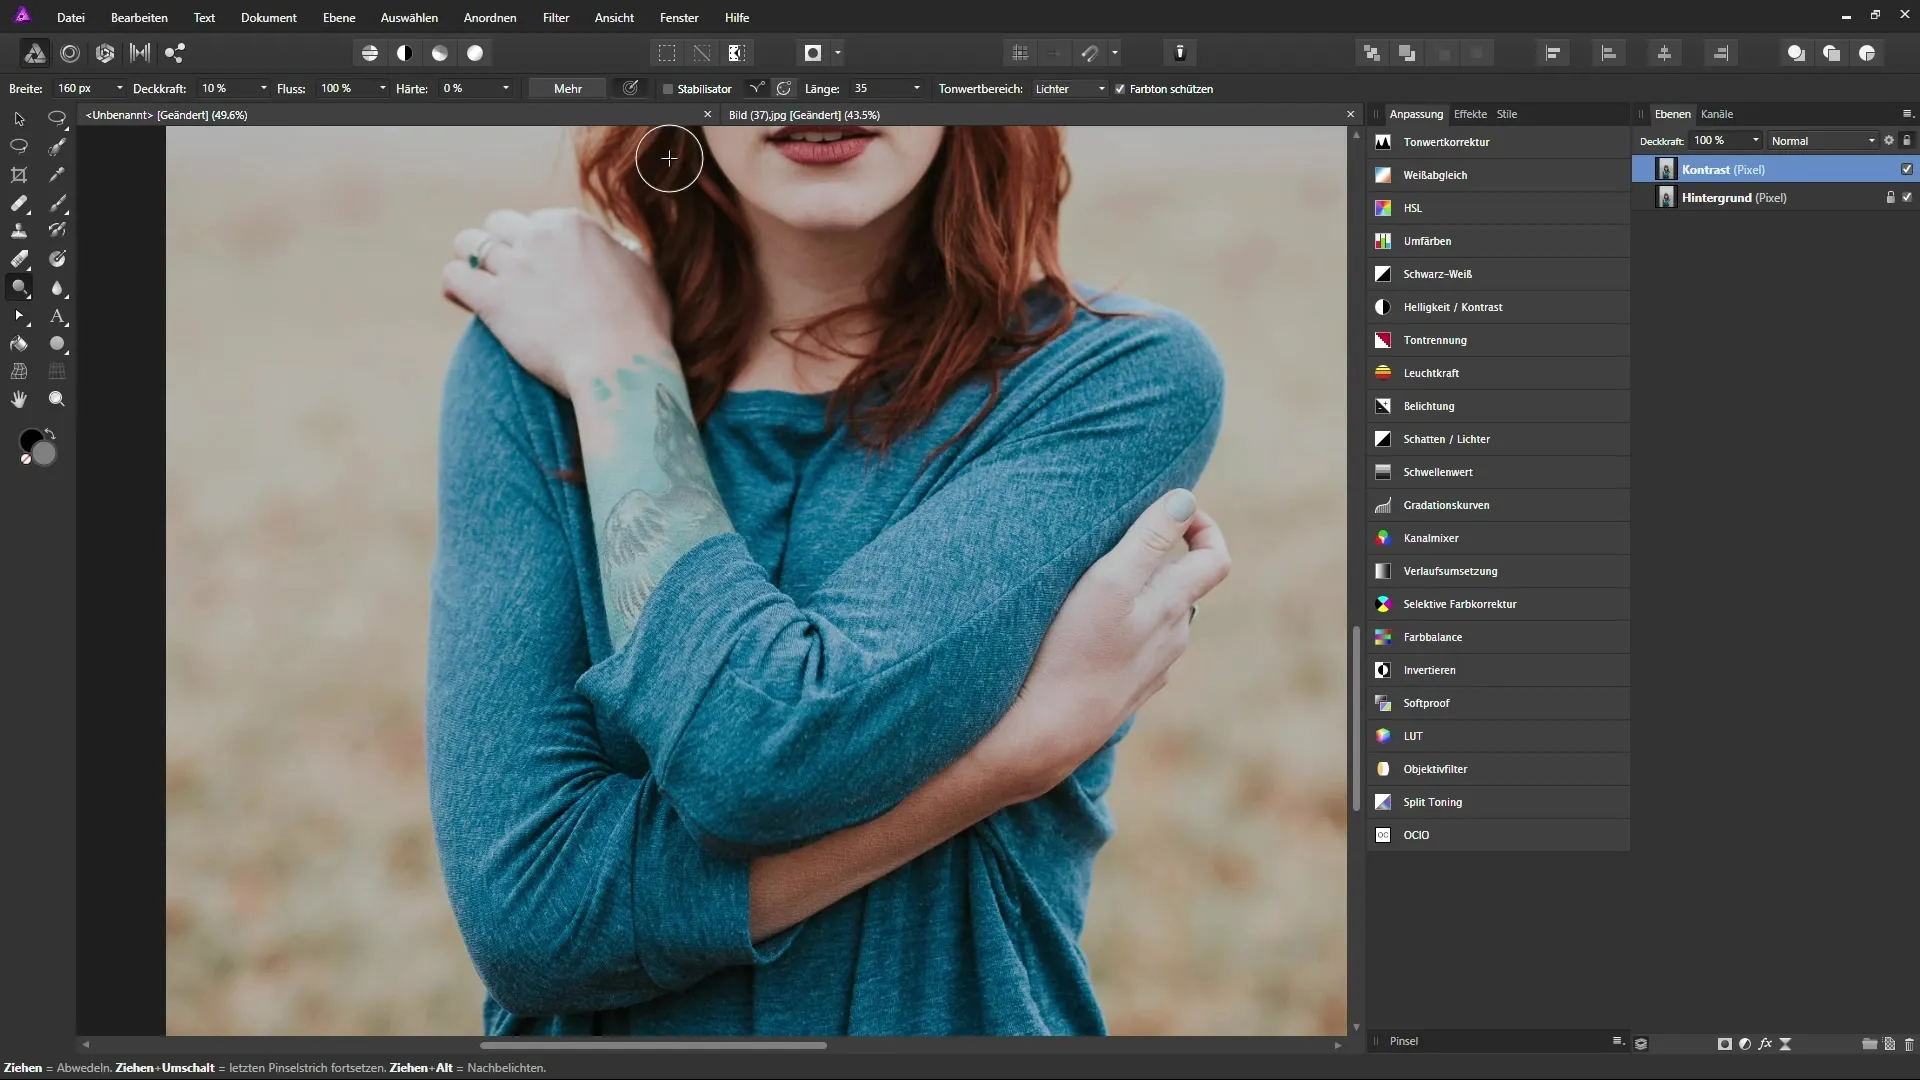
Experiment with additional settings such as brush size and pressure sensitivity when using a graphics tablet. This helps to increase the details and precision of your work. Be mindful of how the highlights and shadows interact in the image to avoid distorting the overall mood.
8. Before-and-After Comparison
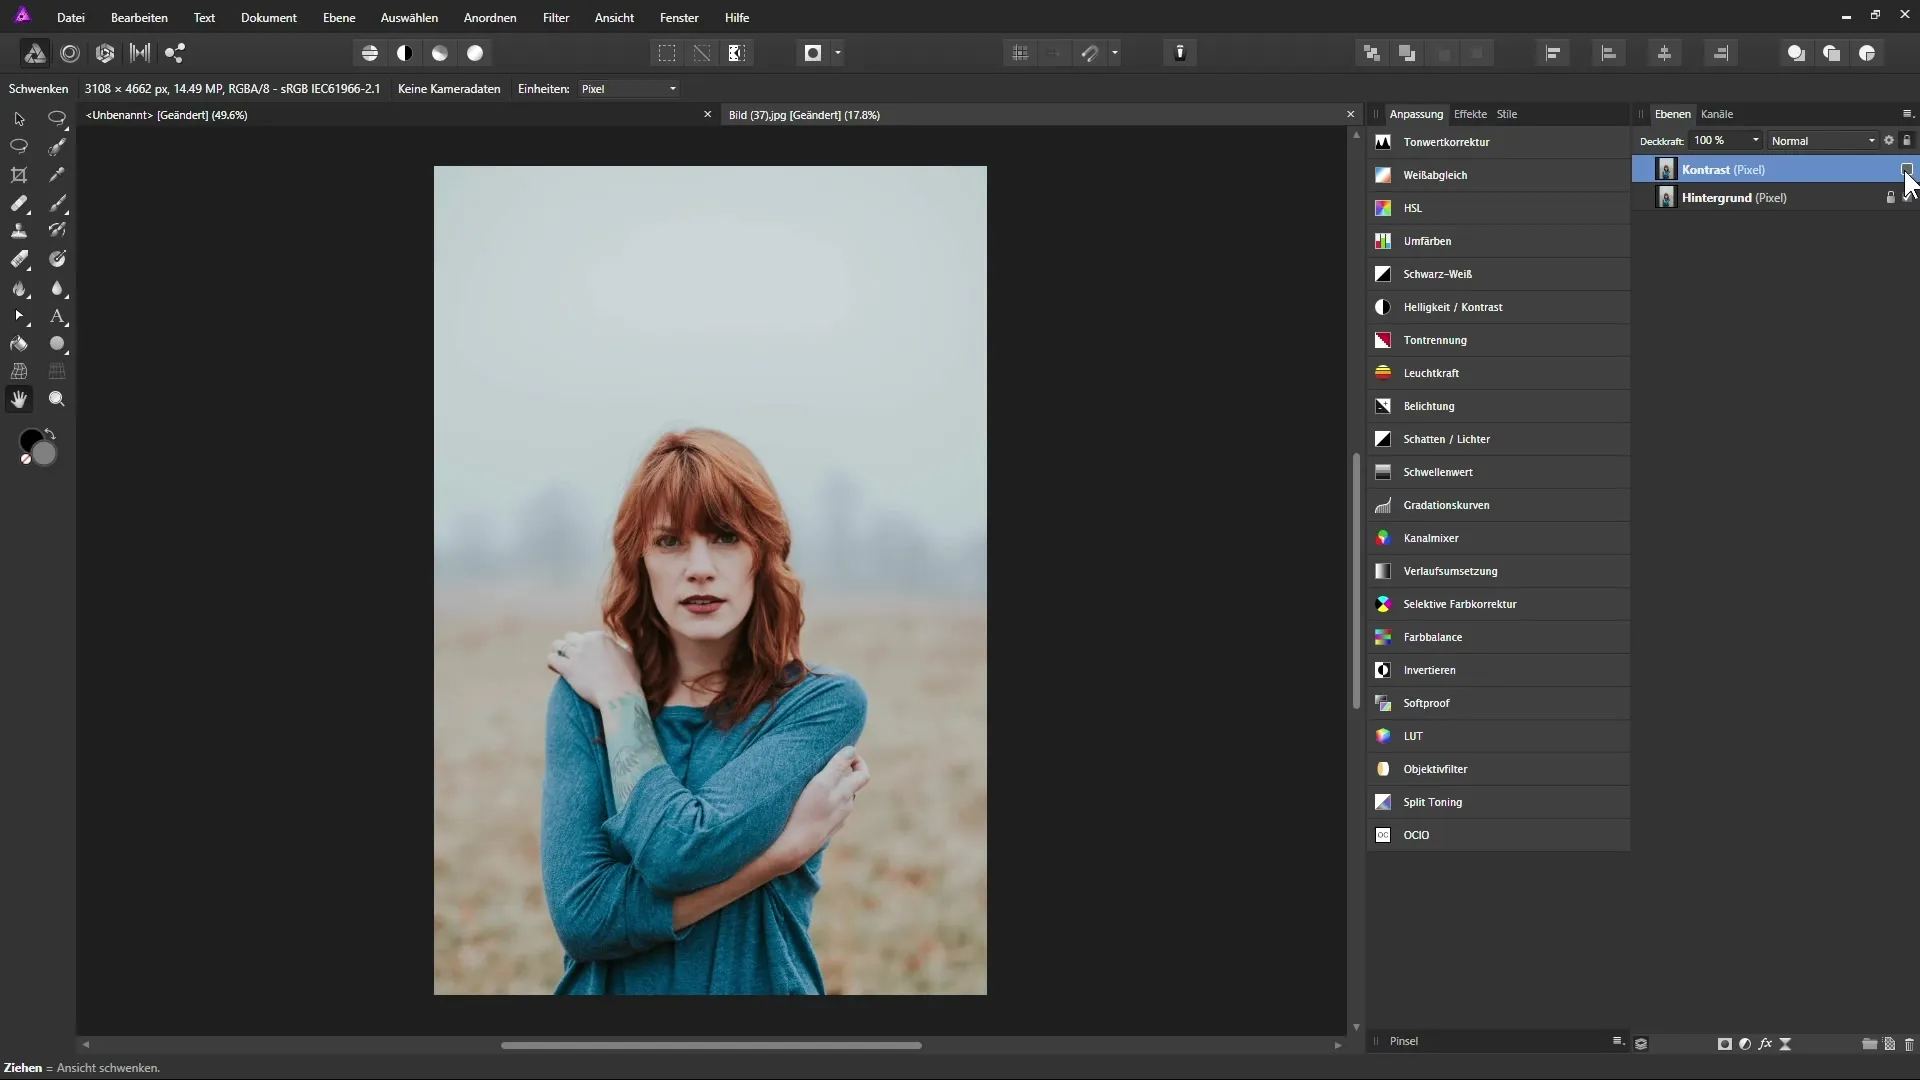
To check your progress, toggle the edited layer on and off. This allows you to see how the changes have impacted the image and evaluate whether the desired results have been achieved. It is a valuable exercise for making situational adjustments.
9. Finally
If you are satisfied with the adjustments, save your document. If you want to continue experimenting, observe how subtle adjustments in opacity and tonal ranges lead to different outcomes.
Summary – Guide to Working with the Dodging and Burning Tools in Affinity Photo
The applications of the Dodging and Burning tools in Affinity Photo are immense. With the right handling, you can achieve impressive effects through targeted brightening and darkening that enhance the depth and character of your images.
Frequently Asked Questions
Which tool should I use for bright areas?You should use the Dodging tool for bright areas.
How do I switch between Dodging and Burning?You can switch between Dodging and Burning using the “O” key or by holding down the Alt key while clicking the mouse.
What is the advantage of a graphics tablet?A graphics tablet allows for pressure sensitivity, enabling you to dynamically adjust the brush size.
How do I achieve soft transitions when dodging?Set the hardness of your brush to 0% to achieve soft transitions.
Do I need a lot of practice to use these tools effectively?Yes, regular practice is essential to realistically master and improve the effects of the tools.


