The precise selection of colors can determine the success of a creative project. In Affinity Photo, you have the Eyedropper tool available, which allows you to sample colors directly from your image or even from external sources. Whether you need a specific hue for your paintbrush or want to create a color palette for a design project – the eyedropper is an indispensable tool.
Key Insights
- The eyedropper allows you to select colors from images or external sources.
- There are various settings, such as selecting colors from the entire document or only from the current layer.
- You can save colors for future projects and apply your selection directly to filled areas.
Step-by-Step Guide
1. Select the Eyedropper
To start with the eyedropper, select the tool from the menu. You will find the icon in the toolbar or you can quickly activate it with the keyboard shortcut “i”. After selection, the context bar will change, allowing you to adjust the various options for the eyedropper.

2. Sample Color from an Image
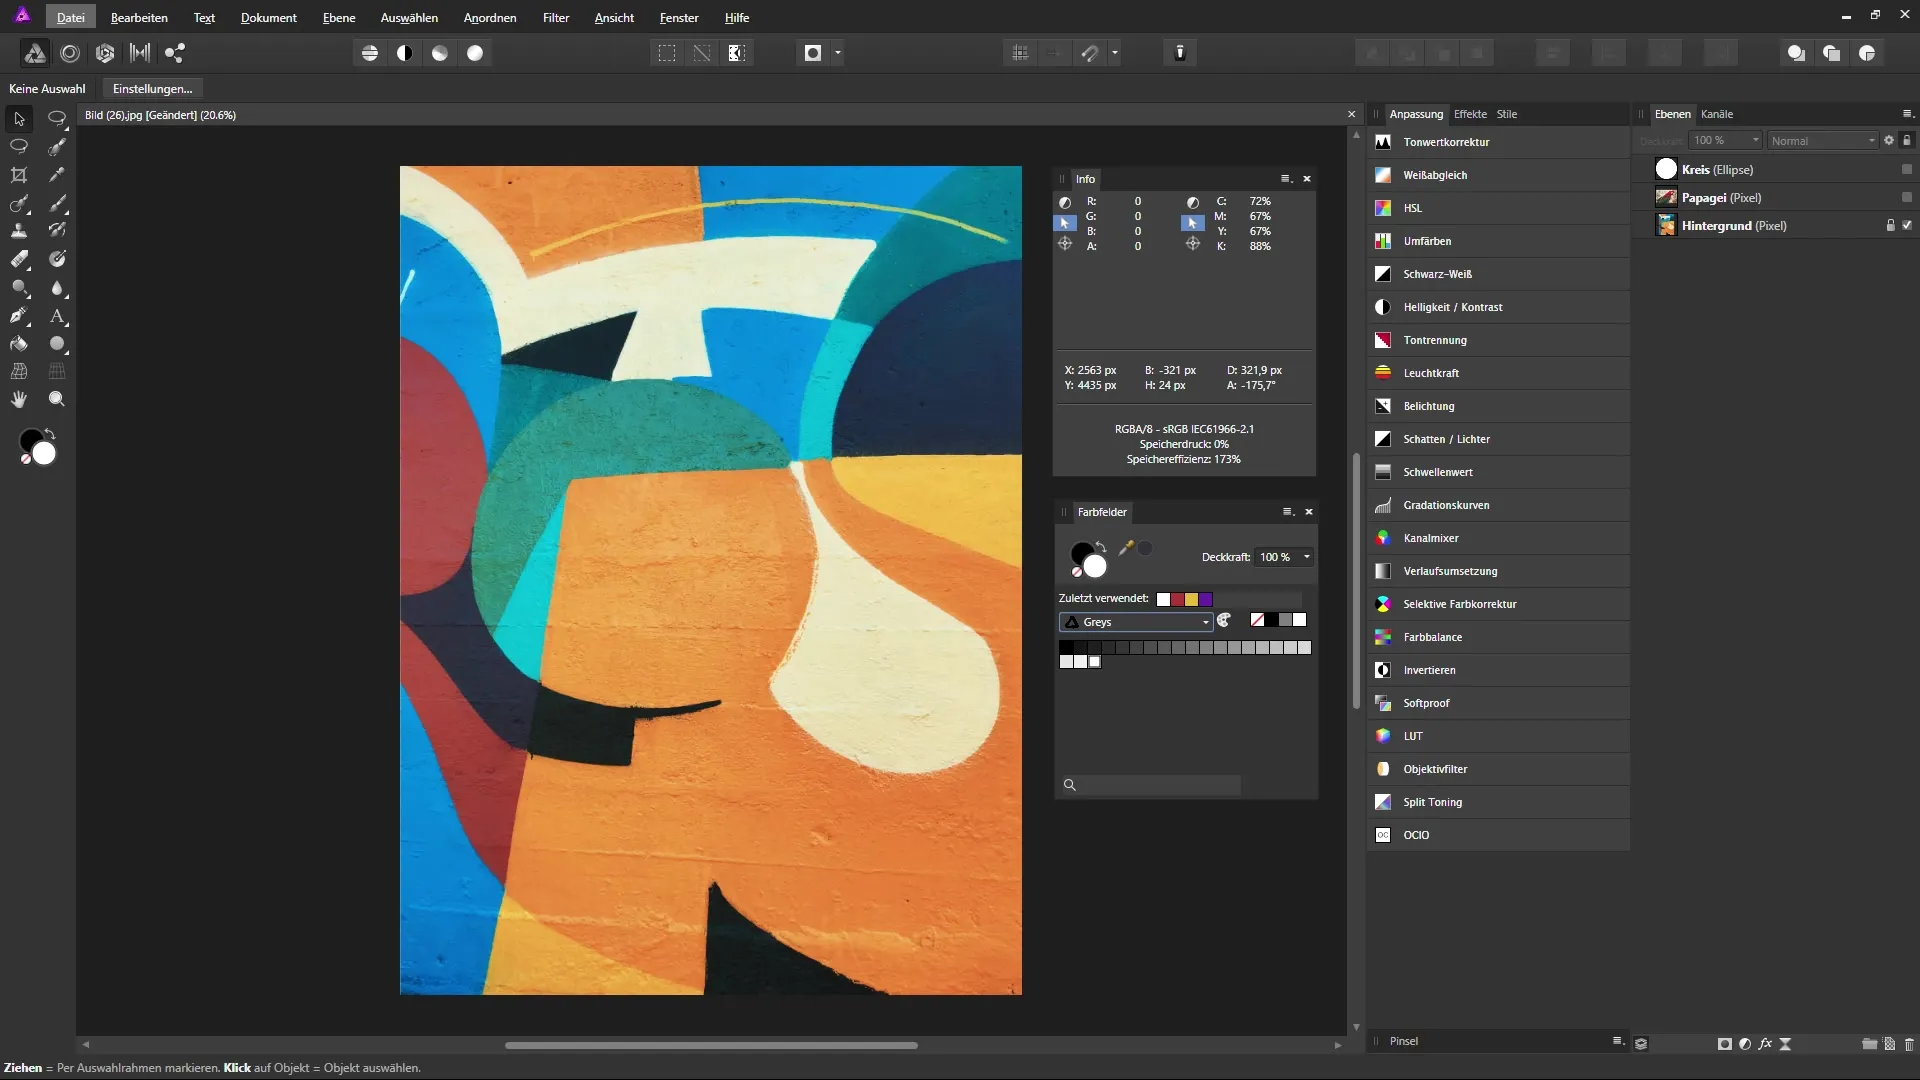
The eyedropper allows you to take a color directly from your image. Simply click on the desired color. For example, if you want to select an orange hue from your background image, position the eyedropper over that hue and click. The selected hue will now be active and available for your use.
3. Choose Source: Global or Current Layer
By default, the color selection is set to “Global,” which means the eyedropper will focus on all visible layers. However, you can also choose "Current Layer" to select colors only from the active layer. This is especially useful if you want to ensure that you are only using colors from a specific layer.
4. Pixel-Perfect Hue Selection
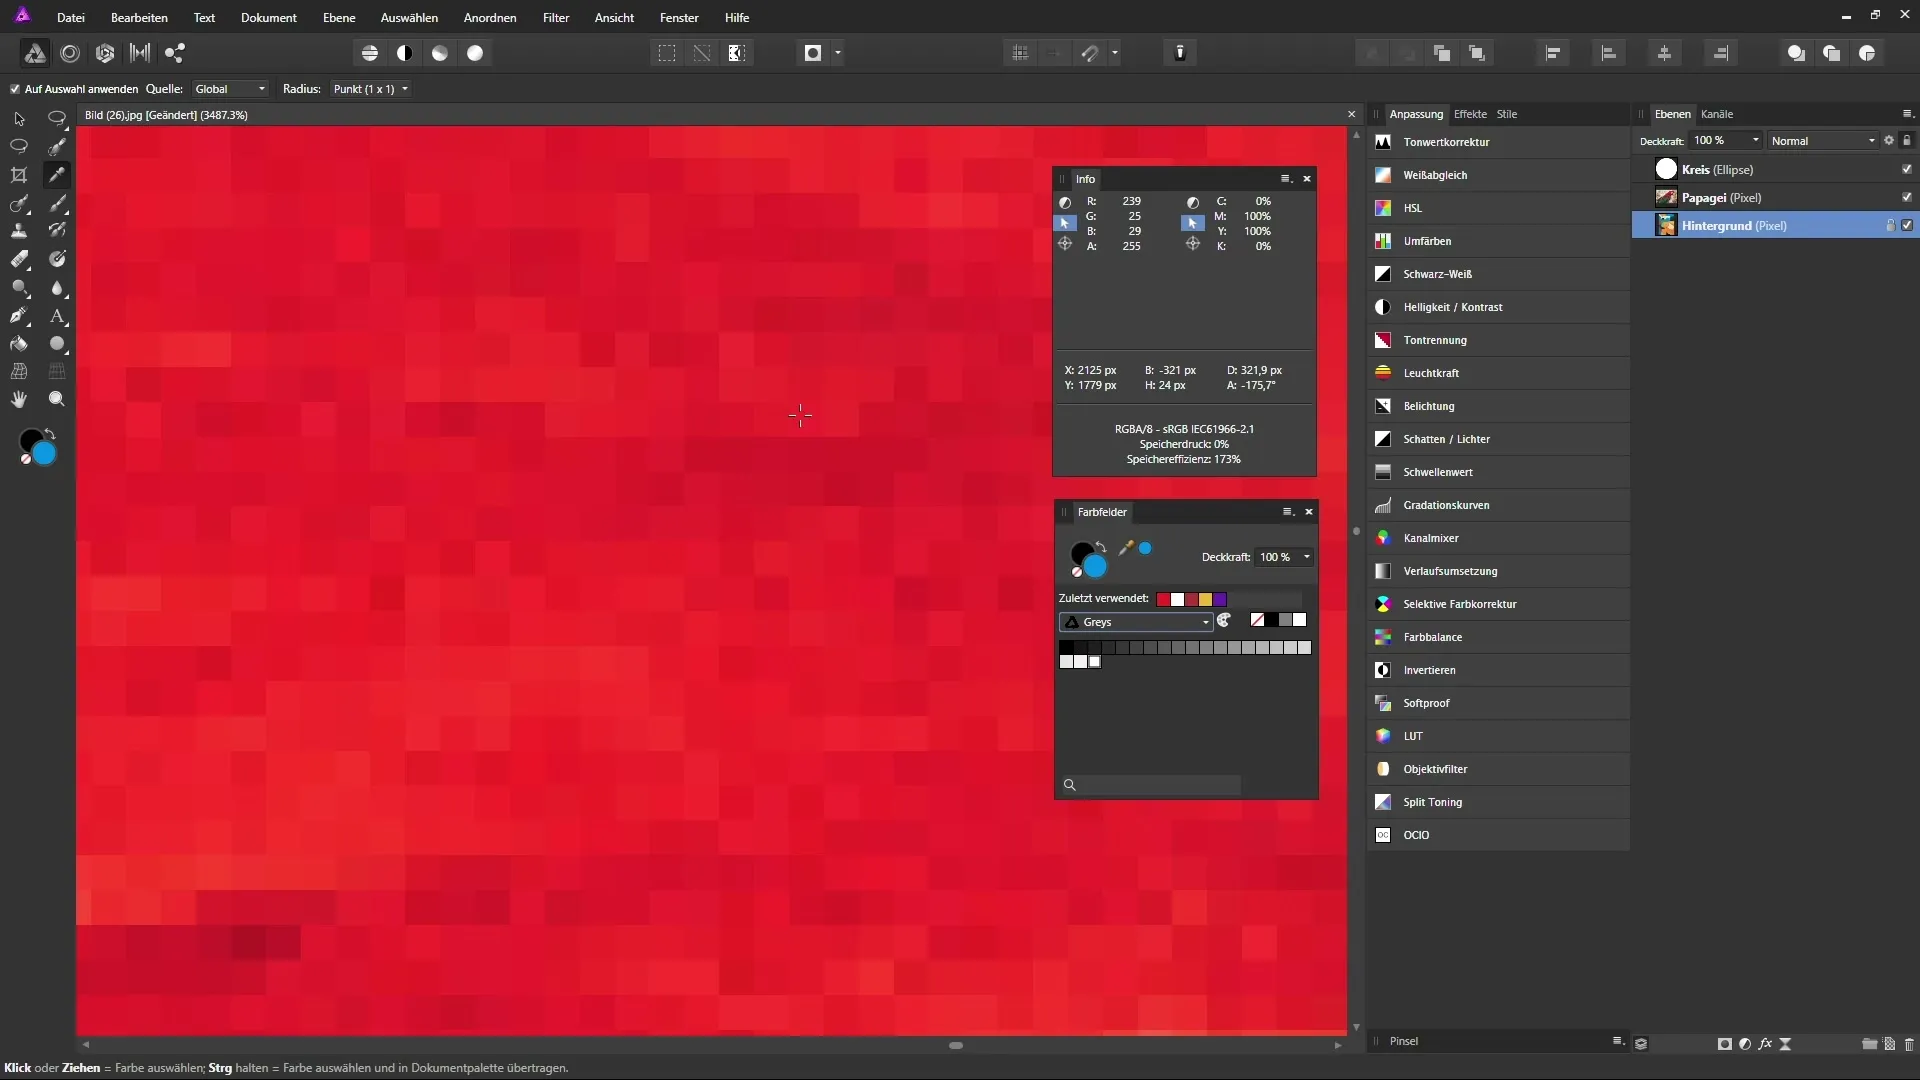
With the eyedropper, you capture the exact color value of the pixel you click on. By zooming very closely into the image, you can select particularly precise colors. However, keep in mind that the image consists of many pixels, so check the color value you like at full magnification.

5. Define Color Selection by Radius
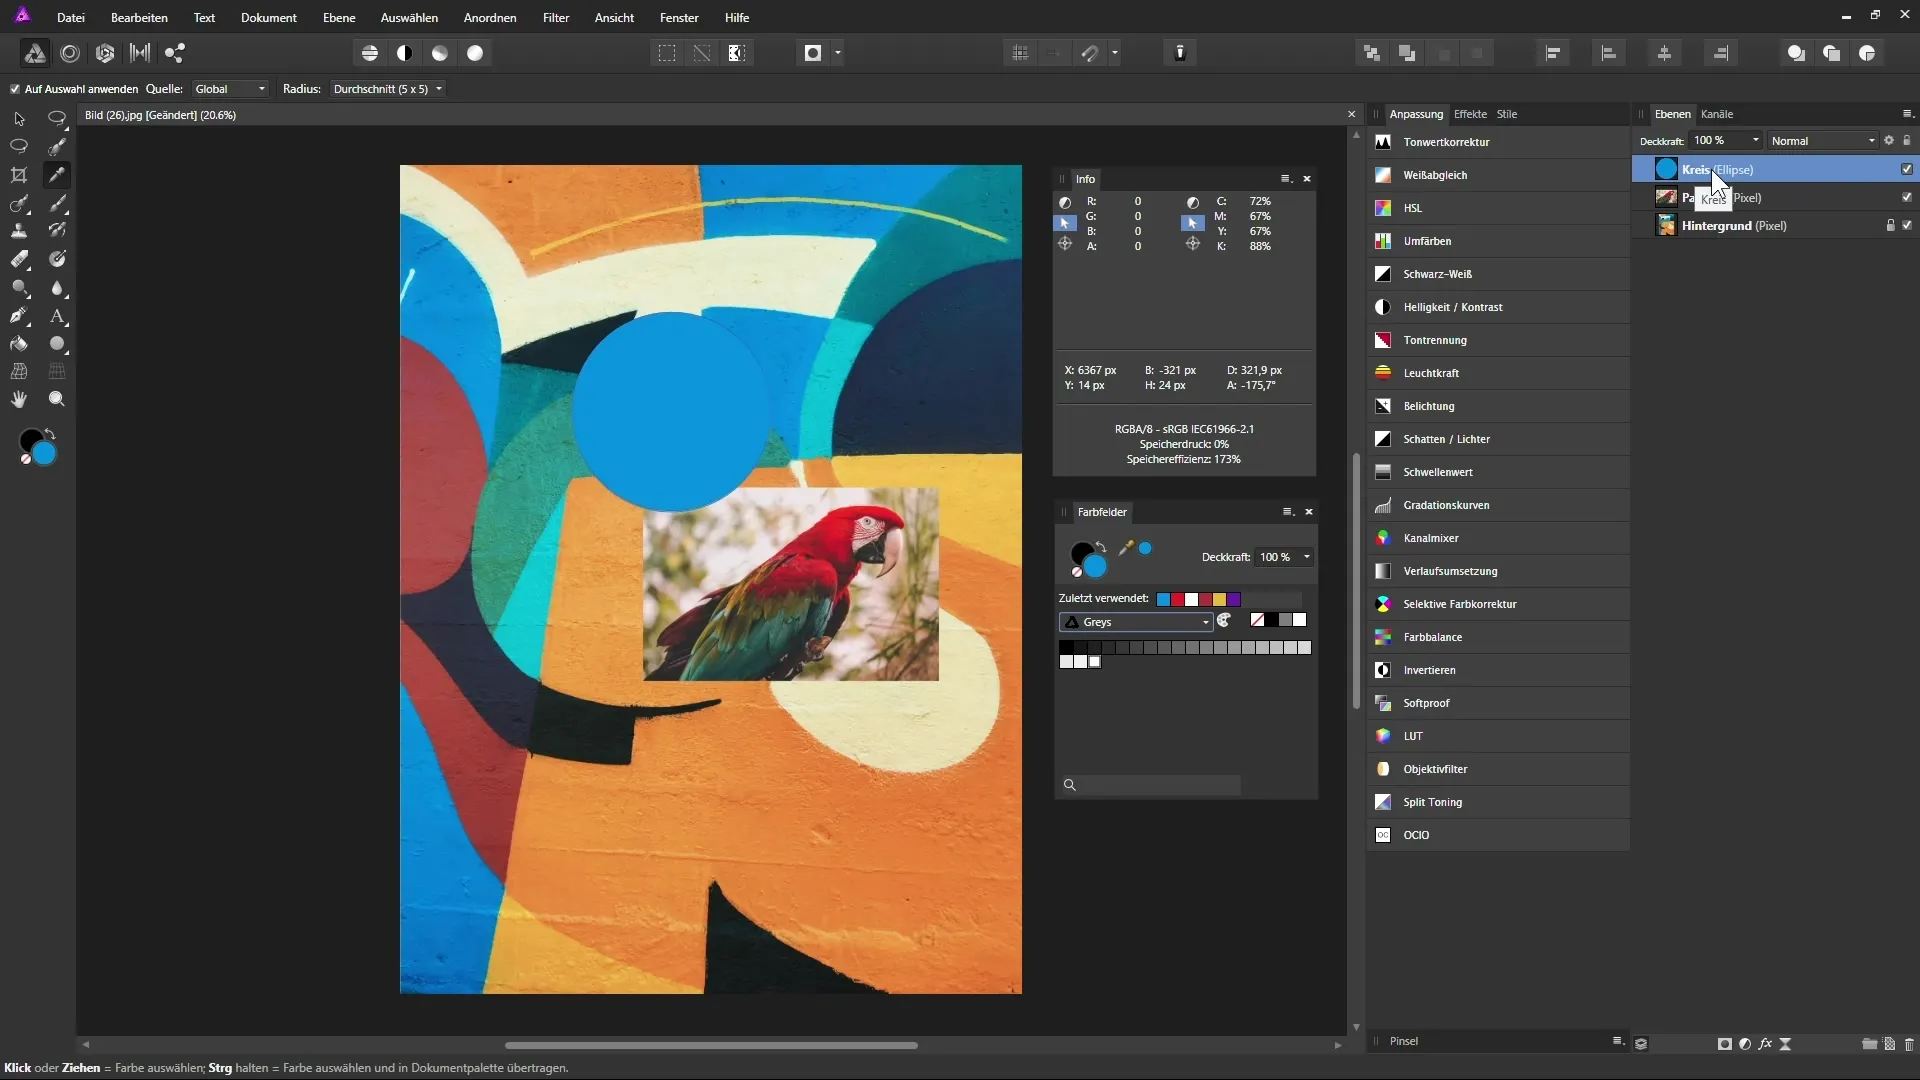
You have the option to define the radius from which the eyedropper will take the average value. By setting this to 3x3 or 5x5 pixels, you get a blended hue from an area. This is useful to capture not just a single hue but also an average color value.
6. Apply Selection
By default, the option “Apply to Selection” is enabled. This means that when you choose a color from the eyedropper, it will automatically be applied to the currently selected shape or layer. If you disable this option, the color will only be added to the selection without applying it.

7. Save Colors
Do you want to save colors for future projects? Hold down the control key while selecting the desired colors. They will be saved in a palette called “Document,” which you can access through the Swatches window. This way, you have access to your favorite hues at any time.
8. Use Eyedropper in the Swatches Panel
Even when the eyedropper is not active, you can select colors. Click on the Swatches panel and drag the eyedropper onto the image. This feature allows you to select colors directly in your workflow even without the tool.
9. Select Color Externally
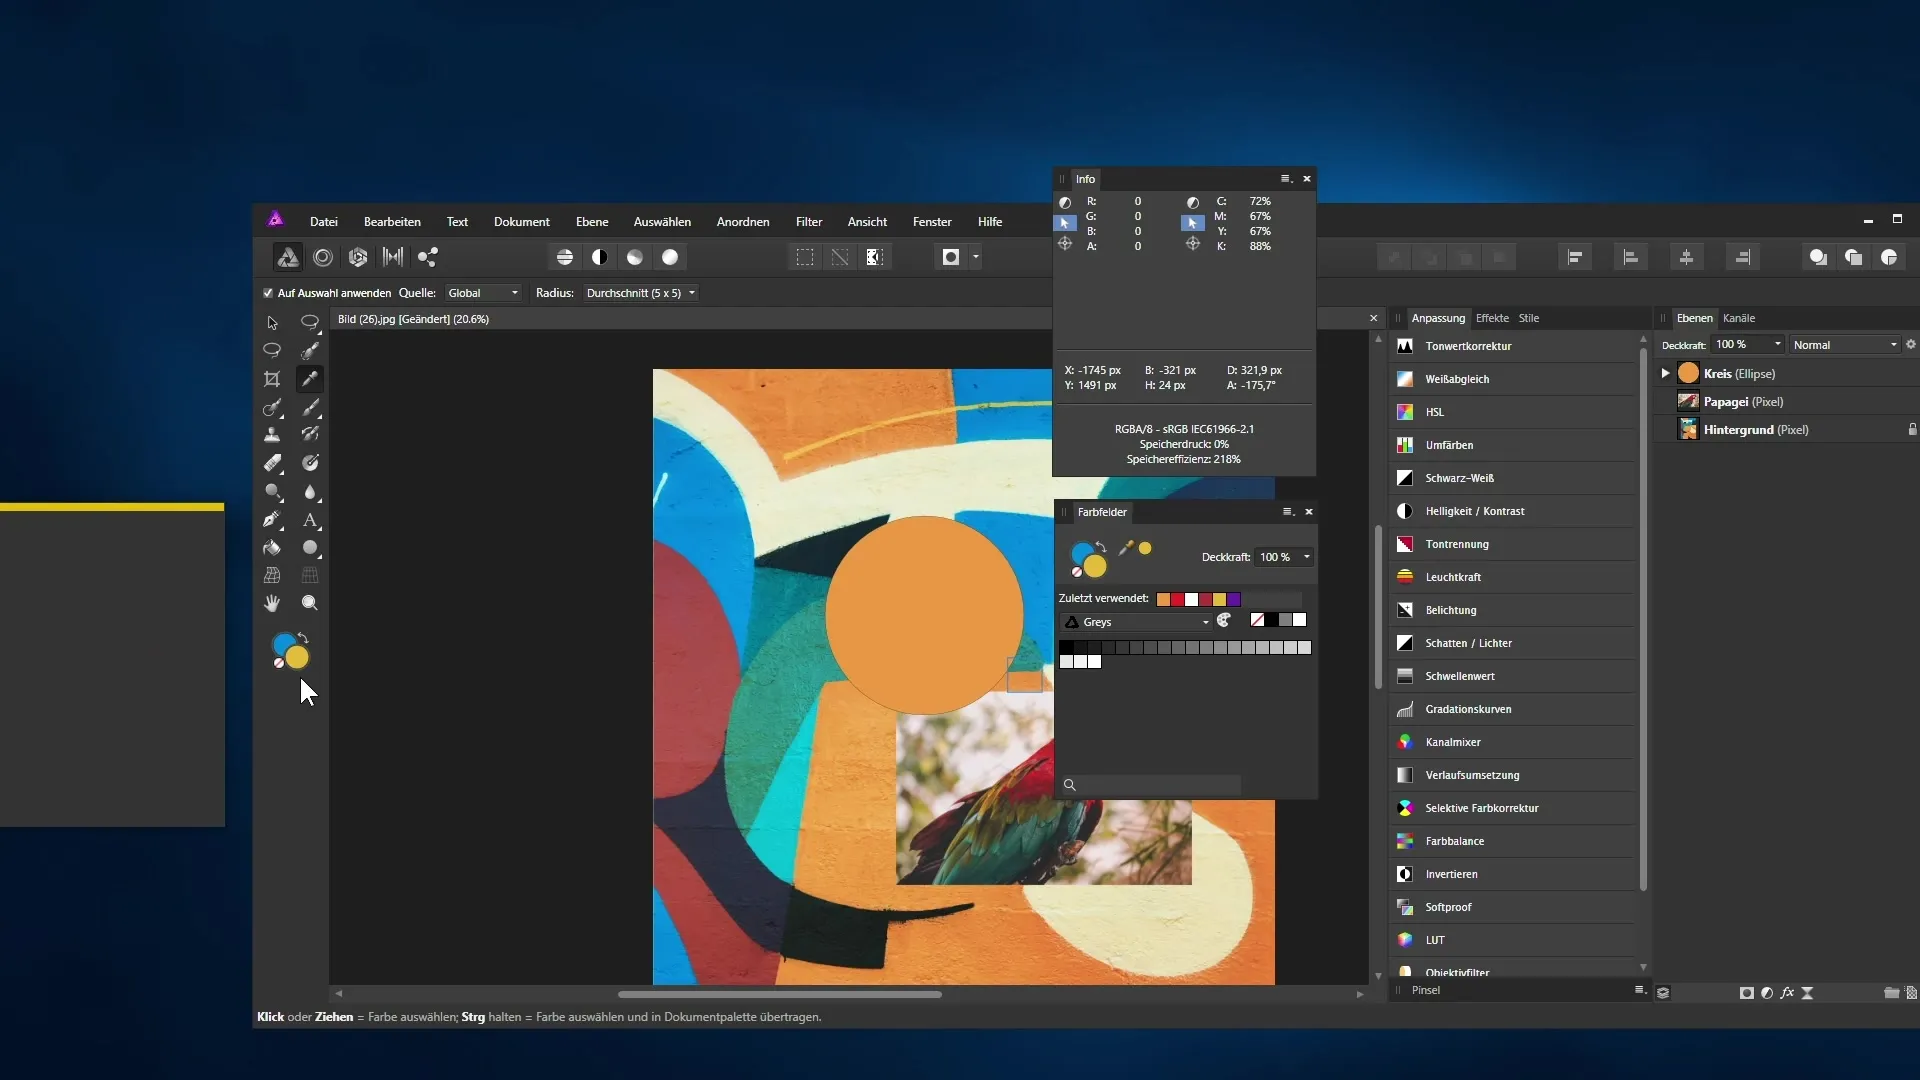
You can even sample colors from outside of Affinity Photo. Drag the eyedropper into another window, such as a website, and pick the color you like from there. Even if it is outside the program, you can easily import the color into your project.

Summary – Utilizing Color Spaces Efficiently: A Guide to Using the Eyedropper Tool in Affinity Photo
Using the eyedropper tool in Affinity Photo is a fantastic way to select and save precise colors from your images or other sources. You can work globally with it as well as take advantage of average color selection. Plus, you have the flexibility to save and manage colors for future projects.
Frequently Asked Questions
How do I select the eyedropper in Affinity Photo?Press the icon in the toolbar or use the keyboard shortcut “i.”
Can I select colors from multiple layers?Yes, if you keep the setting on “Global,” you can select colors from all visible layers.
What is the benefit of the radius setting?This allows you to capture an average value from a color range rather than just selecting a single pixel value.
How do I save colors for future projects?Hold down the control key and click on the desired colors to save them in the palette.
Can I use the eyedropper to sample colors outside of Affinity Photo?Yes, just drag the eyedropper into another window to select colors there.


