In image editing, the next step after creative adjustments is the saving of your work. In Affinity Photo, you have various methods available that allow you to save your images while remaining flexible for further adjustments. In this guide, you will learn how to save in both the Affinity native format and in common export formats to make the most of your work and share it.
Key Insights
- Two main methods for saving: Affinity format (AF Photo) for future edits and common formats (PNG, JPEG, GIF) for use on the internet.
- Options for adjustments when exporting, including resizing and quality.
- Using the Slice tool for selective saving of image areas.
Step-by-Step Guide
You have edited an image in Affinity Photo and want to save it. There are two main methods for this: Saving the project file and exporting to various image formats.
1. Save Images in Affinity Format (AF Photo)
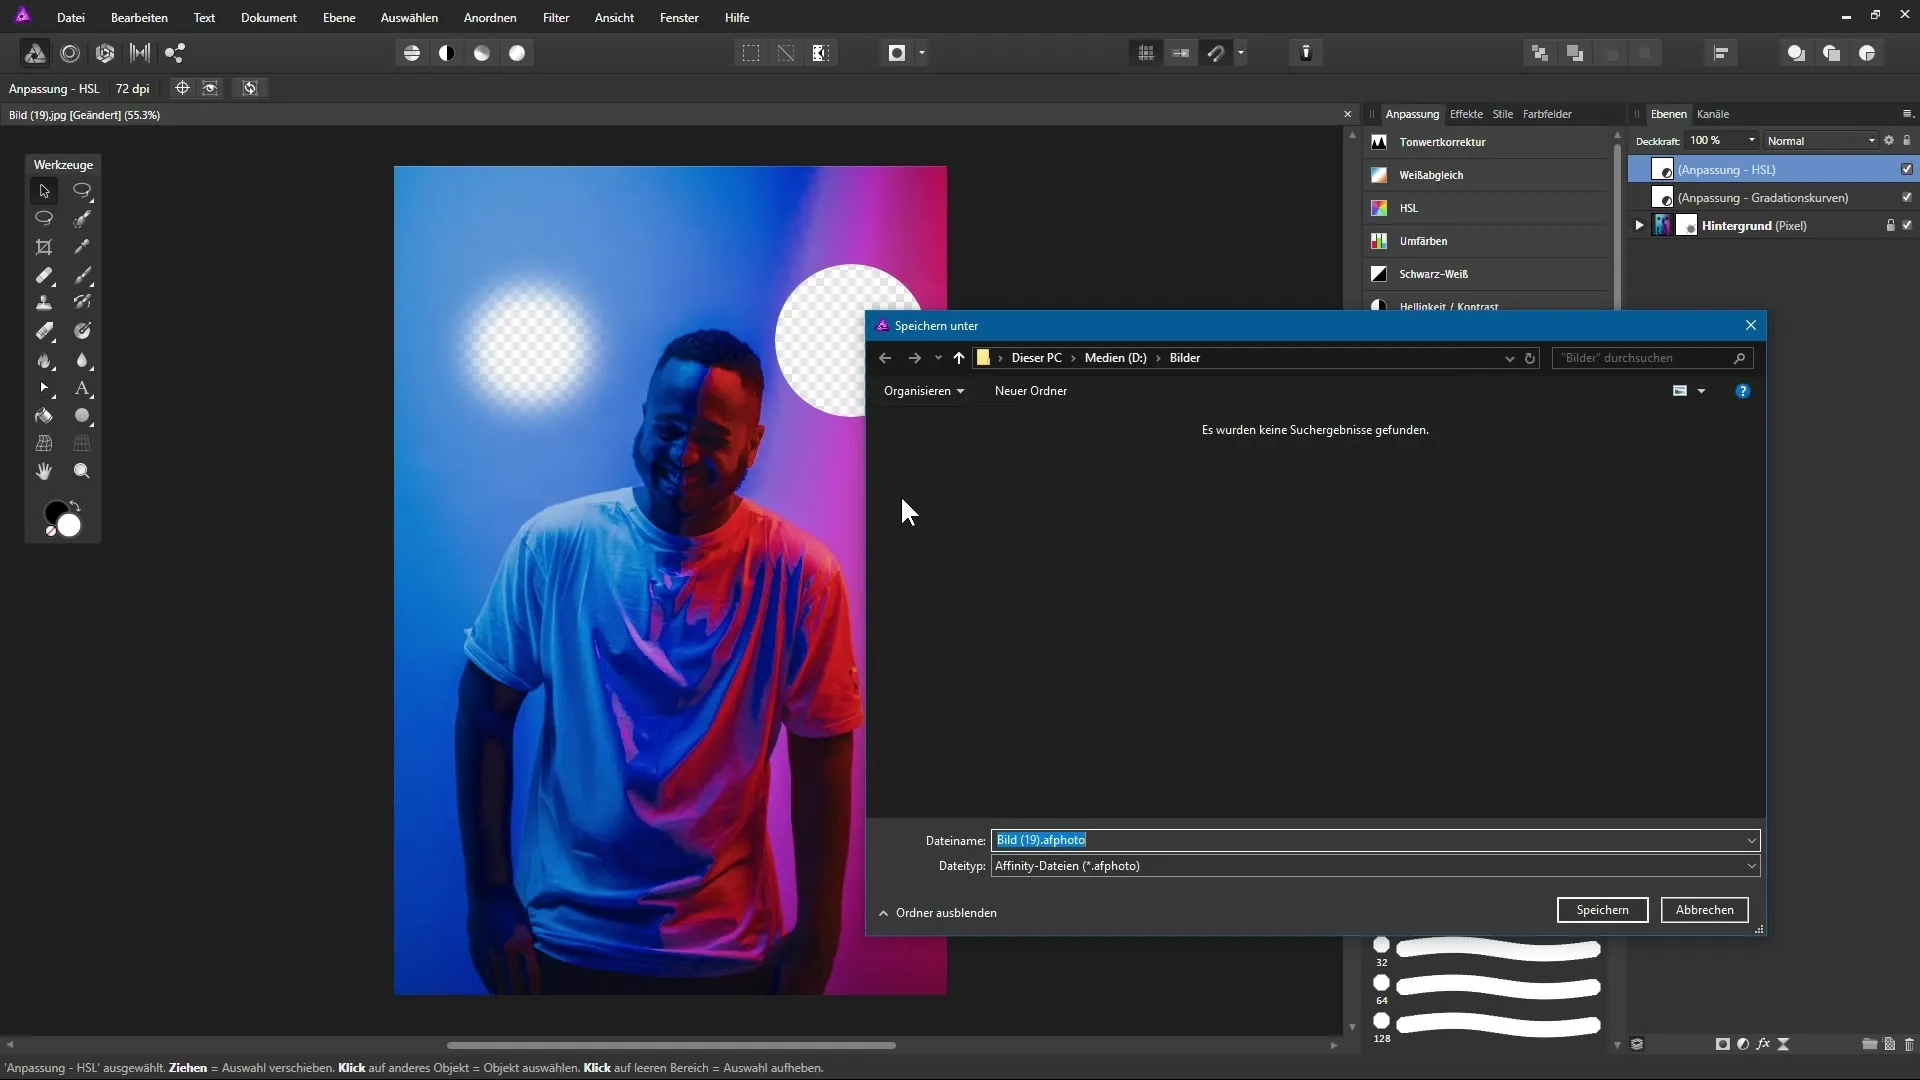
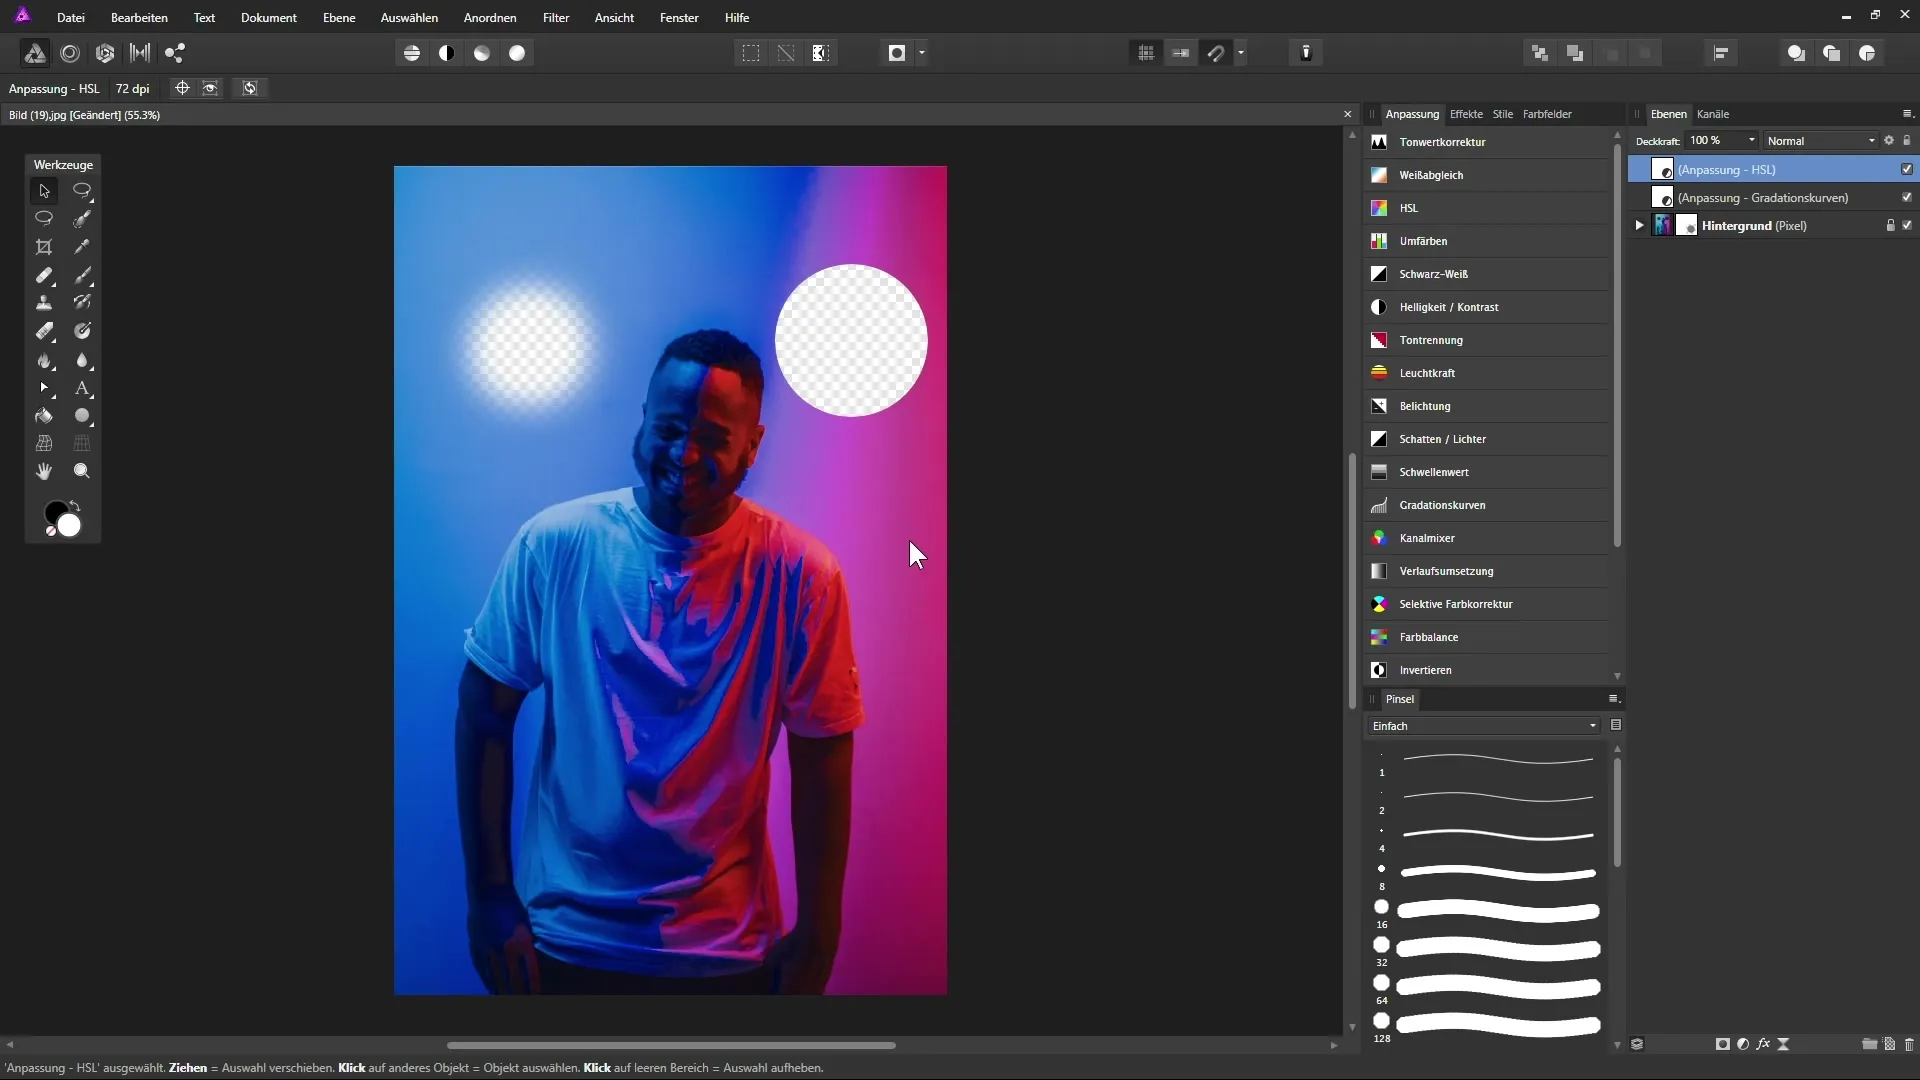
To continuously save your work and remain open to further adjustments, saving in Affinity format is ideal. This format preserves all layers and adjustments.
Open the “File” menu and select “Save As.” A dialog box will open where you can choose the target folder on your hard drive. Assign a filename, for example, “Test.” Note that only the AF Photo format (Affinity Photo) is available as a file type. Click “Save” to secure the file.
Now each edited layer remains intact in the layers palette. You can return at any time to make adjustments or move elements.
2. Export Images for the Internet
If you want to use your image online, you need to export it in a suitable format. PNG and JPEG are commonly used, with PNG supporting transparencies.
Again, select “File” and then “Export.” A new window will open where you can see the available export formats. For use on the internet, the PNG format is often ideal.
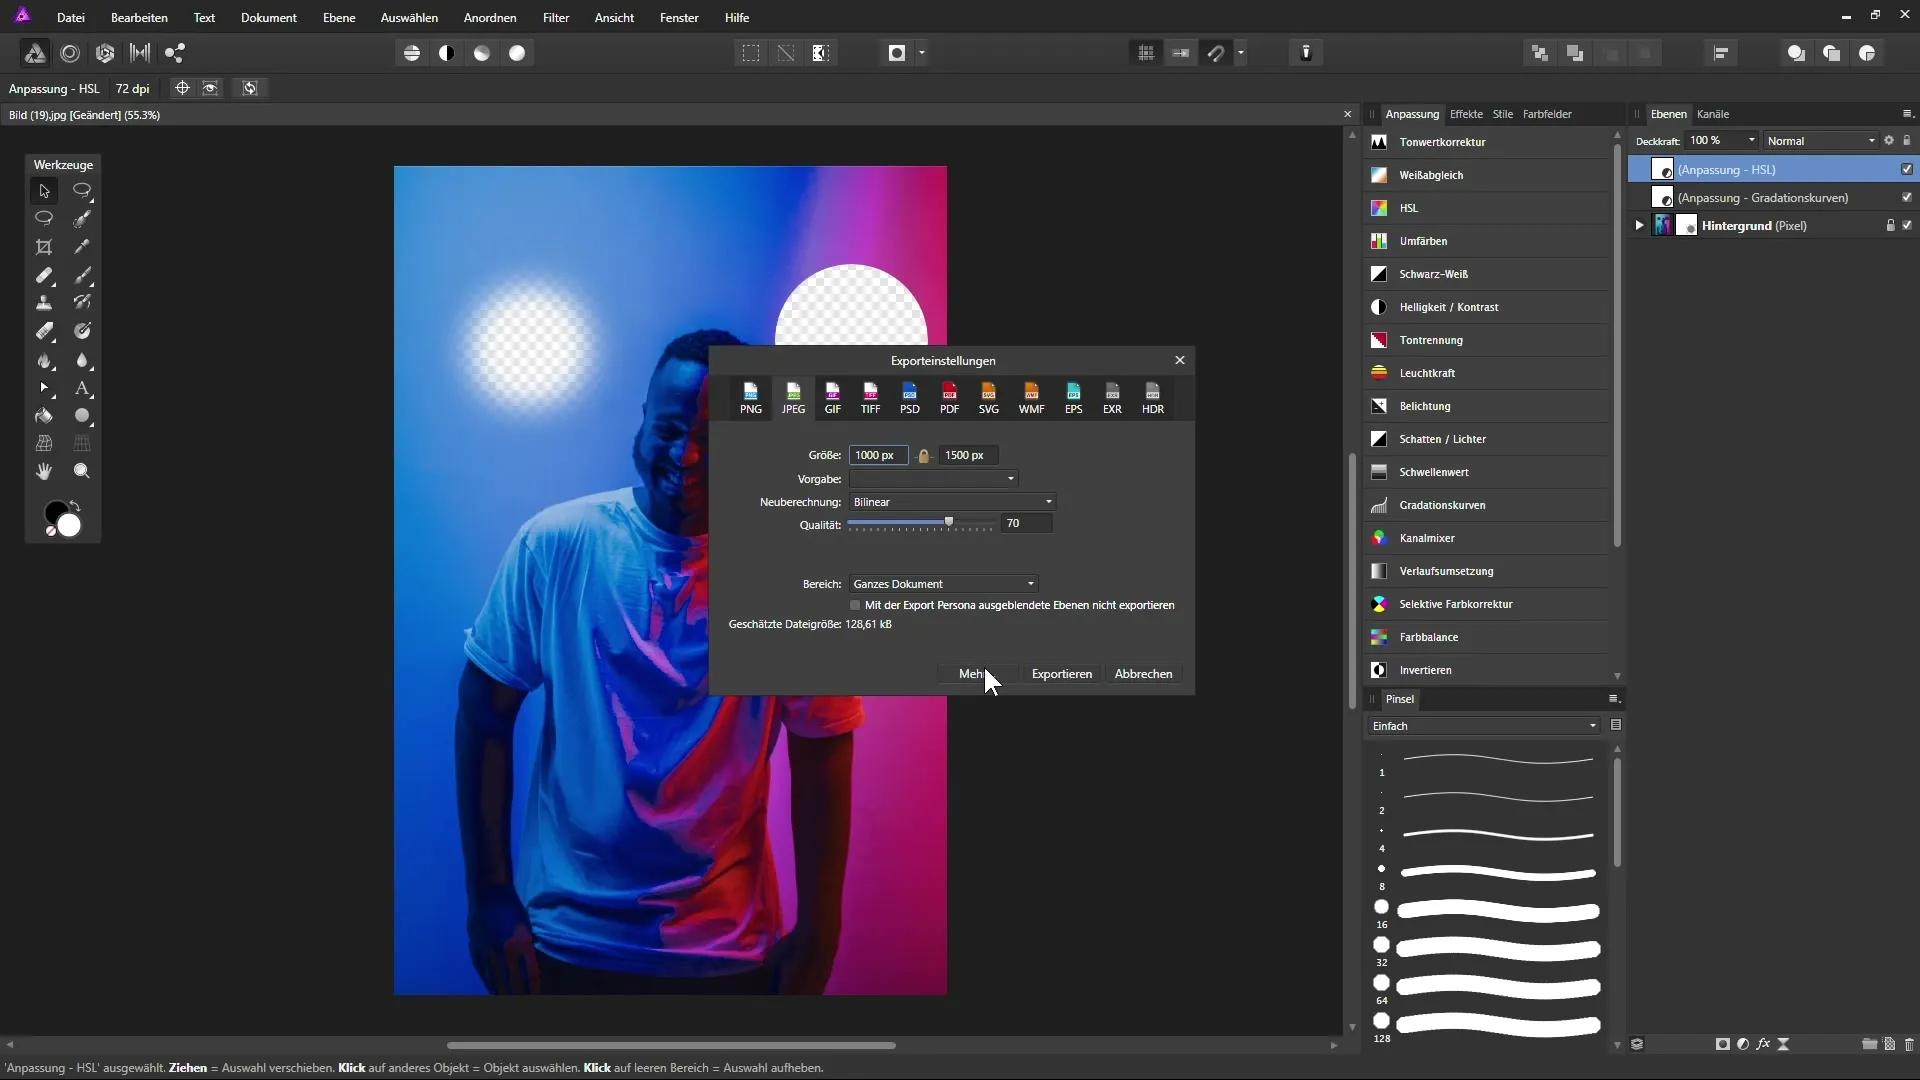
Before you export, you can adjust the image size. Make sure to maintain the proportions by keeping the lock icon activated. For example, you can change the height from 1500 pixels to 1000 pixels.
Set the data quality under “Preset.” For transparencies, selecting PNG 24 is recommended as it supports these additionally. PNG 8 could lead to unsightly stepping effects and loss of color quality.
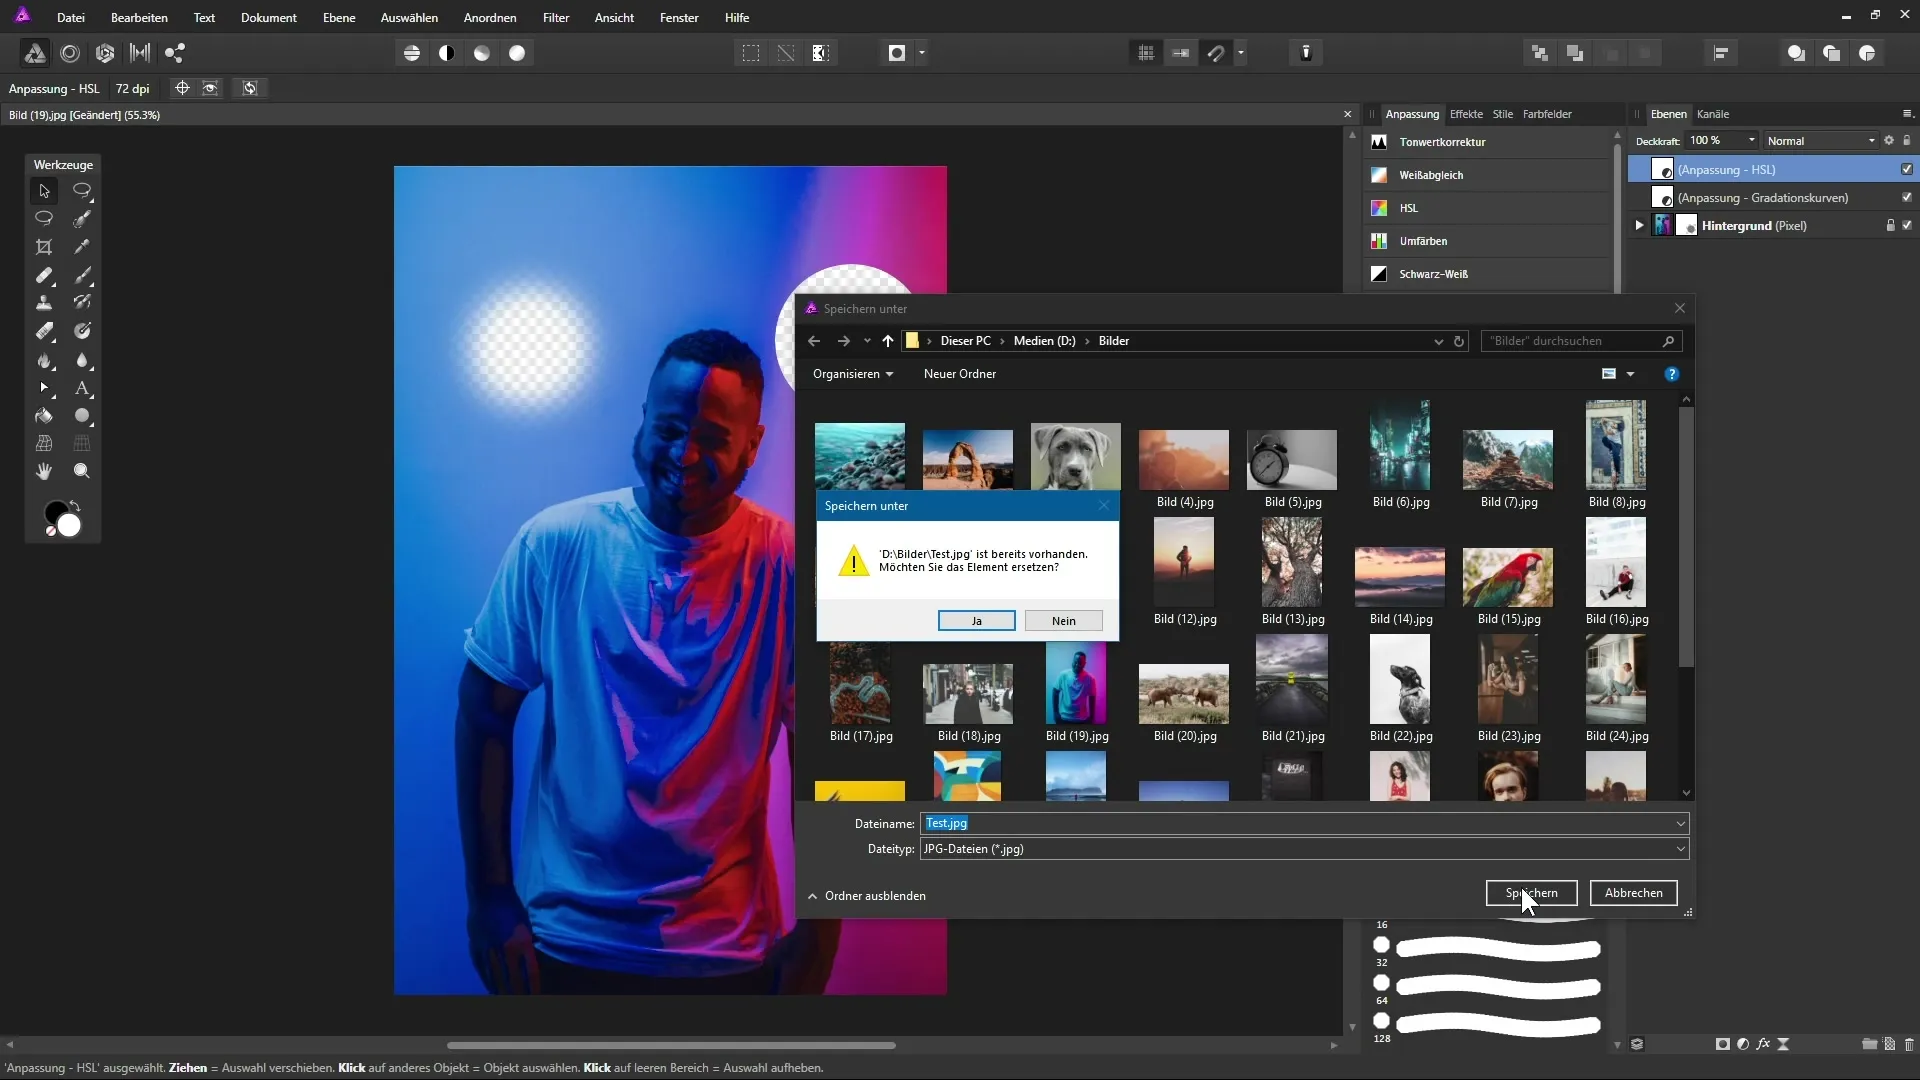
As a test, you export the image in JPEG format. Here you can regulate the quality. A value between 80 and 90% is often considered ideal to ensure good image quality while keeping the file size small.
3. Use the Slice Tool for Selective Export
If you want to save parts of your design as separate files, the Slice tool is very useful. Switch to the Export Persona and select the Slice tool.
Target the area you want to save with the tool, and drag a frame around that section. A new slice will be created, which you can see under the Slices panel. Here you can select the desired file format such as JPEG or GIF.
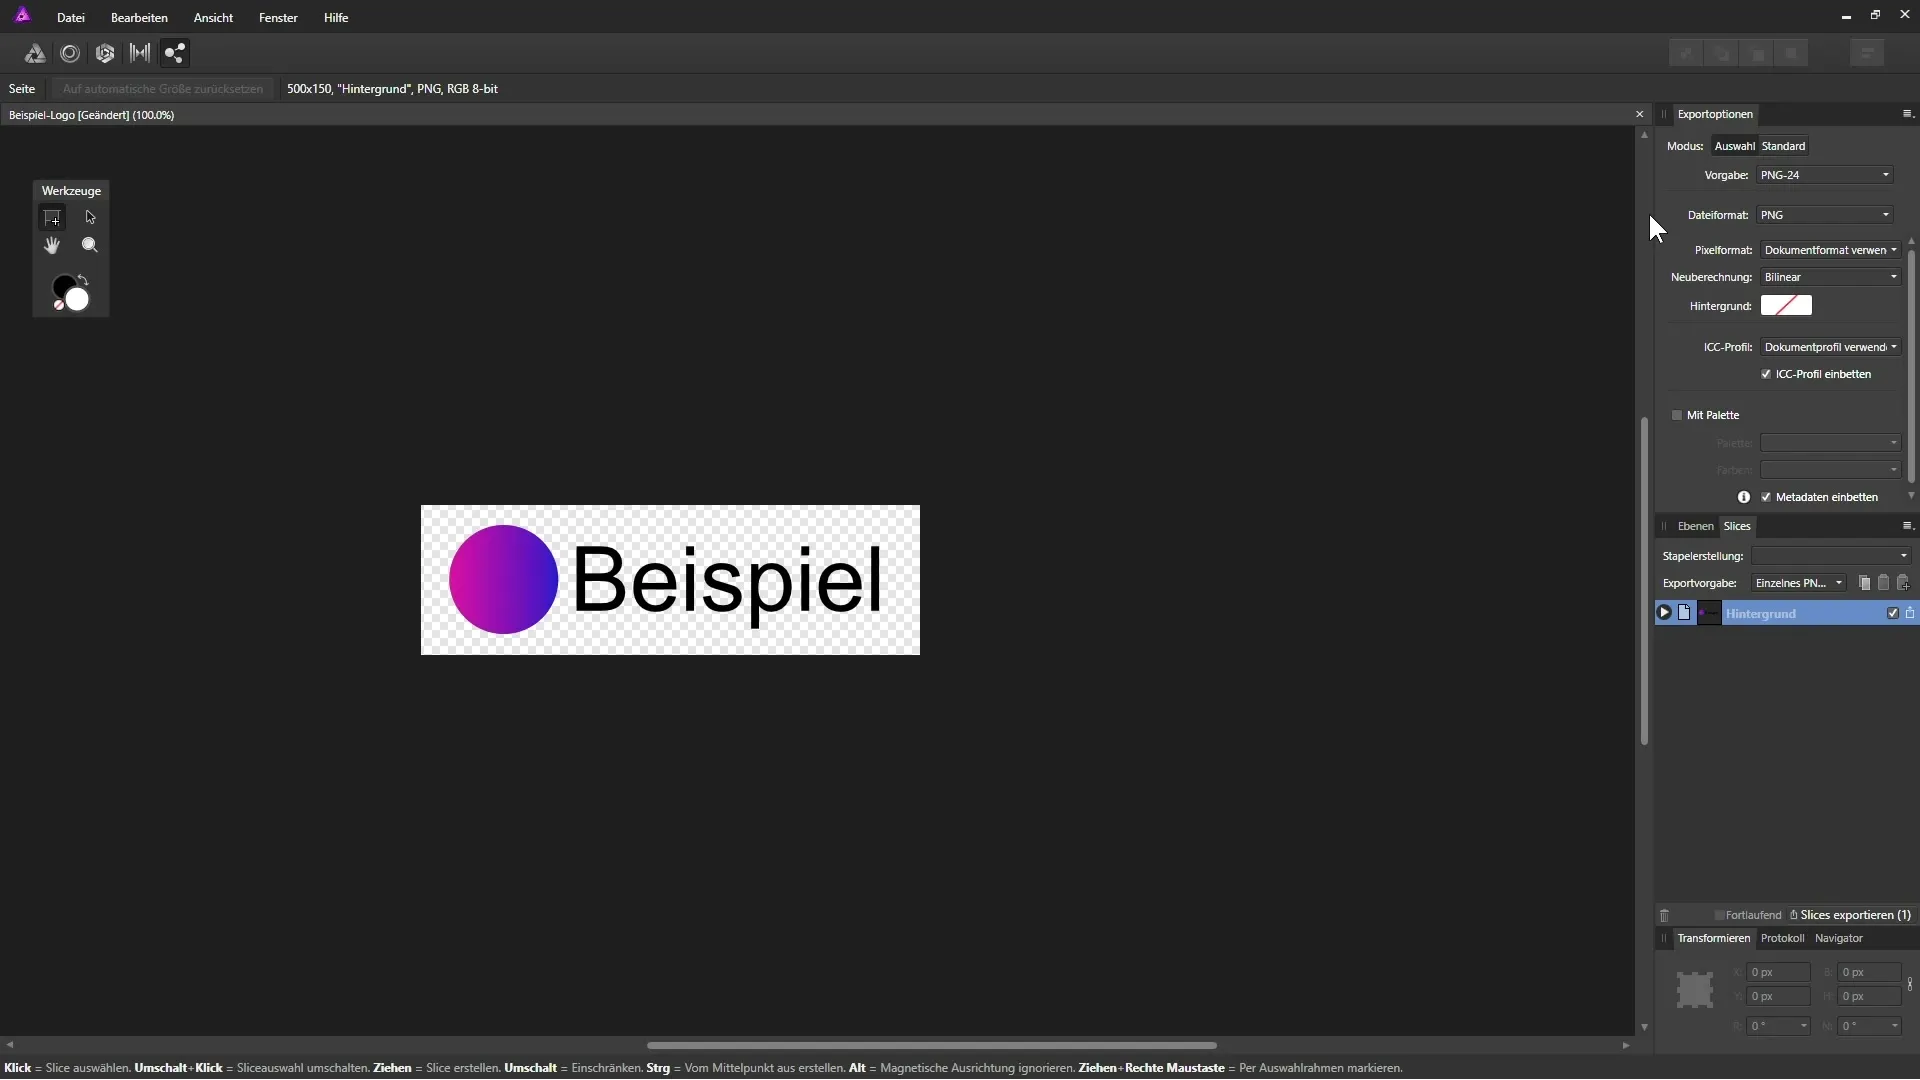
To export multiple areas at once, activate all desired slices and select “Export Slices.” Choose the target folder and save the files in the respective formats.
Summary – Affinity Photo – Saving and Exporting Images: The Best Methods
Affinity Photo offers you versatile options for saving your edited images and exporting them in different formats. You can work flexibly in the native AF Photo format and adjust your projects. For publication on the internet, formats like PNG and JPEG are ideal, allowing you to customize quality and size. With the Slice tool, you can easily capture specific areas of your design, opening up additional creative spaces.
Frequently Asked Questions
How do I save images in Affinity format?You select "File" and then "Save As," assign a filename, and save in AF Photo format.
What format is best for the internet?The PNG format is ideal for images with transparencies, while JPEG is good for photos without transparencies.
How do I adjust the size of my image when exporting?You can change the size in the export settings while the lock icon is activated to maintain proportions.
What is the Slice tool?The Slice tool allows you to select specific areas of your design and export them as separate files.
How do I select the quality when exporting as JPEG?When exporting as JPEG, you can set a quality value between 80 and 90% to ensure good image quality.


