Editing photos is gaining importance and complexity with every new software. Affinity Photo is a powerful tool that offers you numerous options for image editing. In this tutorial, we will focus on the two essential adjustment layers – HSL (Hue, Saturation, Lightness) and Luminosity. These functions allow for precise control over the colors and saturation in your images, thus enhancing the quality and expression of your photographs.
Key Insights
The HSL adjustment layer allows you to control the hues, saturation, and brightness of all or specific hues in your image. The Luminosity adjustment layer provides additional control over saturation without overemphasizing already saturated colors. Together, these tools are extremely useful for making your images vibrant and appealing.
Step-by-Step Guide
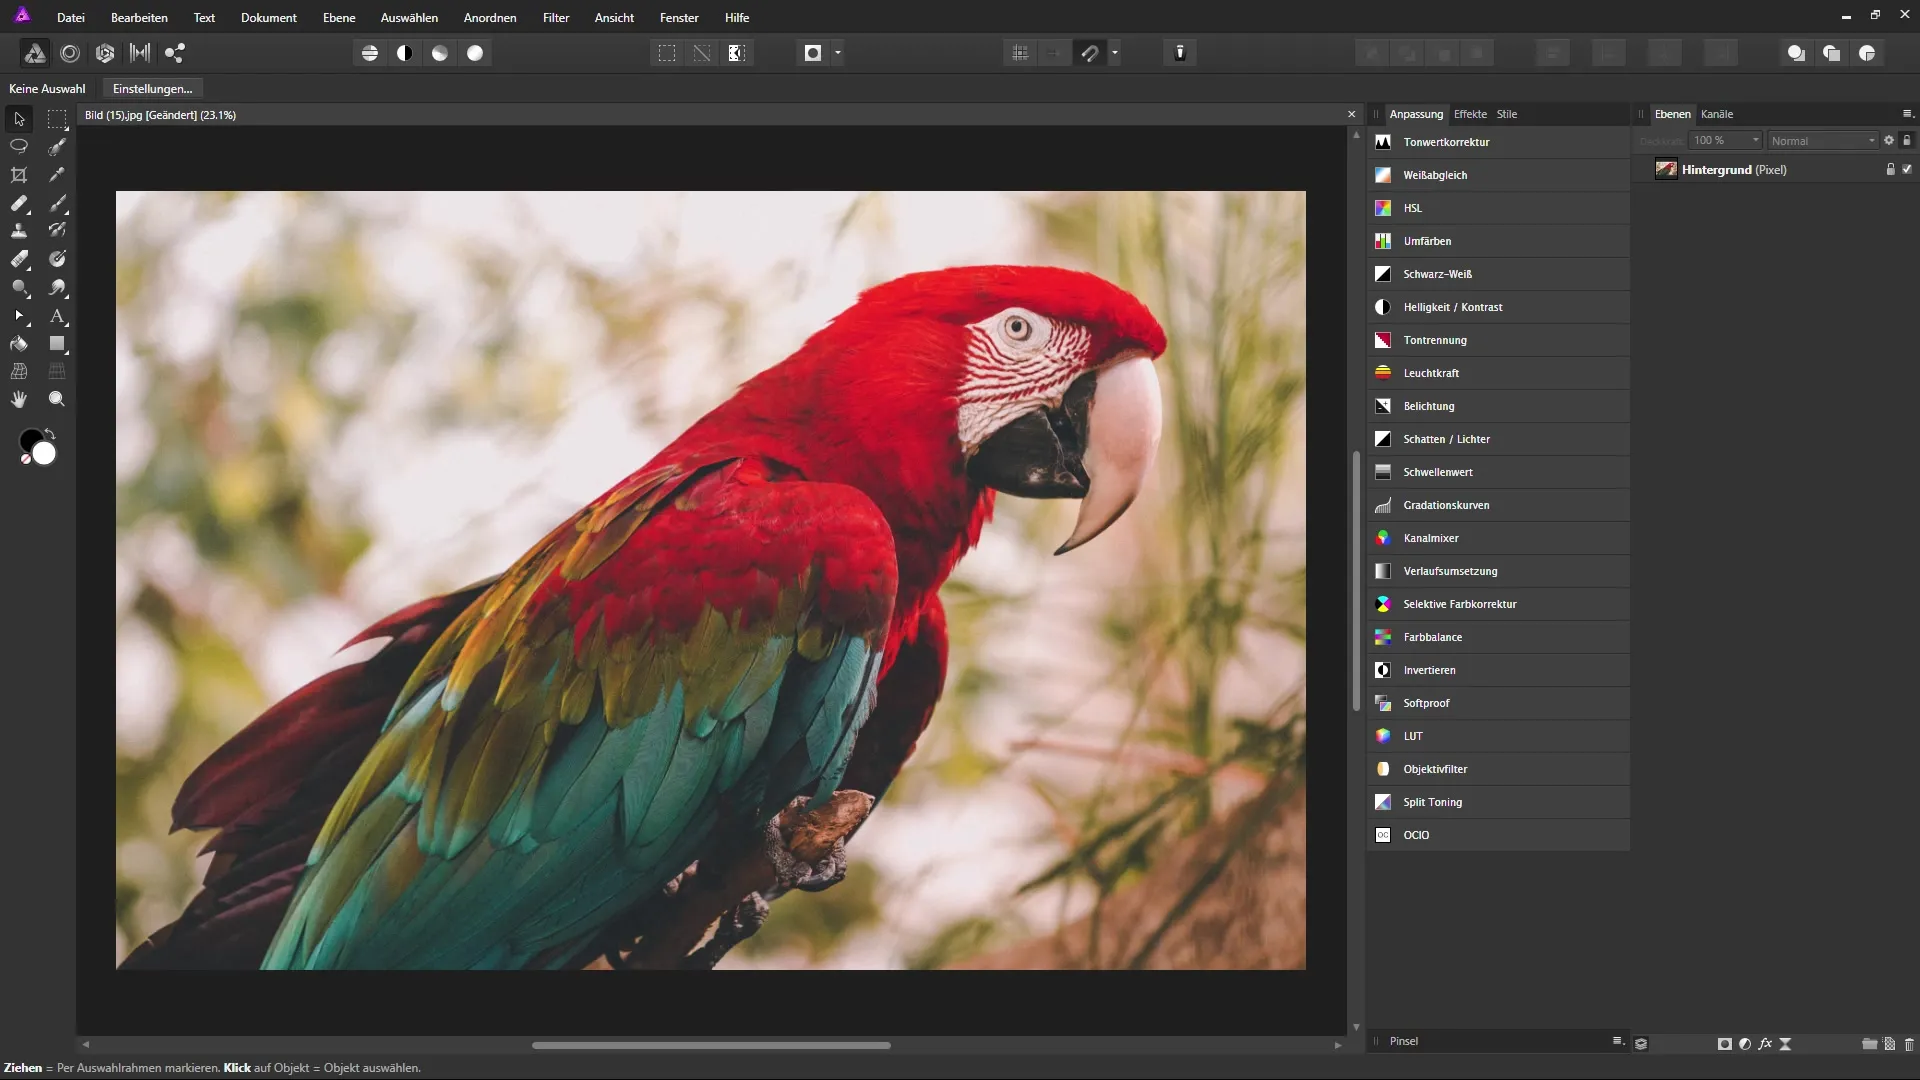
First, open your desired image in Affinity Photo. For this tutorial, we will use a sample image of a brightly colored parrot against a less saturated background.

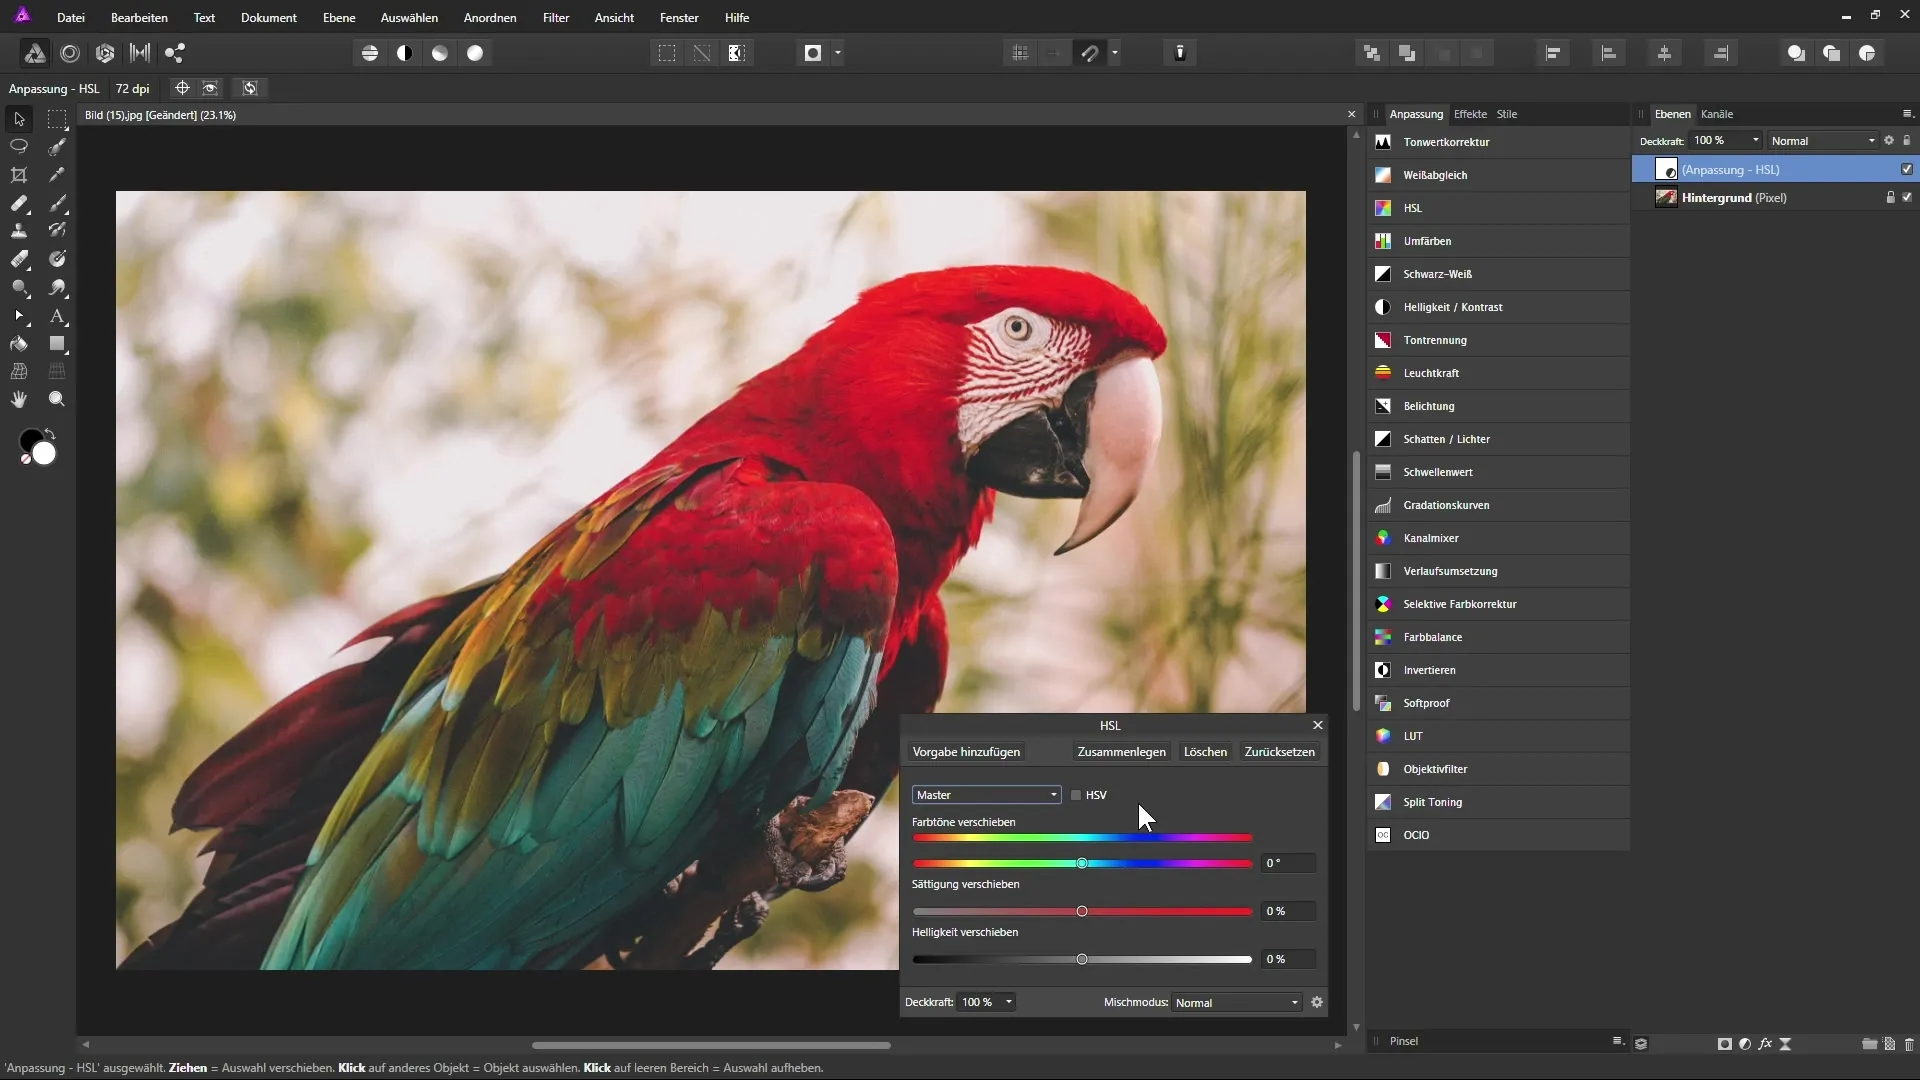
Start by creating an HSL adjustment layer. Click on the adjustment layer icon in the bottom menu bar and select "HSL". This adjustment layer will automatically appear above your background layer.
The HSL dialog box opens, allowing you to adjust the various parameters. Here, you can control the hues, saturation, and brightness of your colors. You have the option to edit all colors in the image at once or adjust specific hues like reds, greens, or blues.
To edit all colors in the image, leave the slider on "Master". Move the hue slider left or right to change the hues in the image. You can create a gradient from red to orange to yellow and green. For example, as needed for the parrot's head to achieve a desired color.

With the saturation slider, you can adjust the intensity of the colors in the image. Move the slider to the right to enhance the colors or to the left to diminish them. Be cautious, as excessive saturation enhancement can make the image appear unnatural.
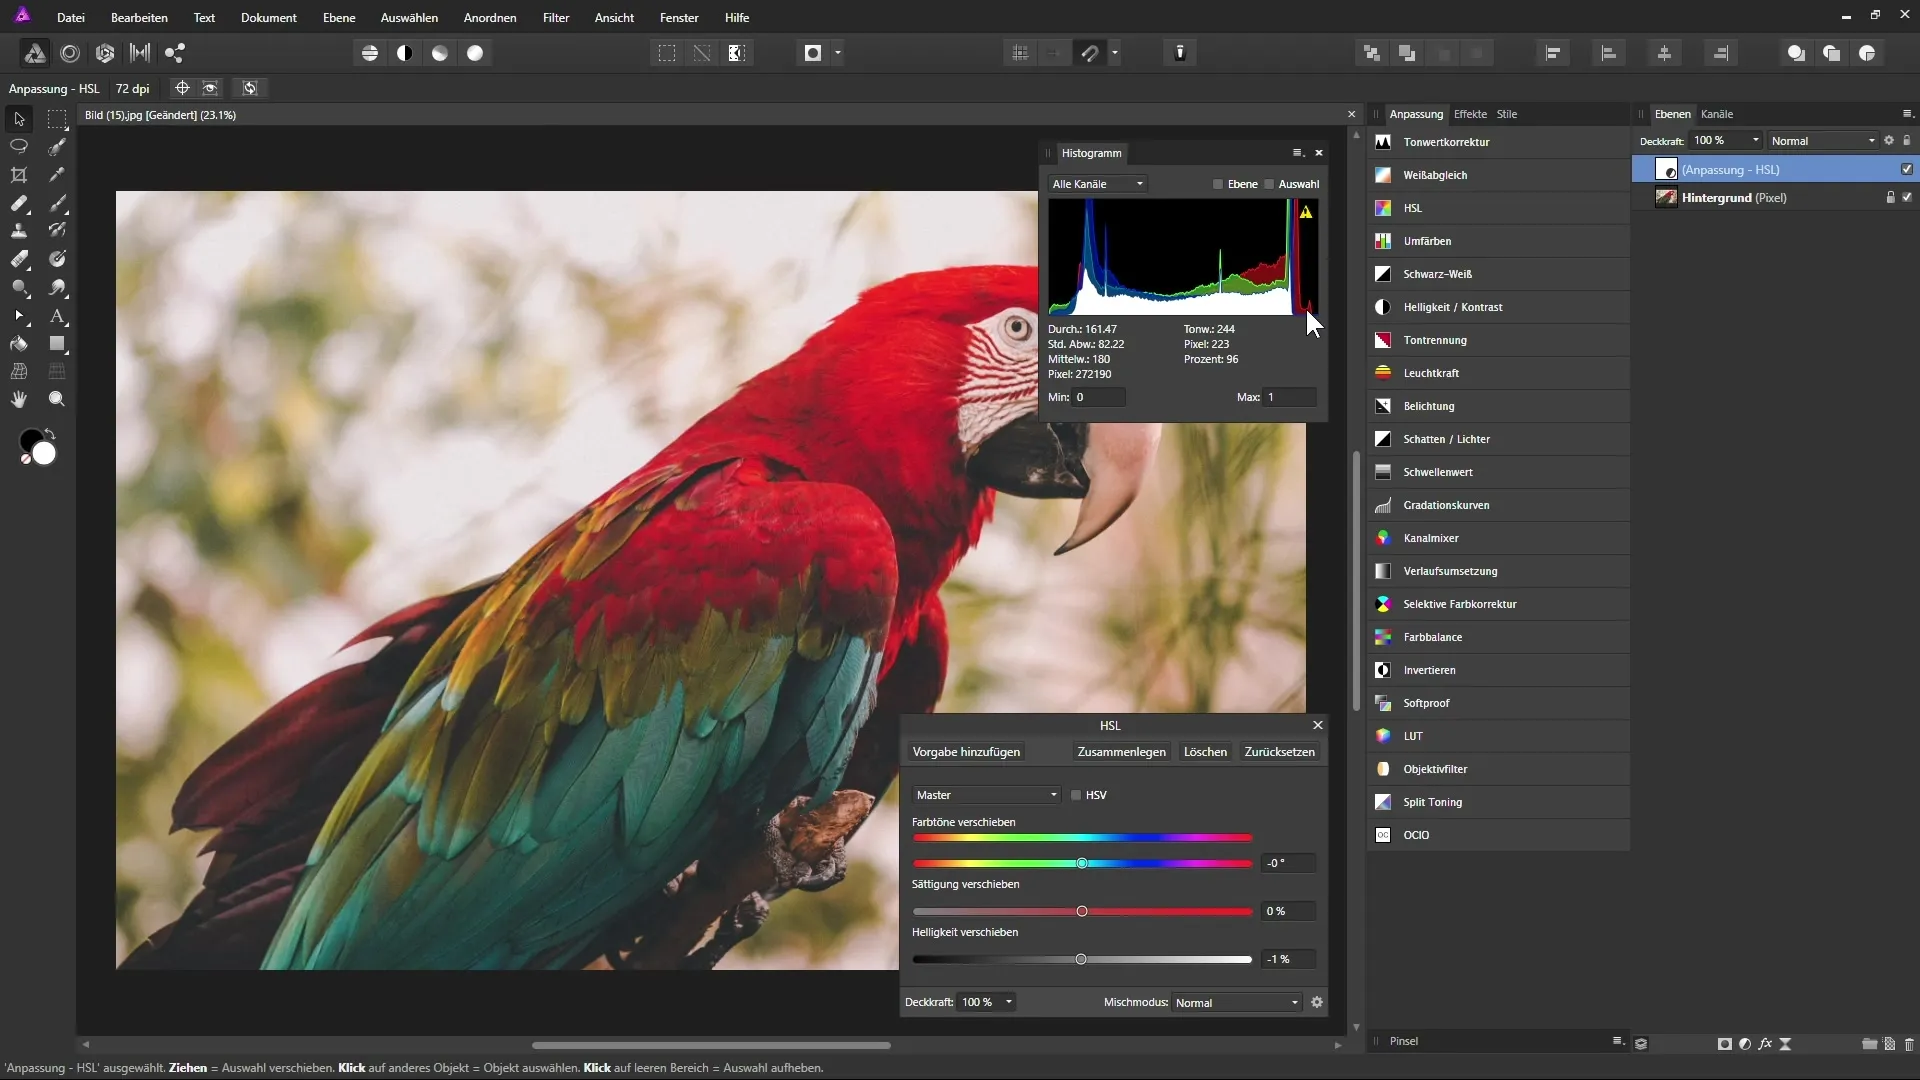
Adjusting the brightness controls the light intensity in the image. Here too, you can move the slider to the right or left to brighten or darken the image. Additionally, use the histogram to better understand the image's tonal values.

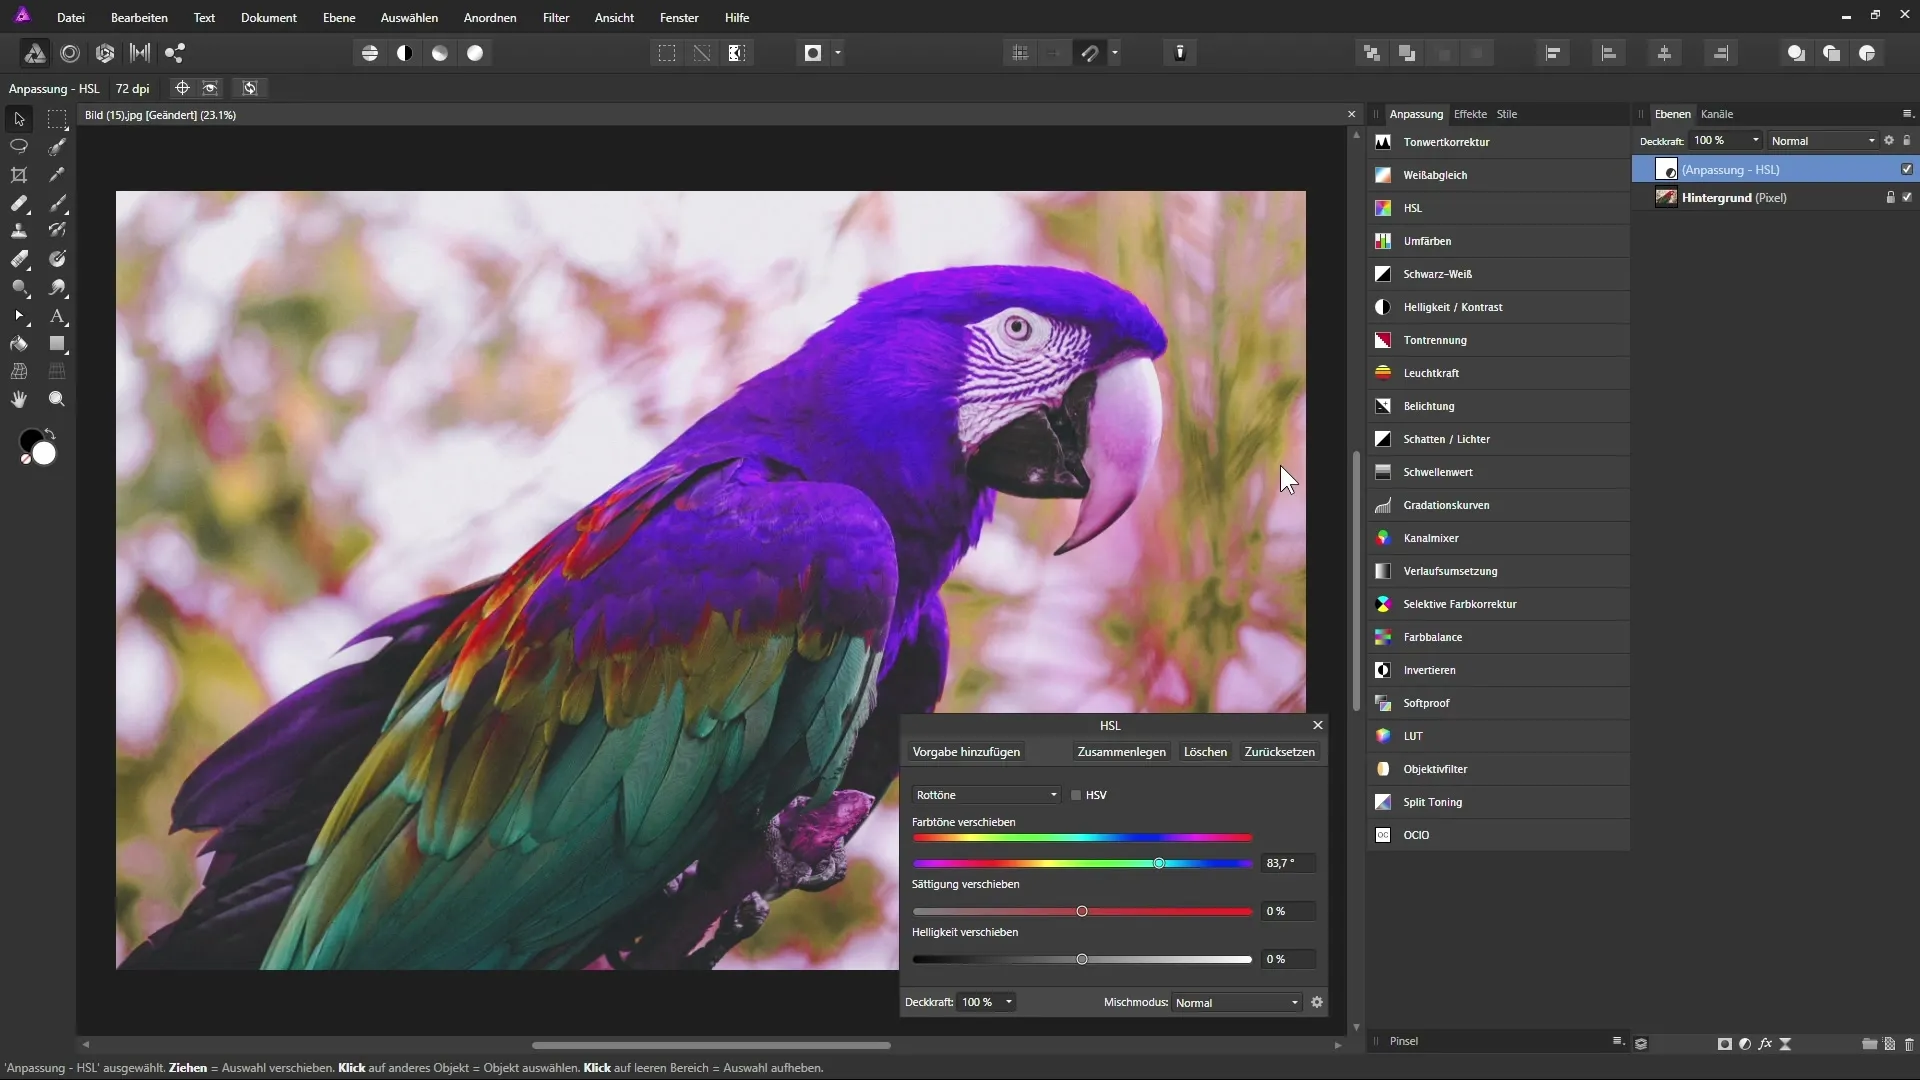
Now, you can target specific colors for editing. To modify only the reds in the image, select "Reds" from the dropdown menu. Move the hue slider and observe how the reds in the image are reframed.
It is possible that other colors in the image are also affected by this adjustment. Therefore, it is advisable to apply a mask to the adjustment layer to exclude unwanted areas from the color change.

Return to the Master setting to reset your changes and see how the image editing has progressed. Also experiment with saturation and brightness until you find the perfect look for your image.
If the colors do not appear as you want them to, you can add the Luminosity adjustment layer. This works somewhat differently, as it enhances the saturation of weakly saturated colors in the image while leaving already saturated colors largely untouched.
Move the luminosity slider to the right to generally increase saturation – the invisible colors in the background will now become more vibrant. Pay attention to how the image looks compared to the previous HSL adjustment.
If you move the slider to the left, you will see how the highly saturated colors appear more relaxed, while the less saturated colors remain largely unchanged. This technique provides an excellent way to selectively influence certain areas in the image without compromising the fine details of skin tones or other important colors.
Summary – HSL and Luminosity in Affinity Photo
The use of HSL and Luminosity adjustment layers in Affinity Photo represents a powerful method for optimizing the color composition of your images. By precisely adjusting colors, saturation, and brightness, you can breathe more life into your shots and make them appealing. Try out the various features to achieve the best results for your images.
Frequently Asked Questions
How do I use the HSL adjustment layer?The HSL adjustment layer allows for adjustments to hues, saturations, and brightness for the entire image or specific hues.
Can I adjust specific colors?Yes, you can target reds, greens, blues, and more to achieve desired effects.
How does the Luminosity adjustment work?The Luminosity adjustment increases the saturation of weakly saturated colors while leaving already saturated colors largely untouched.
Does increasing saturation harm the image?Yes, excessive saturation can appear unnatural, so a careful approach is advisable.
How can I undo unwanted changes?You can reset or delete adjustment layers at any time to revert to a previous state of the image.


