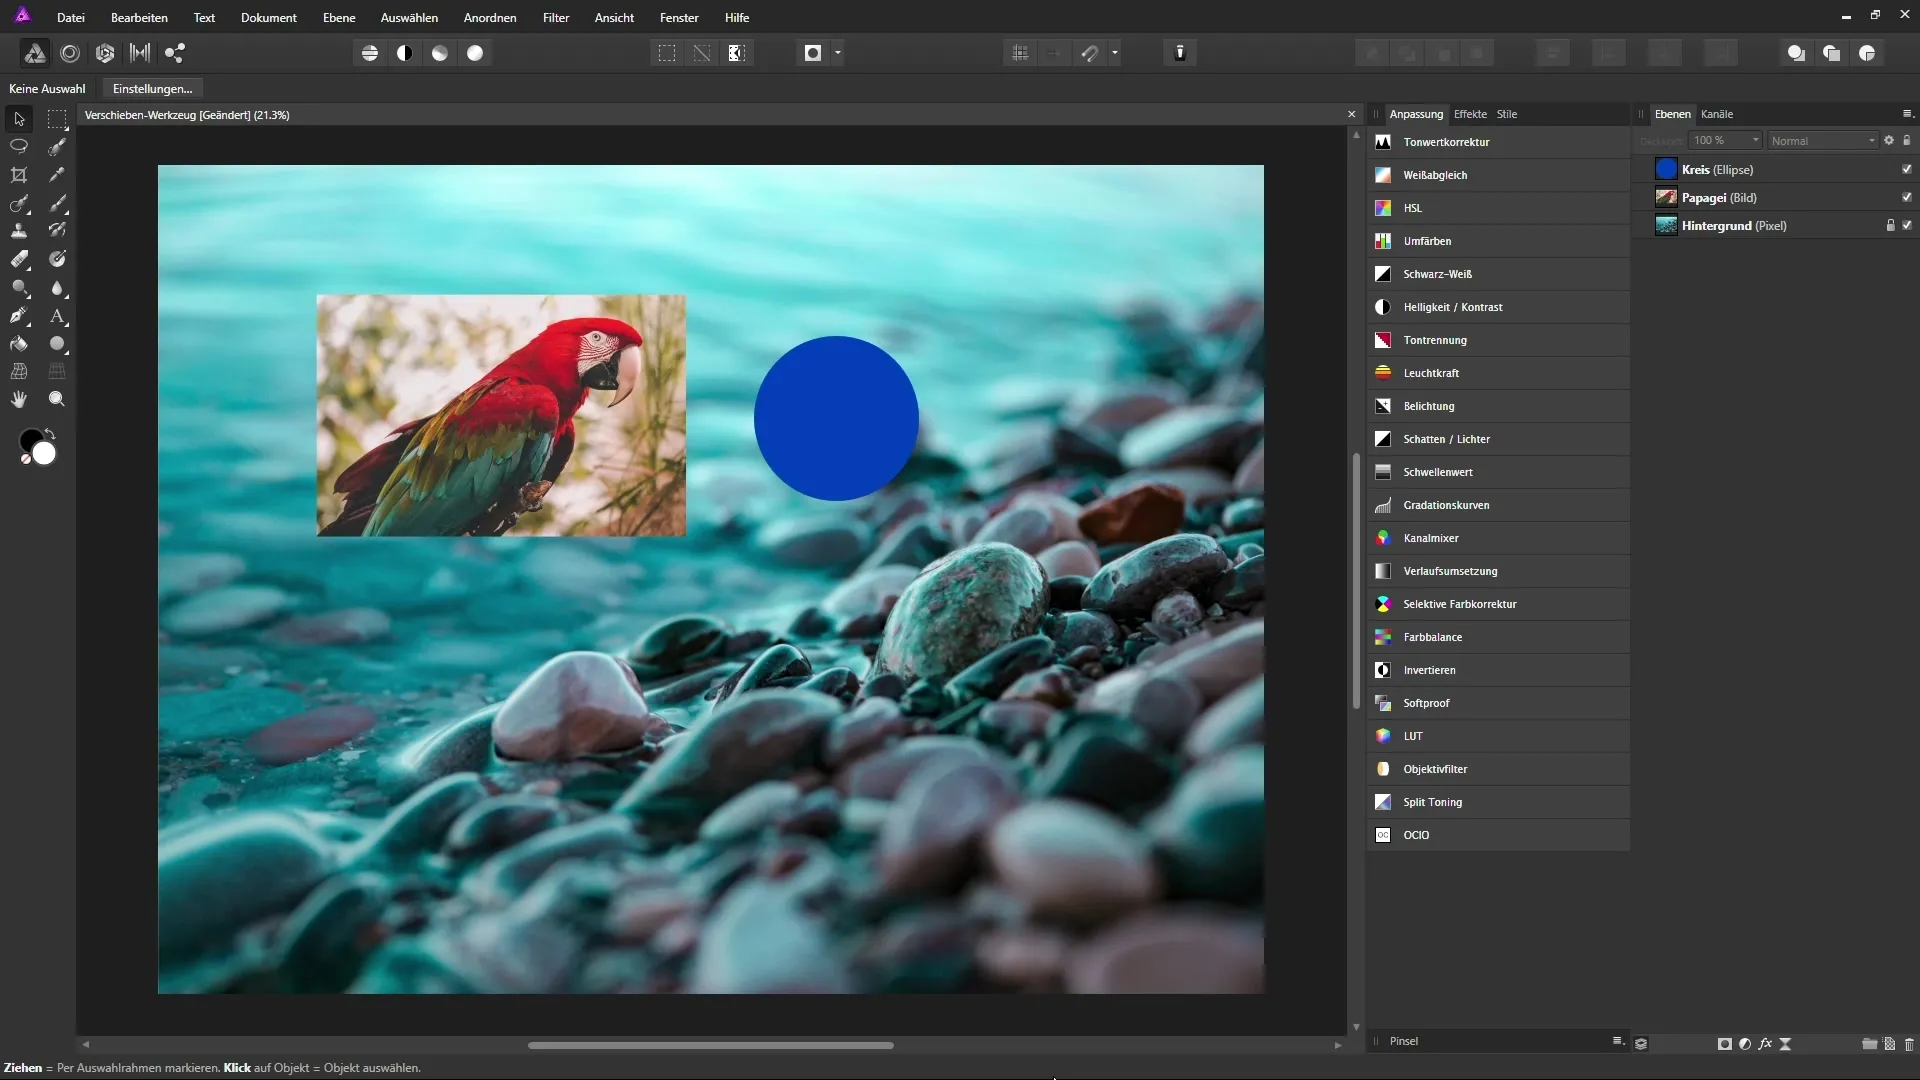
In this guide, you will learn everything important about the Move-toolin AffinityPhoto. You will learn how to use it efficiently to select, move, scale, and even rotate objects. This will significantly improve your workflows in Affinity Photo.
Key insights
The Move tool allows you to not only move objects, but also change their size and orientation. Important functions include selecting, rotating, and scaling layers, as well as the ability to duplicate a layer or change its rotation point.
Step-by-step guide
The Move tool can be found in the toolbar of Affinity Photoand can also be activated with the keyboard shortcut V. To use it, you need to ensure that the desired layer is unlocked.

After selecting the tool, you will see your layers in the layers palette. Make sure that the layer you want to work with is not locked. Typically, the background is protected with a lock symbol, which means you cannot directly address this layer.
To remove the lock symbol and unlock the layer, simply click on it. After that, you should be able to move or select objects. For example, if you click on the background, you will see a transformation frame with anchor points that you can move.
These anchor points allow you to scale the object. For image objects, you can simply click on a corner handle and drag with the mouse button held down to quickly change the size.
When working with shapes, such as a circle or ellipse, it’s important to hold down the Shift key to maintain proportions. Otherwise, the shape will not be resized evenly.
You can also stretch or compress images via the side handles. Make sure the handle is outside the image if you want to rotate it. A double arrow symbol indicates that rotation is possible.
To control the rotation in precise steps, hold down the Shift key while dragging one of the handles. This allows you to rotate the image in 15° increments.
Depending on the type of layer selected, you will see different functions in the context bar. This information changes when you switch between different layers.
When using the Move tool, you can set the rotation point for your images. Click on the corresponding icon and move the center point to adjust the rotation around this point.
If you want to hide the display of your transformation frame while creating compositions, you can enable the appropriate option. This can enhance the focus on the image itself.
After rotating, you can reset the transformation frame by clicking the button for it. You can continue to adjust your image by clicking and dragging without needing to change the original size.
Additionally, the tool helps you duplicate layers. Hold down the Ctrl key or the Alt key and drag a layer to create a copy. Remember that you can also delete your copy anytime.
Quick access to the Move tool is one of the advantages of Affinity Photo. You can press V at any time to quickly activate this tool, regardless of where you are in the image.
Summary – Using the Move Tool in Affinity Photo
The Move tool in Affinity Photo offers you versatile options for efficiently selecting and editing objects. By applying the techniques learned, you can make your projects both simpler and more creative.
FAQ
How can I activate the Move tool?You can activate the tool by clicking on the corresponding icon in the toolbar or by using the keyboard shortcut V.
What can I do with the Move tool?With this tool, you can select, move, scale, and rotate objects.
How do I unlock a layer that is locked?Simply click on the lock symbol in the layers palette to unlock the layer.
How do I maintain proportions when scaling shapes?Hold down the Shift key when dragging a corner handle.
How can I change the rotation point?Click on the rotation point icon and drag it to the desired position.


