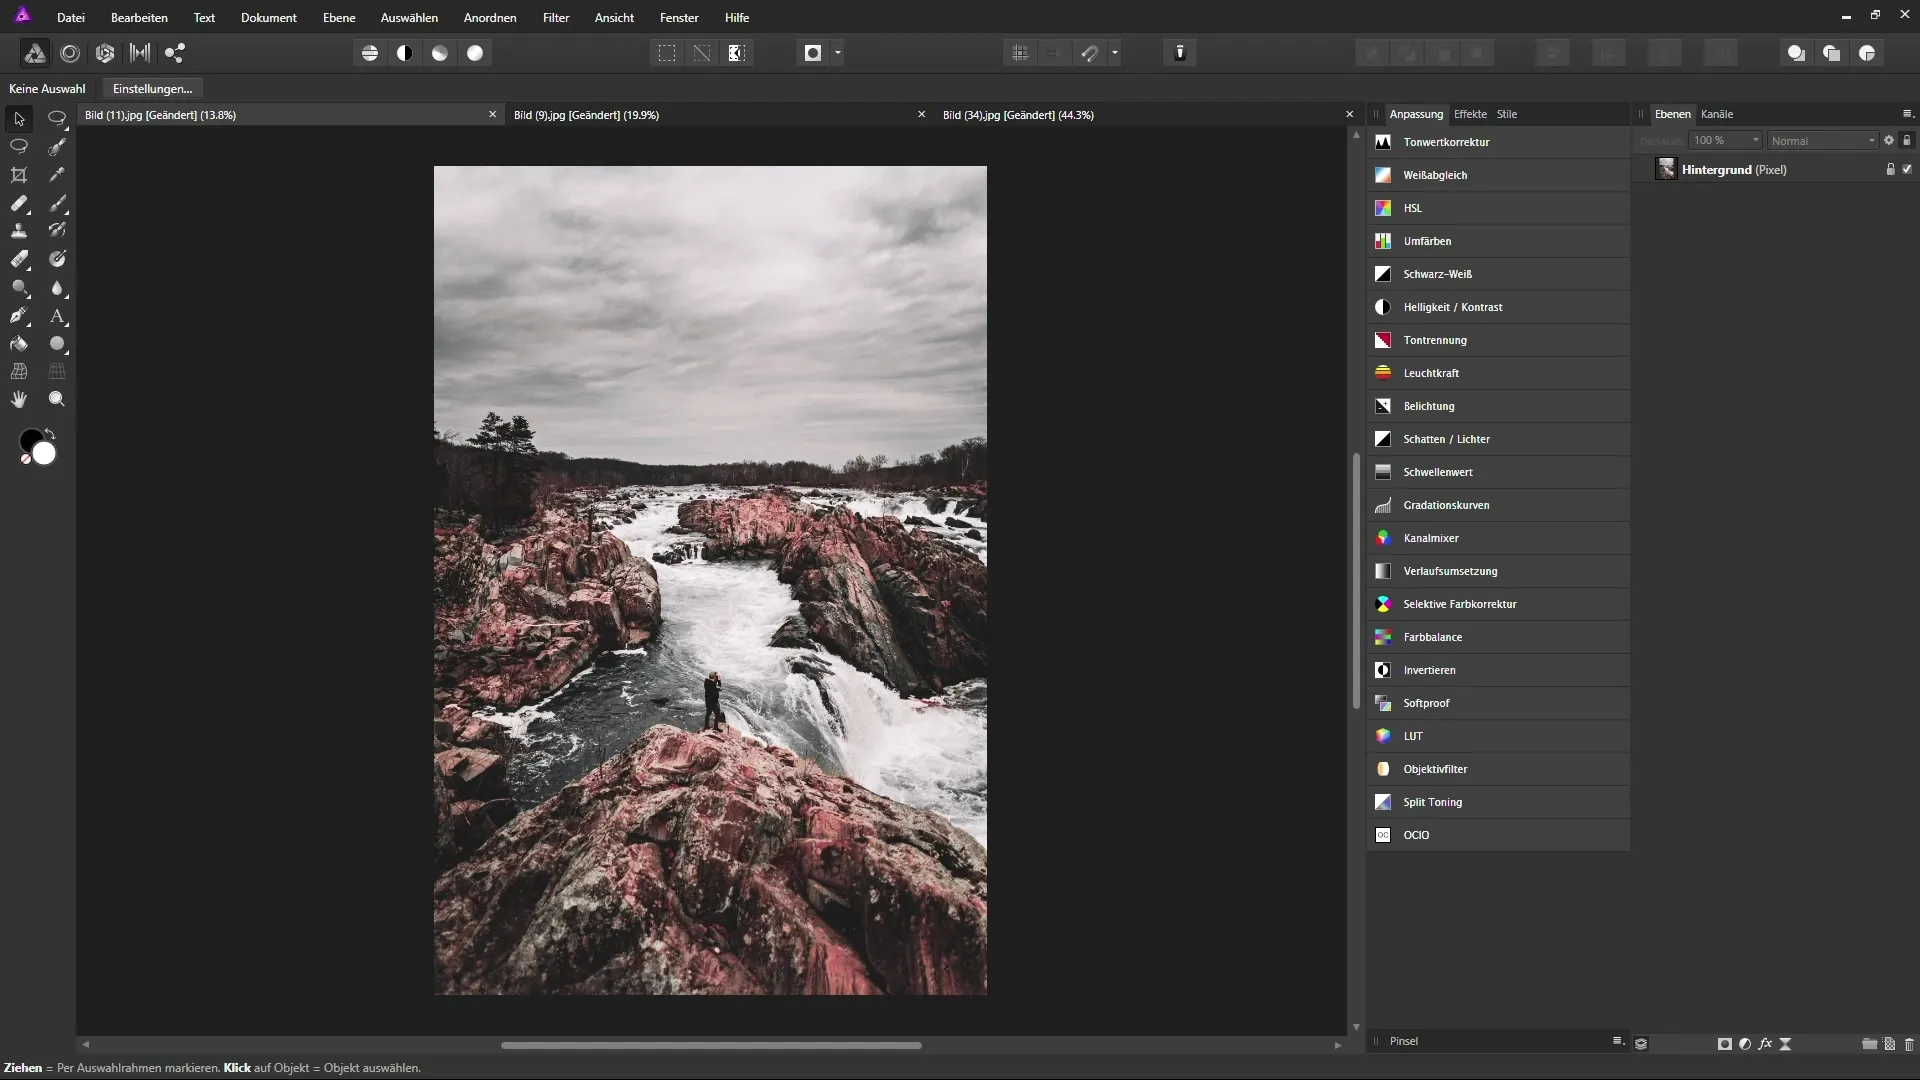
Repair-Tools are crucial when you want to optimize images or remove unwanted elements. Affinity Photo offers a range of practical tools to help you efficiently eliminate disturbances – whether it’s a pimple on a portrait or an unwanted person in a landscape. In this guide, you will learn about the different repair tools in Affinity Photo and how to use them effectively.
Key Insights
- Affinity Photo offers various repair tools such as the repair brush, blemish removal, and restoration, each with different functions and applications.
- The use of layers allows for non-destructive editing, so you can undo or adjust changes.
- With the right tool and a bit of practice, you can effectively remove or correct distracting elements.
Step-by-Step Guide
1. Accessing the Repair Tools
To use the repair tools, you first need to access the corresponding icon in the toolbar. In Affinity Photo, you will find this behind an icon that often looks like a band-aid. Click on this icon with the left mouse button to display the various tools.

2. Selecting the Repair Brush
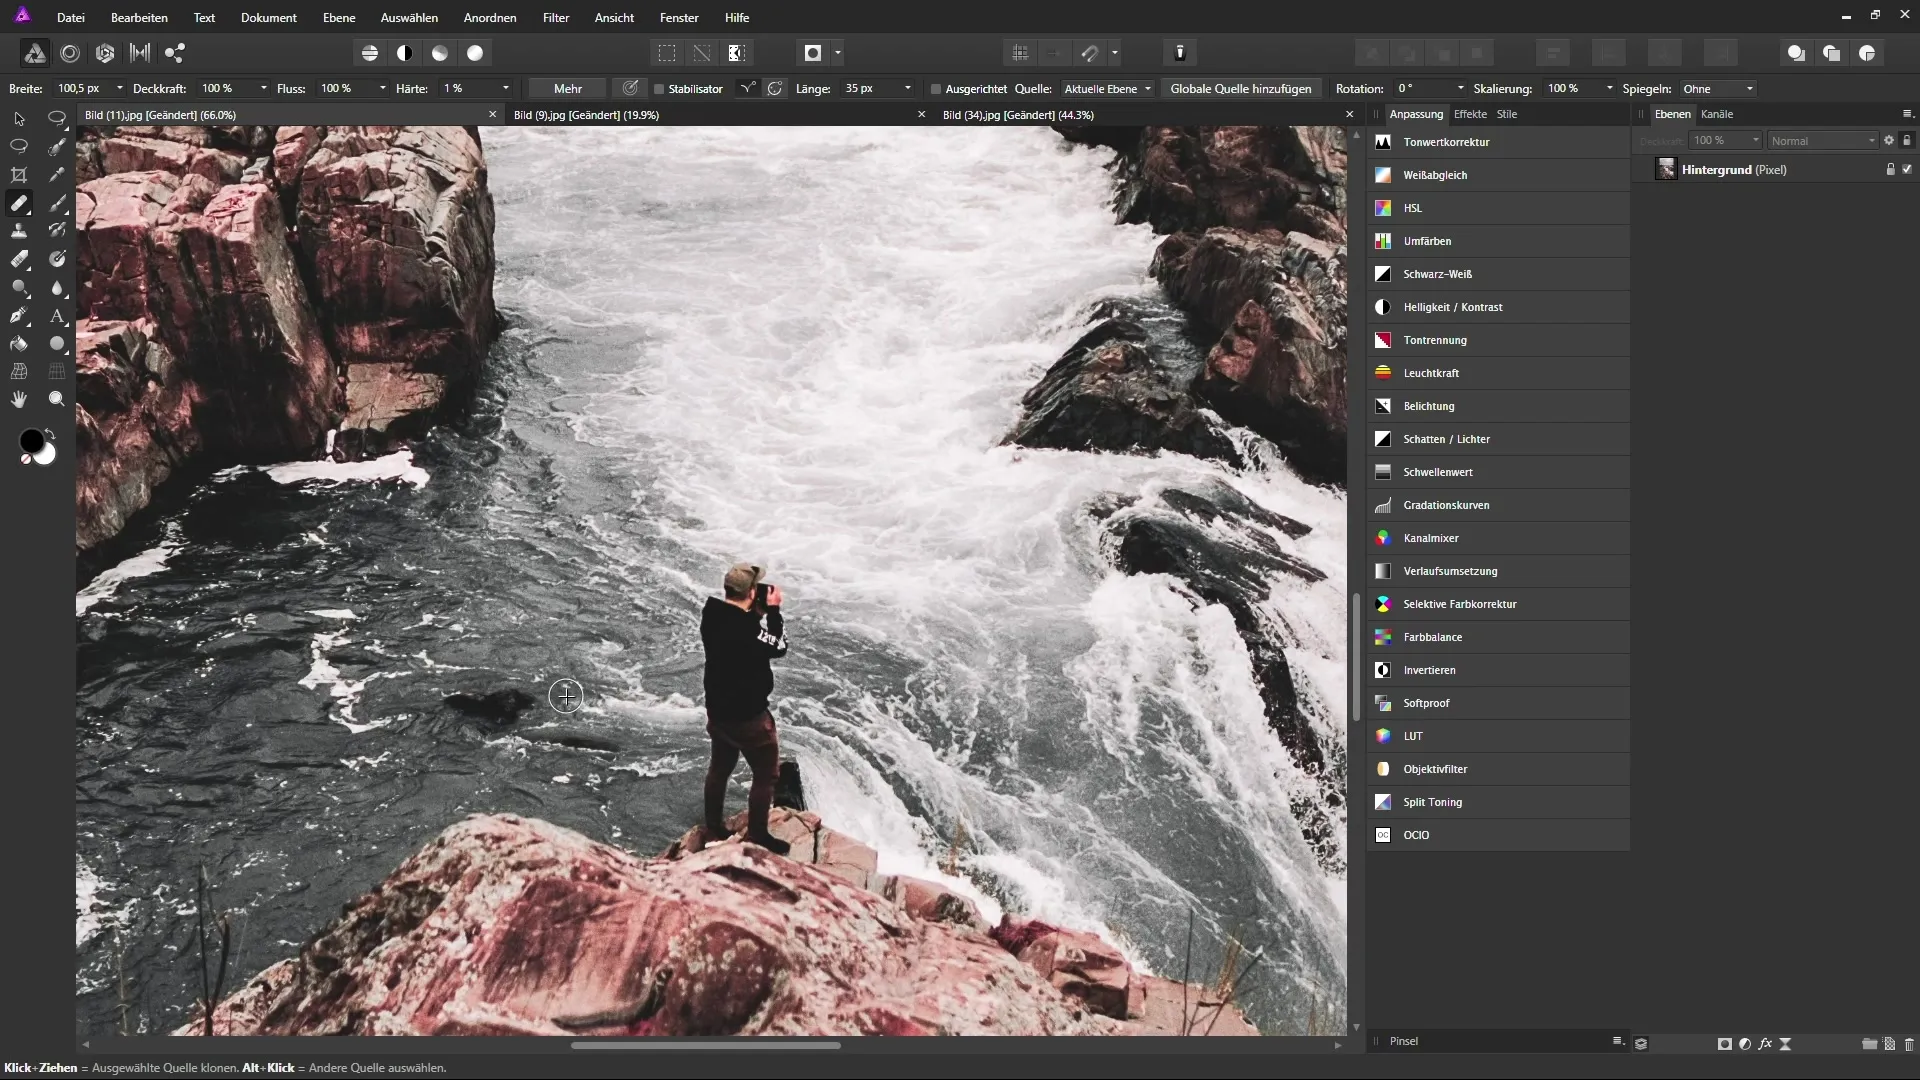
First, let’s take a closer look at the repair brush. With this tool, you can retouch part of the image using a source from another area. Set a source by holding down the Alt key and clicking on an area you want to sample.

3. Non-Destructive Editing with Layers
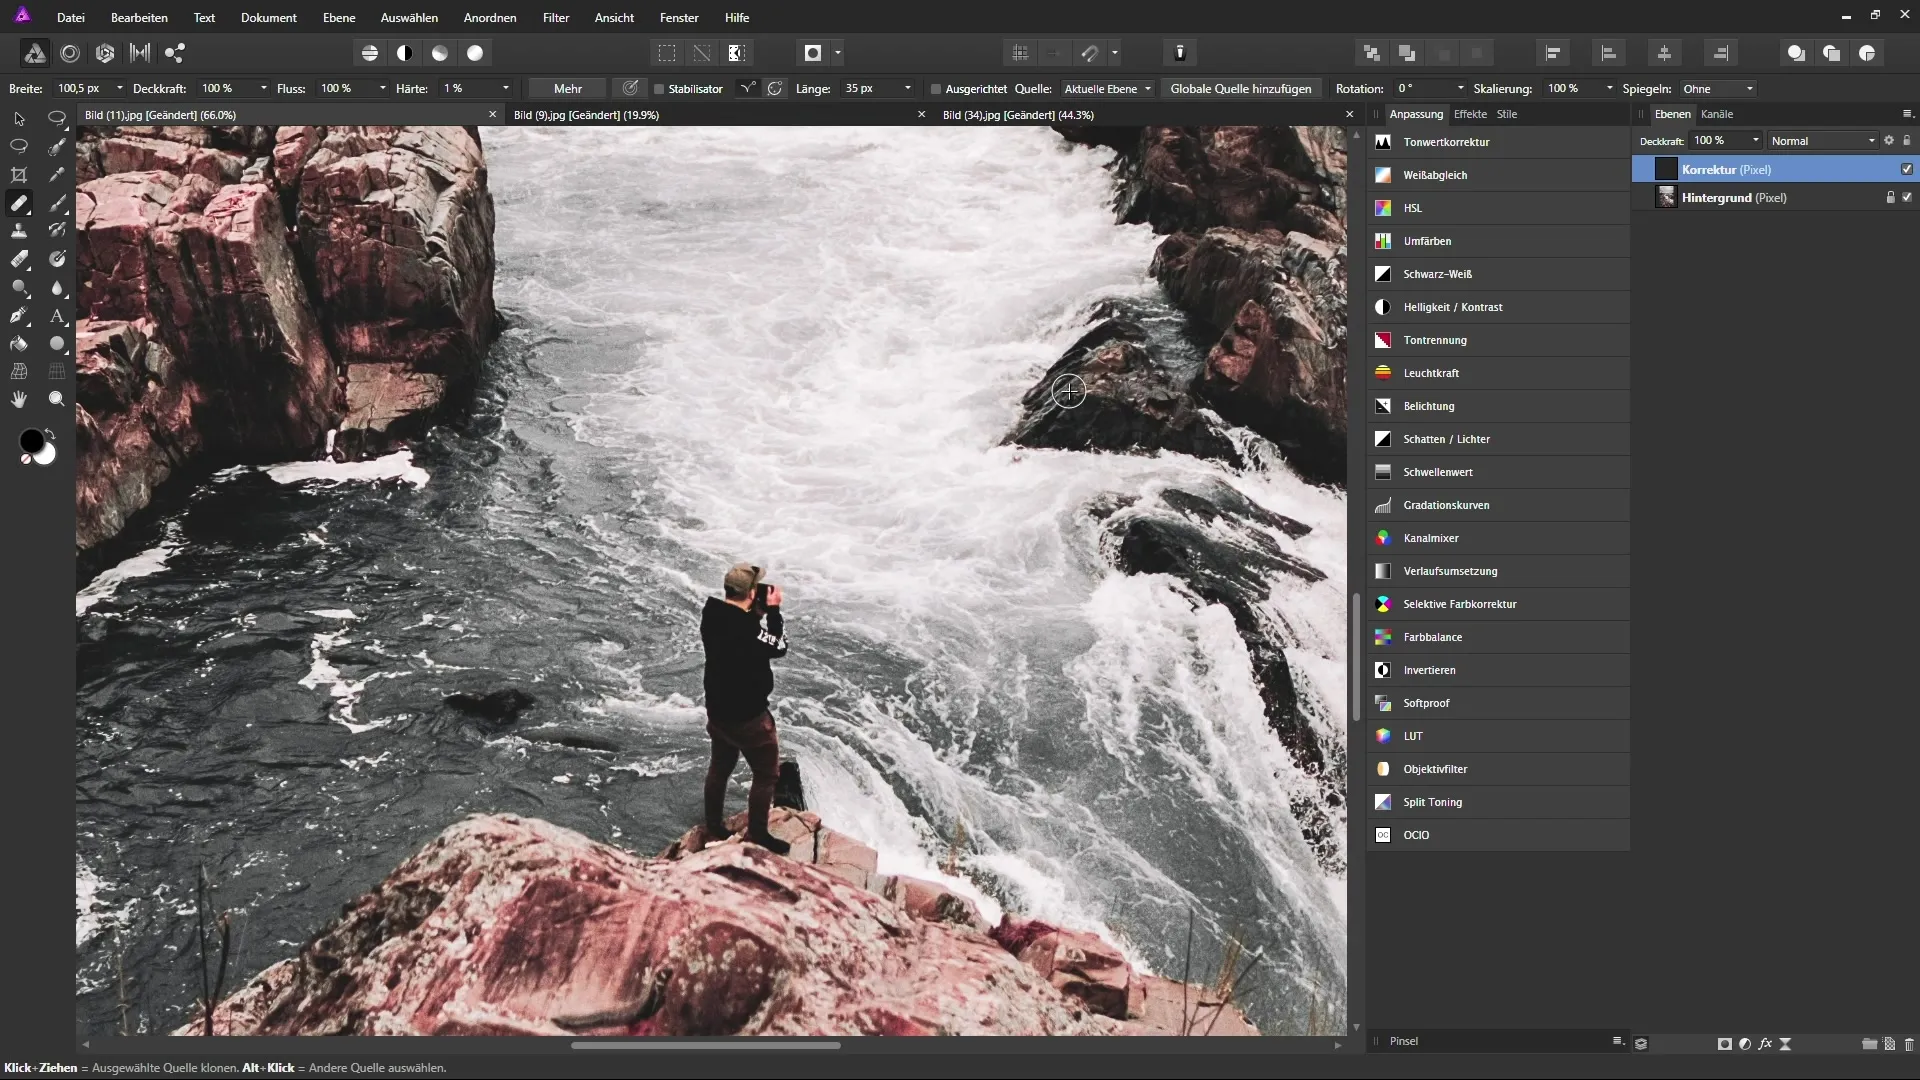
To work non-destructively, create a new empty layer for your edits. Name it something like “Correction.” This is important as it allows you to separate the original image from the edits and ensure that you do not lose image data while working.

4. Adjusting the Source Layer
When making a correction on a new layer, be sure to set the source correctly. In the context toolbar, select “current layer and below” so that the brush accesses information from the layer below.
5. Using the Blemish Removal Tool
Another effective tool is the blemish removal tool. With this tool, you can define areas and either retouch them or use them as a source. Drag a selection rectangle around the area you want to improve, and release the mouse to retouch the area with another.
6. Using the Remove Beauty Marks Tool
The “Remove Beauty Marks” tool functions similarly but is easier to use. Click on the area to be edited, and Affinity Photo automatically selects a source from the surrounding area to correct it. Note that you are also working on the background layer here.
7. Utilizing the Restoration Tool
The restoration tool provides you with a semi-automatic function for image editing. You can simply paint over the areas to be corrected, and the program will “automatically” incorporate the surrounding image information. Be sure to select a correction layer here too, to work non-destructively.
8. Correcting Red Eyes
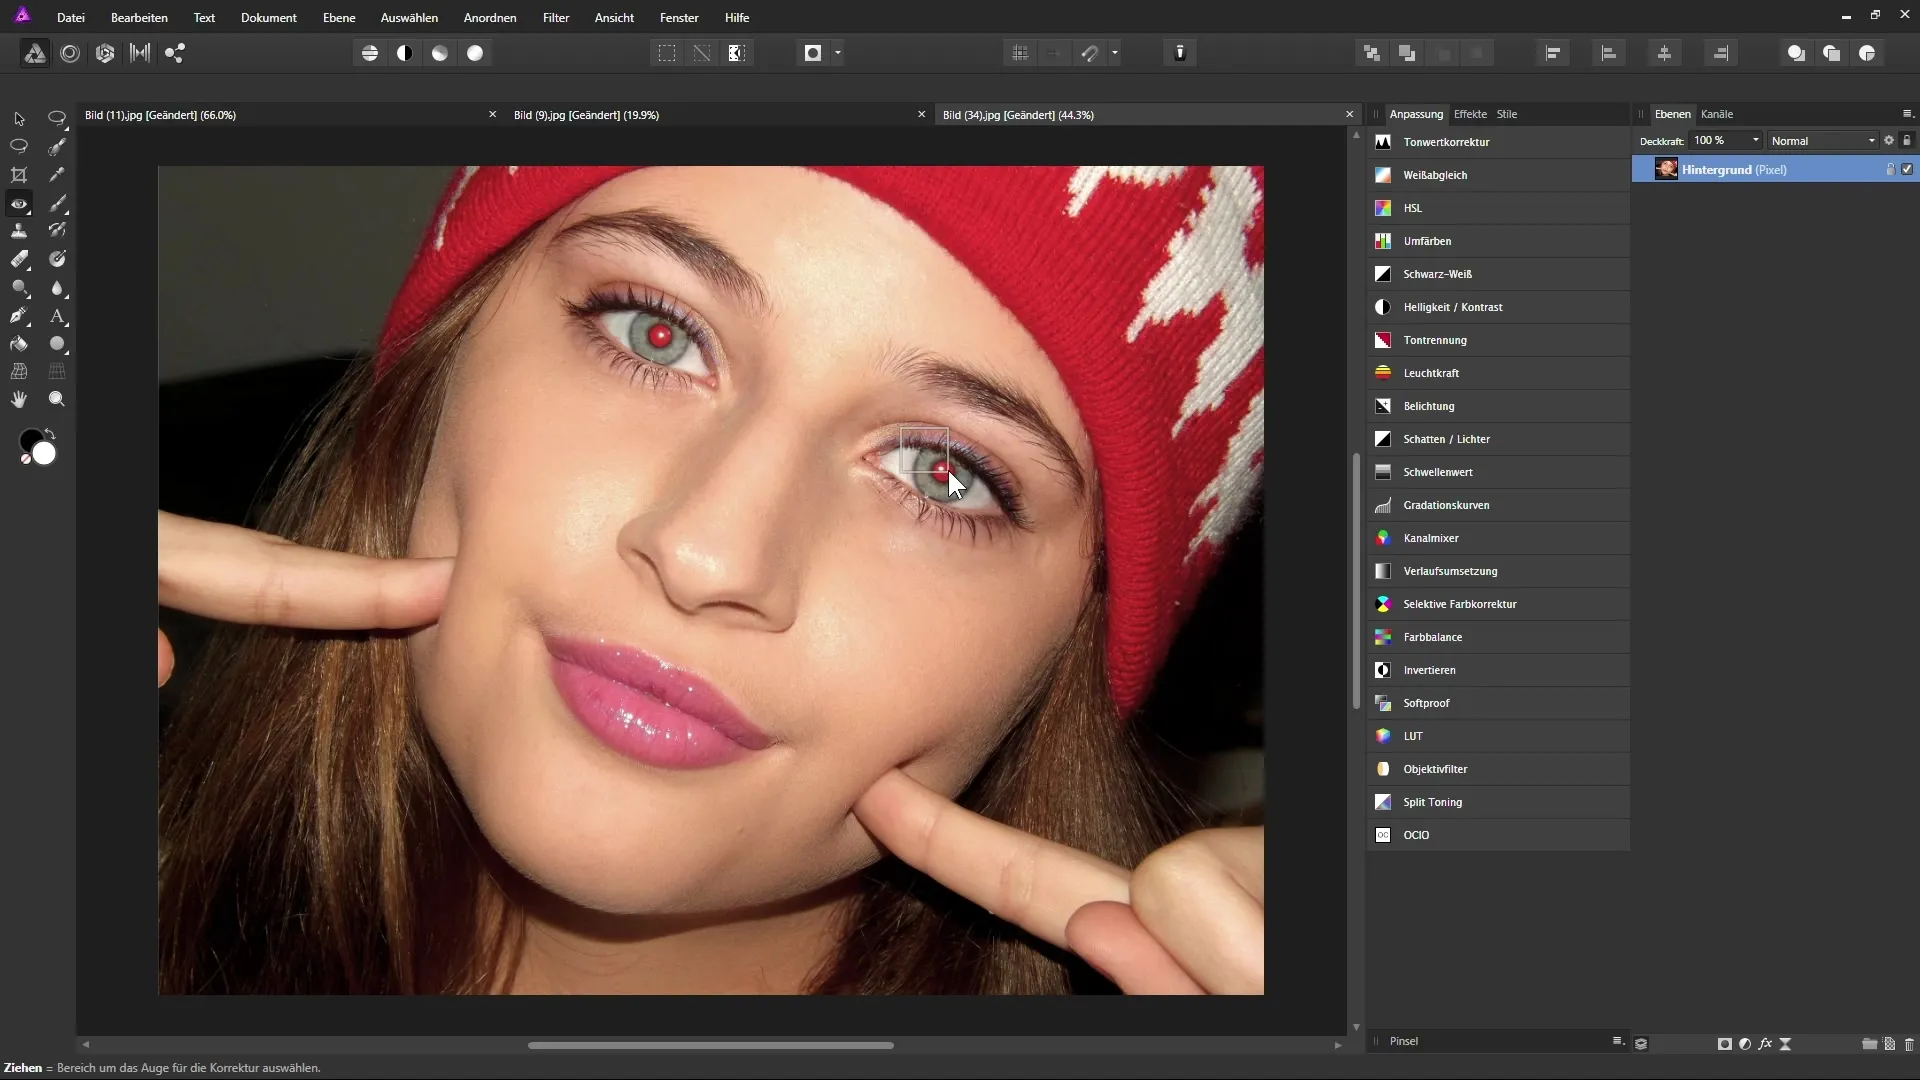
When working with portraits, the red-eye correction tool can be useful. Select the appropriate tool and simply drag a selection rectangle around the affected area. Affinity Photo automatically detects the red eyes and removes this effect.

Summary – Comprehensive Use of Repair Tools in Affinity Photo
The repair tools in Affinity Photo enable you to achieve precise and effective editing of your images. With a clear understanding of the different tools and their applications, you are well-equipped to remove unwanted elements from your photos and significantly enhance the quality of your images.
Frequently Asked Questions
How do I set a source for the repair brush?Hold down the Alt key and click on the desired area in the image.
Can I undo the edits?Yes, by switching to the desired layer and editing the changes from there.
How can I prevent destructive work?Create a separate correction layer before making changes.
How can I remove red eyes from images?Select the red-eye correction tool and drag a selection rectangle around the affected eyes.
Can I use multiple repair tools at the same time?Yes, you can use different tools for different areas in the image.


