The gradient tool in Affinity Photo is a versatile tool that helps you create complex gradients in your images. It allows you to experiment with different hues and transparencies and playfully achieve impressive visual effects. This guide teaches you the basics and shows you how to use the gradient tool effectively.
Main takeaways
- The gradient tool is destructive, so it’s important to be careful when using it.
- Adjusting anchor points and midpoints is crucial for controlling the gradient.
- There are ways to work non-destructively with the gradient, for example through fill layers.
Step-by-Step Guide
Basics of the Gradient Tool
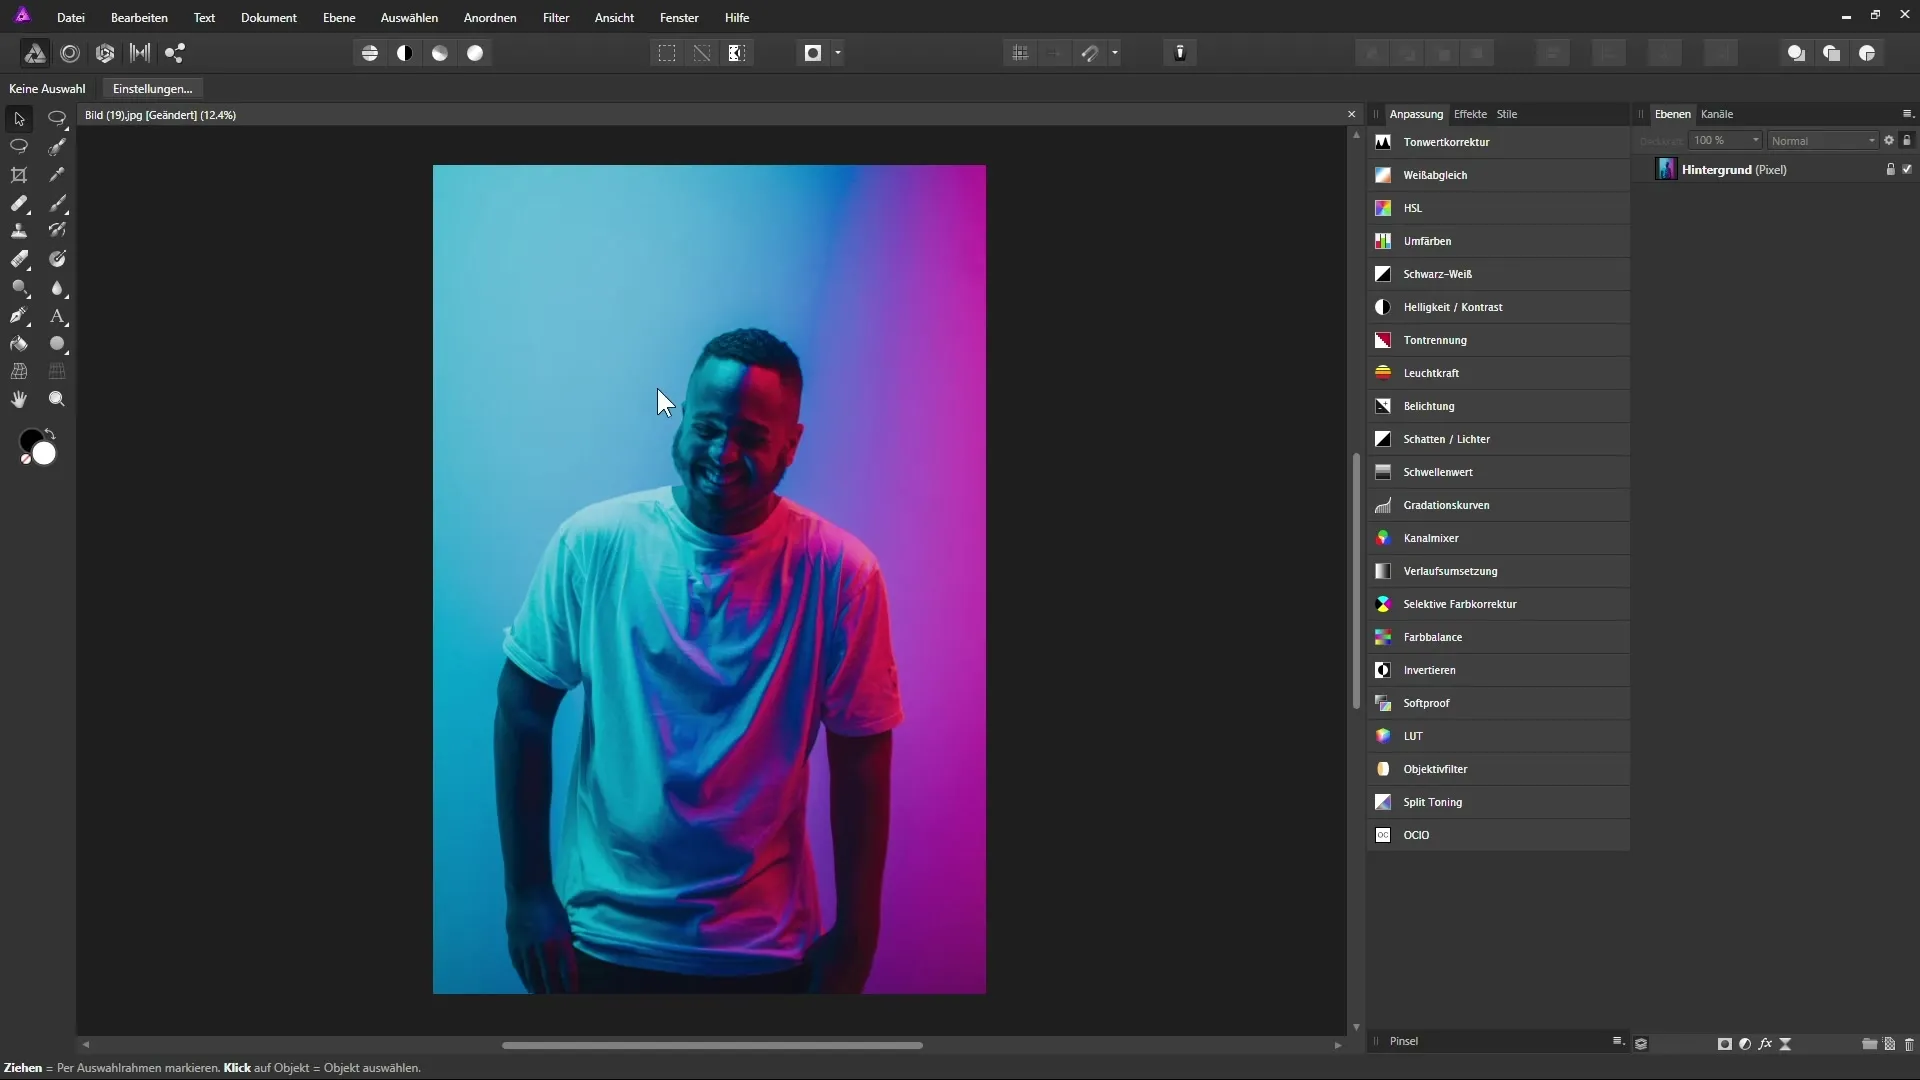
You can find the gradient tool in the toolbar under a small icon that looks like a gradient. Alternatively, you can activate it with the keyboard shortcut “G.” To get an idea of how the tool works, you can select an image that already shows a nice gradient. To do this, open an image in the layers palette and add a new blank pixel layer, which you might name “Gradient.”
Creating a Gradient
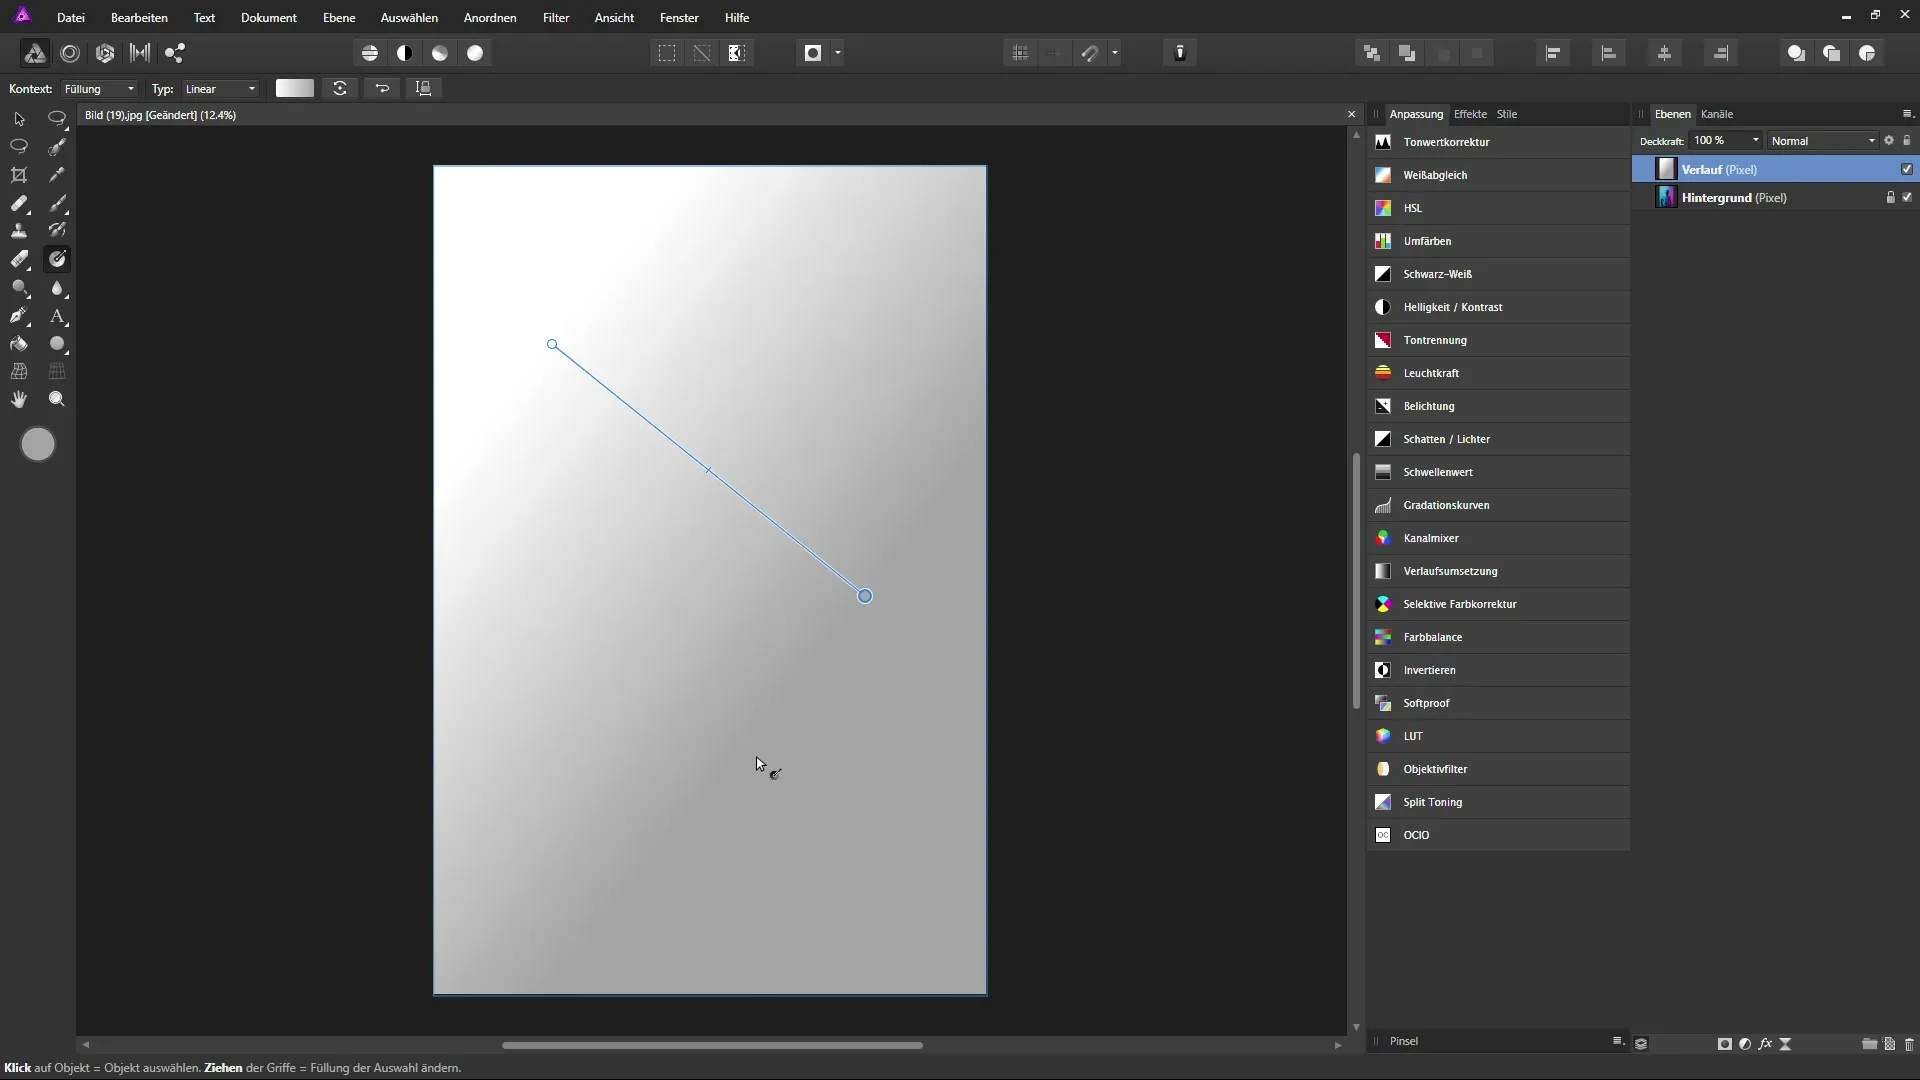
After you have created the new layer, switch to the gradient tool. By clicking and dragging on the blank layer, you can create a gradient. It is important not to switch to another tool while the gradient tool is active, as the gradient will otherwise be fixed on that layer and become uneditable.
Adjusting Gradient Properties
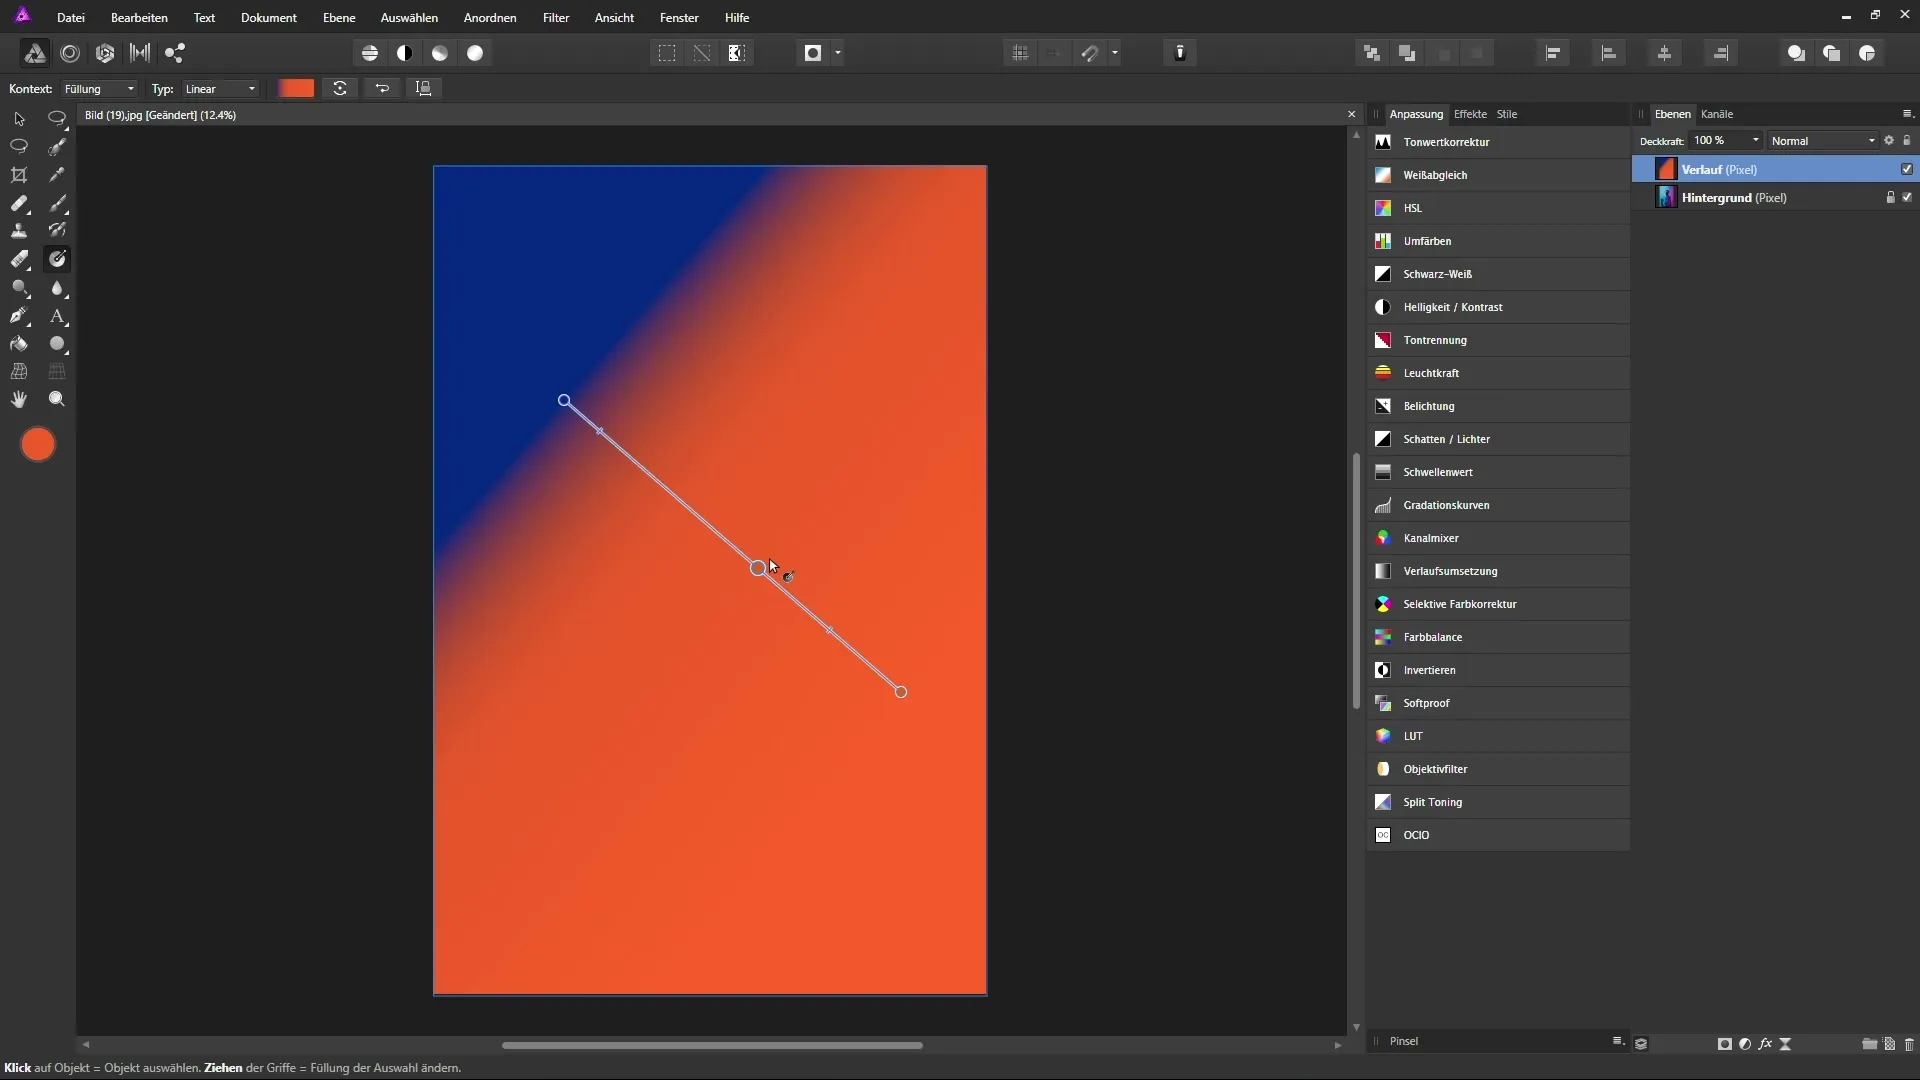
The next step is to modify the anchor points of the gradient. You will see two anchor points: a white one for the starting point and a gray one for the end of the gradient. Here, you can adjust the colors by clicking on the corresponding anchor point and then selecting a new color. To choose the colors, you can use the various color selection tools, such as the HSL color wheel.
Adding Colors and Transparencies
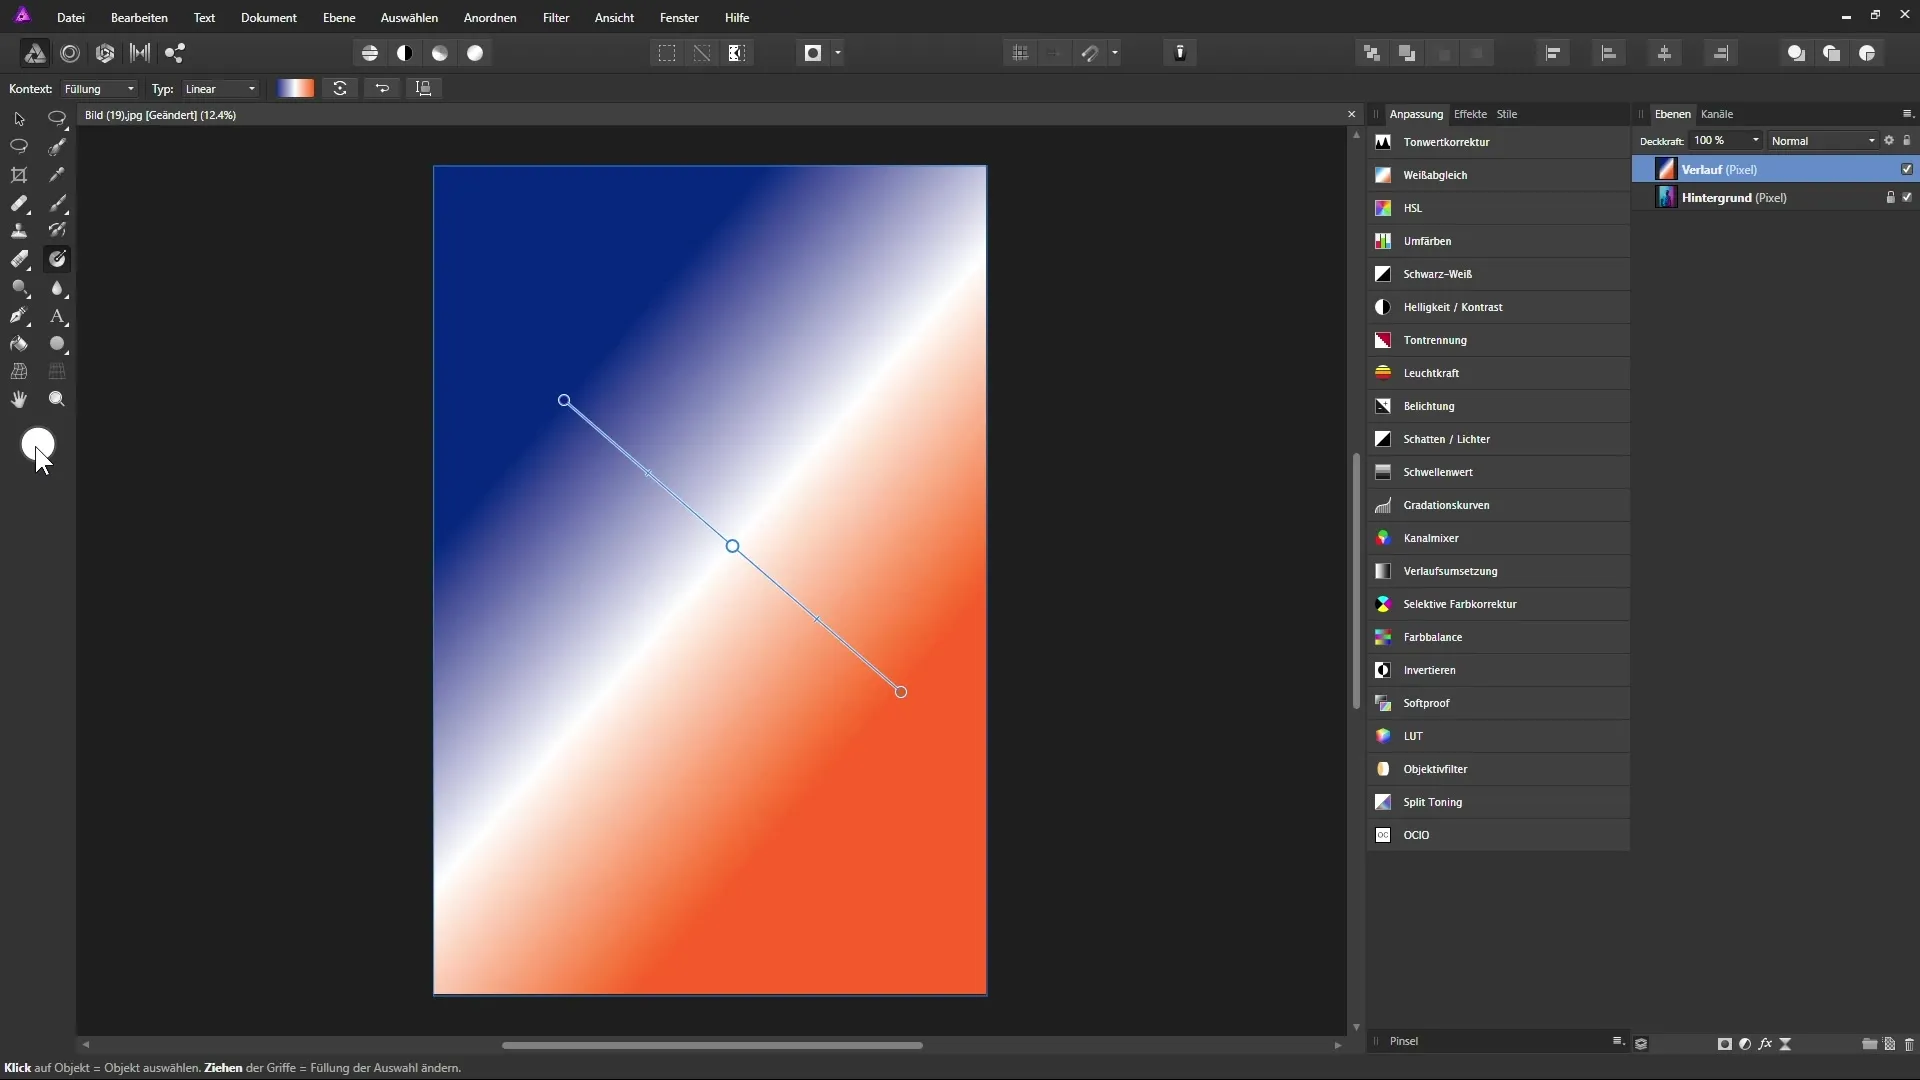
Now it's time to add colors to the gradient. For example, you can set another anchor point by clicking on the line between the existing anchor points. This gives you the opportunity to define an additional color, which you can also easily position and adjust.
The opacity of the anchor points is also an important element. To change the opacity, click on the desired anchor point, and you can adjust the opacity in the context bar.
Changing the Type of Gradient
By default, a linear gradient is created. However, you can also create a radial gradient by clicking on the type of gradient in the context bar. In a radial gradient, the color radiates from a central point. This adjustment gives your design a unique dynamic.
Non-Destructive Work with Fill Layers
To ensure that your gradient designs are non-destructive, you can use fill layers. To do this, select “Layer” > “New Fill Layer” and then drag a gradient onto this new layer. The difference: Even if you switch to another tool, the fill layer remains editable.
Creating Masks with the Gradient Tool
Another powerful feature is the ability to create masks with the gradient tool. You can add a white mask and create a gradient on this mask with the gradient tool. This allows you to achieve smooth transitions and transparencies.
Tips for Color Sampling
You can also combine the gradient tool with the eyedropper to sample colors directly from your image. This ensures that the colors are accurately captured and correspond to your desired look.
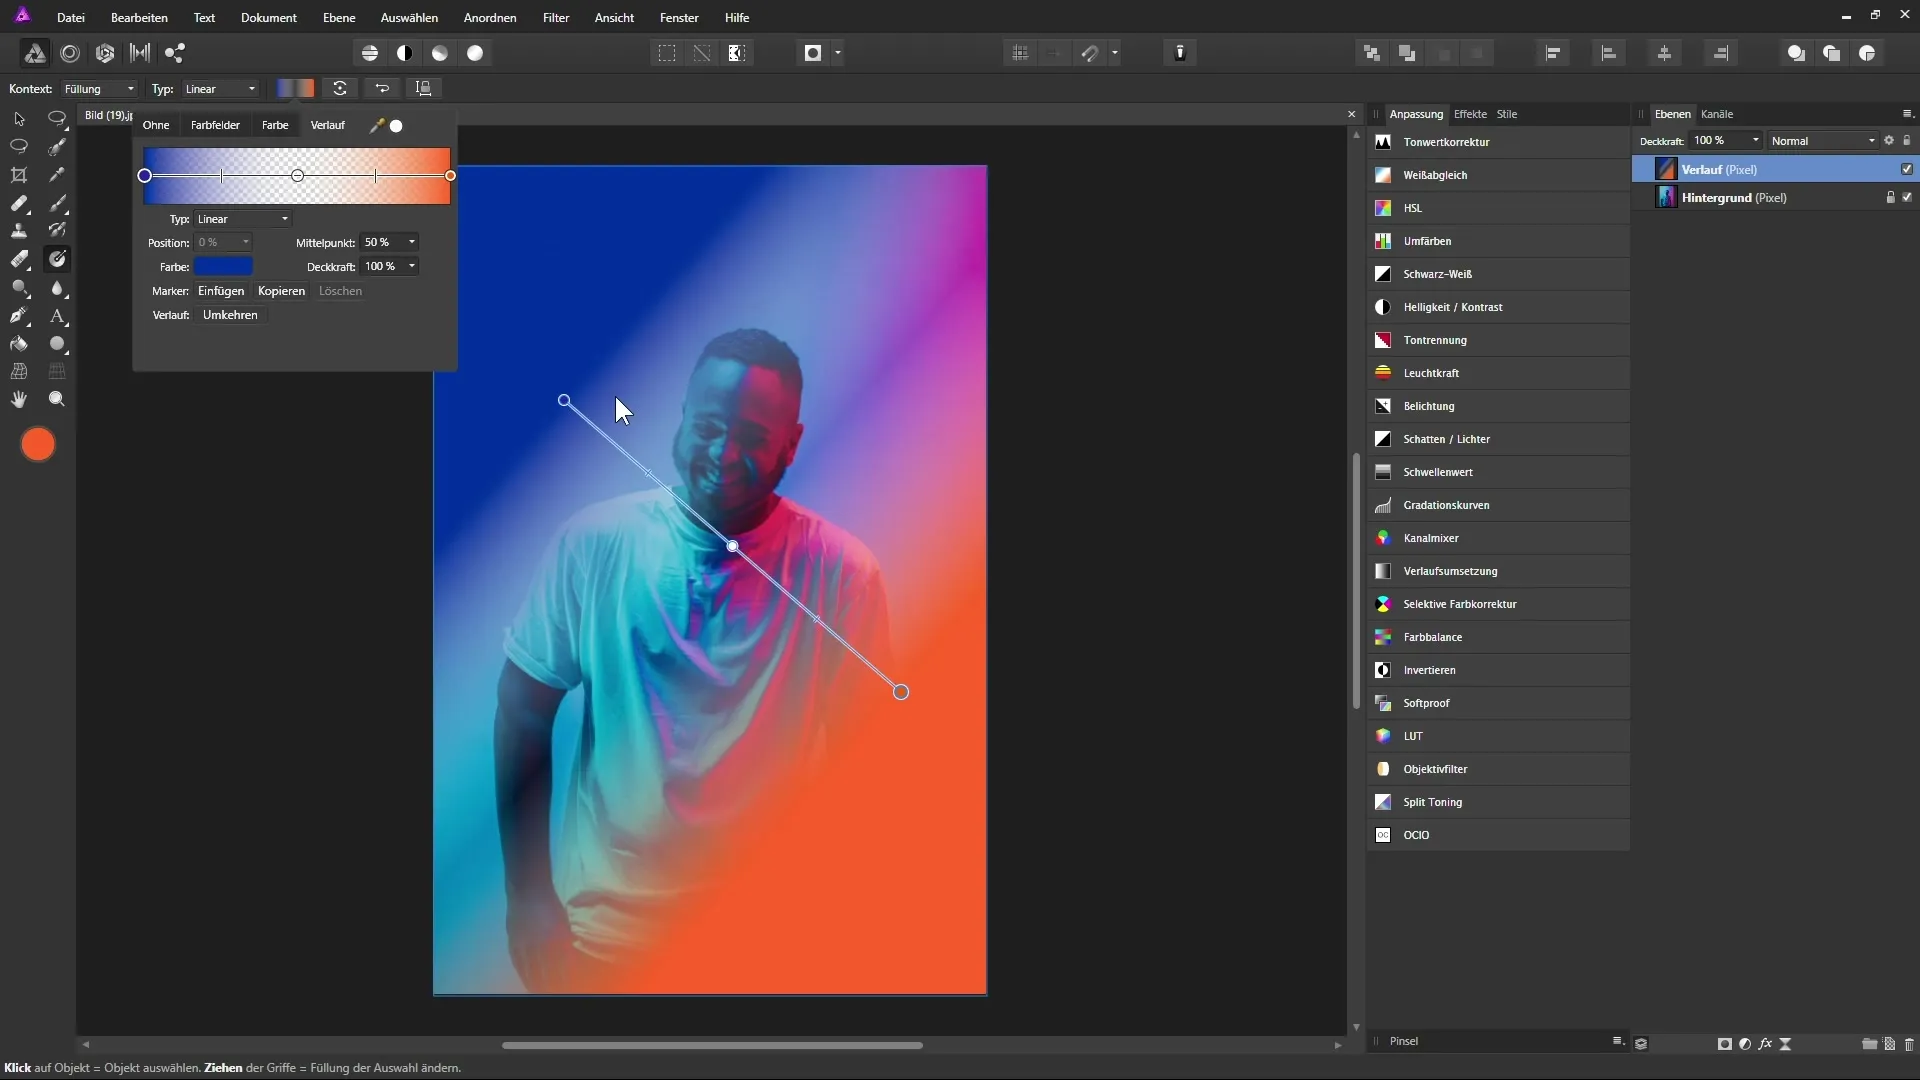
Reversing the Gradient
If you want to reverse the gradient, Affinity Photo offers the “Reverse” function. This allows you to change the direction of your gradient with a click.
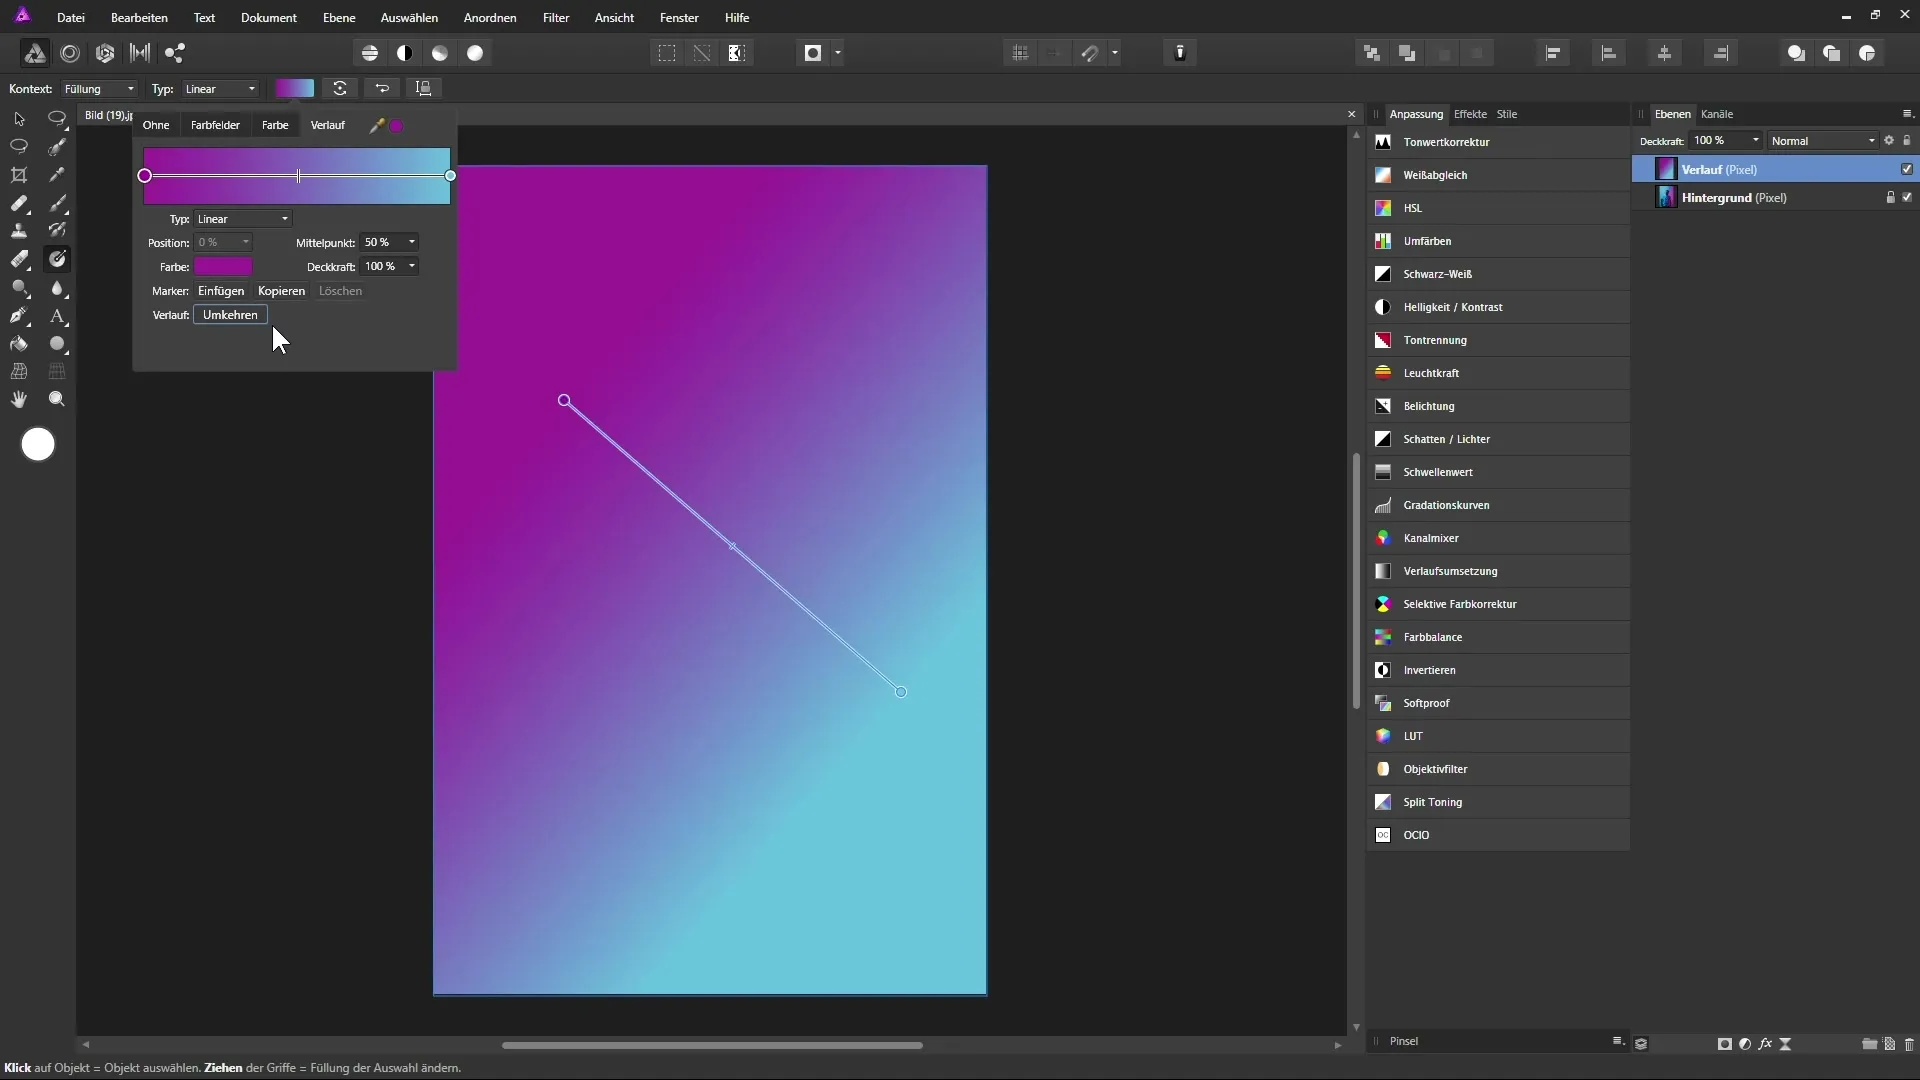
Summary – Effectively Using the Gradient Tool in Affinity Photo
The gradient tool in Affinity Photo is a powerful and creative tool that offers you many design possibilities. You have learned how to independently adjust the anchor points and the gradient itself. Additionally, by working with fill layers, you can design non-destructively and ensure that your changes remain editable at all times. Use these opportunities to unleash your creativity.
Frequently Asked Questions
What is the gradient tool in Affinity Photo?The gradient tool creates gradients in your images.
How can I create a gradient?Select the gradient tool and drag on a layer to create the gradient.
Can I change the colors in the gradient?Yes, you can easily adjust and change the colors of the anchor points.
What does it mean to work destructively?If you switch to another tool, your gradient becomes fixed and cannot be changed anymore.
How do I work non-destructively?You can use fill layers to give your work more flexibility.


