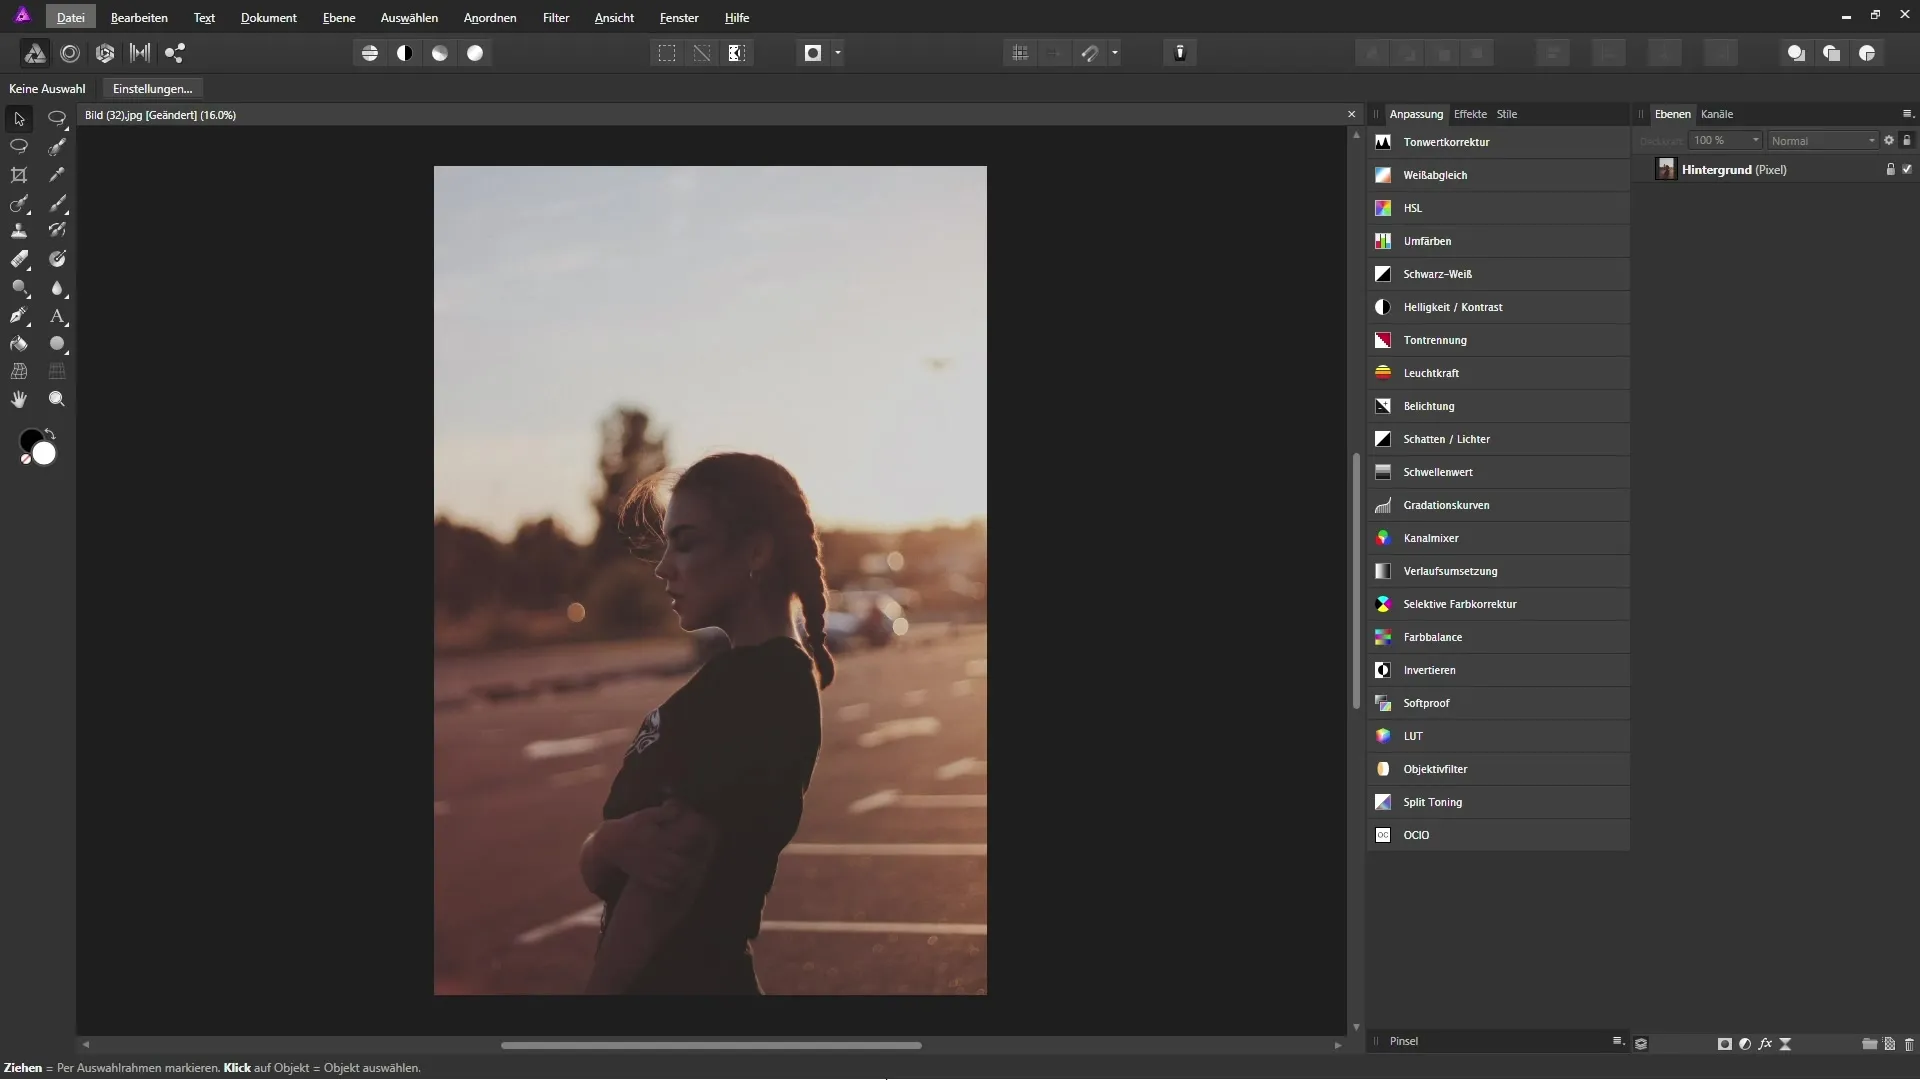
The precise cropping of images can be crucial for image composition and visual impact. Sometimes, you must make quick decisions about where the main subject should be placed, and the cropping-tool in Affinity Photo is a perfect tool for that. In this tutorial, you will learn how to effectively use the cropping tool to adjust your images according to your preferences.
Key insights
- The cropping tool allows you to remove areas of the image and control the aspect ratio.
- Pixels are not permanently deleted but remain editable, allowing for non-destructive editing.
- You can save custom aspect ratios for easy access in future projects.
Step-by-Step Guide
1. Select the cropping tool
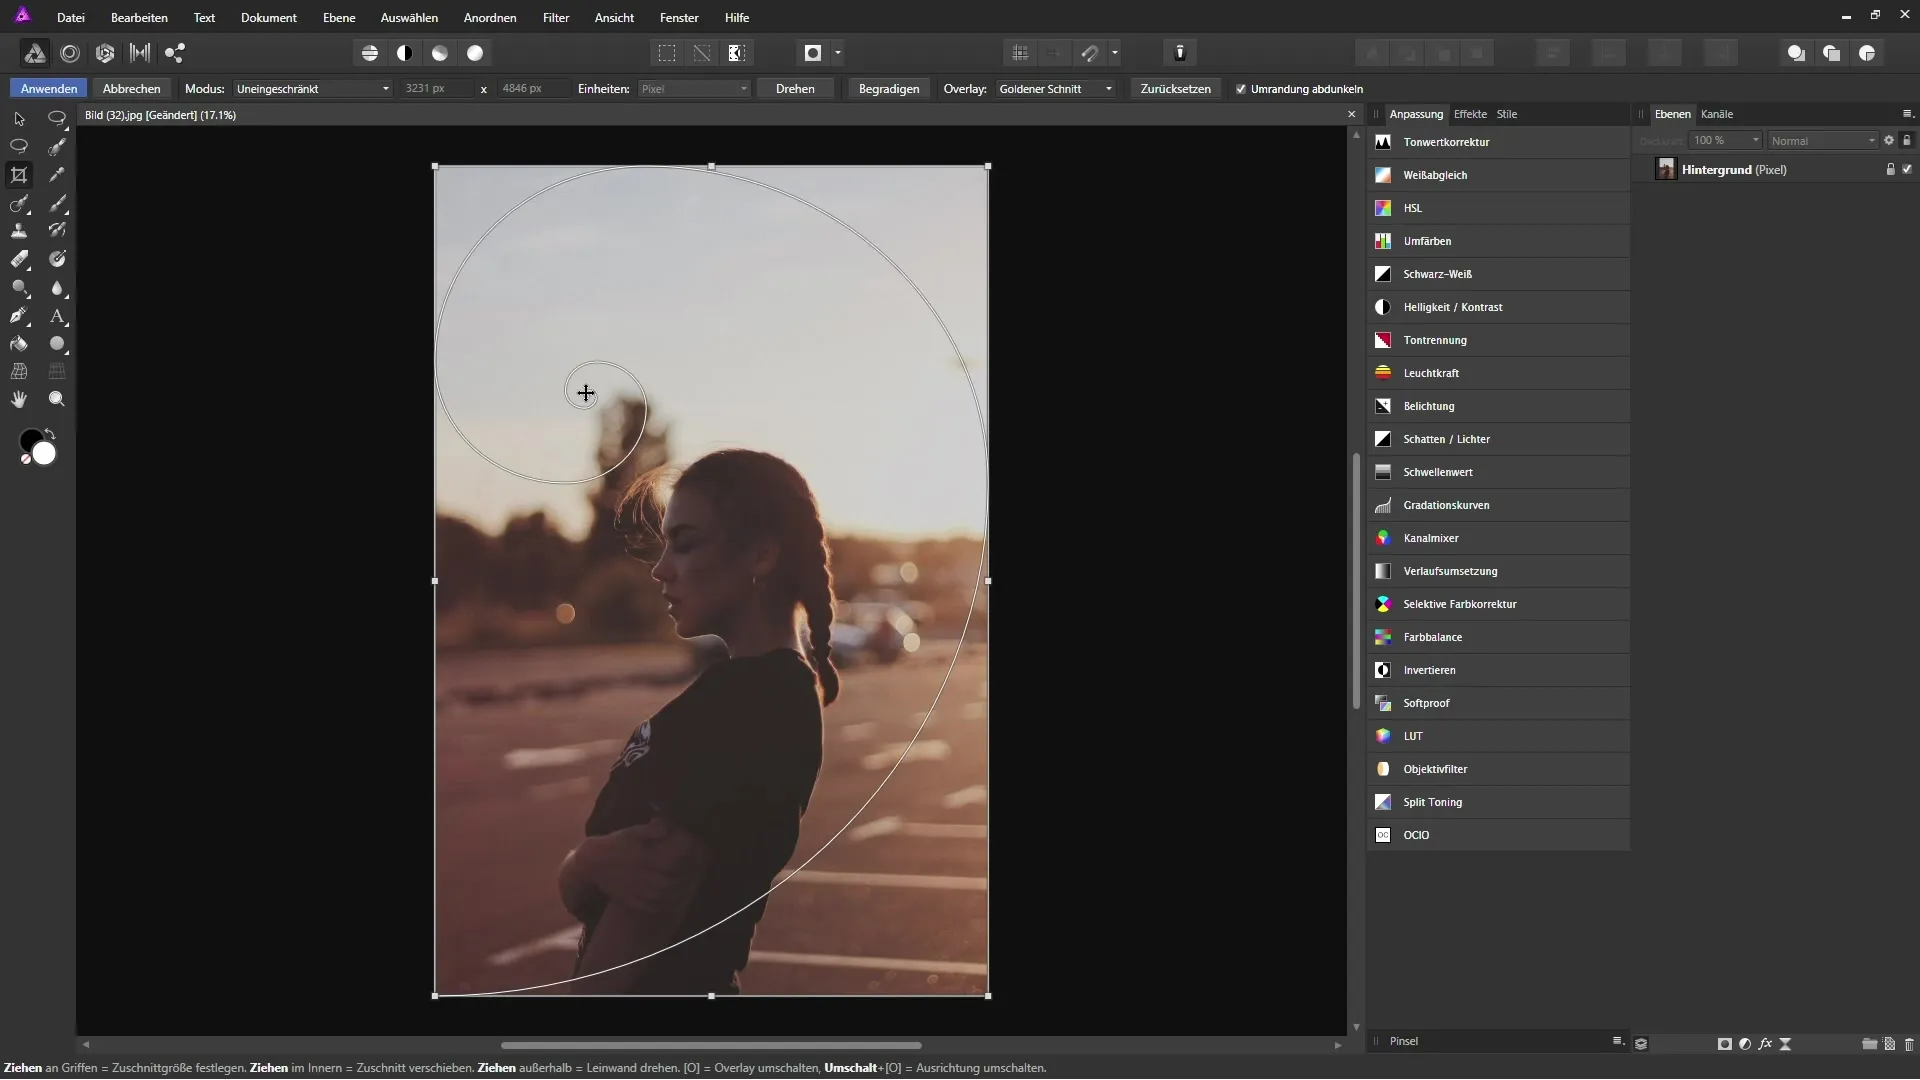
To start cropping, you need to select the cropping tool. You can do this either via the corresponding icon in the toolbar or by pressing the "C" key on your keyboard. This changes the context bar, and an overlay appears, similar to a transformation frame.

2. Crop the image
Once you have activated the cropping tool, you will see a frame around your image. You can adjust the corners or sides of this frame to select the desired image format. By clicking and dragging one of the handles, you can choose the crop freely.
3. Crop to original aspect ratio
To maintain the original aspect ratio, switch the mode in the context bar from "unrestricted" to "original aspect ratio". This ensures that when adjusting the size, the aspect ratio of the original is not altered.
4. Adjust the crop
Now you can adjust the crop according to your wishes. Click and drag the handle to focus on the desired area of the image. Ensure that the main content of your image lies within the overlapping areas of the grid to maintain visual balance.
5. Apply adjustments
When you are satisfied with your crop, click "Apply". This will crop the selected area, and the unnecessary pixels will be removed. At this point, it’s important to note that pixel-based information is not actually deleted but remains hidden in the cropped areas.
6. Save custom ratios
If you often work with a specific aspect ratio, you can save it. Click on the "custom ratio" area and enter the corresponding dimensions. Saving it as a preset allows you to quickly access it for future projects.
7. Set absolute dimensions
For precise crops, you can also set absolute measurements. Choose the desired units and specify the exact dimensions to ensure your crop is done according to your specifications.
8. Straighten the image
If your image is tilted, you can use the cropping tool to straighten it. Place your cursor on the straight line along the horizon and drag to correct the tilt. This will automatically adjust the image, reducing unsightly empty spaces.
9. Rotate the image
The cropping tool also allows for easy rotation of your image. Move the mouse outside the frame until the cursor shows a double arrow symbol. Hold down the mouse button and rotate the image to the desired position.
10. Using overlays
To help with cropping, you can activate various overlays, such as the rule of thirds or the golden ratio. This helps you improve composition and guide the viewer's eye in the image.

Summary – Cropping with the Cropping Tool in Affinity Photo
The cropping tool in Affinity Photo offers you many possibilities to edit your images precisely and effectively. You can adjust the size and shape of your images without losing image information and support your composition with creative overlays. By saving frequently used aspect ratios, your workflow is significantly accelerated.
Frequently Asked Questions
What is the cropping tool in Affinity Photo?The cropping tool allows you to remove unwanted areas of the image and adjust the aspect ratio.
How can I adjust the size of the cropping frame?You can pull the corners and sides of the frame to choose the desired cropping.
Are the image pixels deleted when cropping?No, the image information remains intact even after cropping, but it is not visible.
Can I save custom aspect ratios?Yes, you can save custom ratios for quick selection in future projects.
How can I straighten my image?Use the straightening feature in the cropping tool by dragging a line along the horizon.


