The possibilities of AffinityPhotoare virtually endless, and the LiquifyPersona is an excellent example of how creatively you can work with your images. With this feature, you can deform and adjust areas in your images – whether to make a figure appear slimmer or to alter details of an object. This guide shows you how to effectively use the various tools of the Liquify Persona to achieve impressive results.
Key Insights
- The Liquify Persona offers various tools to edit images subtly or drastically.
- It is important to work non-destructively by creating a copy of your background layer before making changes.
- The tools in the Liquify Persona allow for fine adjustments to your image, with brush size and hardness playing a central role.
Step-by-Step Guide
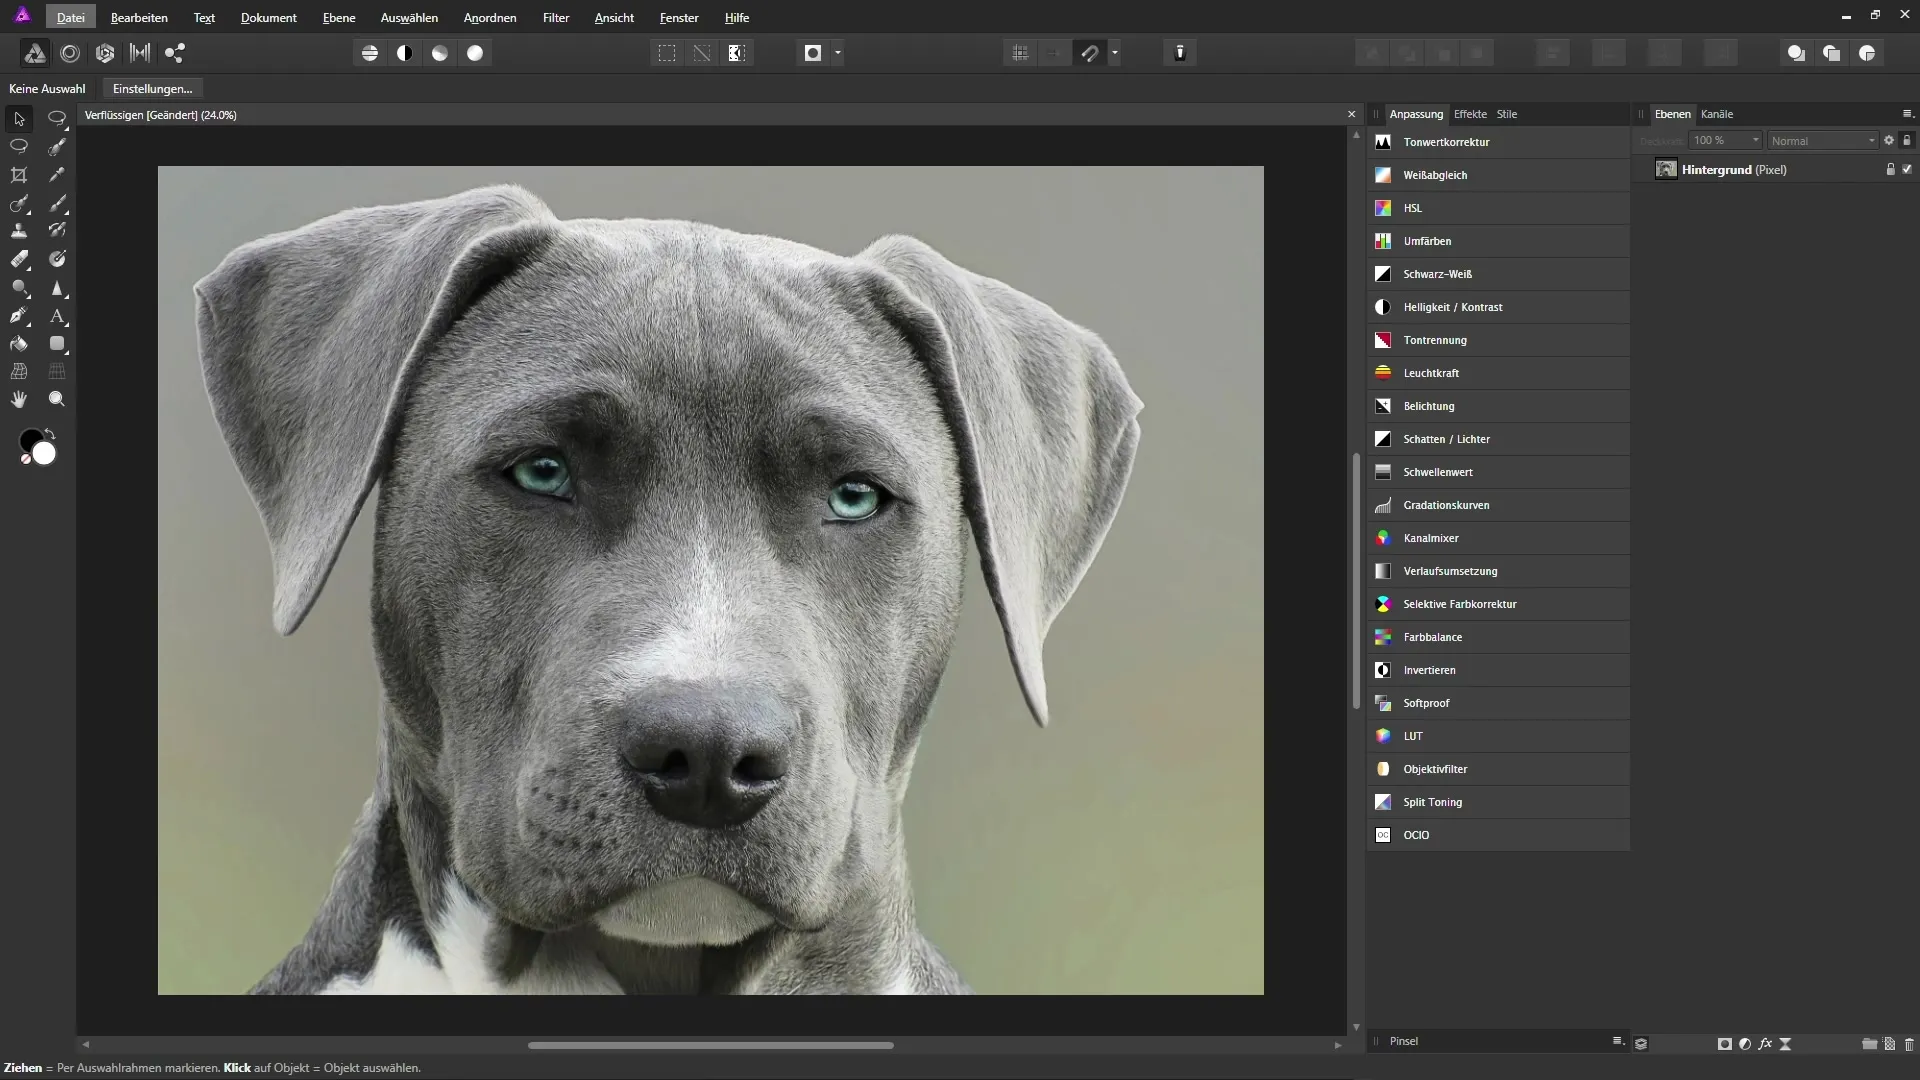
First, open your image in Affinity Photo. You can use any image, but for this guide, we will use the head of a dog as an example.
Step 1: Create a Copy of the Background Layer
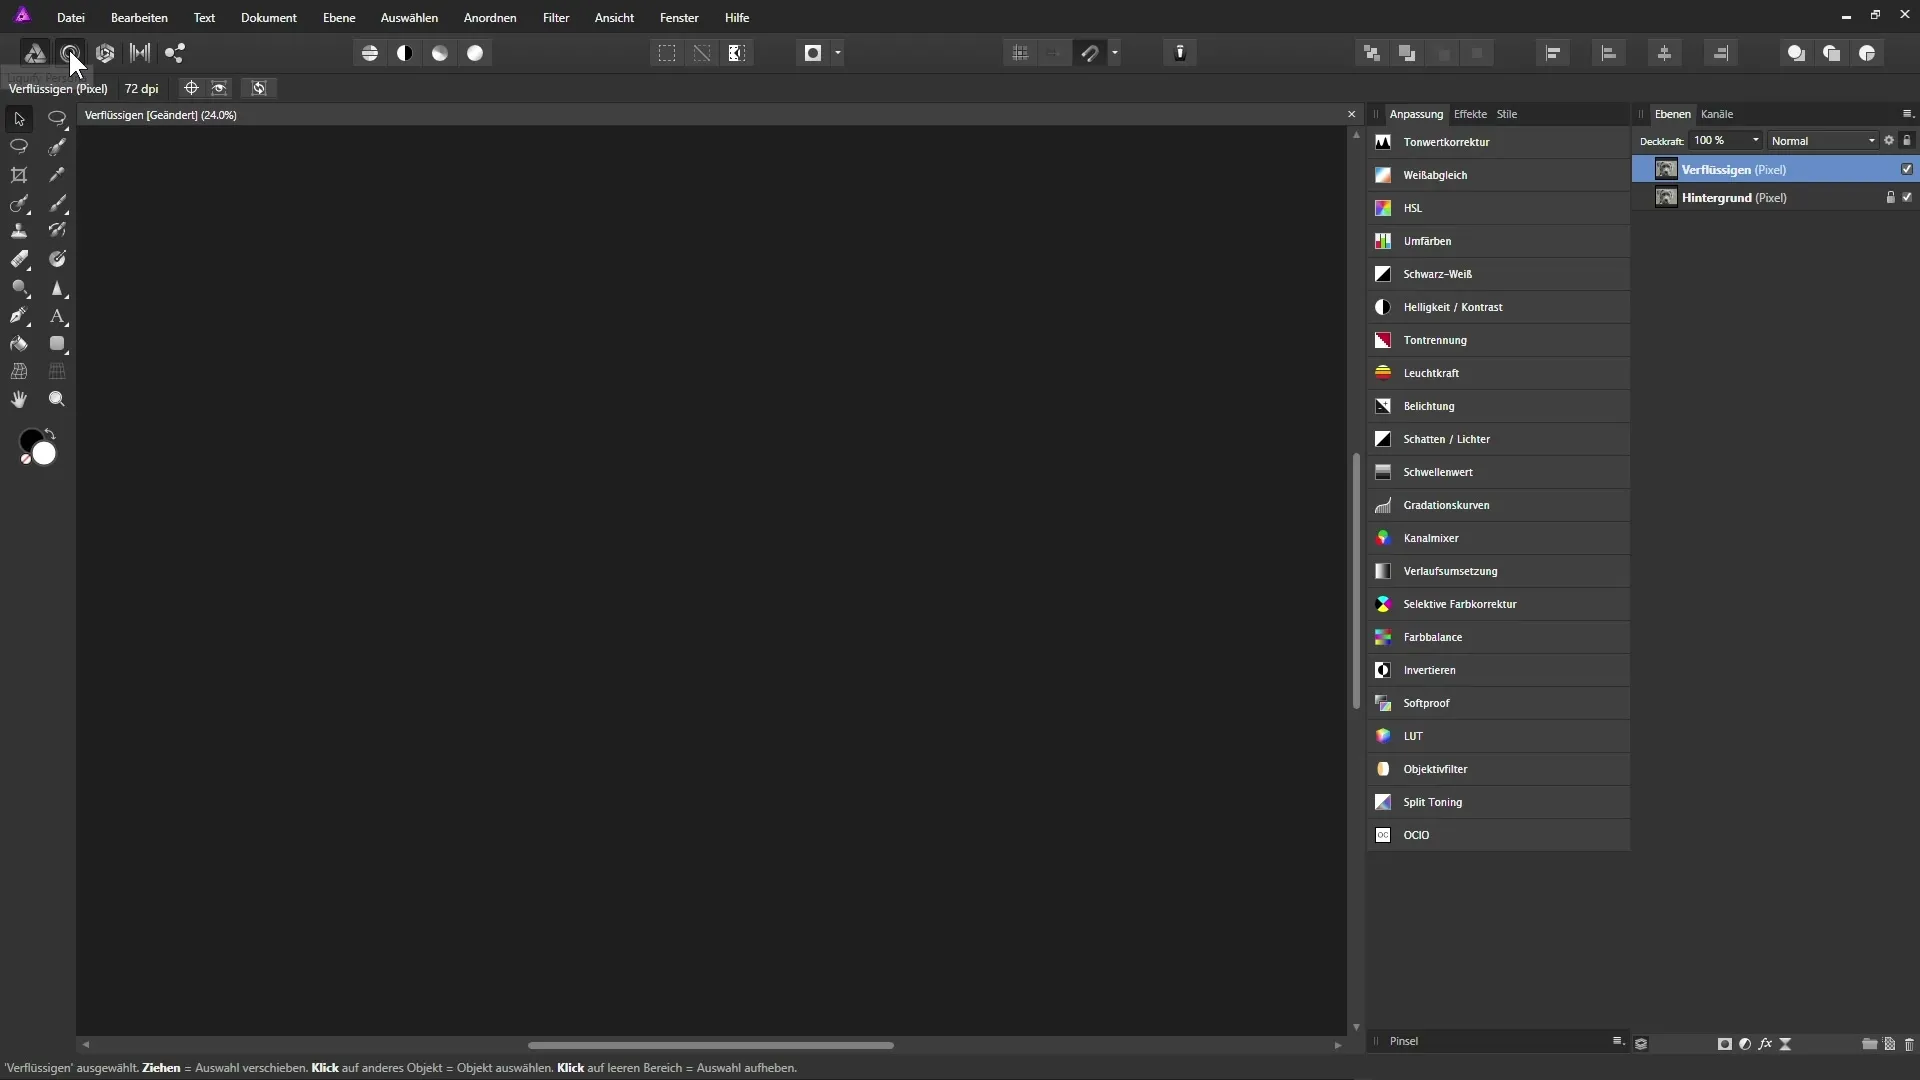
To ensure you are not editing the original image further on, create a copy of your background layer. Right-click on the background layer and select “Create Copy.” You can name this new layer – for example, “Liquify.”
Step 2: Open the Liquify Persona
After creating your copy, navigate to the Liquify Personain the upper toolbar. Clicking it will change the entire workspace to a mode that provides you with new tools and options.
Step 3: Adjust the Deformation Grid
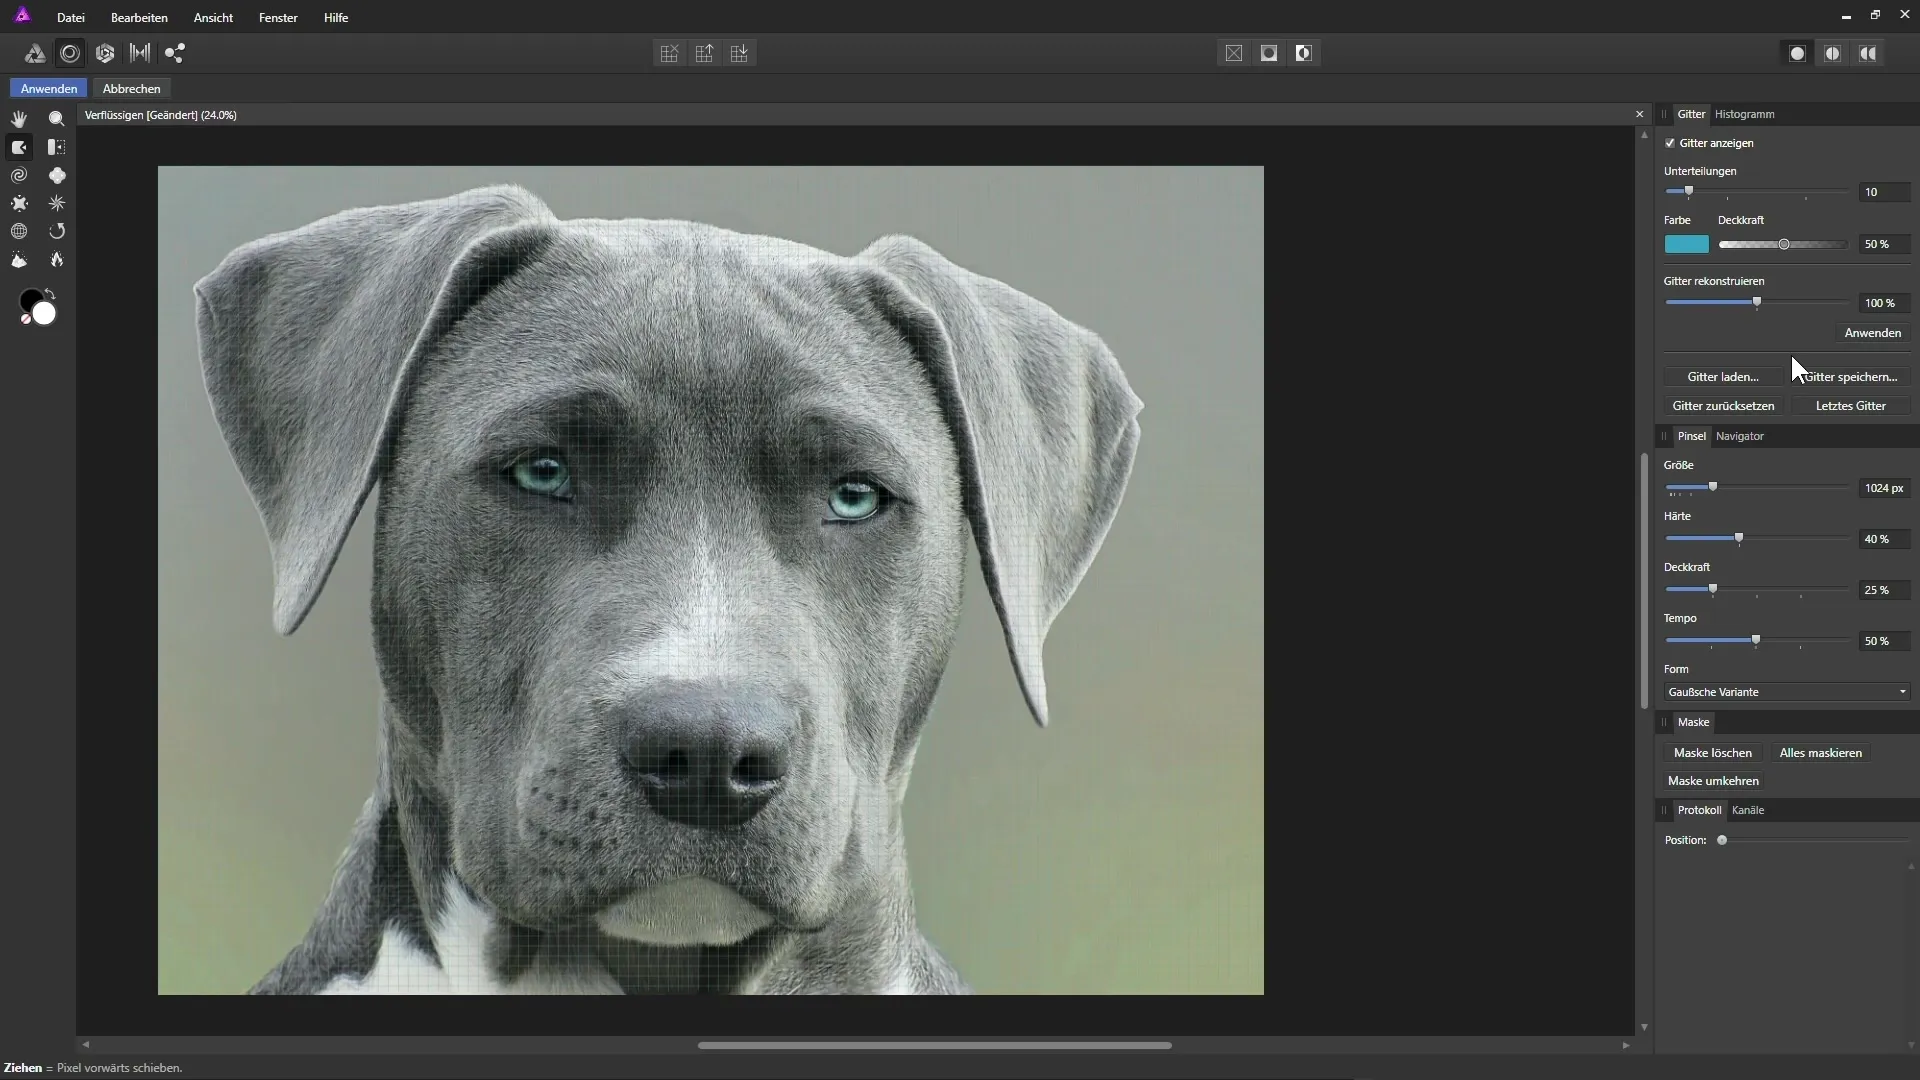
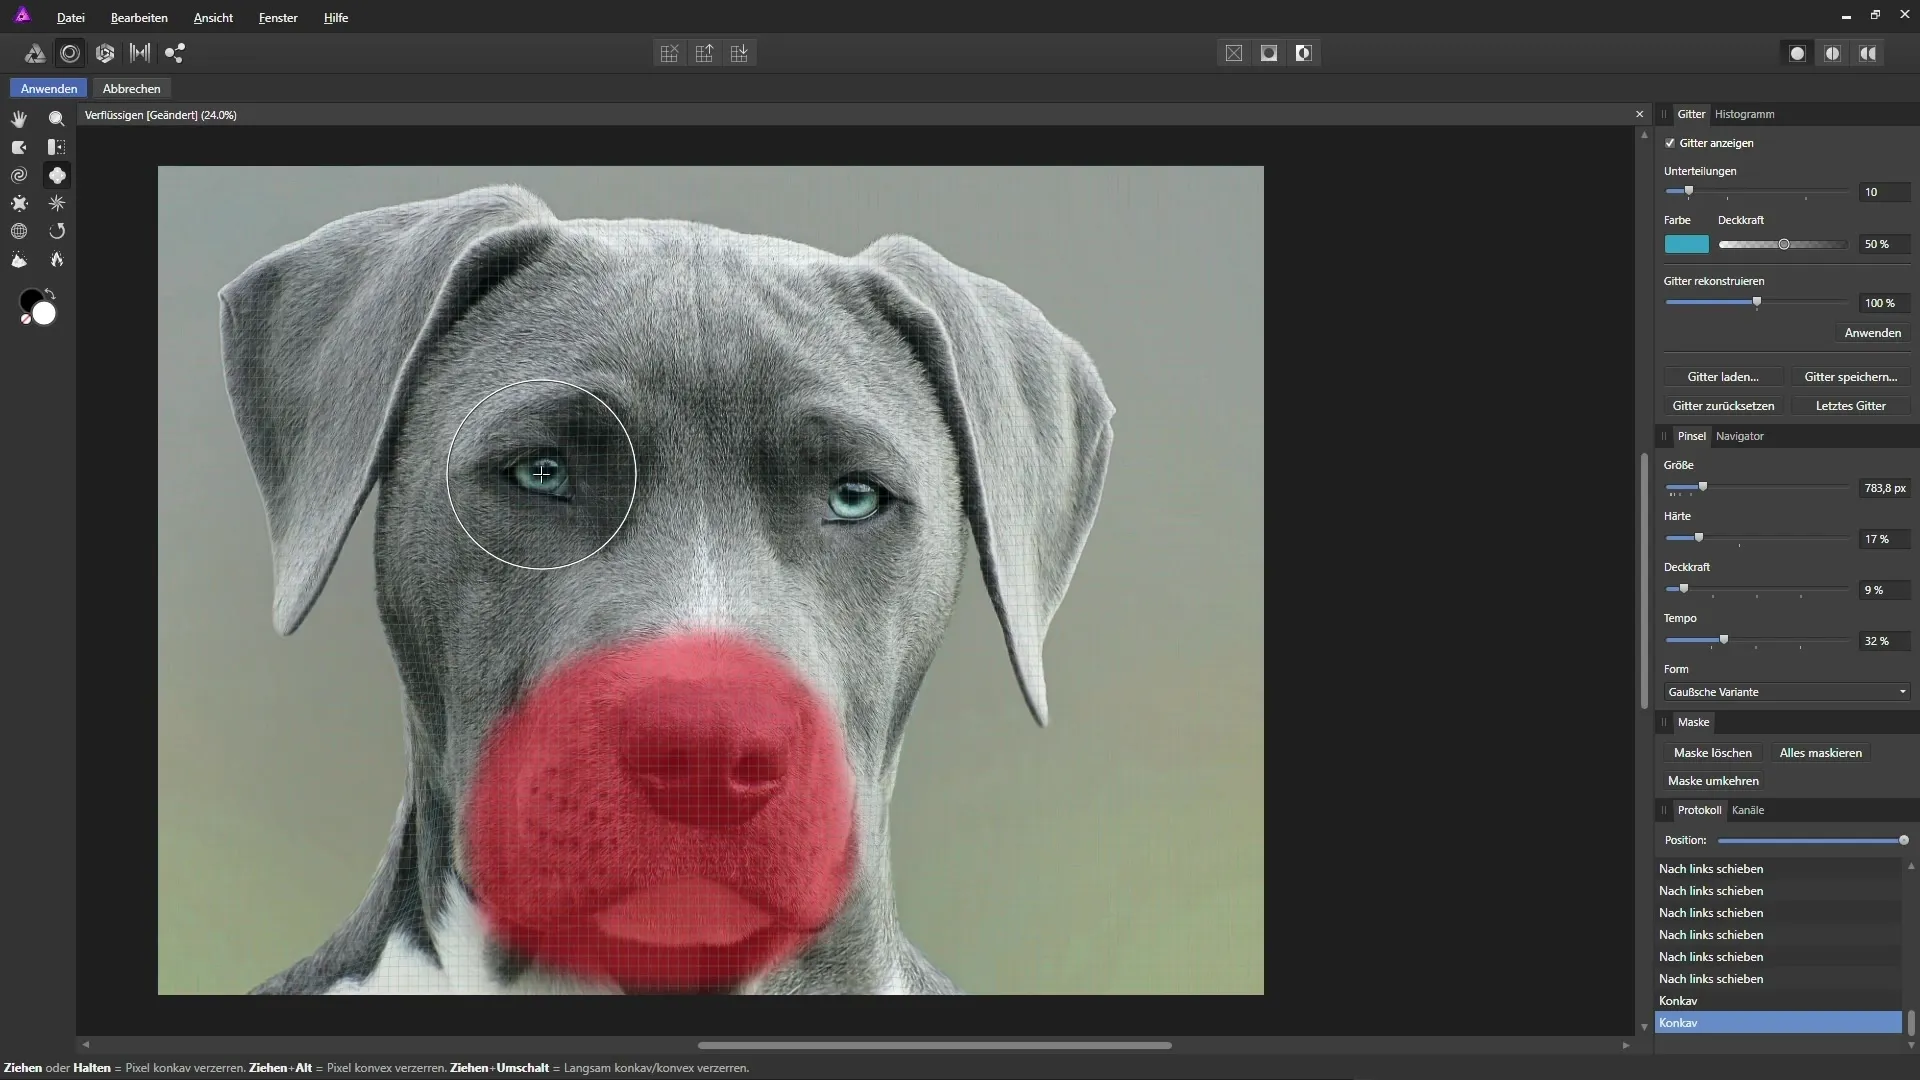
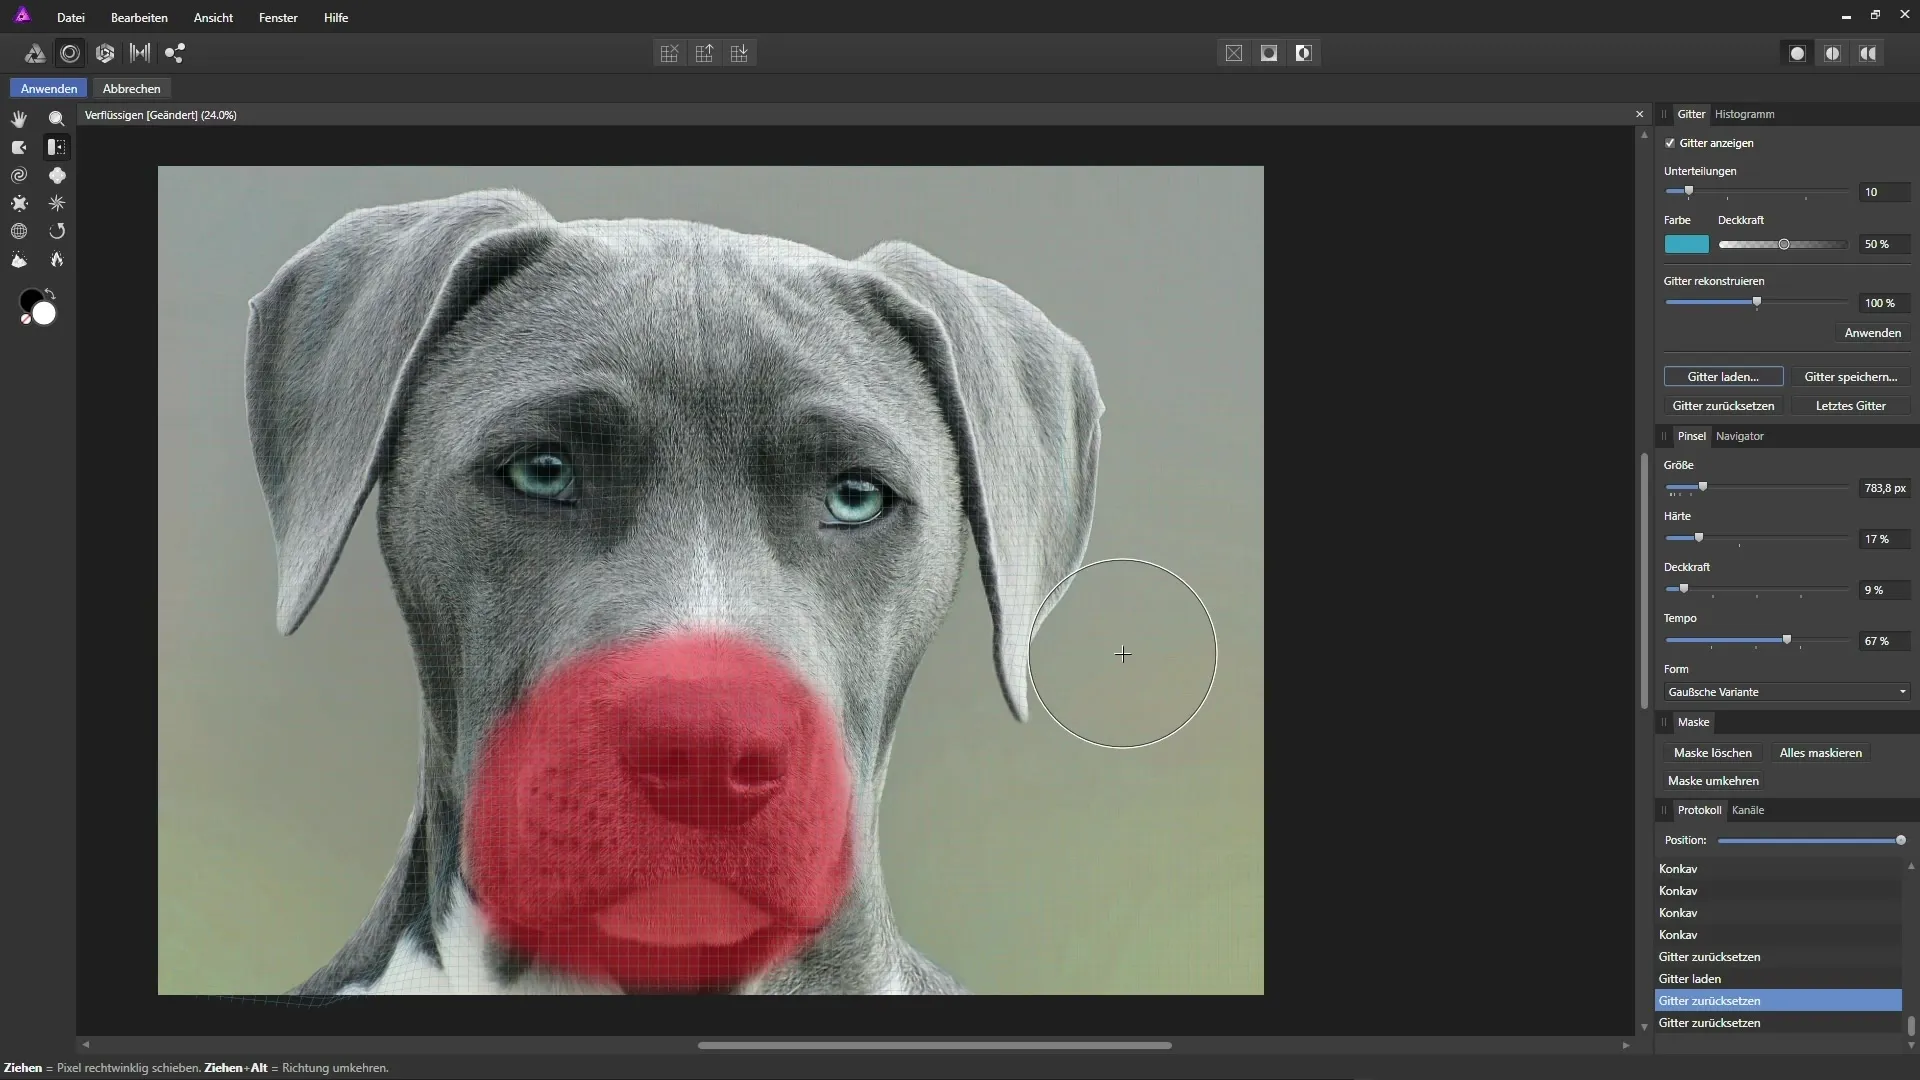
In the workspace for the Liquify Persona, you will see a deformation grid over your image. This grid is used to control the deformations. You can adjust the grid settings on the right, such as color, opacity, and subdivisions.
Step 4: Select the Deformation Tool
On the left side, you will find a palette of tools. The two main tools are “Push Left” and “Concave Distort.” With the first tool, you can enlarge or shrink areas in the image.
Step 5: Freeze and Thaw Areas
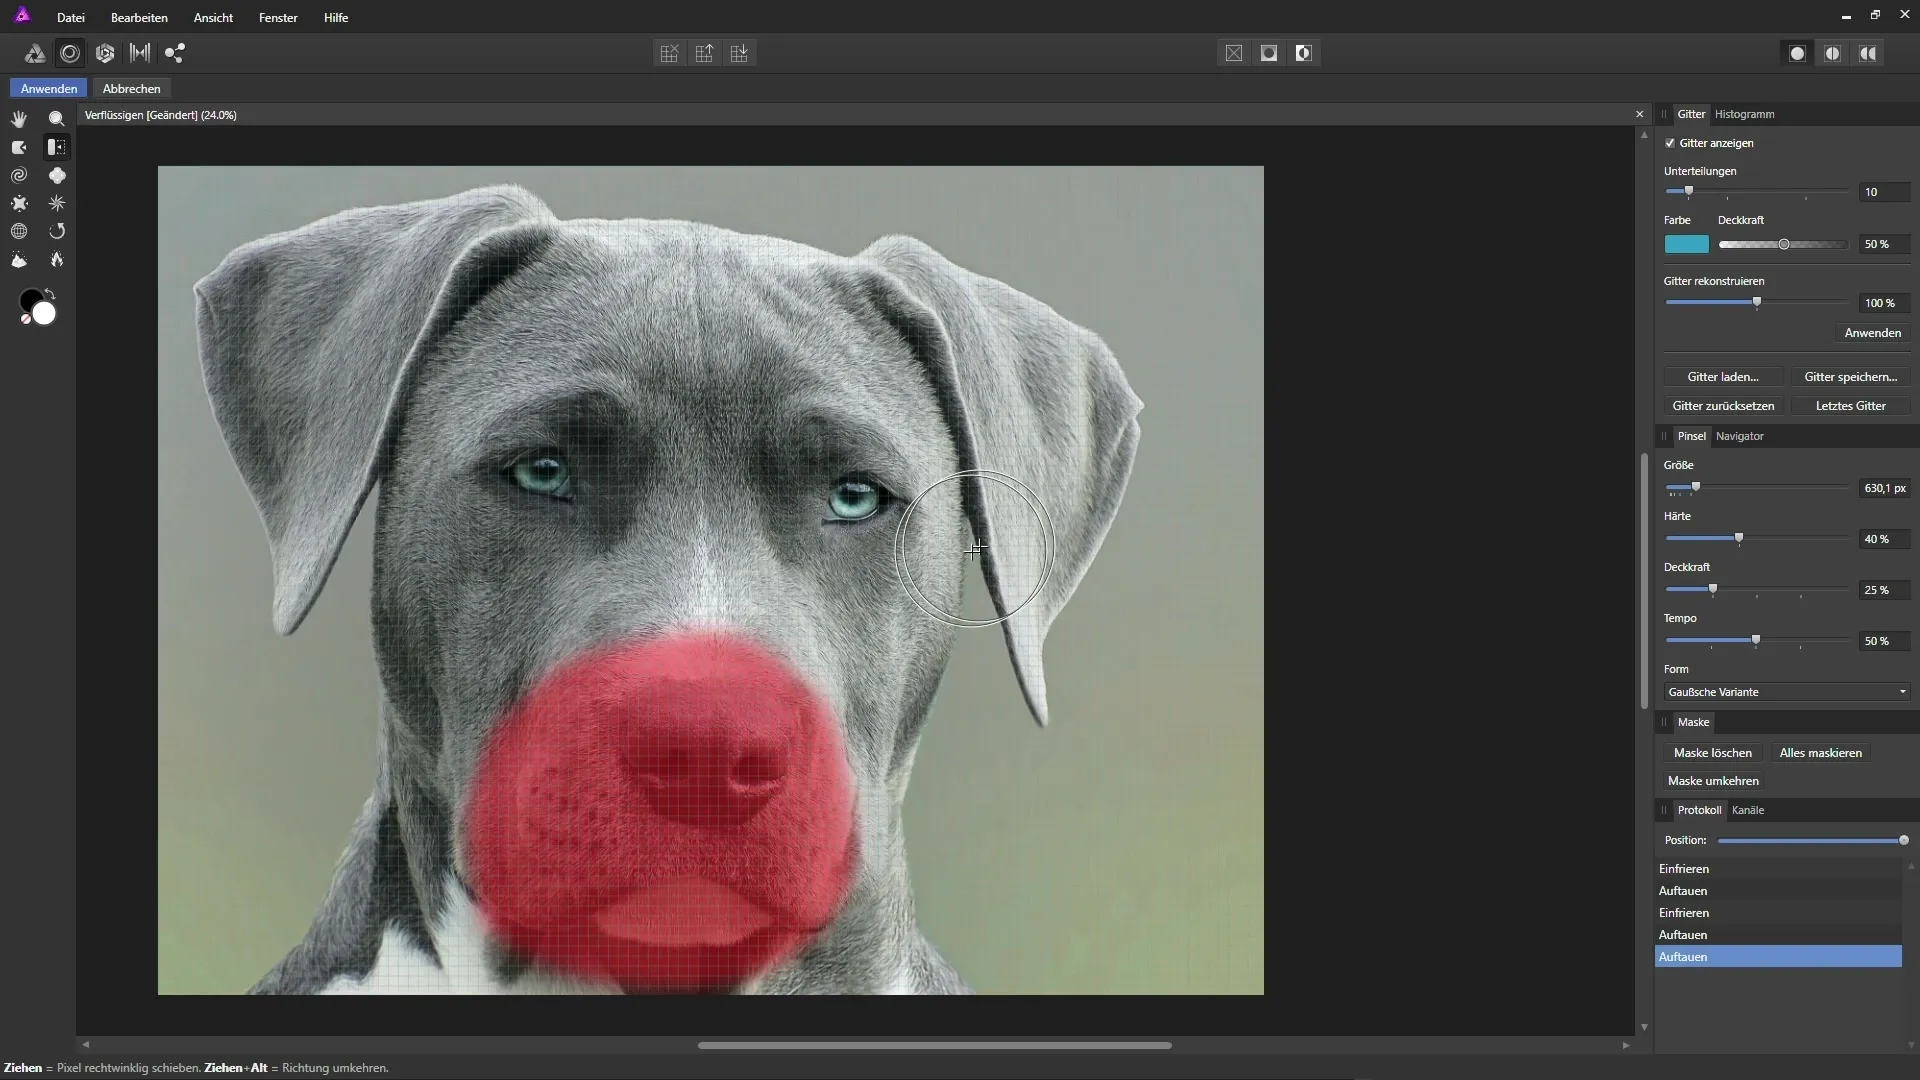
To protect specific areas of the image from deformations, select the Freeze Tool and paint over the desired areas. To remove the protective effects, switch to the Thaw Tool and paint over the frozen areas.
Step 6: Adjust Brush Size and Hardness
The brush size is crucial. Smaller brushes allow for precise adjustments, while larger brushes edit large areas more quickly. You can also adjust the hardness of the brush to create softer transitions.
Step 7: Perform Deformations
Now you can begin to deform areas of your image. Select the “Push Left” tool and start moving the pixels in the desired direction. Be sure to move the mouse slowly to achieve the best results.
Step 8: Enlarge and Shrink
Switch between the different tools to make adjustments. If you want to enlarge the dog's eyes, use the Concave Distort tool and work carefully.
Step 9: Save Results
When you are satisfied with your adjustments, don't forget to save the deformation grid. Click on “Save Grid,” give it a name, and save the grid for future adjustments.
Step 10: Apply Changes
Once you have made your final adjustments and are ready to apply the changes, click “Apply.” Note that this step is destructive, meaning you cannot undo the adjustments once they are applied.
Summary – Affinity Photo – Guide to Using the Liquify Persona: Liquifying Images
With the Liquify Persona in Affinity Photo, you can creatively adjust and deform images. This guide has introduced you to the basic steps and tools you need to achieve impressive results. Remember to always work non-destructively and save your results in a timely manner.
FAQ
How do I create a copy of the background layer?Right-click on the background layer and select “Create Copy.”
What is the deformation grid?It is a grid that helps you control the deformations in the Liquify Persona.
Can I undo the changes after clicking “Apply”?No, once you click “Apply,” the changes are permanent.
How can I adjust the brush size?Use the sliders on the right side of the Liquify Persona to change the brush size.
What should I consider when enlarging an animal's eyes?Make sure to work symmetrically and keep the changes looking natural.


