In AffinityPhoto, powerful tools are available to efficiently create your graphic works. Especially noteworthy are the possibilities of working with gridsand precisely aligning objects. These functions not only help you create visual order, but they also allow for precise adjustments while you work on your projects. In this guide, I will show you how to display and adjust grids in Affinity Photo and how to effectively use the alignment options.
Key Insights
- The grid helps with precise positioning of objects.
- Magnetic alignment simplifies the arrangement of objects.
- You can adjust grids to meet your specific needs.
- Pixel-perfect alignment allows for precise work.
Step-by-Step Guide
To effectively use the grid and alignment options in Affinity Photo, follow these steps:
Step 1: Create a Sample Project
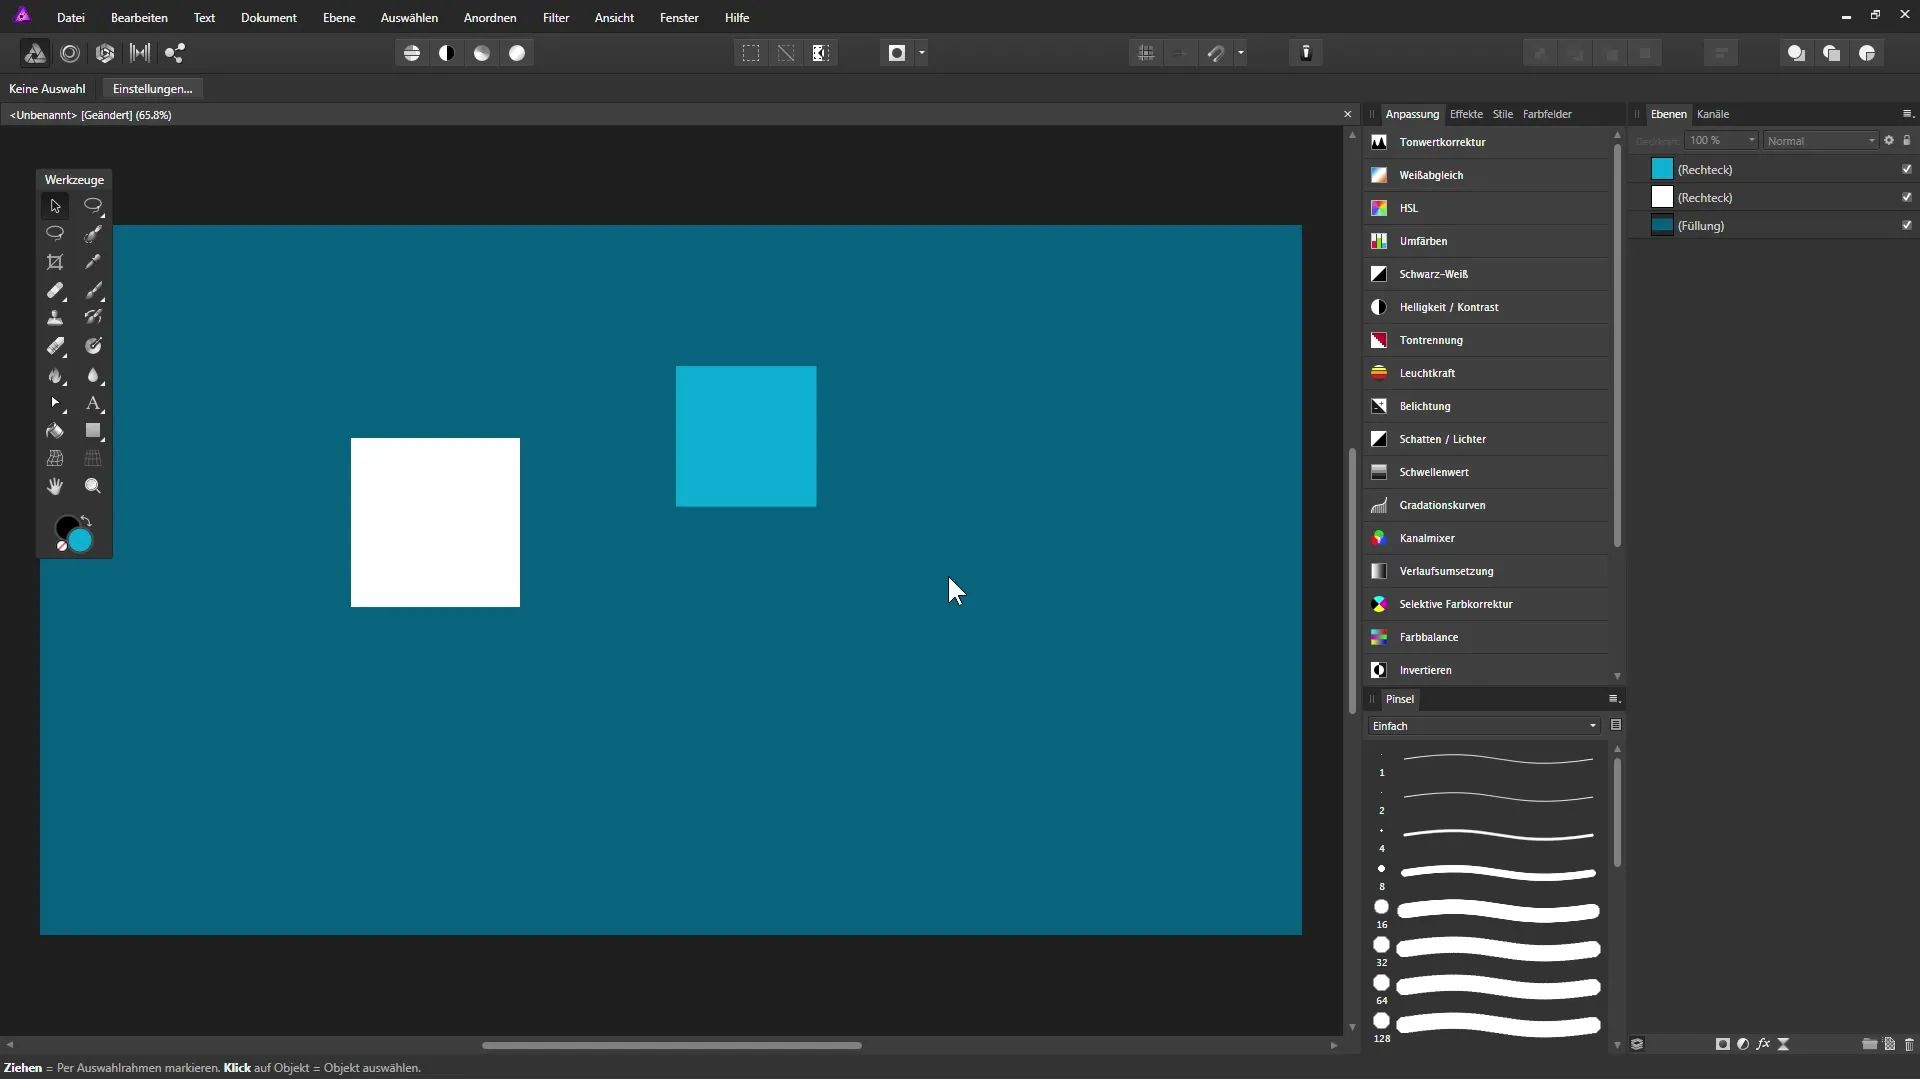
Start by creating a new document in Affinity Photo and placing two squares on a layer, for example. This is your starting point to test the alignment tools.
Step 2: Move Objects Freely
Use the Move Tool to move the squares to your desired position. In the initial phase, you can move the objects freely without activating any alignment options.
Step 3: Activate Magnetic Alignment
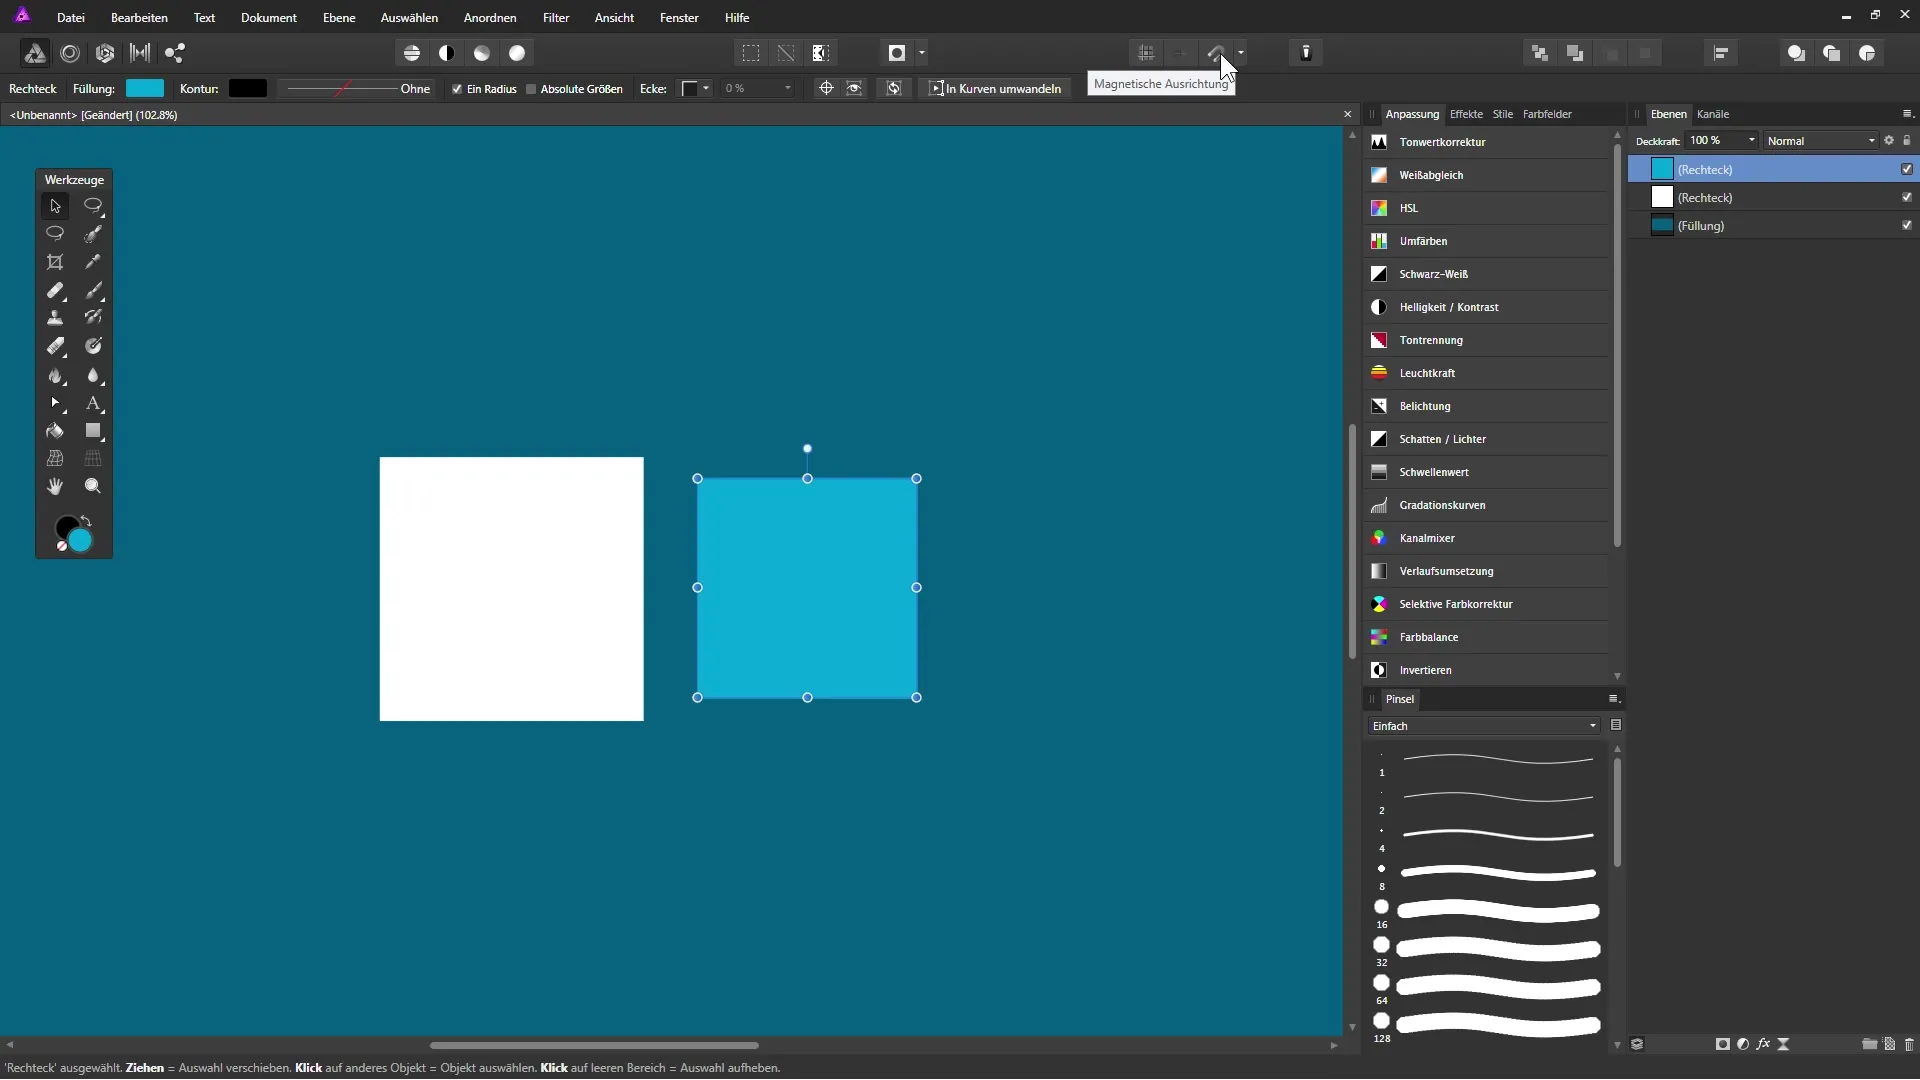
Activate magnetic alignment from the toolbar or through the “View” menu. This function allows objects to snap to certain points automatically when moving them.
Step 4: Align Objects
Move one of the squares with magnetic alignment enabled. You will see it aligning with the line of the other square. This red line indicates that the two objects are aligned.
Step 5: Align to Edges
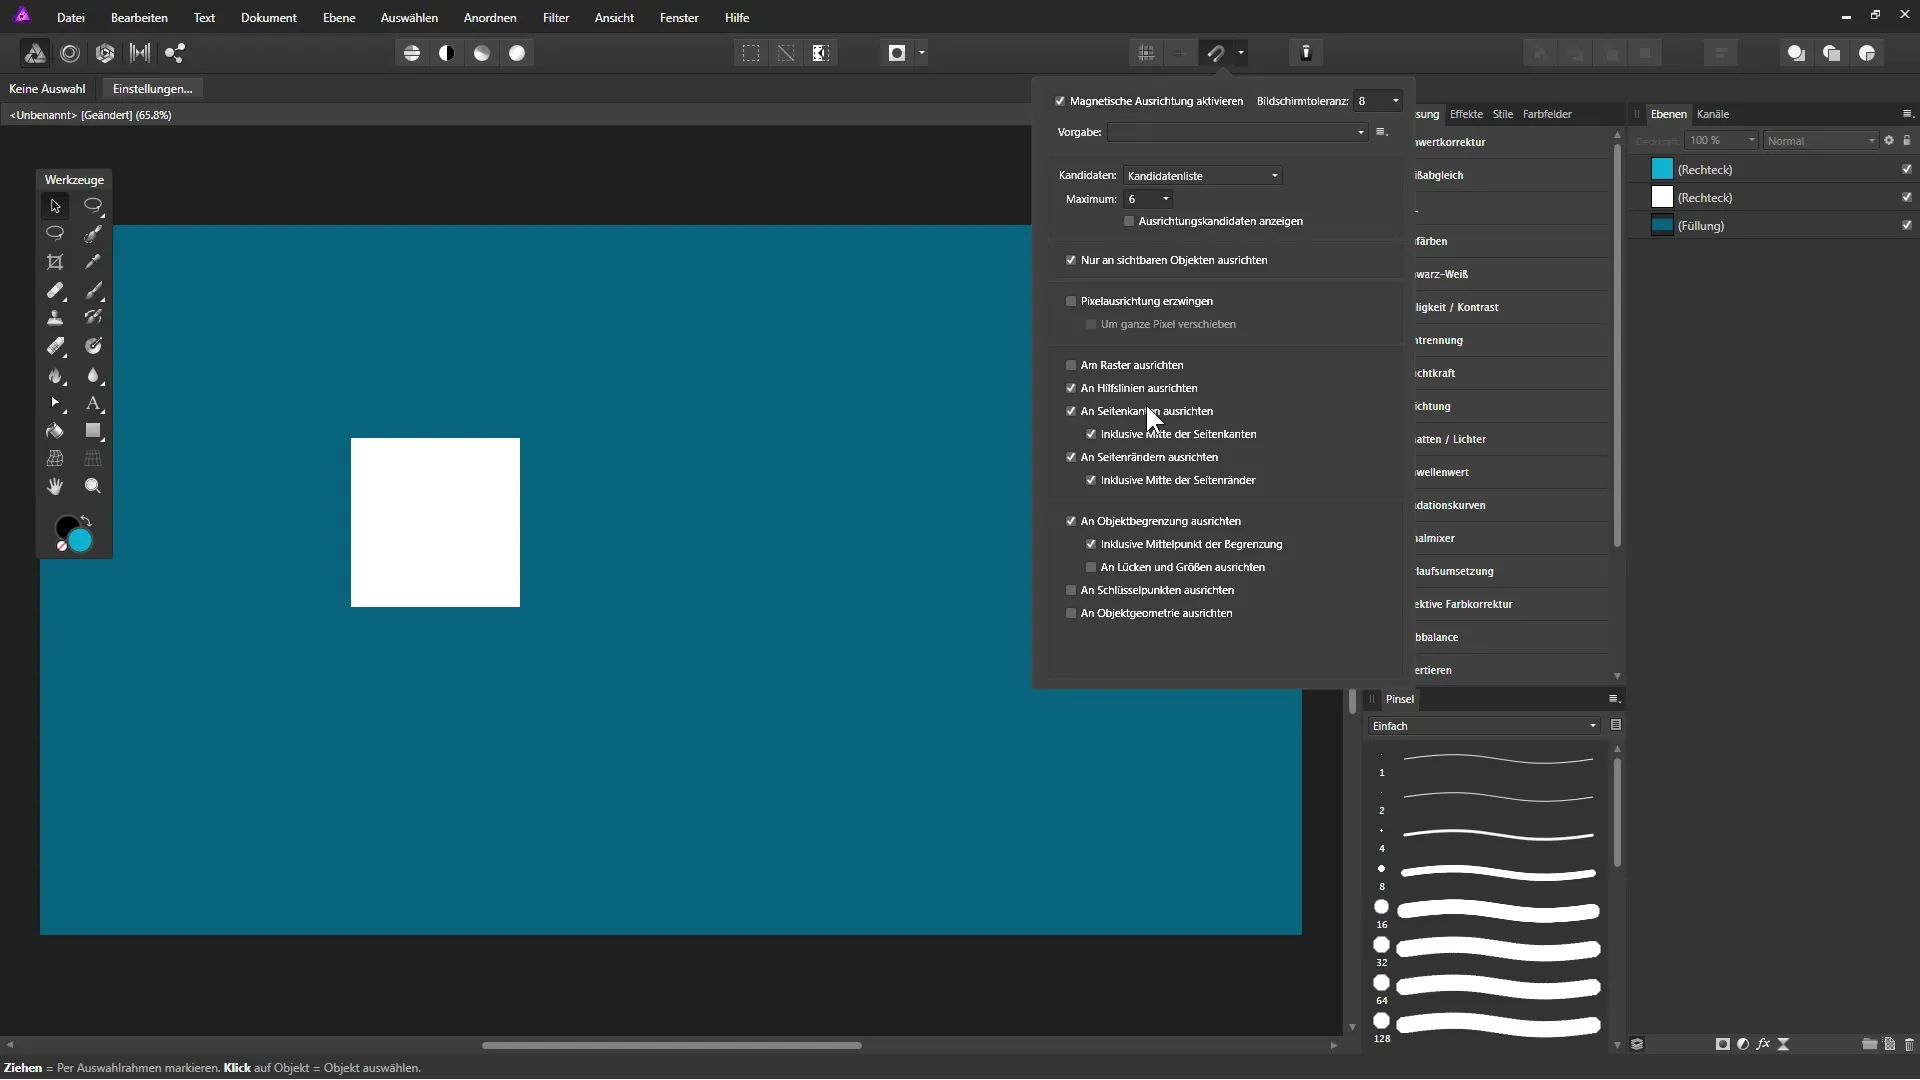
You can also enable the option “Align to Side Edges.” This allows you to align objects precisely to the side edges of other objects. When magnetic alignment is active, your square will now snap to the edge of the other square.
Step 6: Show Grid
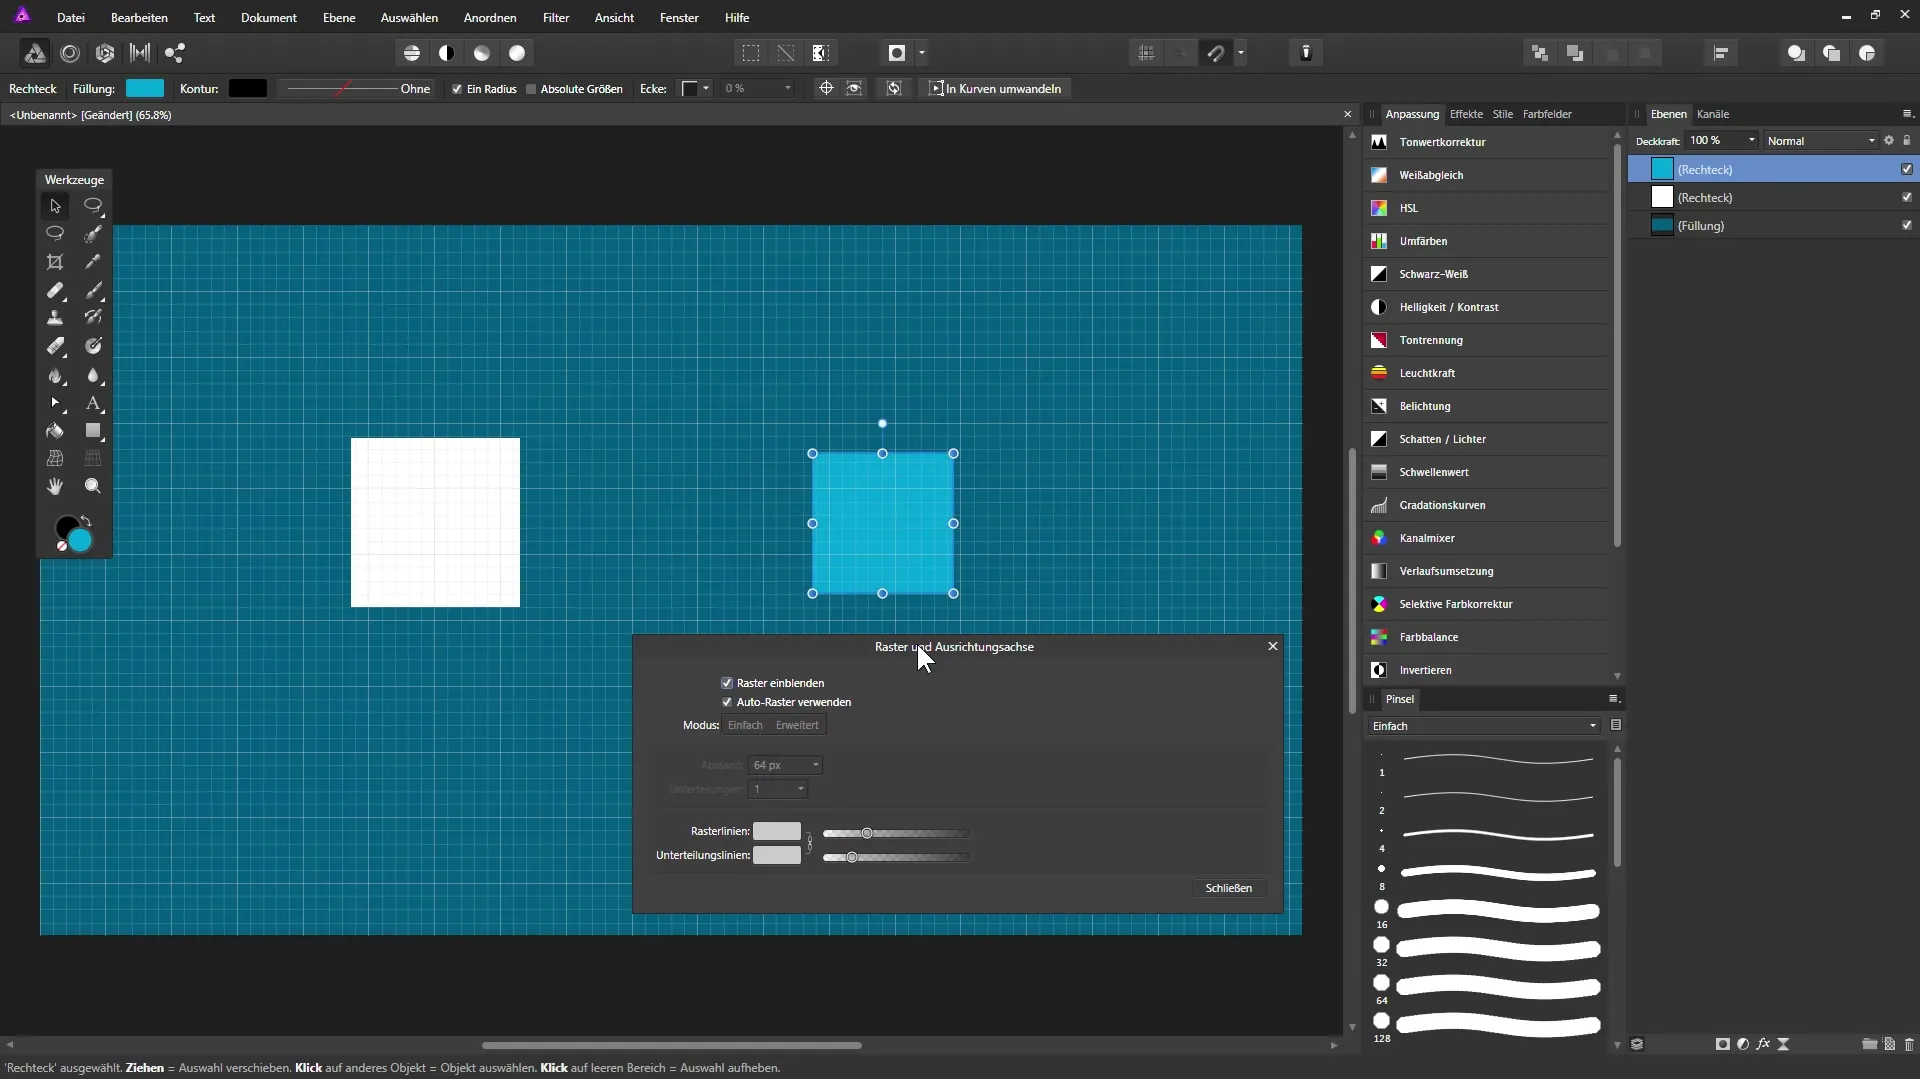
To increase accuracy, you can show a grid. Go to “View” and select “Show Grid.” Now you will see a grid structure that helps you position your objects precisely.
Step 7: Configure Grid
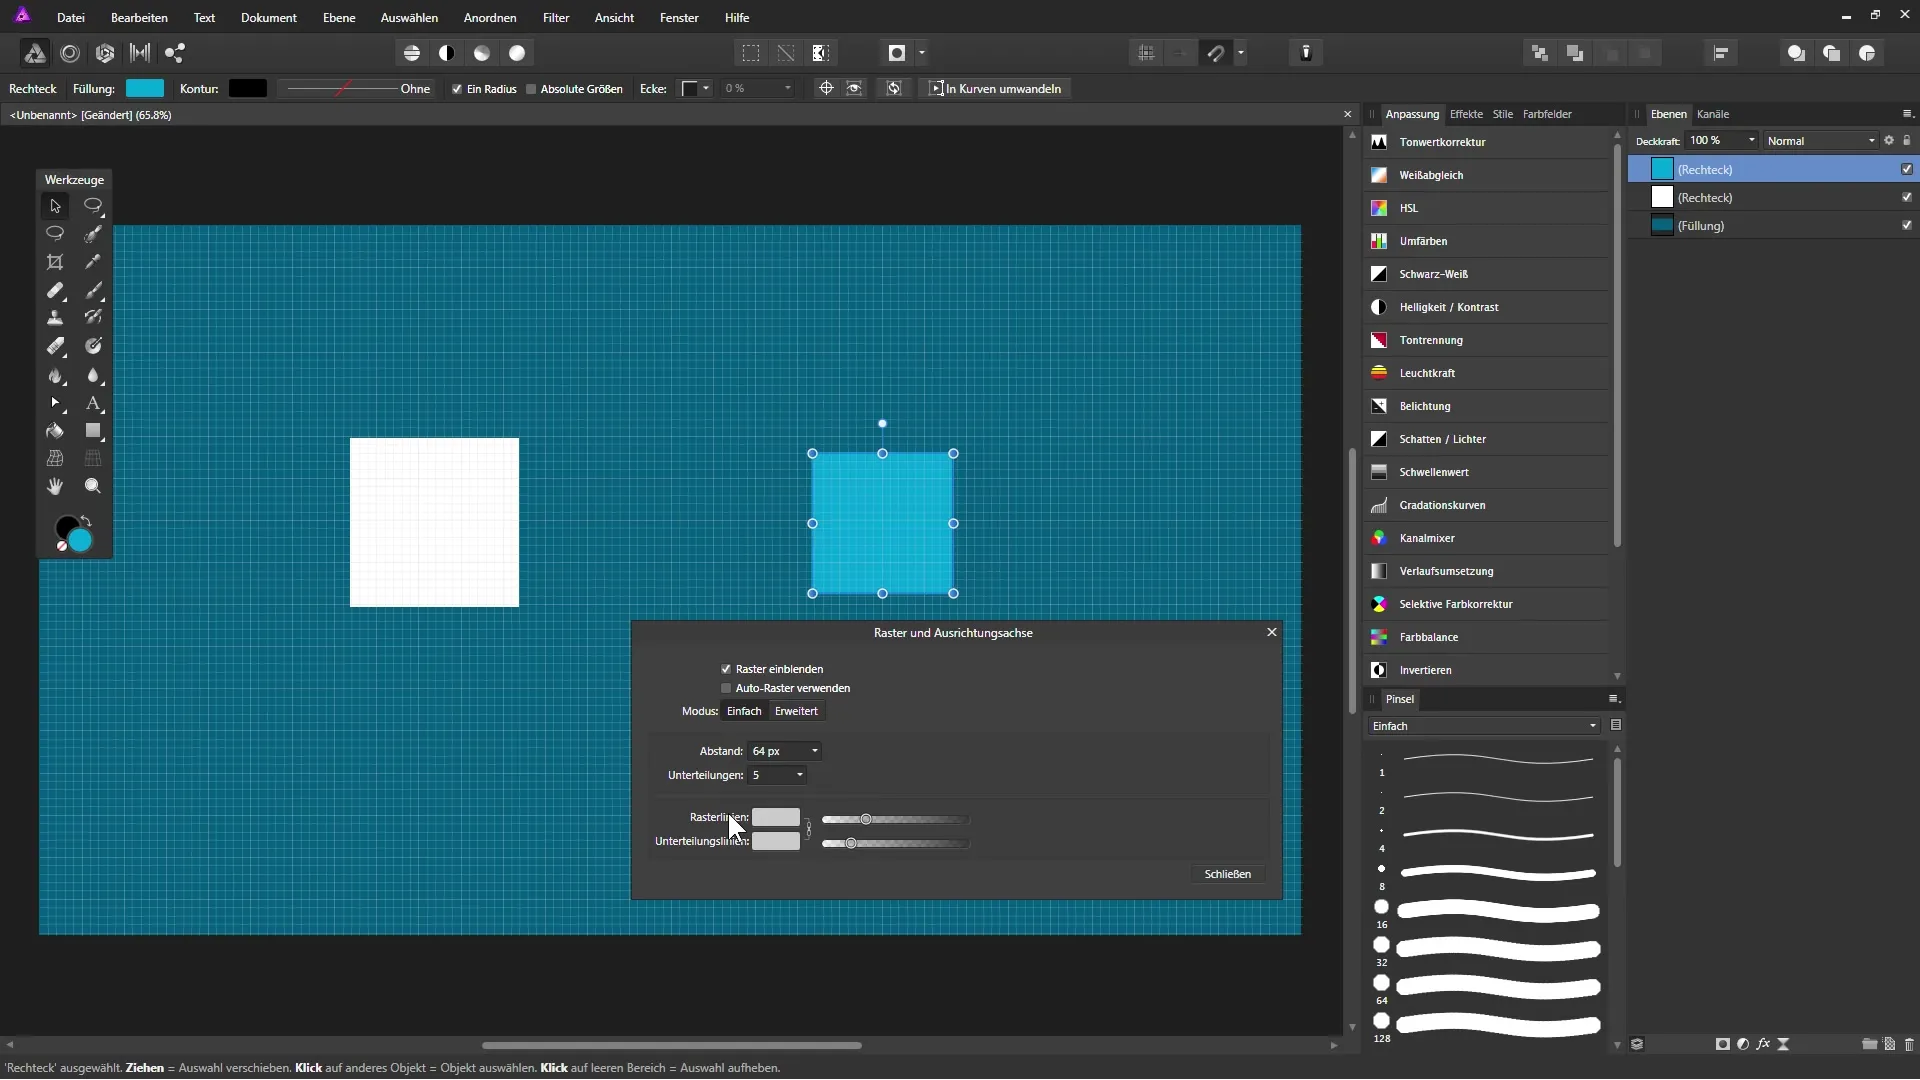
To adjust the grid to your needs, go back to “View” and select “Configure Grid and Axes.” Here you can adjust the spacing between the grid lines and many other properties.
Step 8: Use Pixel Grid
If you want to customize the grid functions, you can set a pixel grid. This gives you the ability to define spacing on a pixel basis and work even more precisely. Disable the auto grid and set your desired spacing and subdivisions.
Step 9: Adjust Grid Lines
You can also adjust the visibility of the grid lines. This makes it easier to distinguish between large and small grid sections. Position the colors so that the lines are clearly recognizable.
Step 10: Align Objects Pixel-Perfect
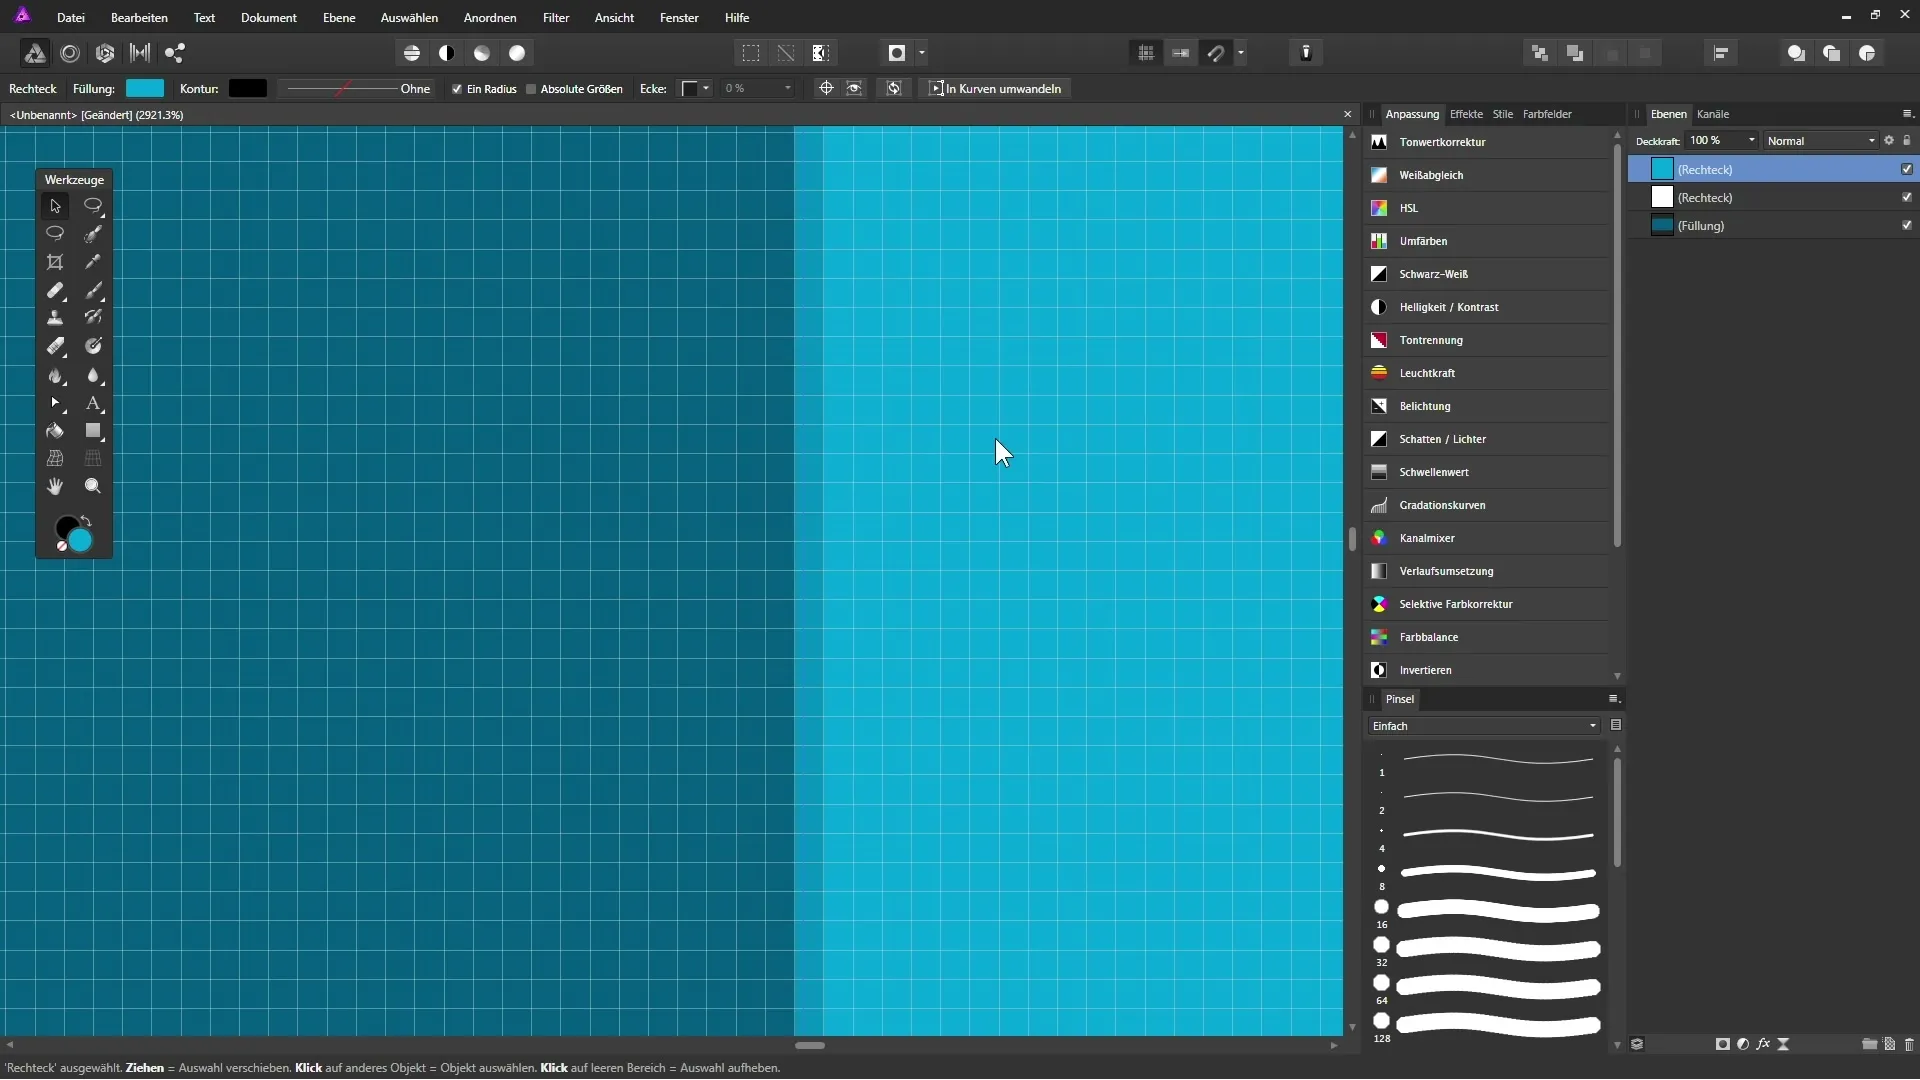
If you want your objects to be positioned pixel-perfectly, enable the “Force Pixel Alignment” function. This ensures that your objects are aligned exactly to the grid pixels.
Step 11: Working with Grid Functions
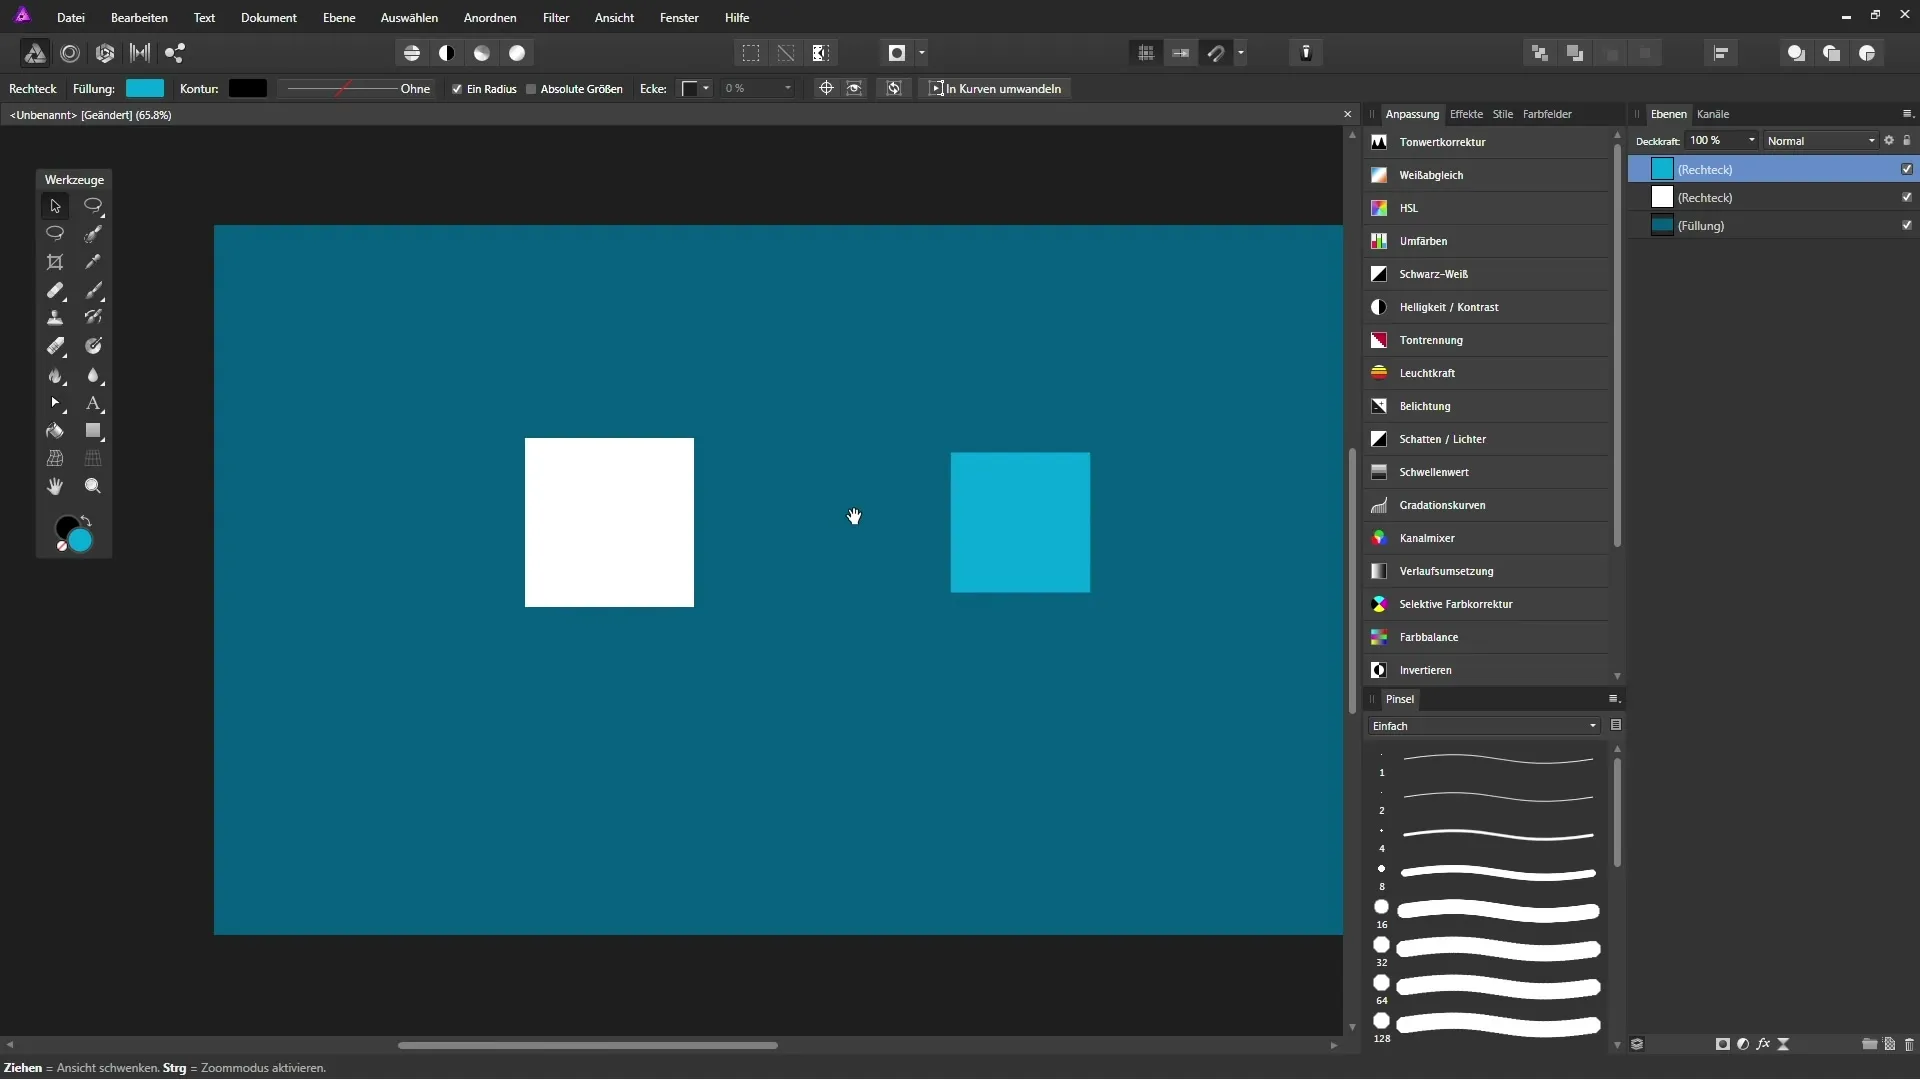
Use the functions mentioned above to work precisely with your graphic content. Objects can be positioned more easily and accurately, which increases your efficiency when working in Affinity Photo.
Summary - Efficient Use of Grids and Alignment Options in Affinity Photo
With the steps described in this guide, you can optimally utilize the grid and alignment tools in Affinity Photo. These functions enable not only faster but also more accurate editing of your projects. Experiment with the options to see what works best for your workflow.
FAQ
What can I do if the grid is not showing?Check if you have activated the “Show Grid” view.
How can I adjust the spacing in the grid?Go to “View” and select “Configure Grid and Axes” to adjust the spacing.
Can I change the color of the grid lines?Yes, you can adjust the color and style of the grid lines in the grid settings.
What is magnetic alignment?Magnetic alignment helps you automatically align objects to other objects by snapping at certain points.


