Affinity Photo is a powerful image editing tool, and the selection tools are essential for making precise adjustments to your images. In this tutorial, I will introduce you to the various selection tools and explain how you can use them effectively to create selections.
Main Insights
- Affinity Photo offers various selection tools such as the rectangular selection frame, the freehand tool, the selection brush, and the magic wand.
- You can easily apply and edit selections by using the mouse and certain keyboard shortcuts.
- It is possible to combine, subtract, or invert selections to achieve more precise results.
Step-by-Step Guide
1. Overview of the Selection Tools
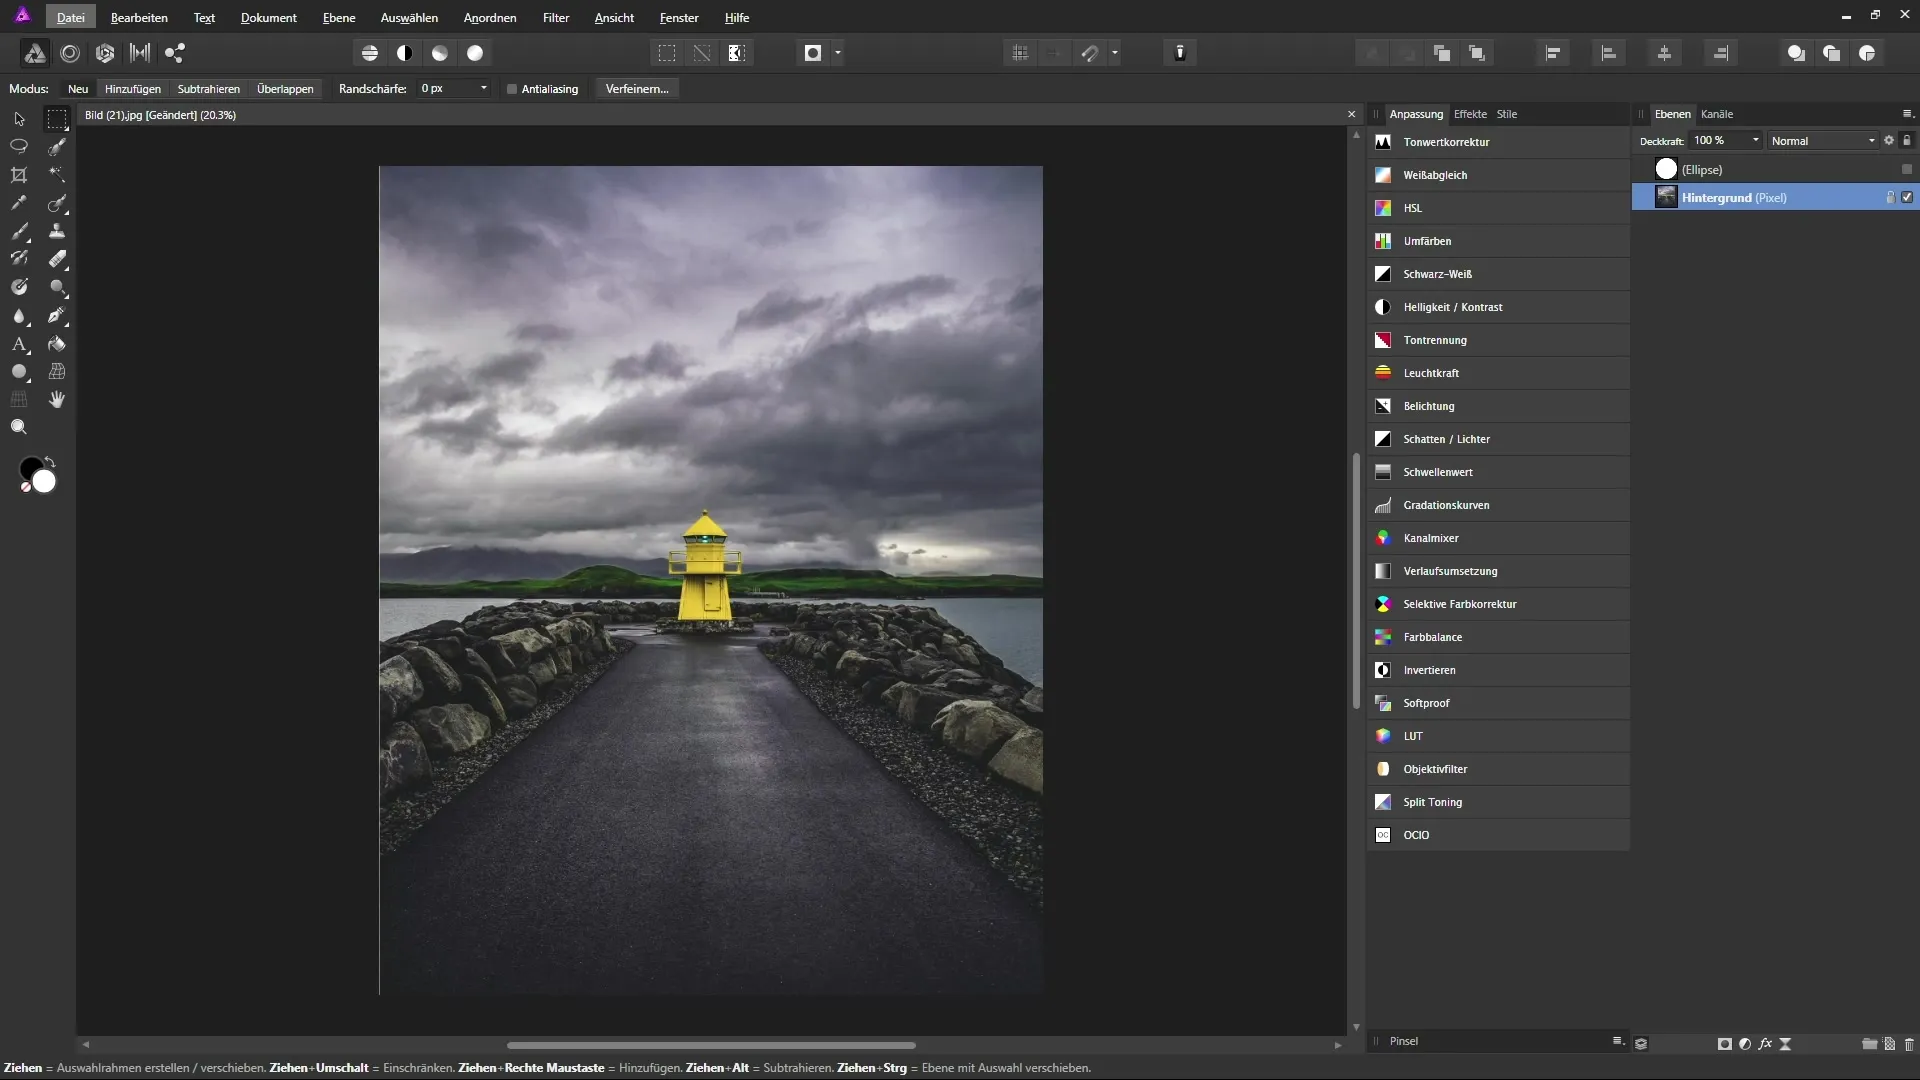
The first thing you should do is look at the selection tools in the toolbar. The selection tools are located behind a single icon in the toolbar. When you click on the icon and hold down the mouse button, various options will appear, including:
- Rectangular selection frame
- Elliptical selection frame
- Freehand selection tool (lasso)

2. Create a Rectangular Selection
To create a rectangular or square selection, select the rectangular selection frame tool. Click into the image, hold down the left mouse button, and drag to create the frame. If you hold the Shift key while doing this, the selection will be square.
3. Move the Selection
If you want to change the position of the selection, click and drag within the selection while holding down the left mouse button. The crosshair in the center of the selection indicates your active selection.
4. Invert the Selection
To invert the selection, you can either click on the "Invert Selection" icon in the upper toolbar or use the keyboard shortcut “Ctrl + Shift + I”. This will activate all areas outside the original selection.
5. Deselect
If you want to completely deselect a selection, you can do so using the keyboard shortcut “Ctrl + D” or by clicking on "Deselect" in the toolbar.
6. Add More Areas to the Selection
To add more areas to the selection, hold down the right mouse button until a plus symbol appears, and then drag with the left mouse button to create a frame. This will add the new area to your existing selection.
7. Subtract Areas
Do you want to reduce a selection? Hold down the Alt key while dragging over an area with the left mouse button. You will then see a minus symbol appear, indicating that this area will be subtracted from the selection.
8. Change Selection Mode
The mode in the context bar is set to "New" by default. Switch to the "Add" mode to keep the current selection when creating a new selection. Alternatively, you can use the "Subtract" mode to directly subtract areas.
9. Use the Freehand Selection Tool
With the freehand selection tool, you can draw irregular shapes. Hold down the left mouse button and drag to create an organized shape. You can refine this selection at any time if needed.
10. Use the Selection Brush
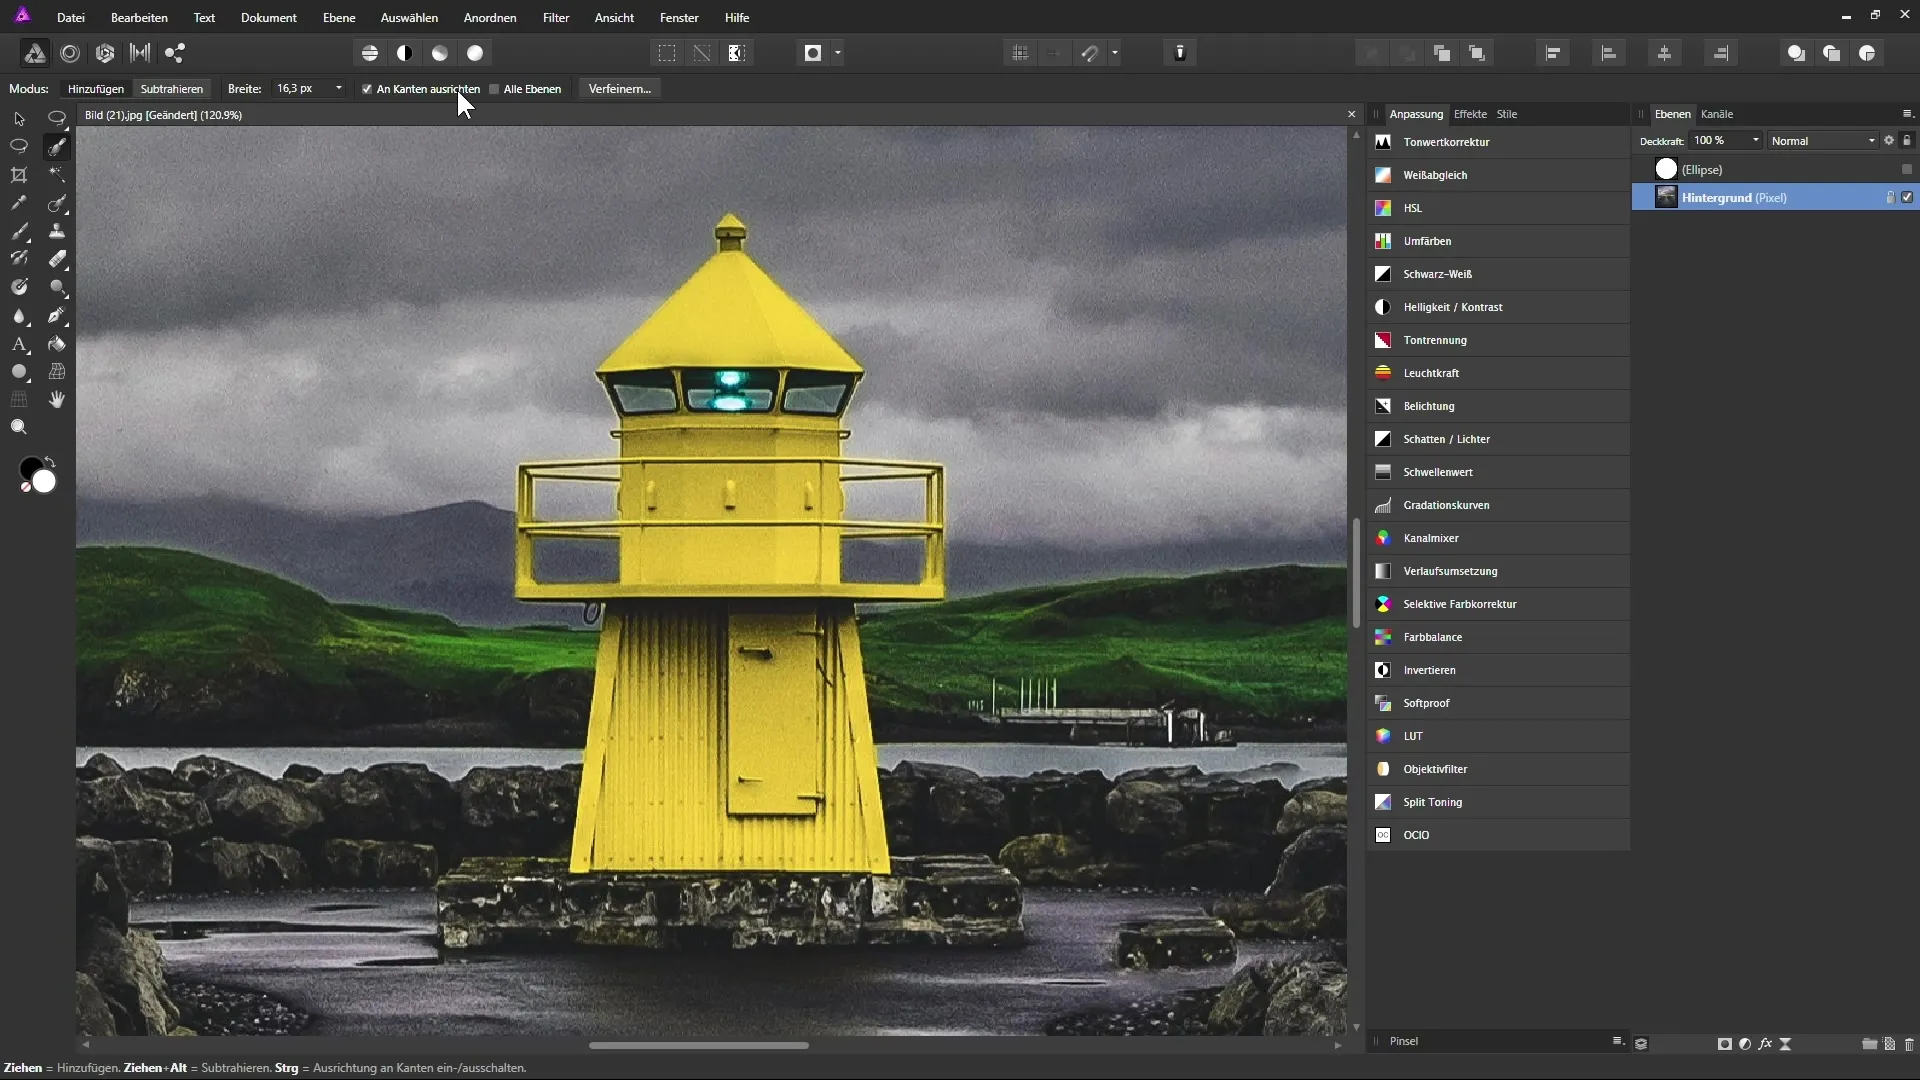
The selection brush works similarly to a paintbrush. You can adjust the width and select or subtract areas by holding down the Alt key and painting over the unwanted areas. Make sure that the "Snap to Edges" option is enabled to achieve a more precise selection.

11. Working with the Magic Wand
The magic wand tool allows you to select areas with similar colors. Click on the area you want to select. Be sure to check the tolerance in the upper bar as it determines how much variation in shades will be selected.
12. Maximize Efficiency
If you find that the selection does not meet your requirements, you can always reset the entire process with “Ctrl + D” and start over. The magic wand tool can be helpful in certain situations but may not be suitable for all scenarios.
Summary – Efficient Use of Selection Tools in Affinity Photo
With the selection tools in Affinity Photo, you can make precise adjustments to the image and selectively choose desired areas. You have now learned how to select various tools, create and edit selections, and efficiently use the functions of these tools.
Frequently Asked Questions
How do I create a selection with the rectangle tool?You click into the image, hold down the left mouse button, and drag a frame.
Can I select multiple areas at once?Yes, you can do this by holding down the right mouse button while selecting new areas.
How can I undo a selection?Use the keyboard shortcut “Ctrl + D” or click on “Deselect”.
What does the selection brush tool do?It allows you to create pixel-perfect selections by painting over an area.
When should I use the magic wand?The magic wand is useful for quick selections of large areas with similar colors, but it can be inaccurate in complex images.


