AffinityPhotois a powerful image editing program that impresses with its modular structure. The developer Serif has divided the program into various "Personas" to keep the user interface clear and to meet specific requirements. In this guide, you will get a comprehensive overview of the different personas and their usefulness for your image editing.
Key Insights
- Personas are specialized workspaces designed for different functions and workflows.
- Each persona offers tools and panels that are optimally tailored to the specific image editing task.
- Switching between the personas allows for effective and quick work on different projects.
Step-by-Step Guide
1. Getting Started with the Photo Persona
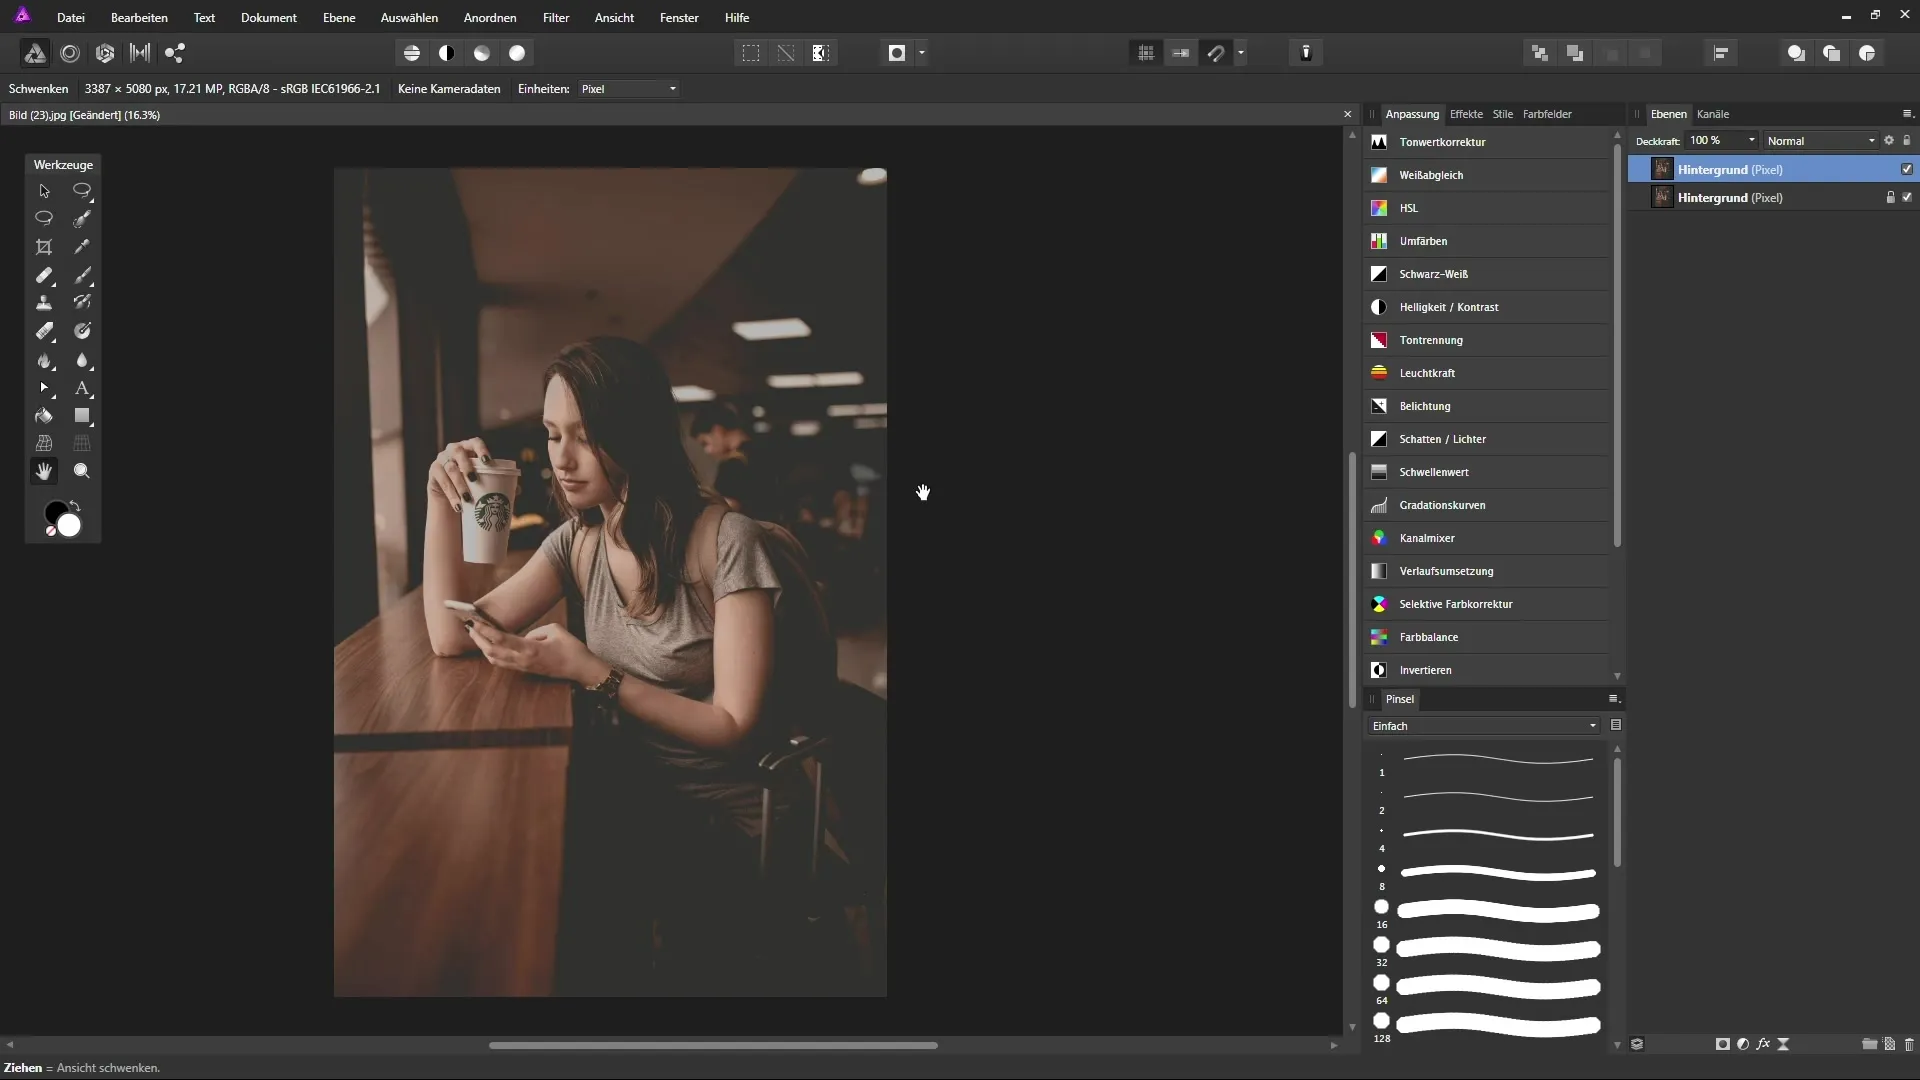
The standard Photo Persona is the first point of contact for working with Affinity Photo. Here, all the basic tools and panels are available to edit images efficiently.
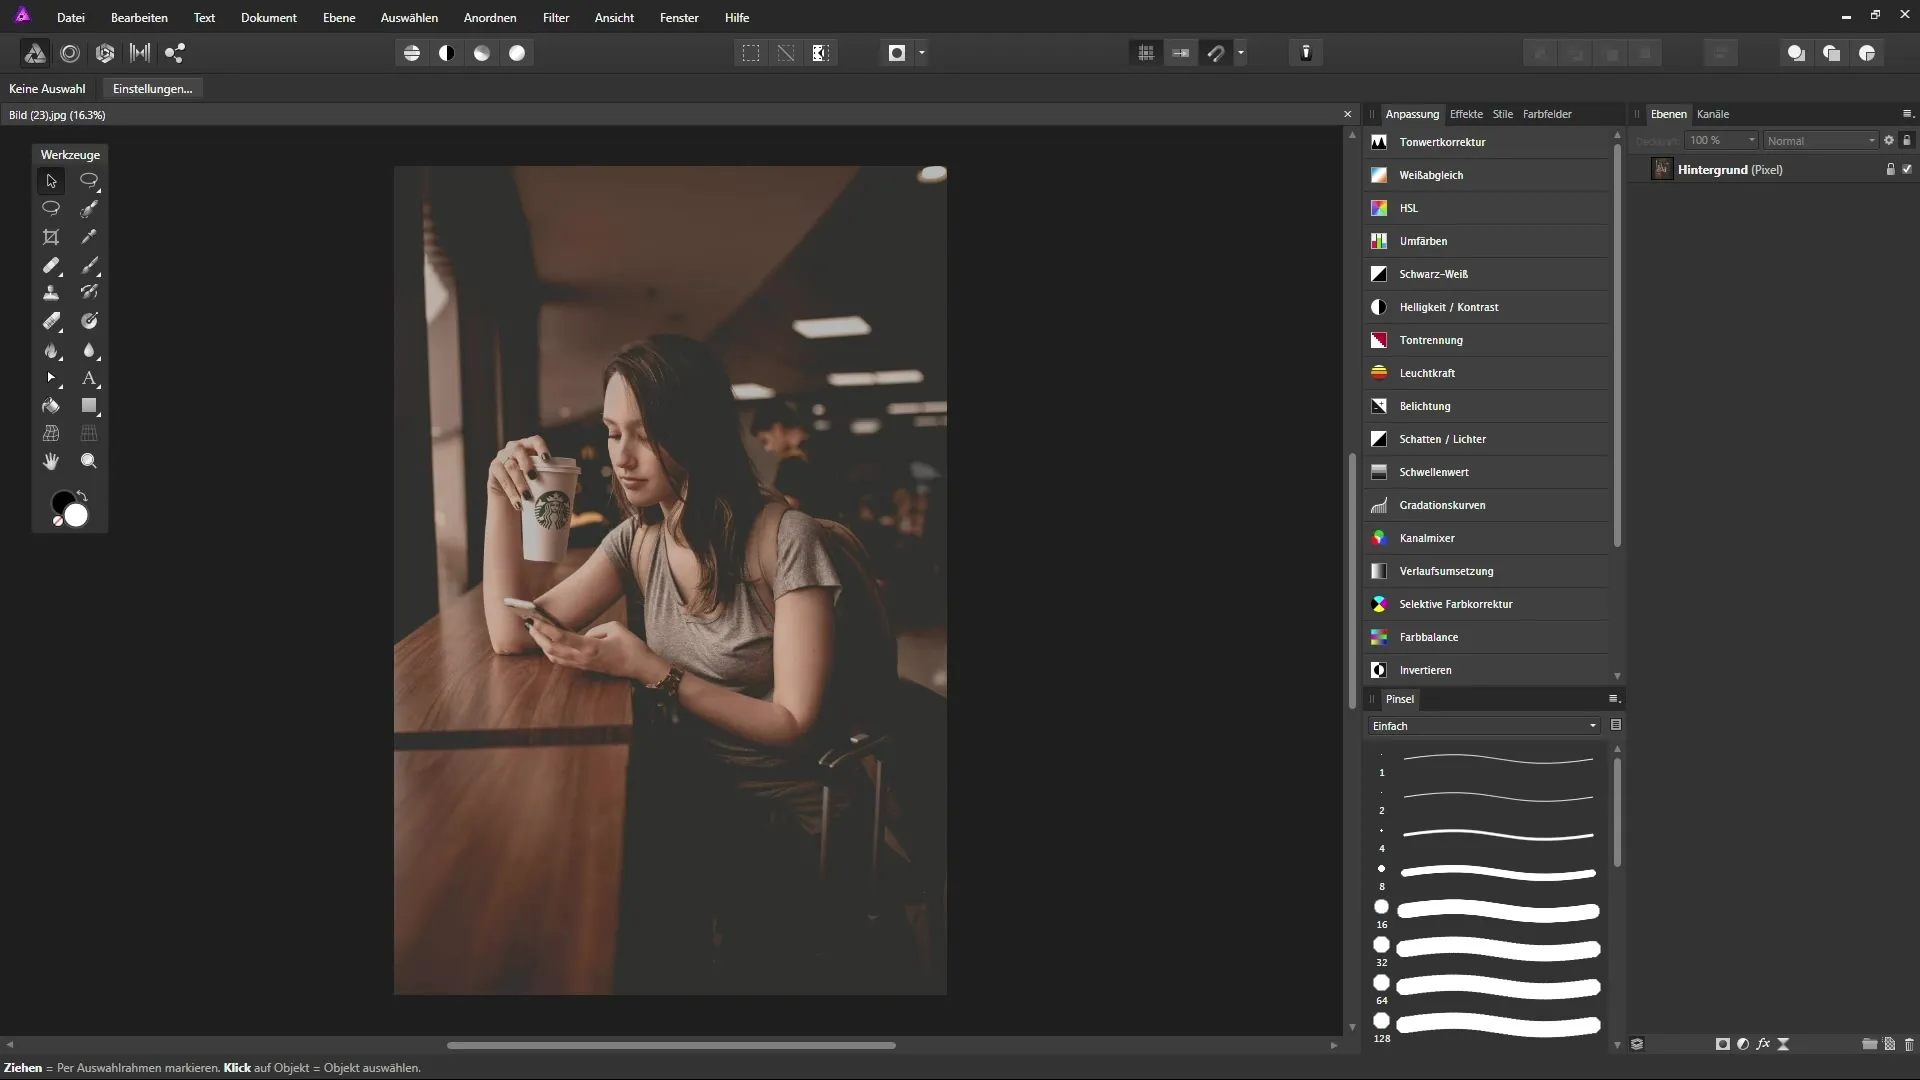
To access the Photo Persona, open an image you want to edit. You will be greeted with a clear user interface that gives you access to the essential functions for image editing.
2. Working with the Liquify Persona
If you are doing beauty retouching or portrait editing, the Liquify Persona could be of great benefit to you. This persona is specifically designed to make changes to the image structure.
To switch to the Liquify Persona, click the corresponding icon in the top toolbar. You will notice that the entire workspace changes and tools become available for liquefying or altering the image. Here, you can adjust the size and opacity of your brush and directly intervene in the image structure.
3. Liquefying and Adjusting
Take your time to experiment with the tools in the Liquify Persona. Select the "Forward Push" tool and pull on various areas of your image to make changes. Using a grid, you can work precisely and see the results immediately.
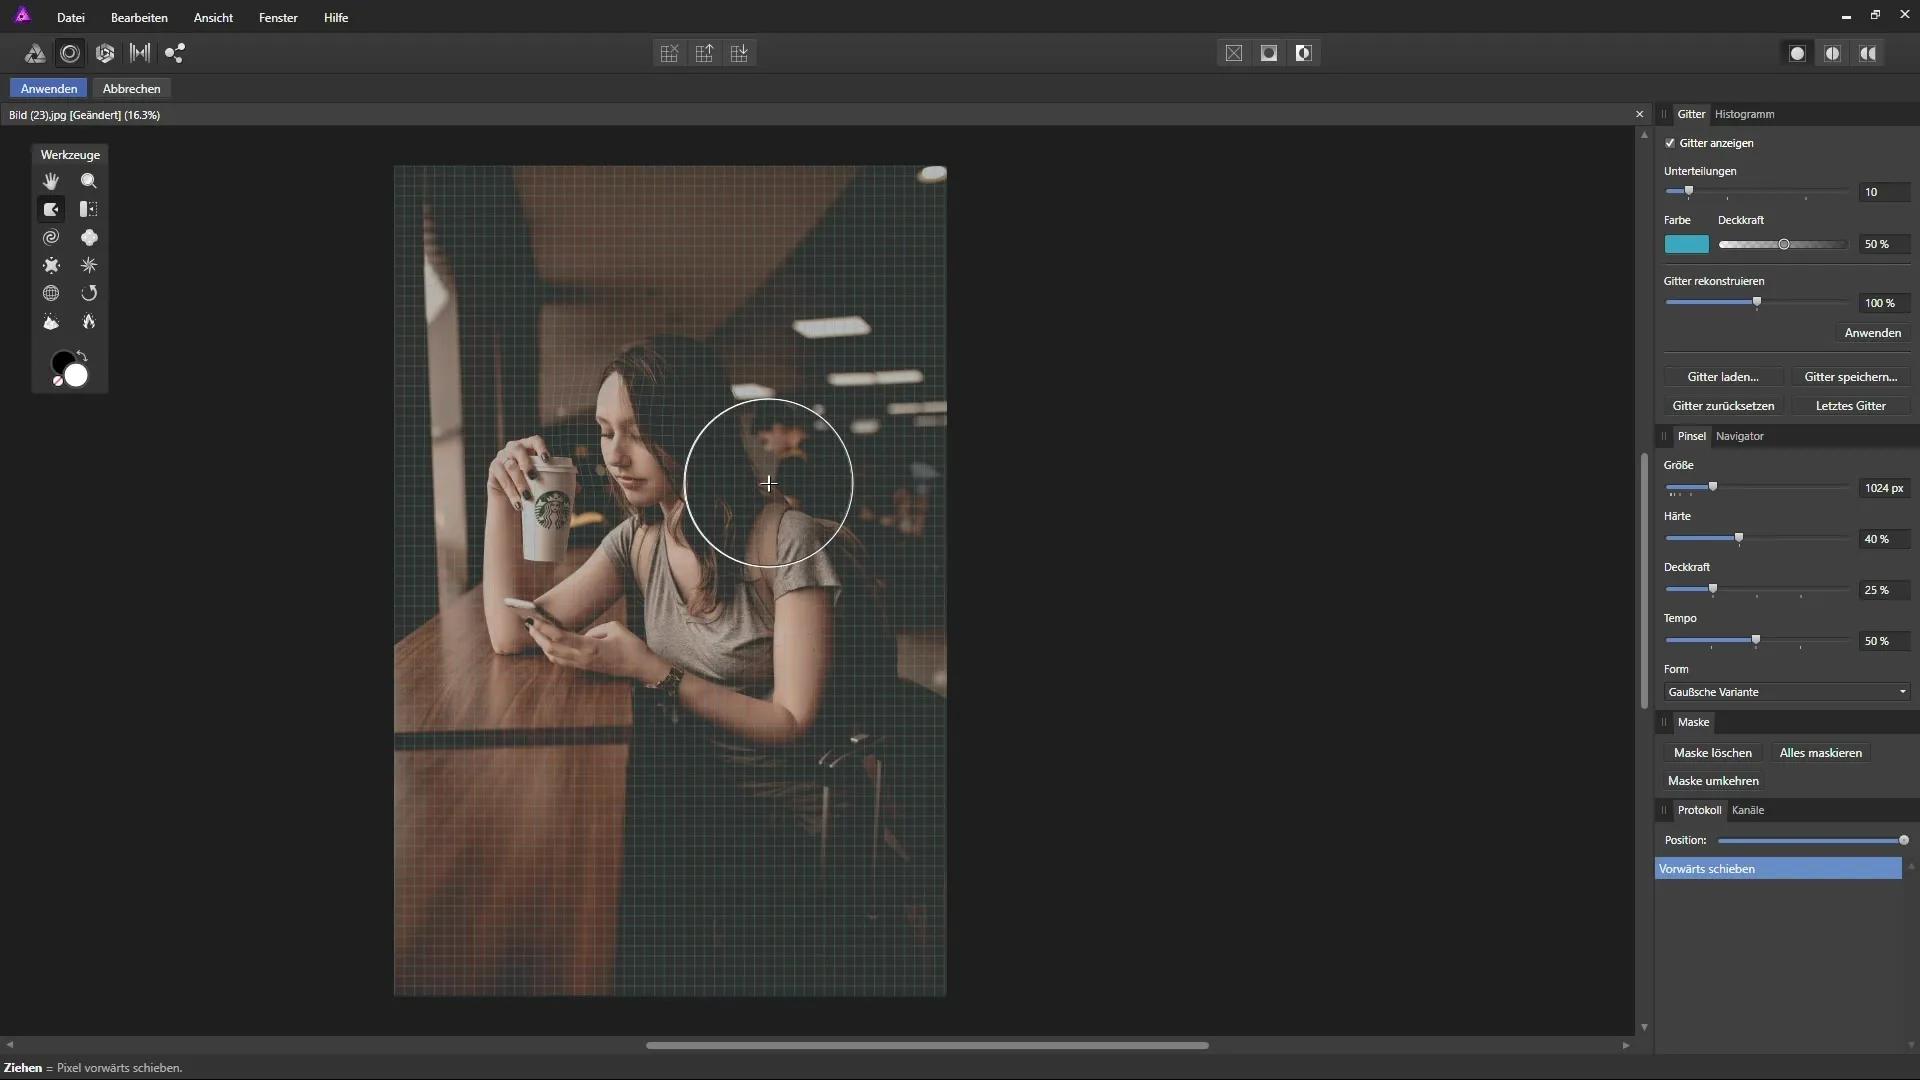
When you are satisfied with your changes, choose the option to apply the changes. Make sure you always work on a copy of the layer so that you can restore the original image at any time.
4. RAW Editing with the Develop Persona
If you are working with RAW images, switch to the Develop Persona. Here, you will find a RAW converter that helps you professionally edit digital negatives.
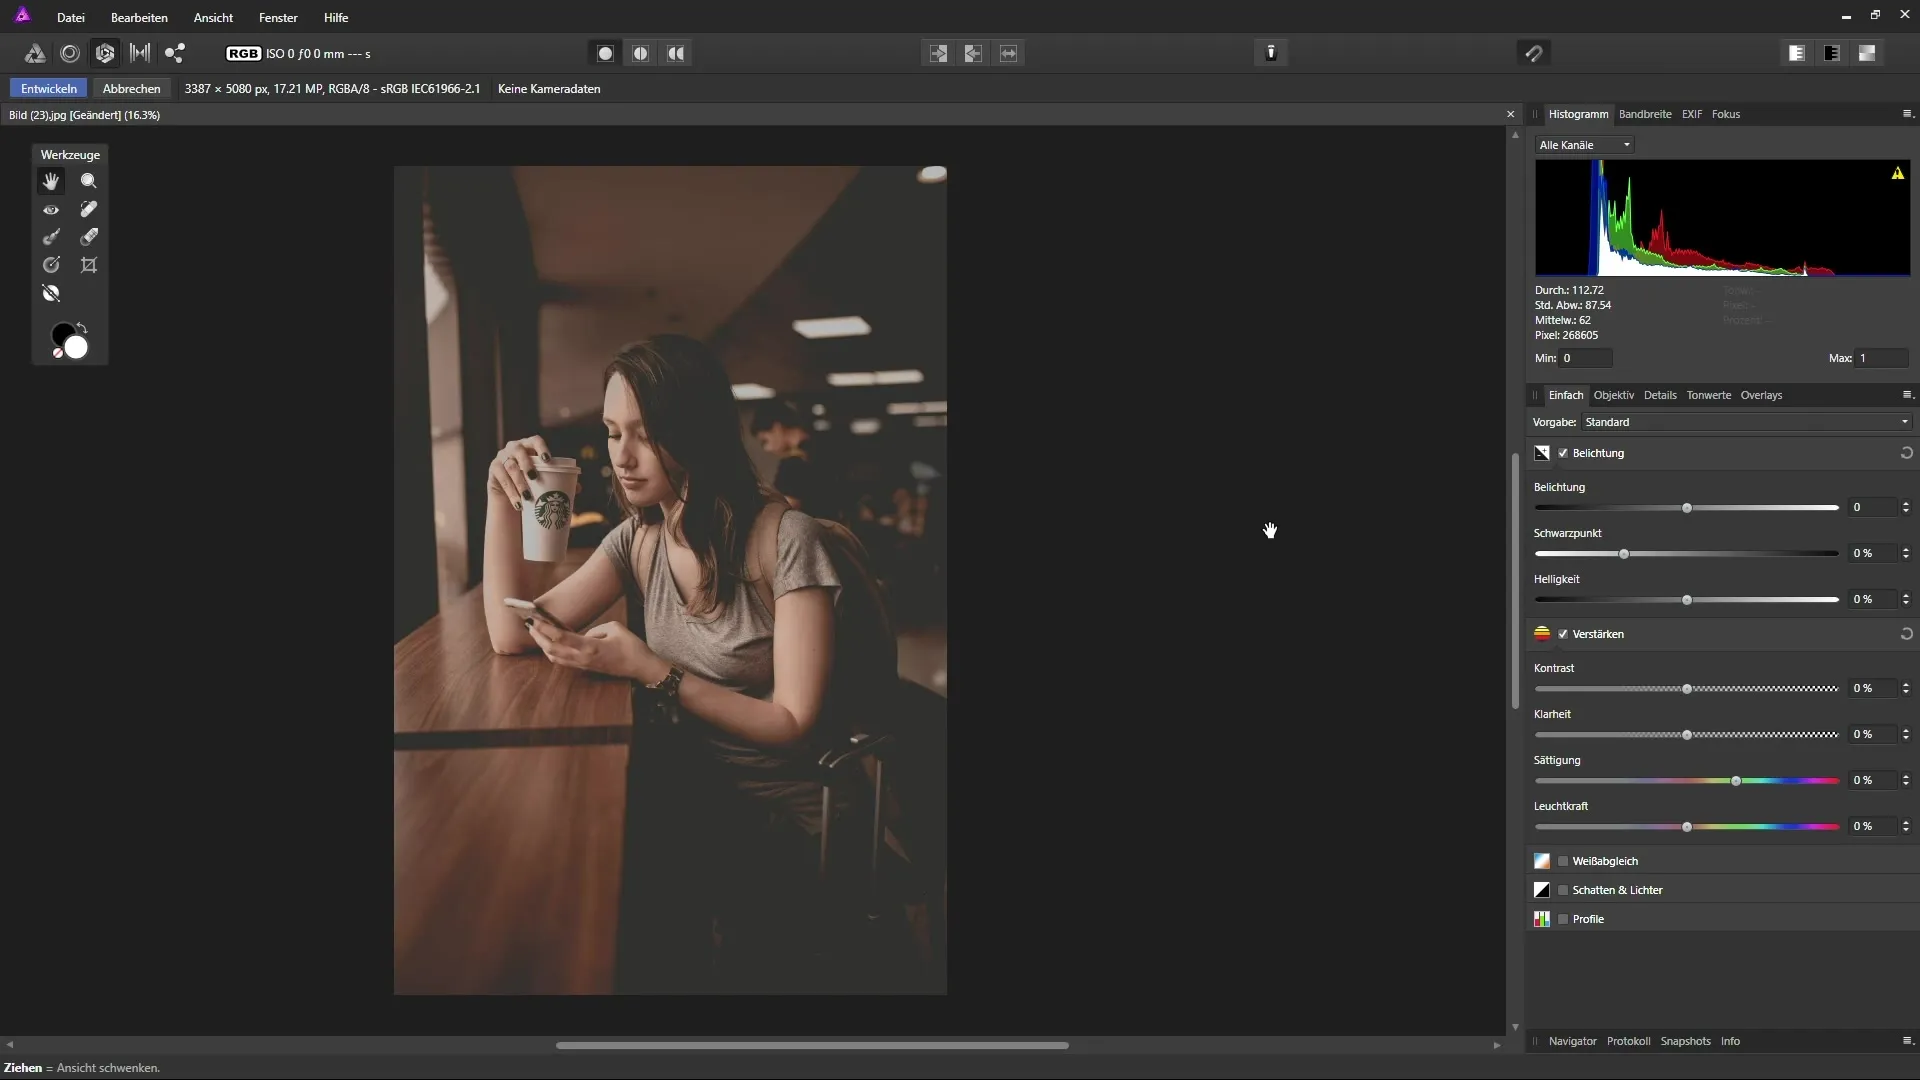
This persona includes tools for correcting lighting, contrast, and performing lens corrections. You can make specific adjustments that significantly improve image quality.
5. Using the Tonemapping Persona
To edit images in HDR style, the Tonemapping Persona is the right place. This feature allows you to simulate the impression of HDR images, even when working with a standard 8-bit image.
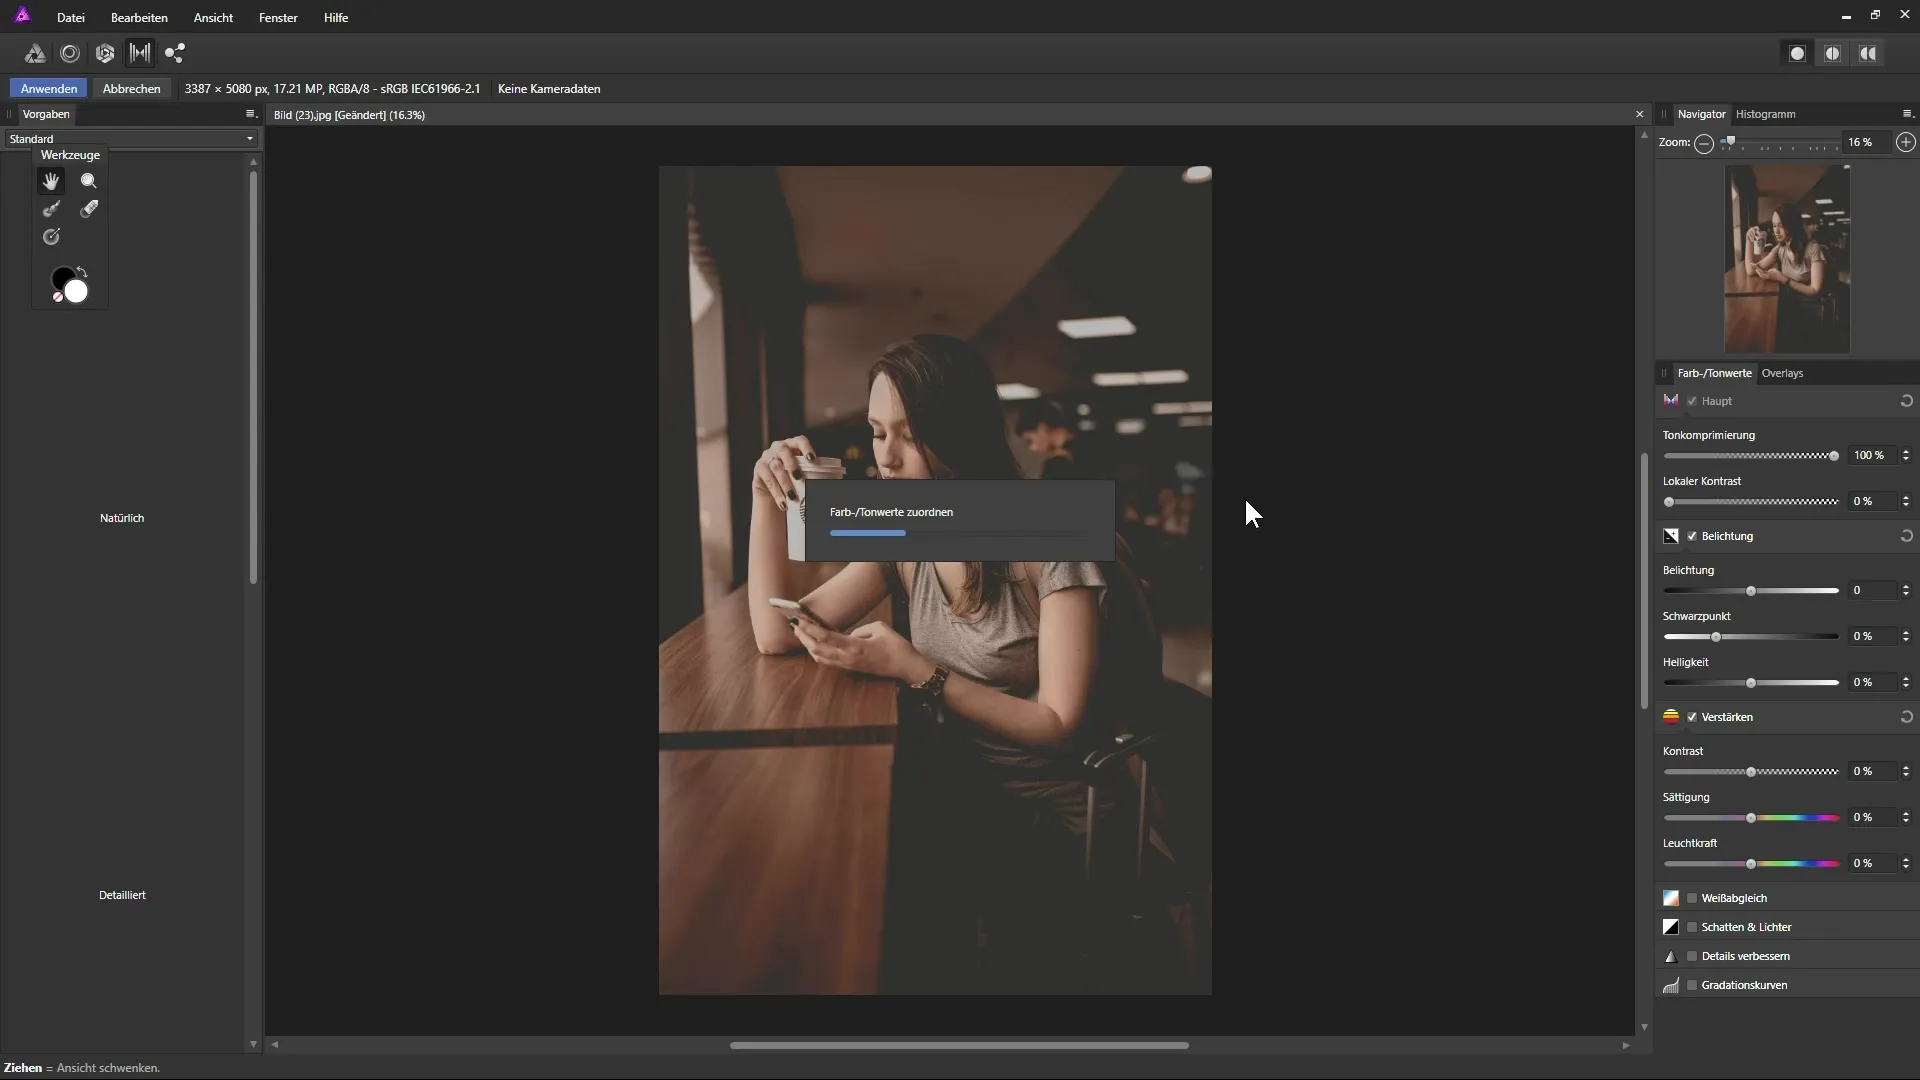
By using this persona, you can make various settings to optimize your images in HDR style. Experiment with different settings to achieve creative results.
6. Exporting with the Export Persona
Once you have completed your image and want to save or export it, the Export Persona is your first point of contact. Here, you can choose between different file formats and even create specific areas of your image.
Click "Export File" to view the options. You can specify in which format (JPEG, PNG, etc.) you would like to save and whether you want to export the entire image or just parts of it.
7. Back to the Photo Persona
After exporting, return to the Photo Persona to make further adjustments or start a new project.
With the modular structure of the personas, you can work flexibly and efficiently on your images. Experiment with the different personas to unlock the full potential of Affinity Photo.
Summary – Affinity Photo: A Detailed Overview of Personas
The personas in Affinity Photo offer you an effective way to optimize your image editing. Each module is specifically designed to provide you with the necessary tools for various tasks. By working purposefully with the respective personas, you keep track and can fully unleash your creativity.
FAQ
What are personas in Affinity Photo?Personas are specialized workspaces designed for different functions and workflows.
How do I switch between personas?Use the toolbar in the top left to switch between the different personas.
Why should I always work on a copy of the layer?Working on a copy protects the original image and allows for non-destructive editing.
Which persona do I need for editing RAW images?For editing RAW images, you should use the Develop Persona.
What can I achieve with the Tonemapping Persona?With the Tonemapping Persona, you can simulate the look of HDR images and optimize image quality.


